Cantucci (the Tuscan name for biscotti) are typically served with vin santo for dessert. I tend to chuck in whatever nut or dried fruit we have available, and this particular combo worked out exceptionally well: the tanginess and chew from the oranges, the toasty crunch of the hazelnuts, and the plump, wine-soaked sweetness from the figs. I try not to overcook them so as to retain some of that satisfying chewiness.
Viewing entries in
Fruit
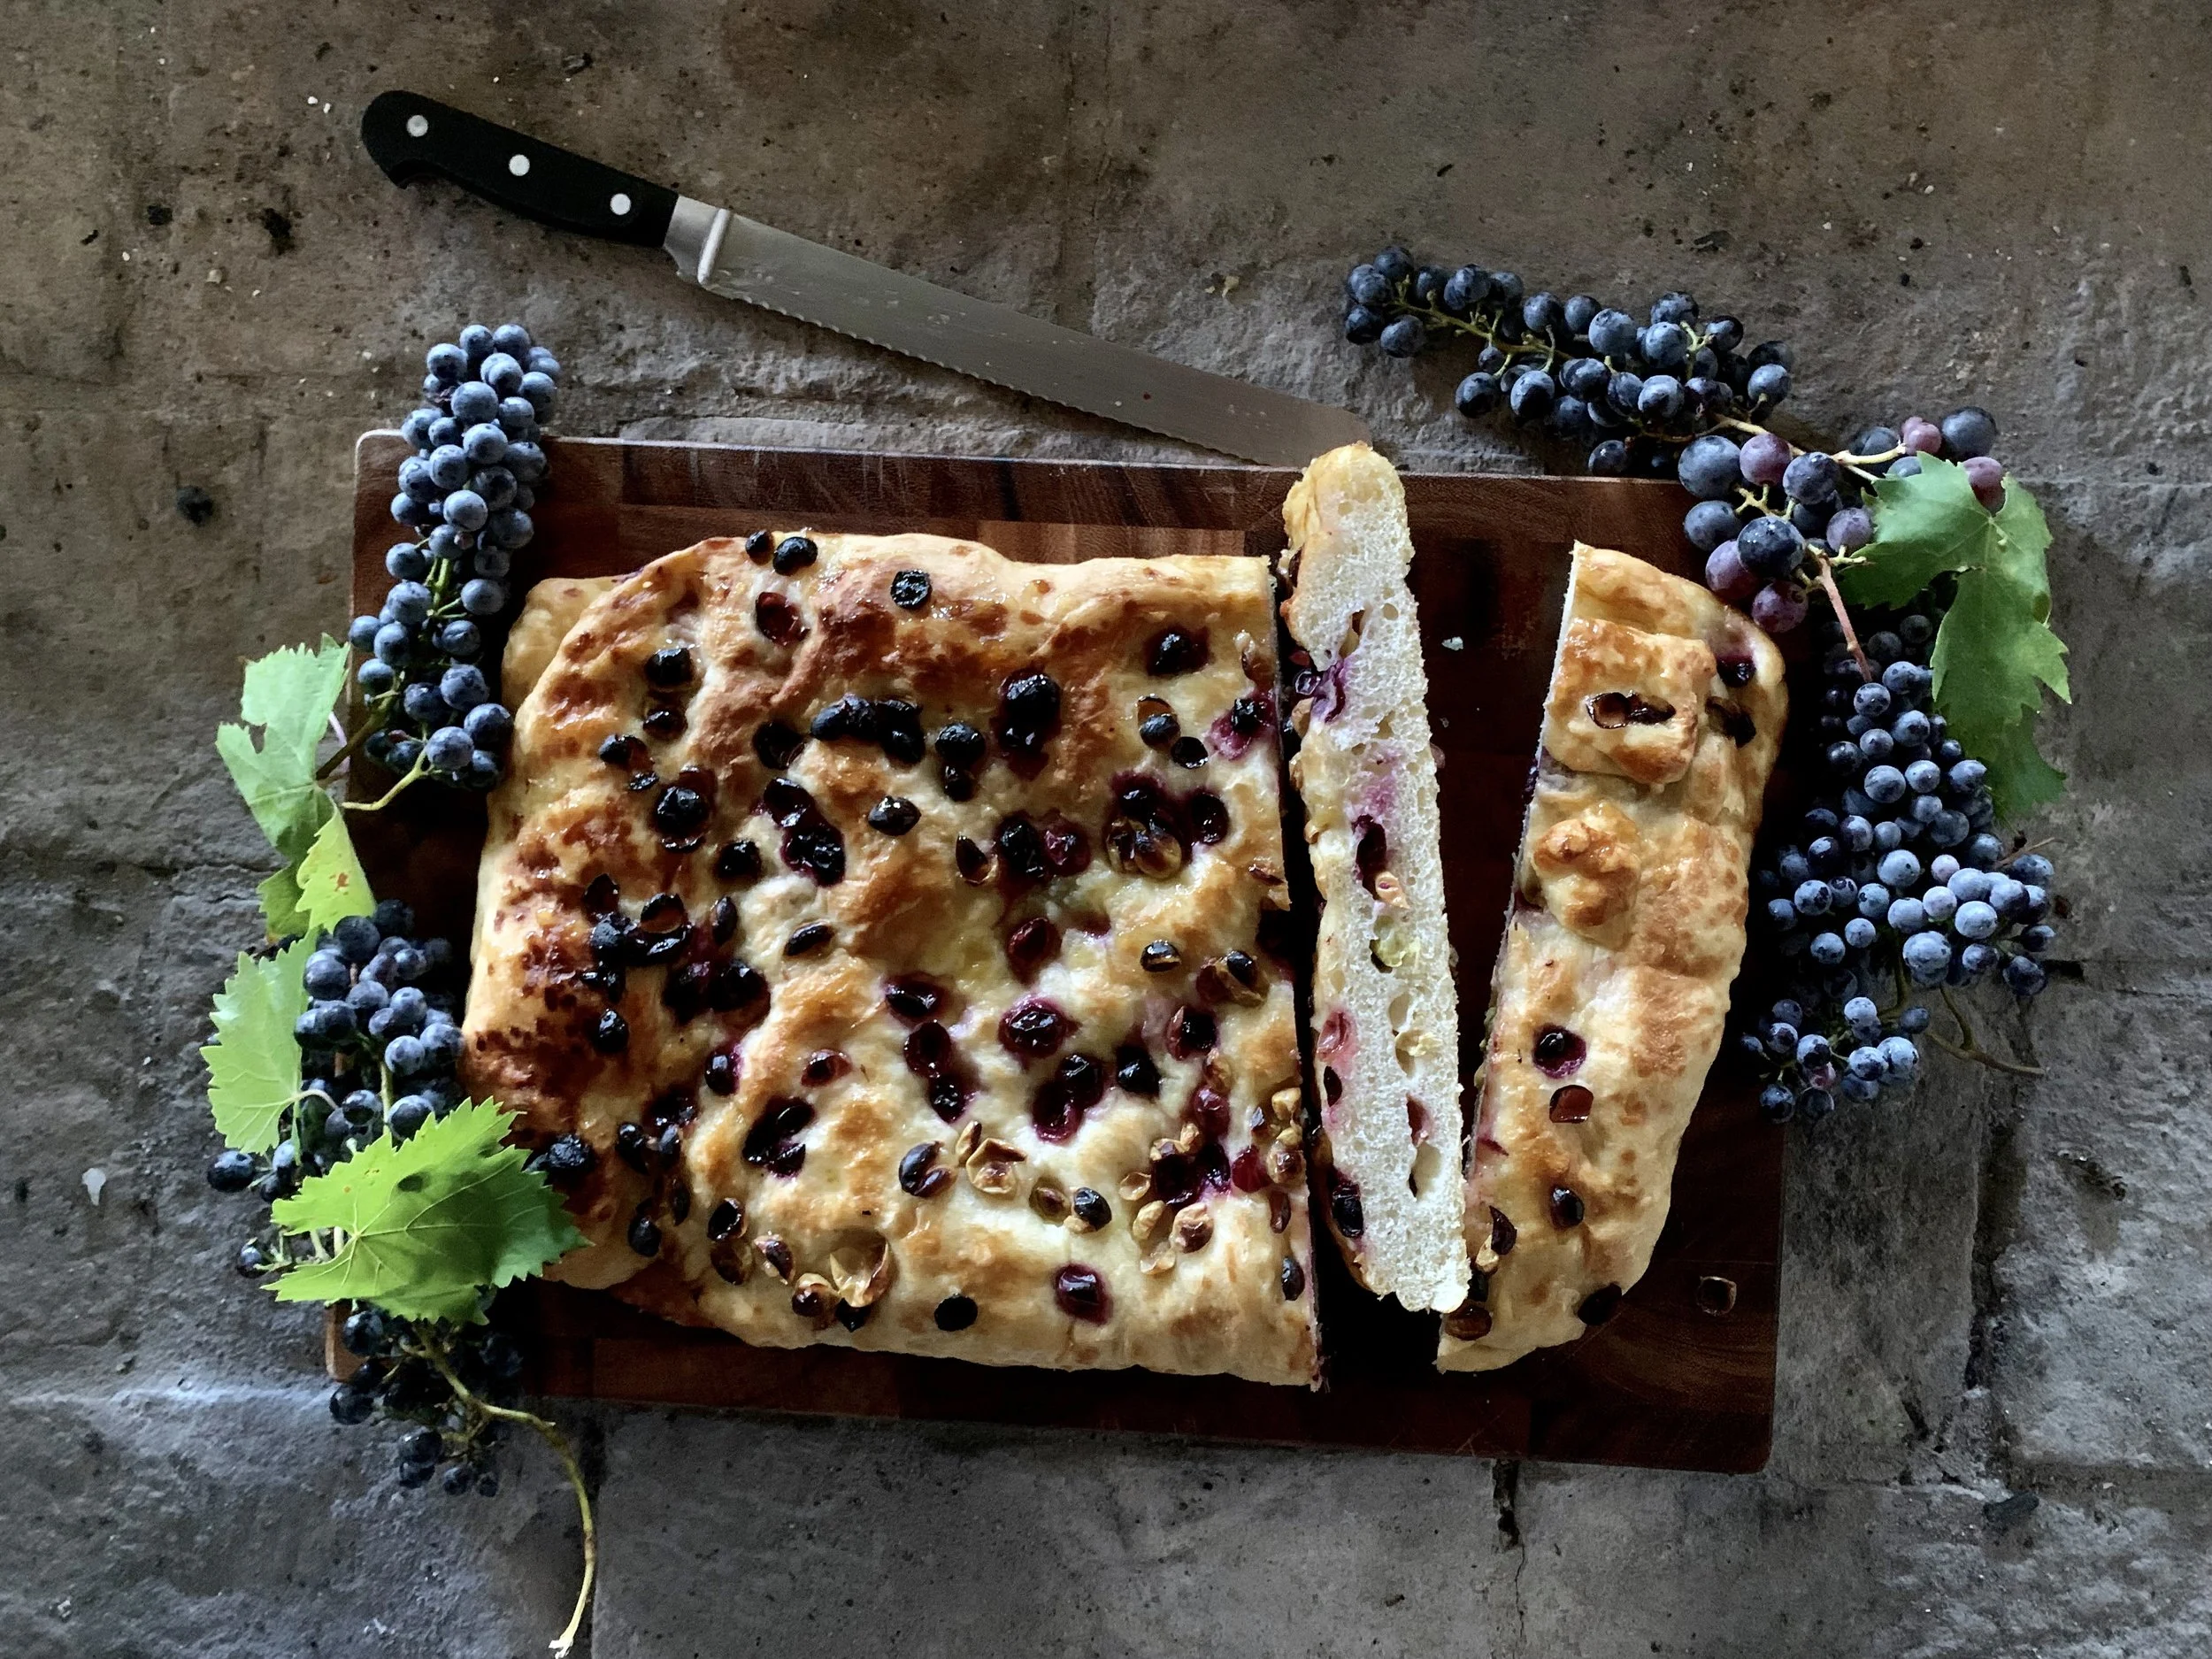
What could be better than a mattress of focaccia painted with glistening peppery olive oil, the occasional crunch of salt crystals, and a soft, pillowy interior that creates an insatiable appetite for more?
Almost nothing, apart from simply another version of a focaccia – this time with a layer of succulent grapes folded into the centre of the dough. Grapes, which burst in your mouth as you bite through the focaccia.
It’s perhaps even more beautiful than the OG focaccia, and tastes sublime on its own, or paired with pecorino and a glass of Vin Santo.
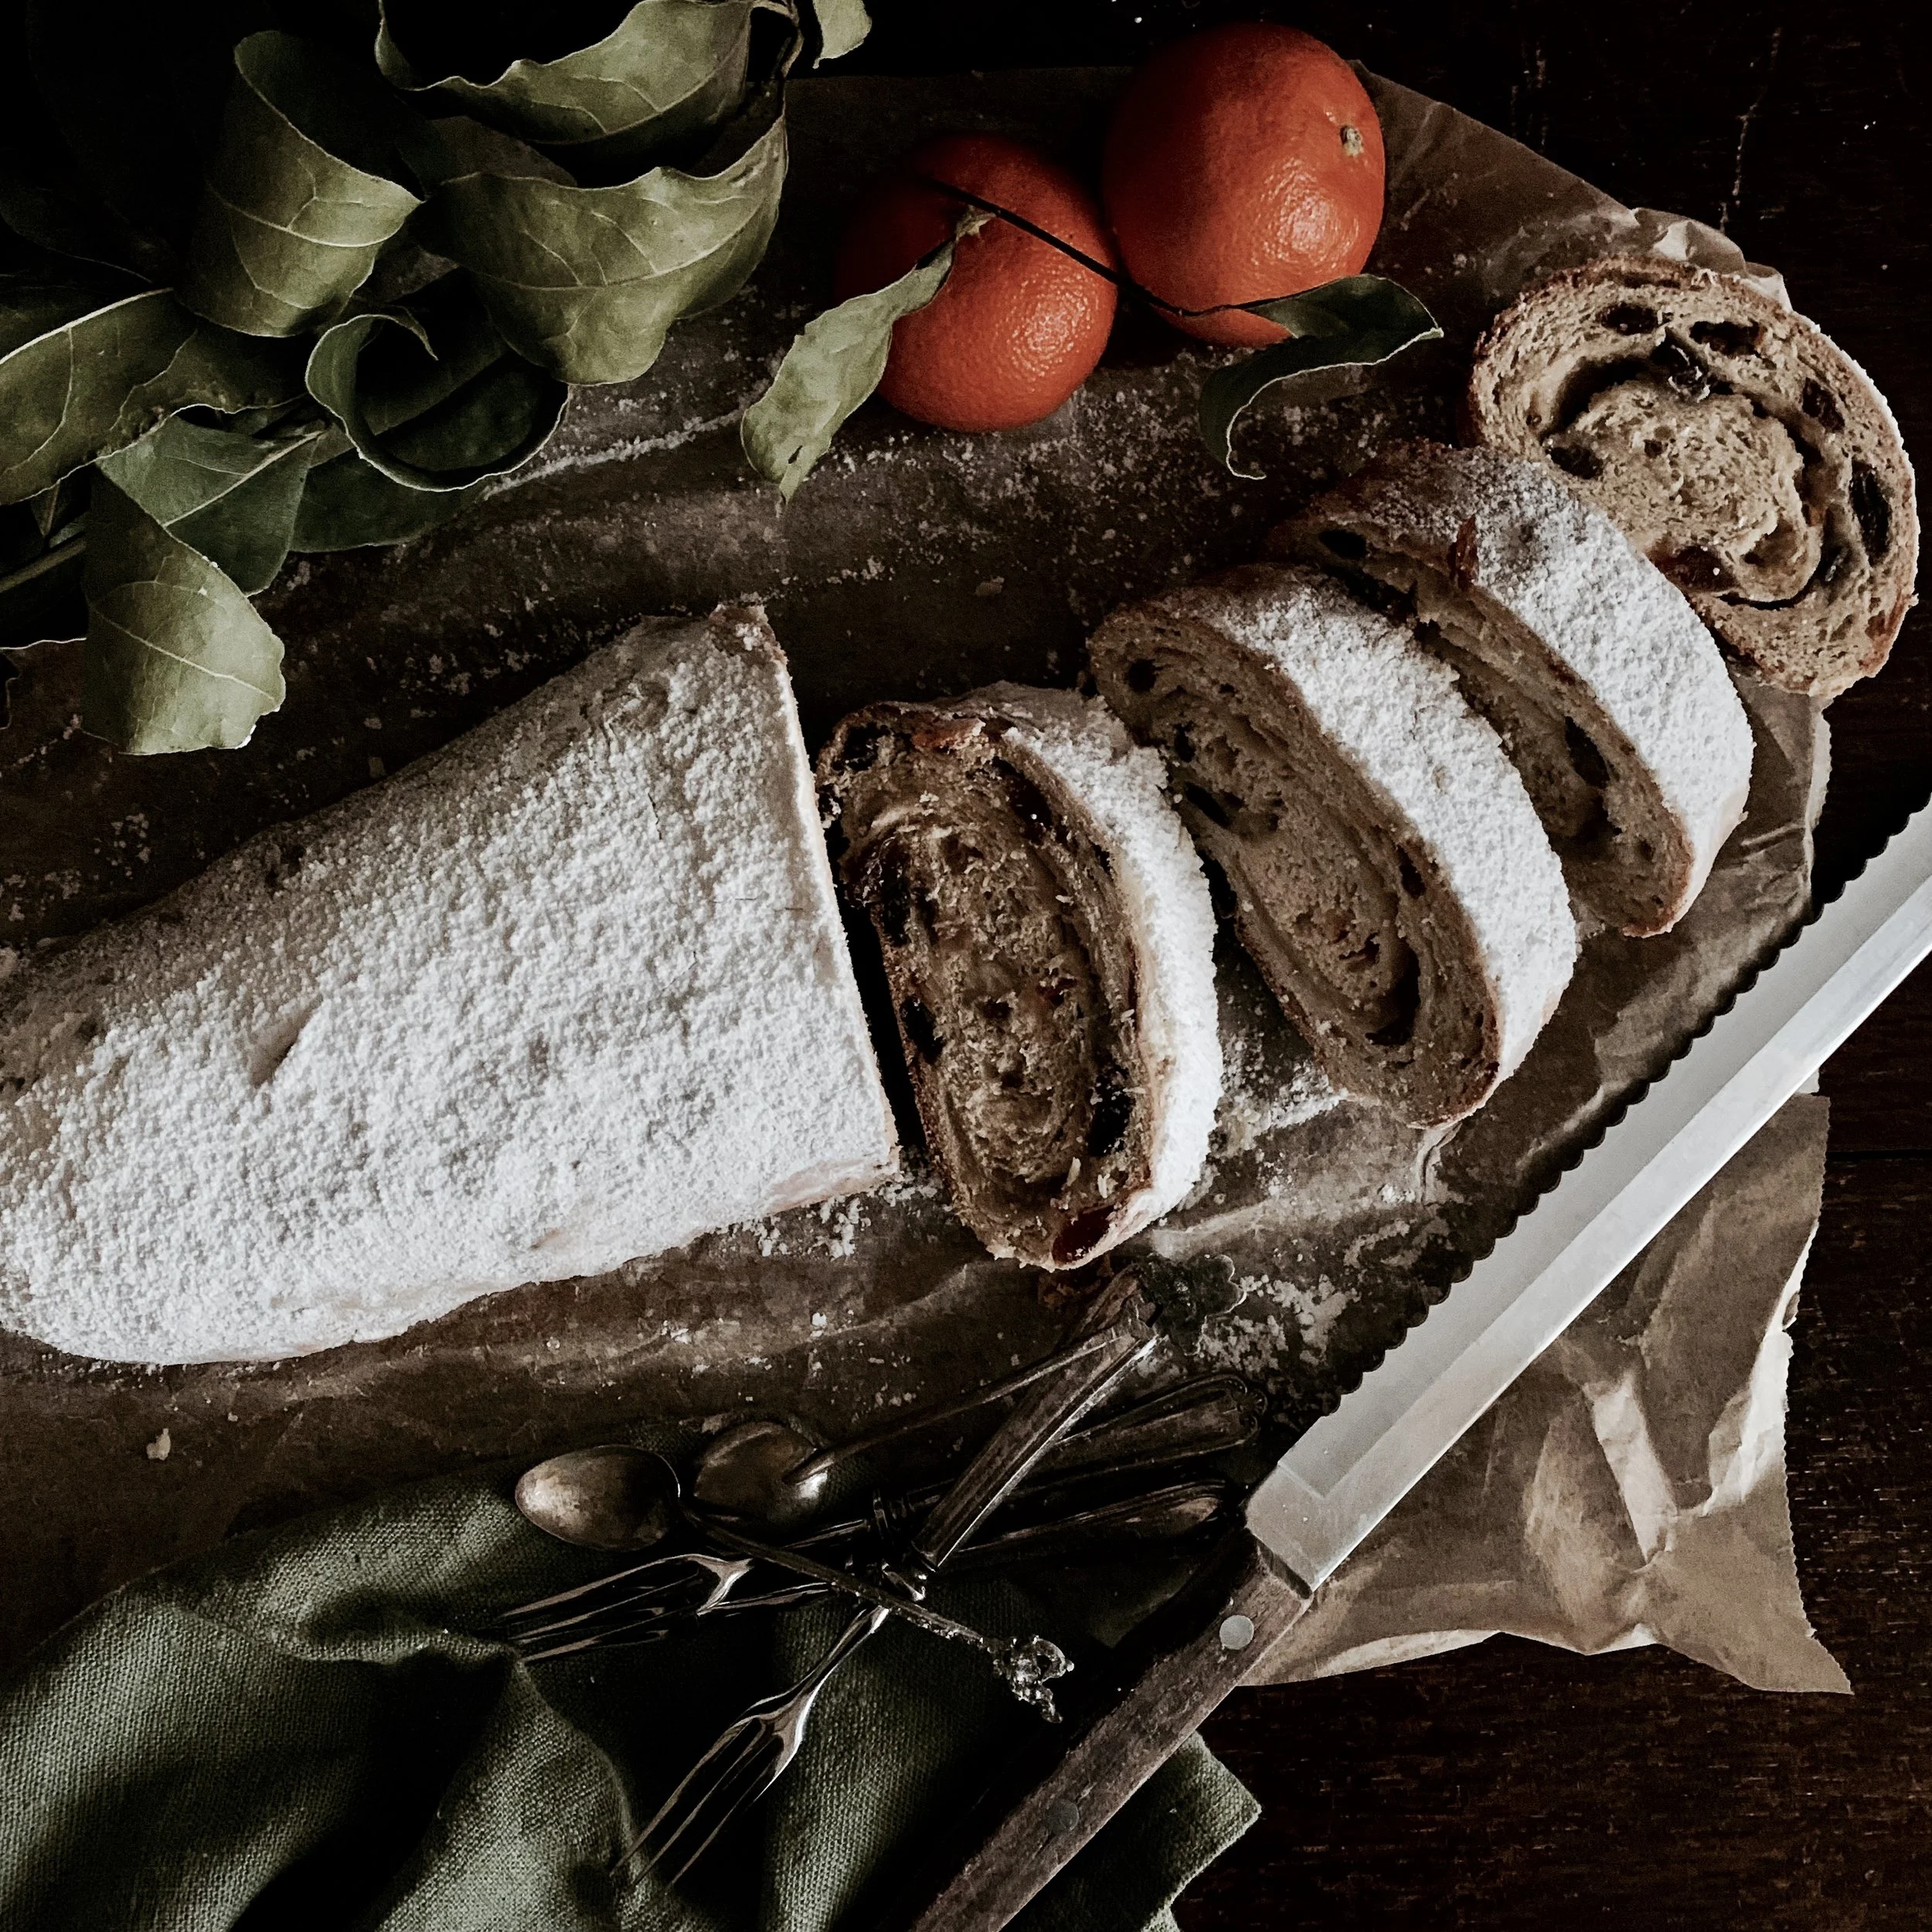
This recipe is delivered with a warning: this stollen, despite its understated, simple, appearance, is highly addictive. I ate almost an entire stollen in one day and felt quite sorry for myself afterwards (guilt streaked sugar-overload), so arm yourself with friends or a freezer before making it
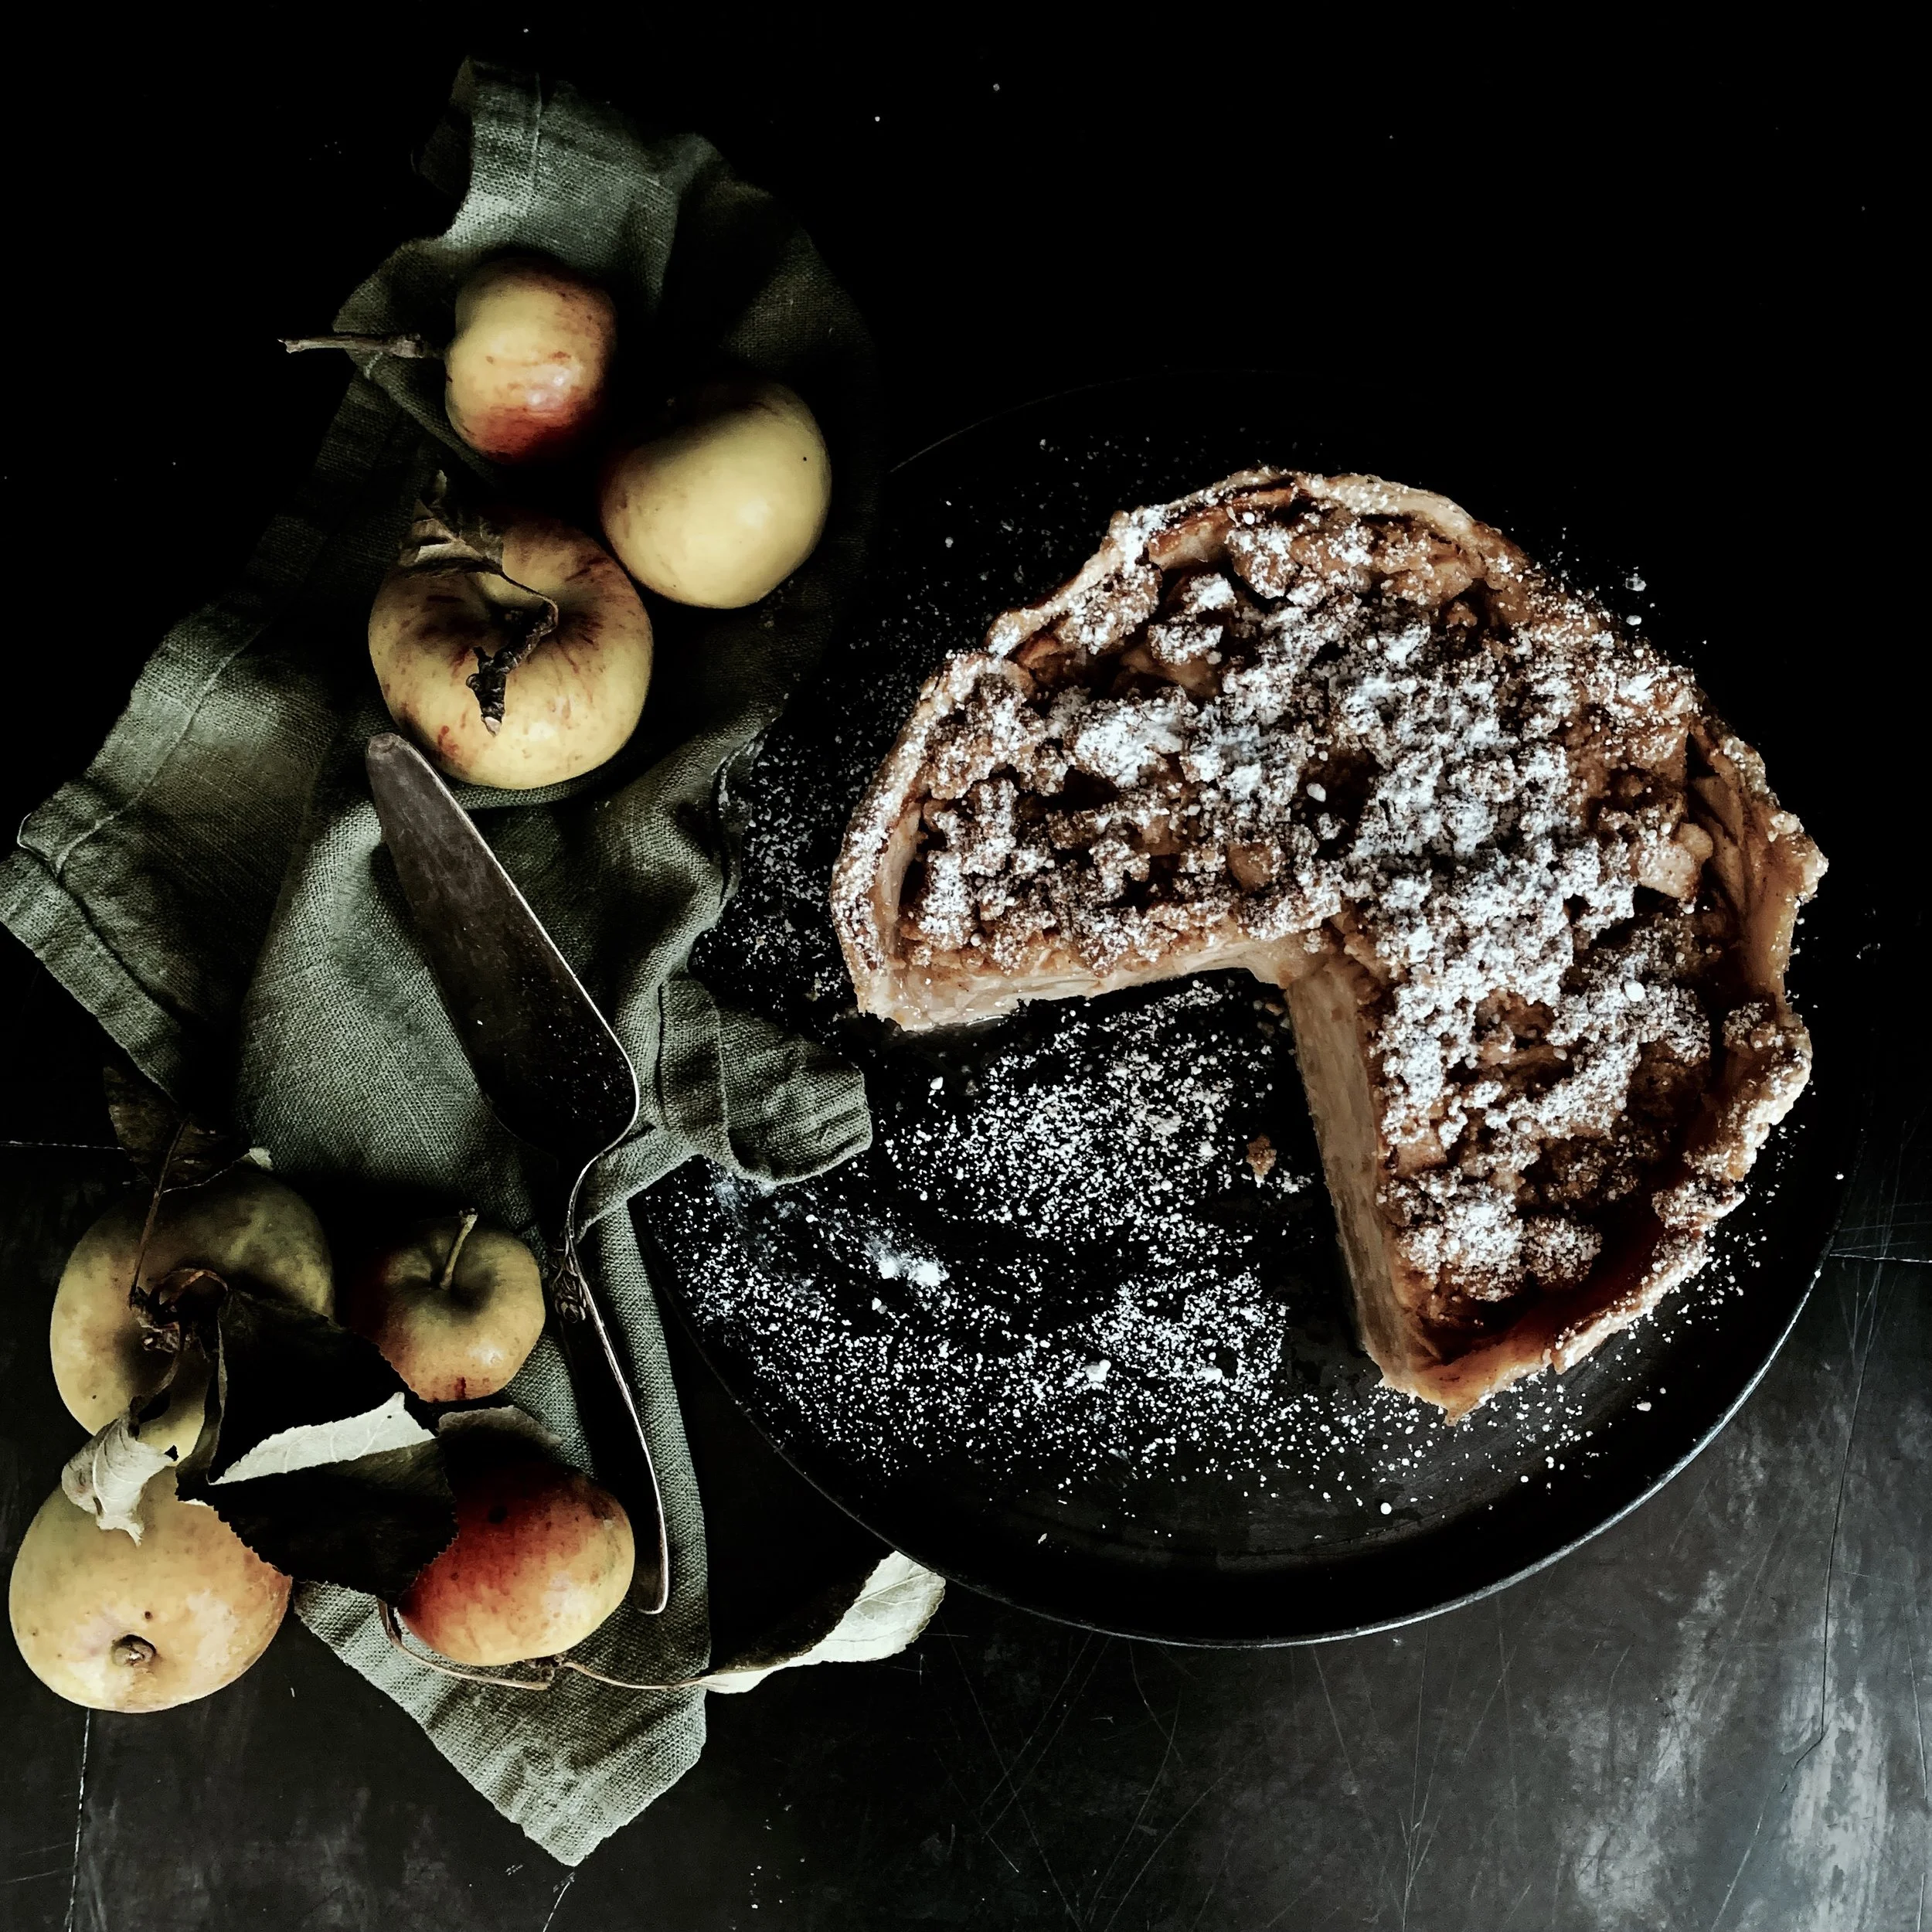
Epic apple pie: the pastry is golden and flakey, and the apple filling a medley of tart, tangy and sweet. There’s a hint of autumnal spice (without it being overpowering), and it’s topped, not with more pastry, but a brown butter cinnamon crumble that adds moreish crunch.
This cake is heady with the spirit of Tuscany. The grapes combined with the harmonious perfumed trio of orange, almond and vanilla is particularly luscious, and peculiar to Italian baking. The use of olive oil instead of butter, and the addition of ground almonds make it so moist and sumptuous. The flavour tends to develop after a day, so I’d advise making this a day or two in advance of eating (storing it an airtight container or covering the top of the cake tin until ready to serve).
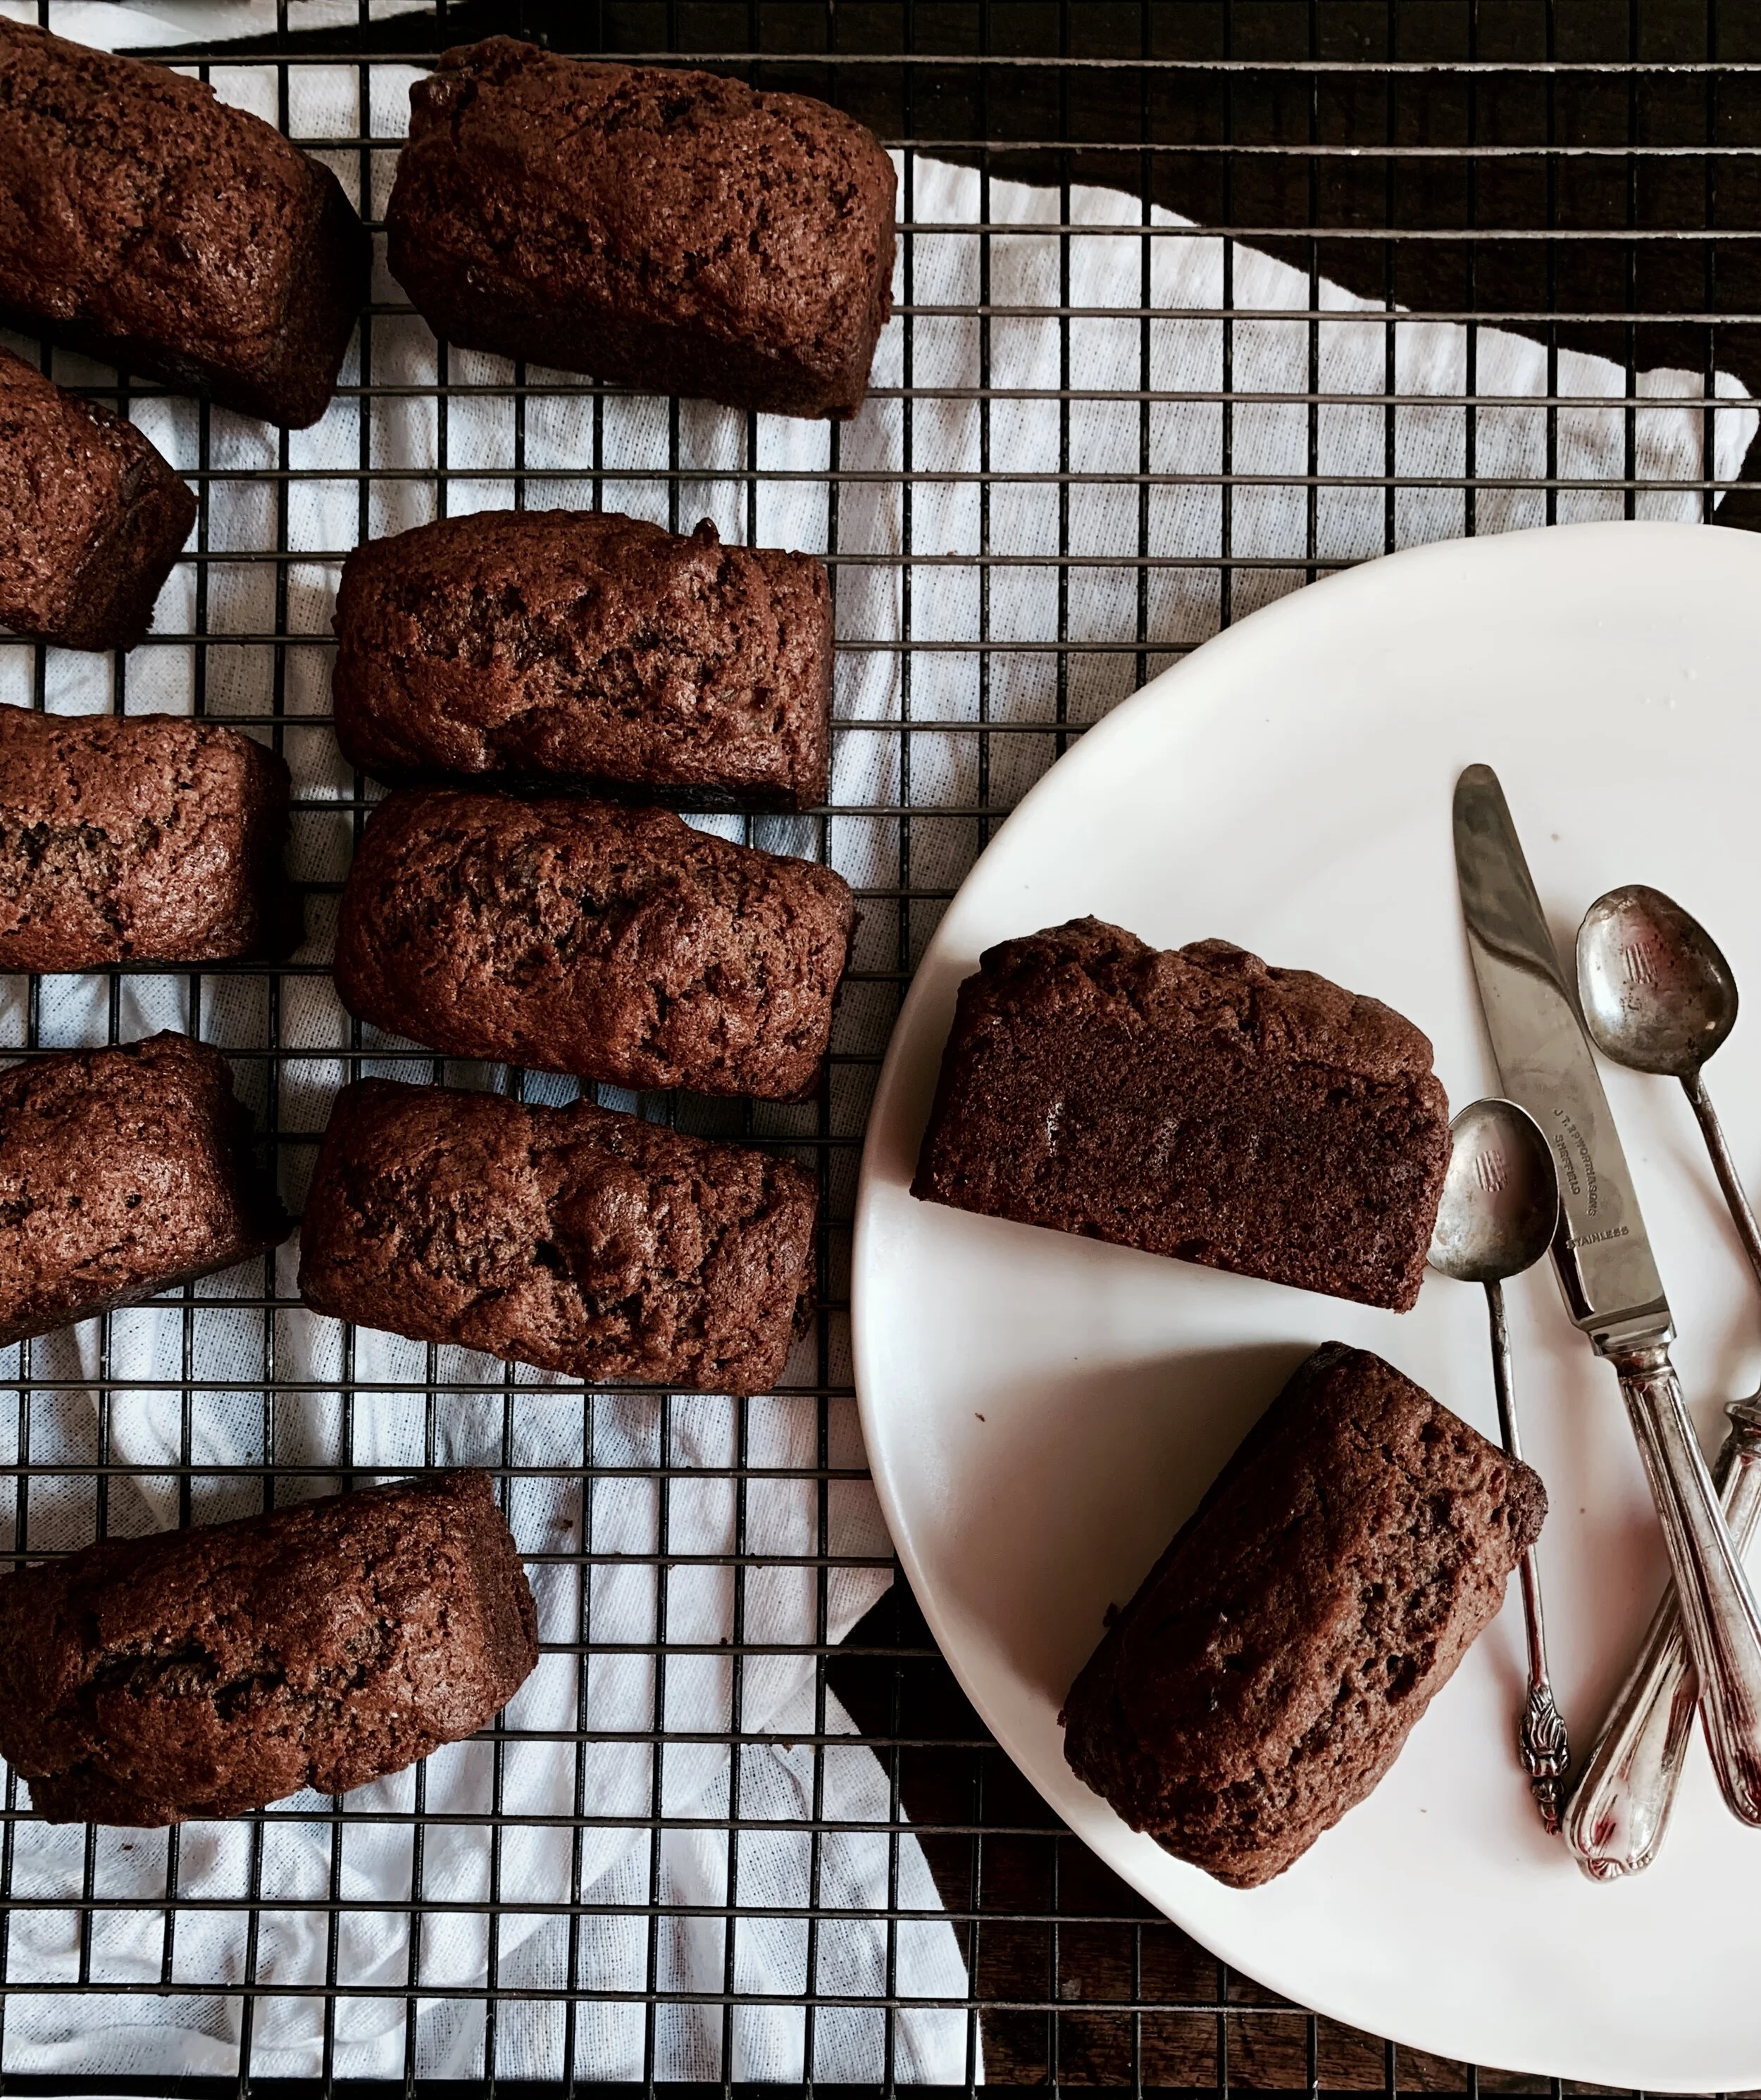
It’s the perfect cake for vegans and non-vegans alike: no weird gums or chemicals or frogspawn-y aquafaba, and it doesn't even need them. It’s moist, sticky and absurdly moreish. It can stand proudly beside any egg-containing cake, and win over any vegan cake-hating sceptic. When I say it’s easy to make, I mean it is exceptionally easy. It can be whipped up in under 10 minutes and, if you're making mini loaves, it bakes within 10 minutes too.
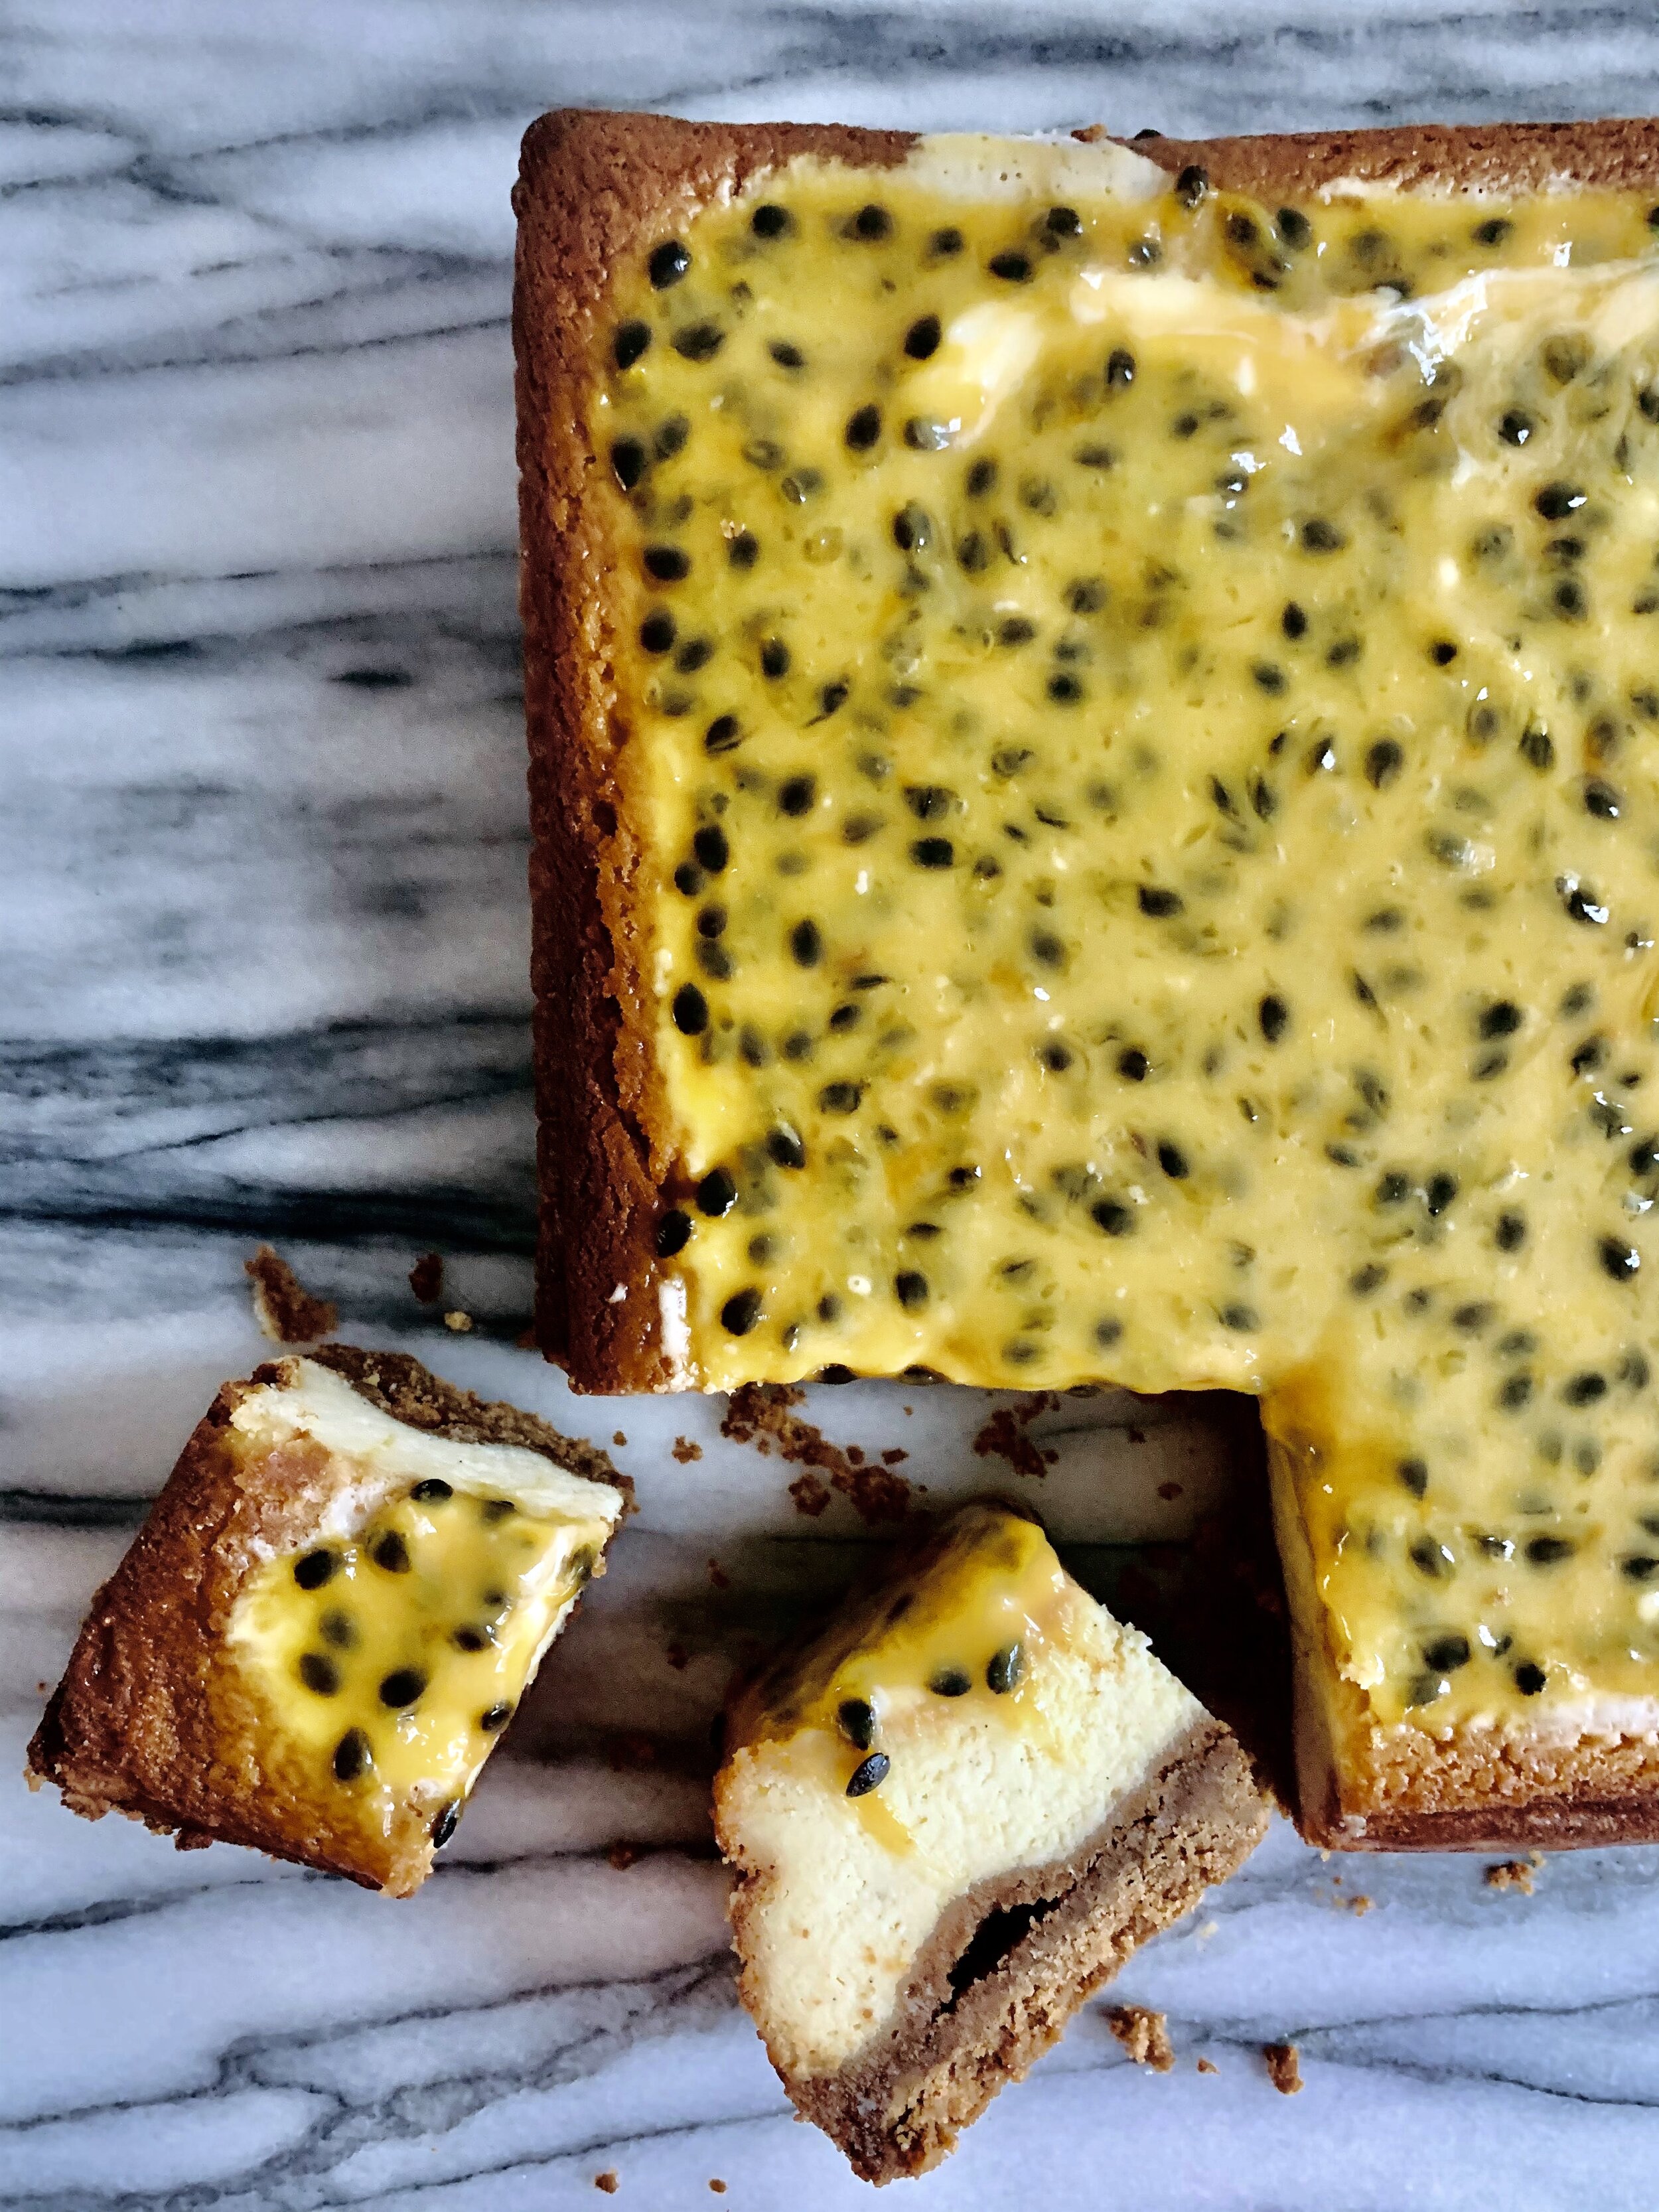
This cheesecake speaks for itself. It combines my three of my favourite things: lotus biscuits, white chocolate and passionfruit. The lotus biscuits make the perfect base, providing an almost umami, caramelised base.
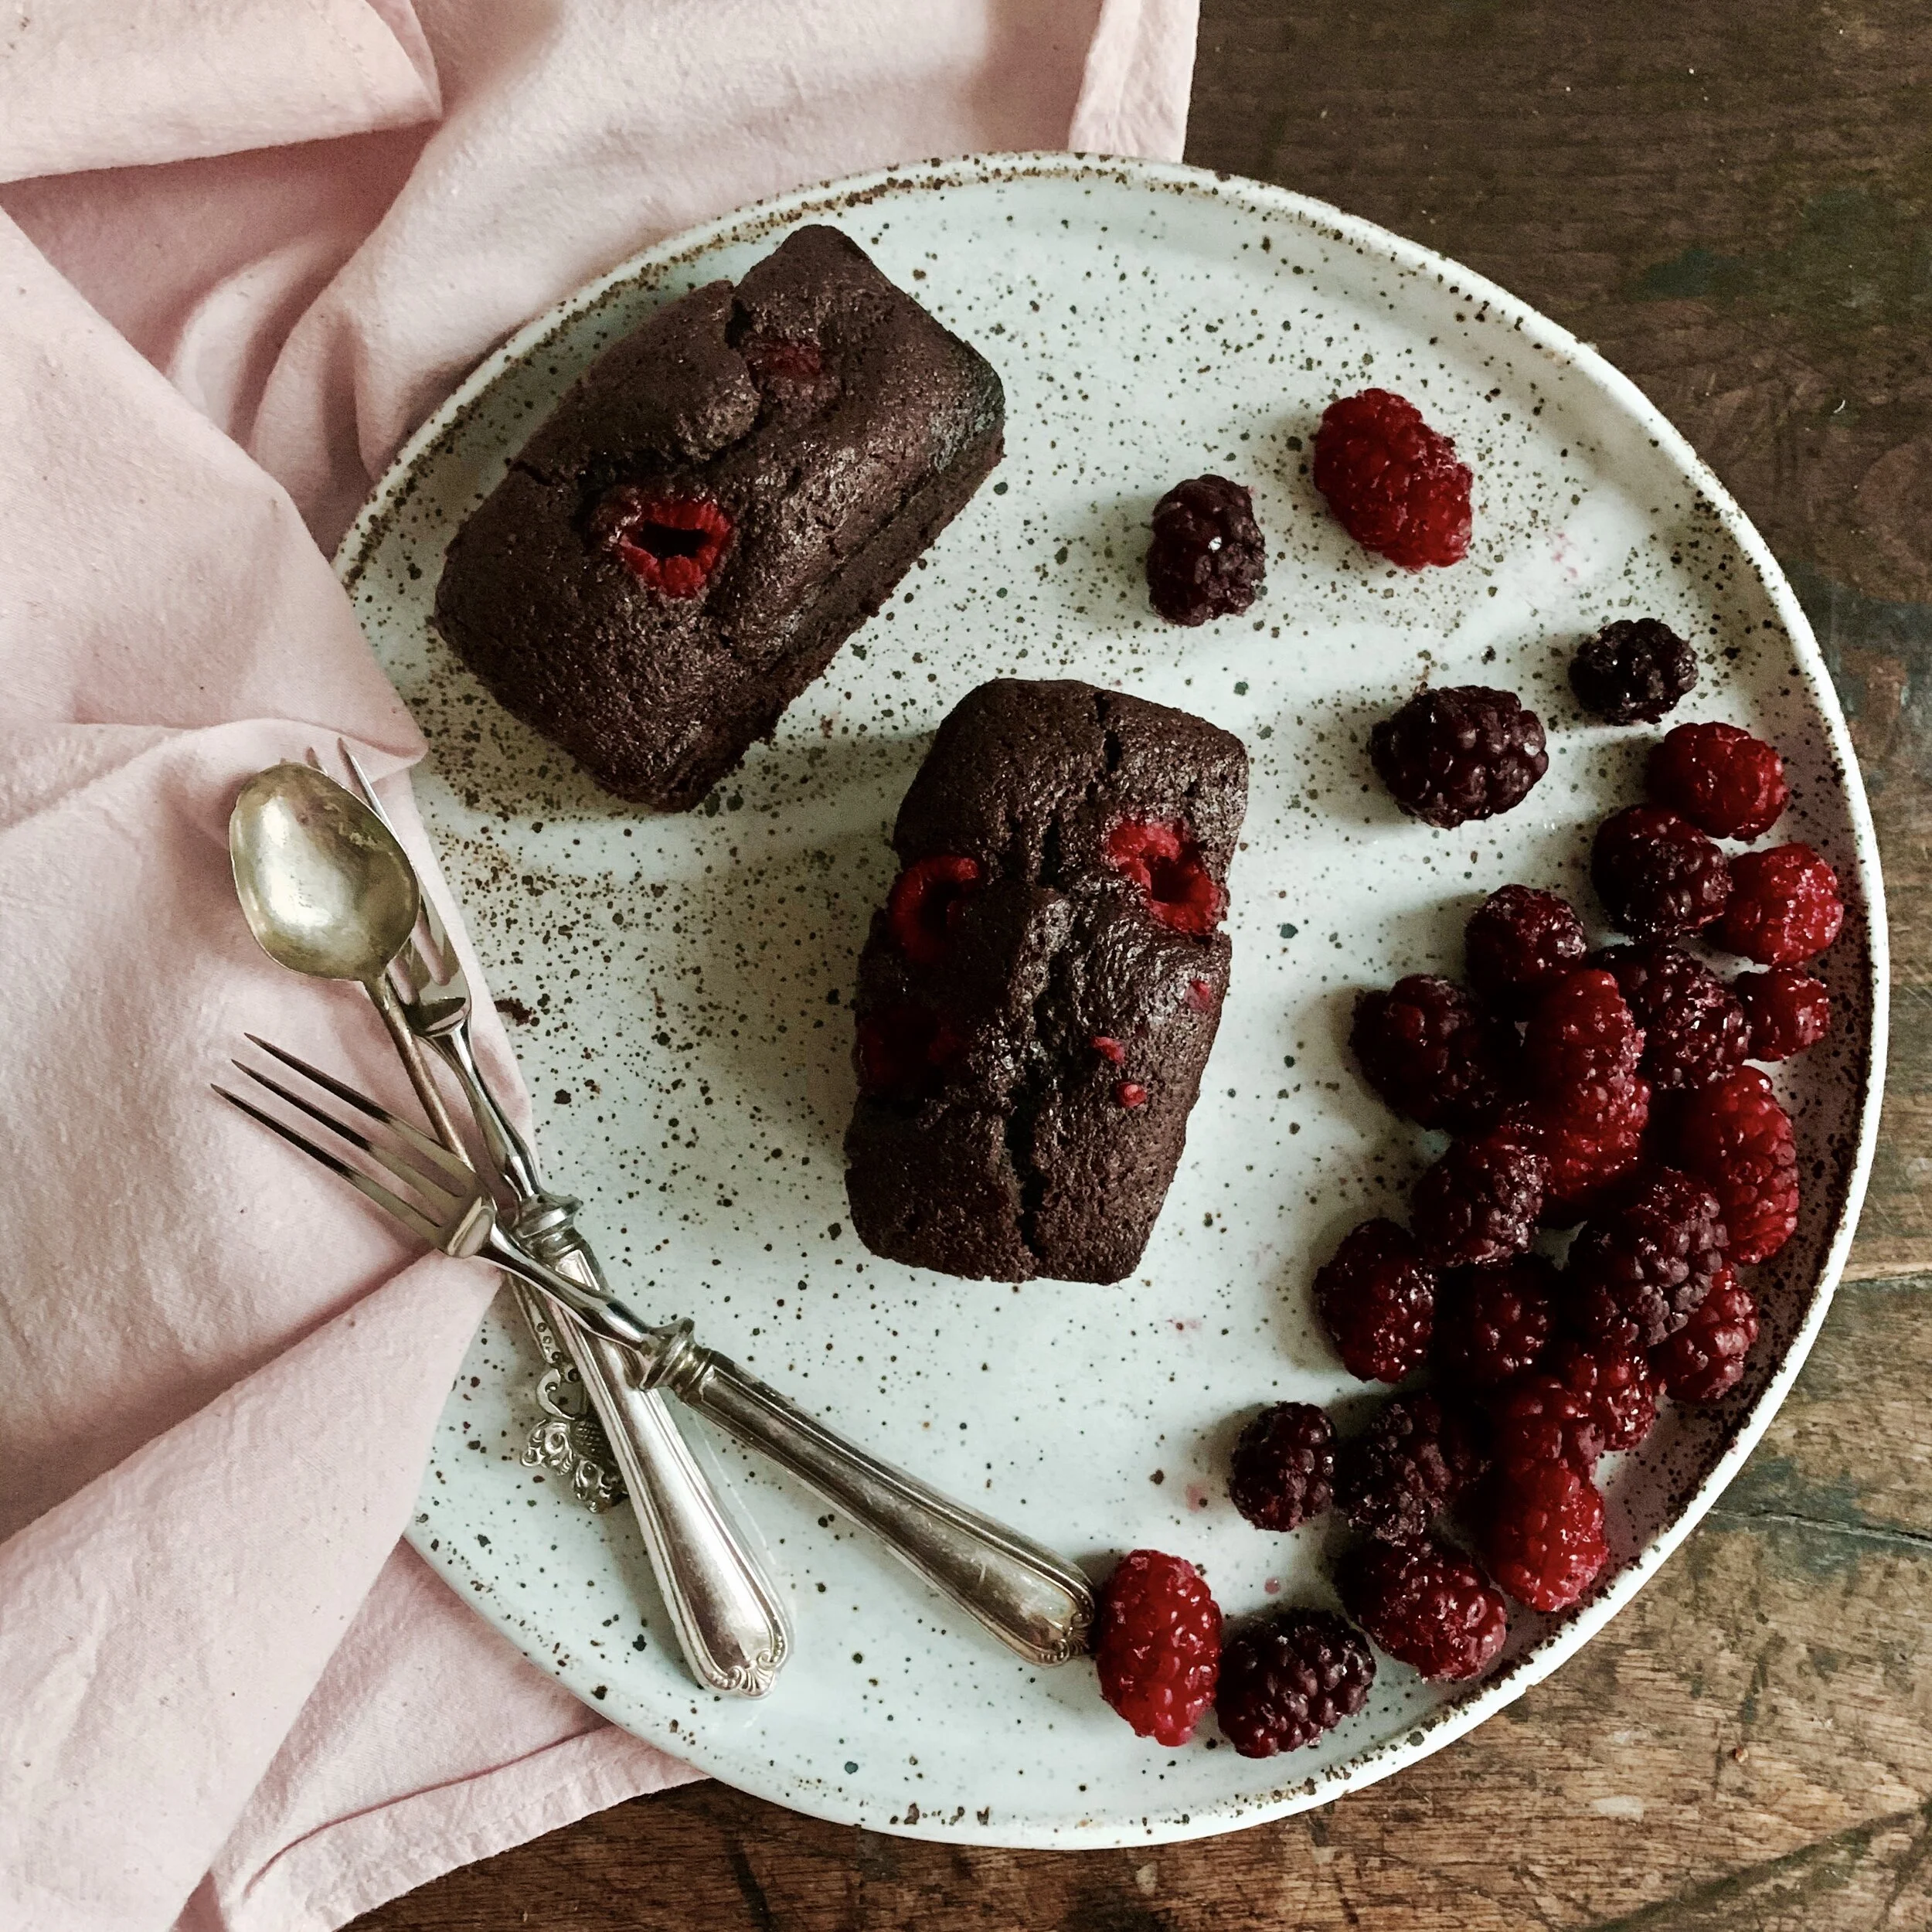
The cake is tender and chocolatey and, when cut open, reveals a molten centre. The raspberries add that vital fresh astringency to cut through the sweetness and make a second piece impossibly hard to resist.
Once again, this recipe comes with a disclaimer that despite being vegan, the cake does not vaguely taste “vegan”.
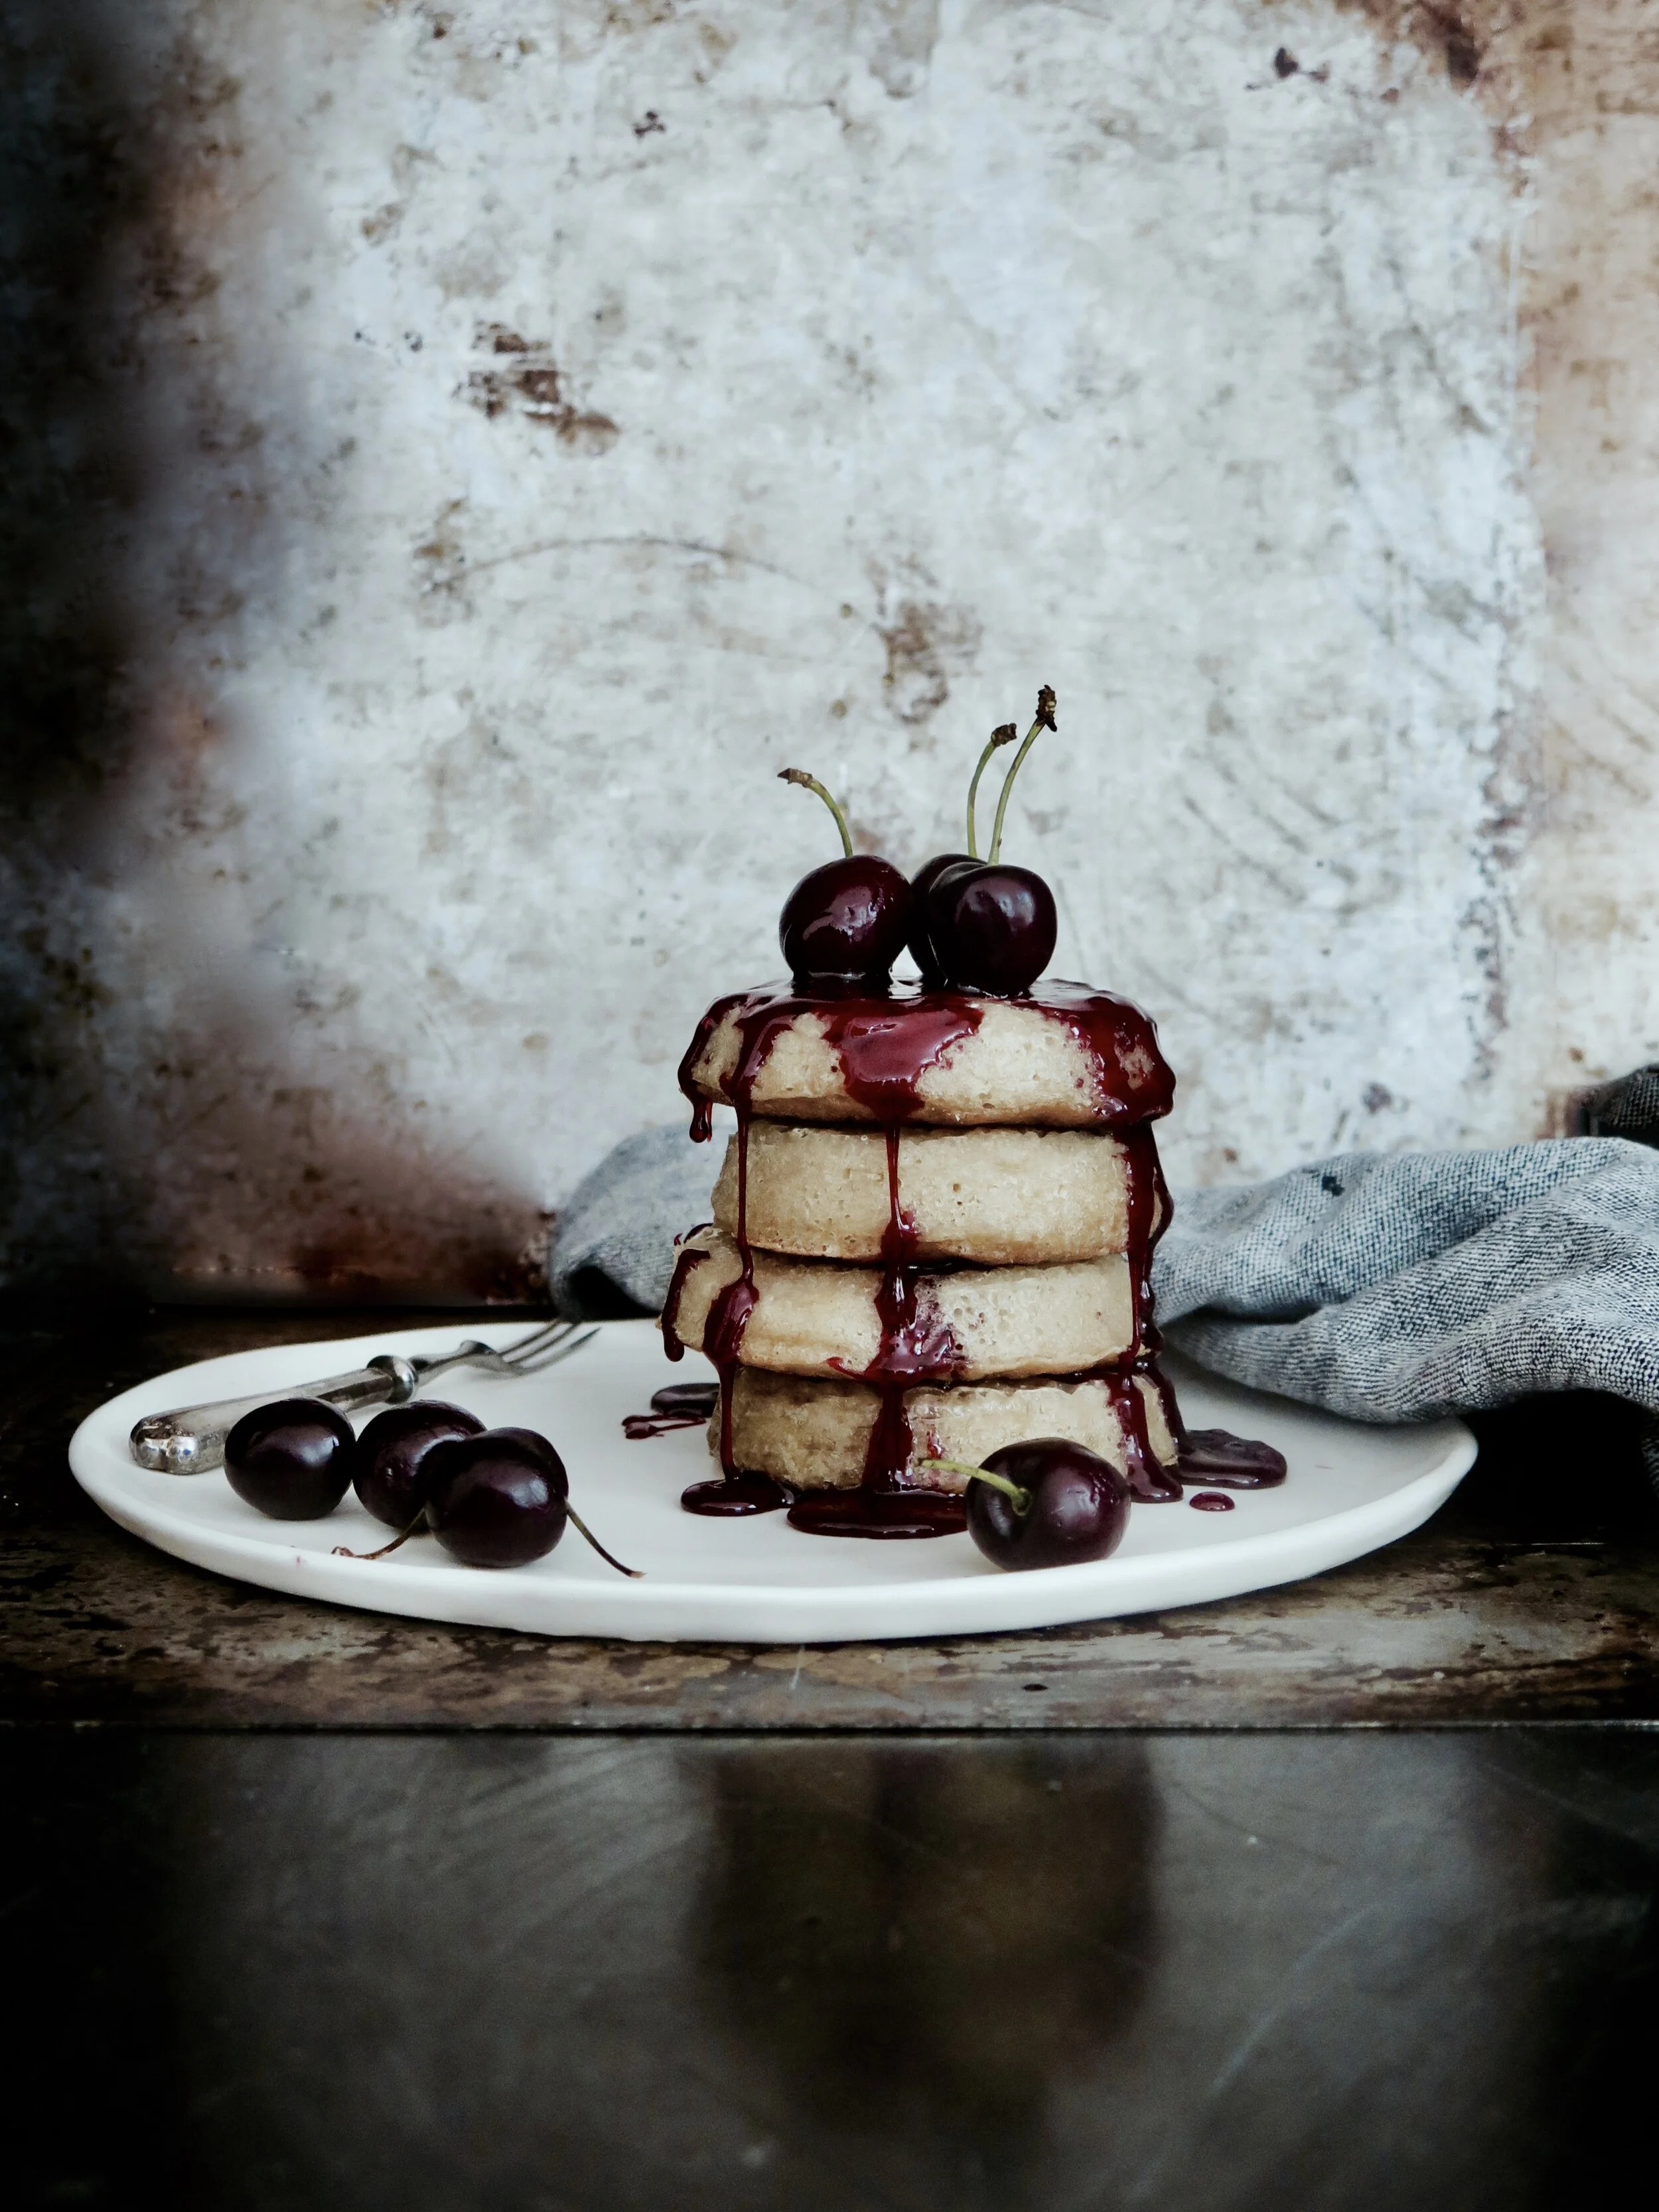
Crumpets are even better when home-made. Store-bought can be bland, powdery and stodgy. These, however, are fluffy and light, yet sturdy enough to provide an excellent foundation for several storeys of topping. Don’t be put off by the need for yeast - the whole process takes just over an hour and once you’ve made your own, it’ll be impossible to revert to store-bought.
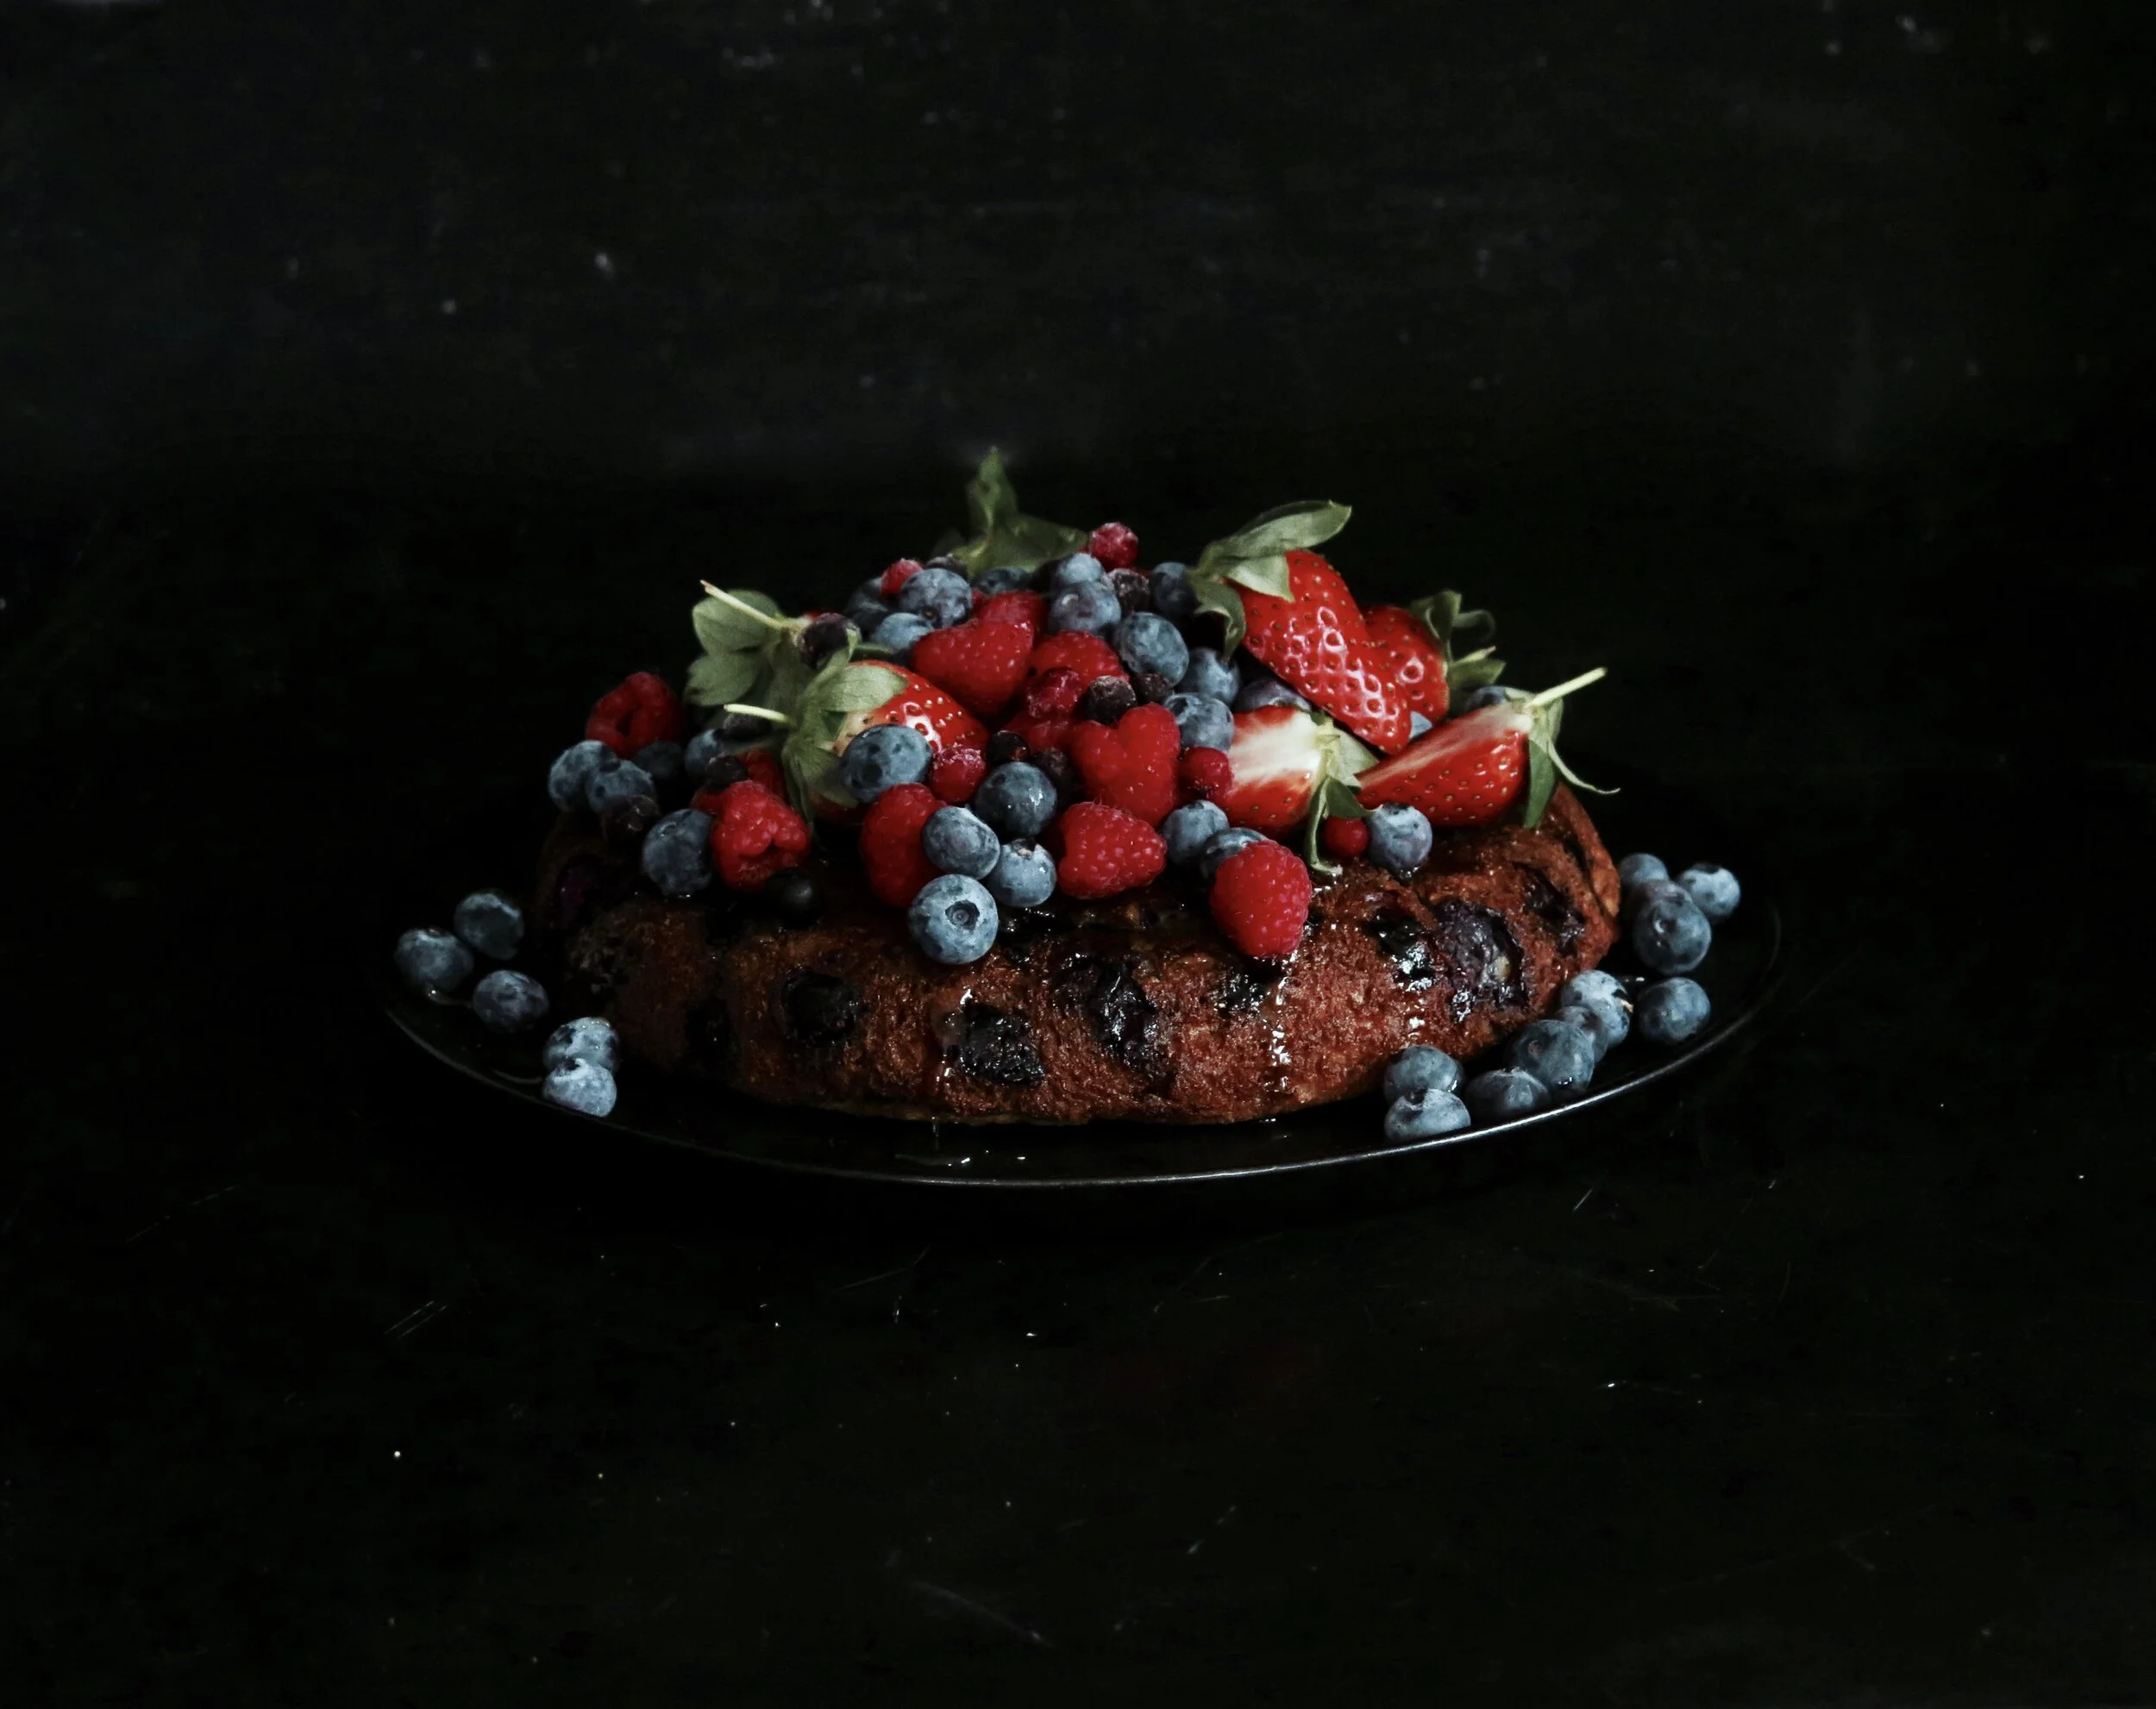
So, I’ve got the solution. Why make loads when you can make one large pancake to divide between your salivating guests? This is the pancake to top all pancakes – it makes even the most indulgent of American pancakes look pitiful and mean. It’s giant, thic(cc)k, pillowy and stuffed with blueberries. It can be dressed up, piled high with tumbled berries and drenched with lashings of maple syrup.
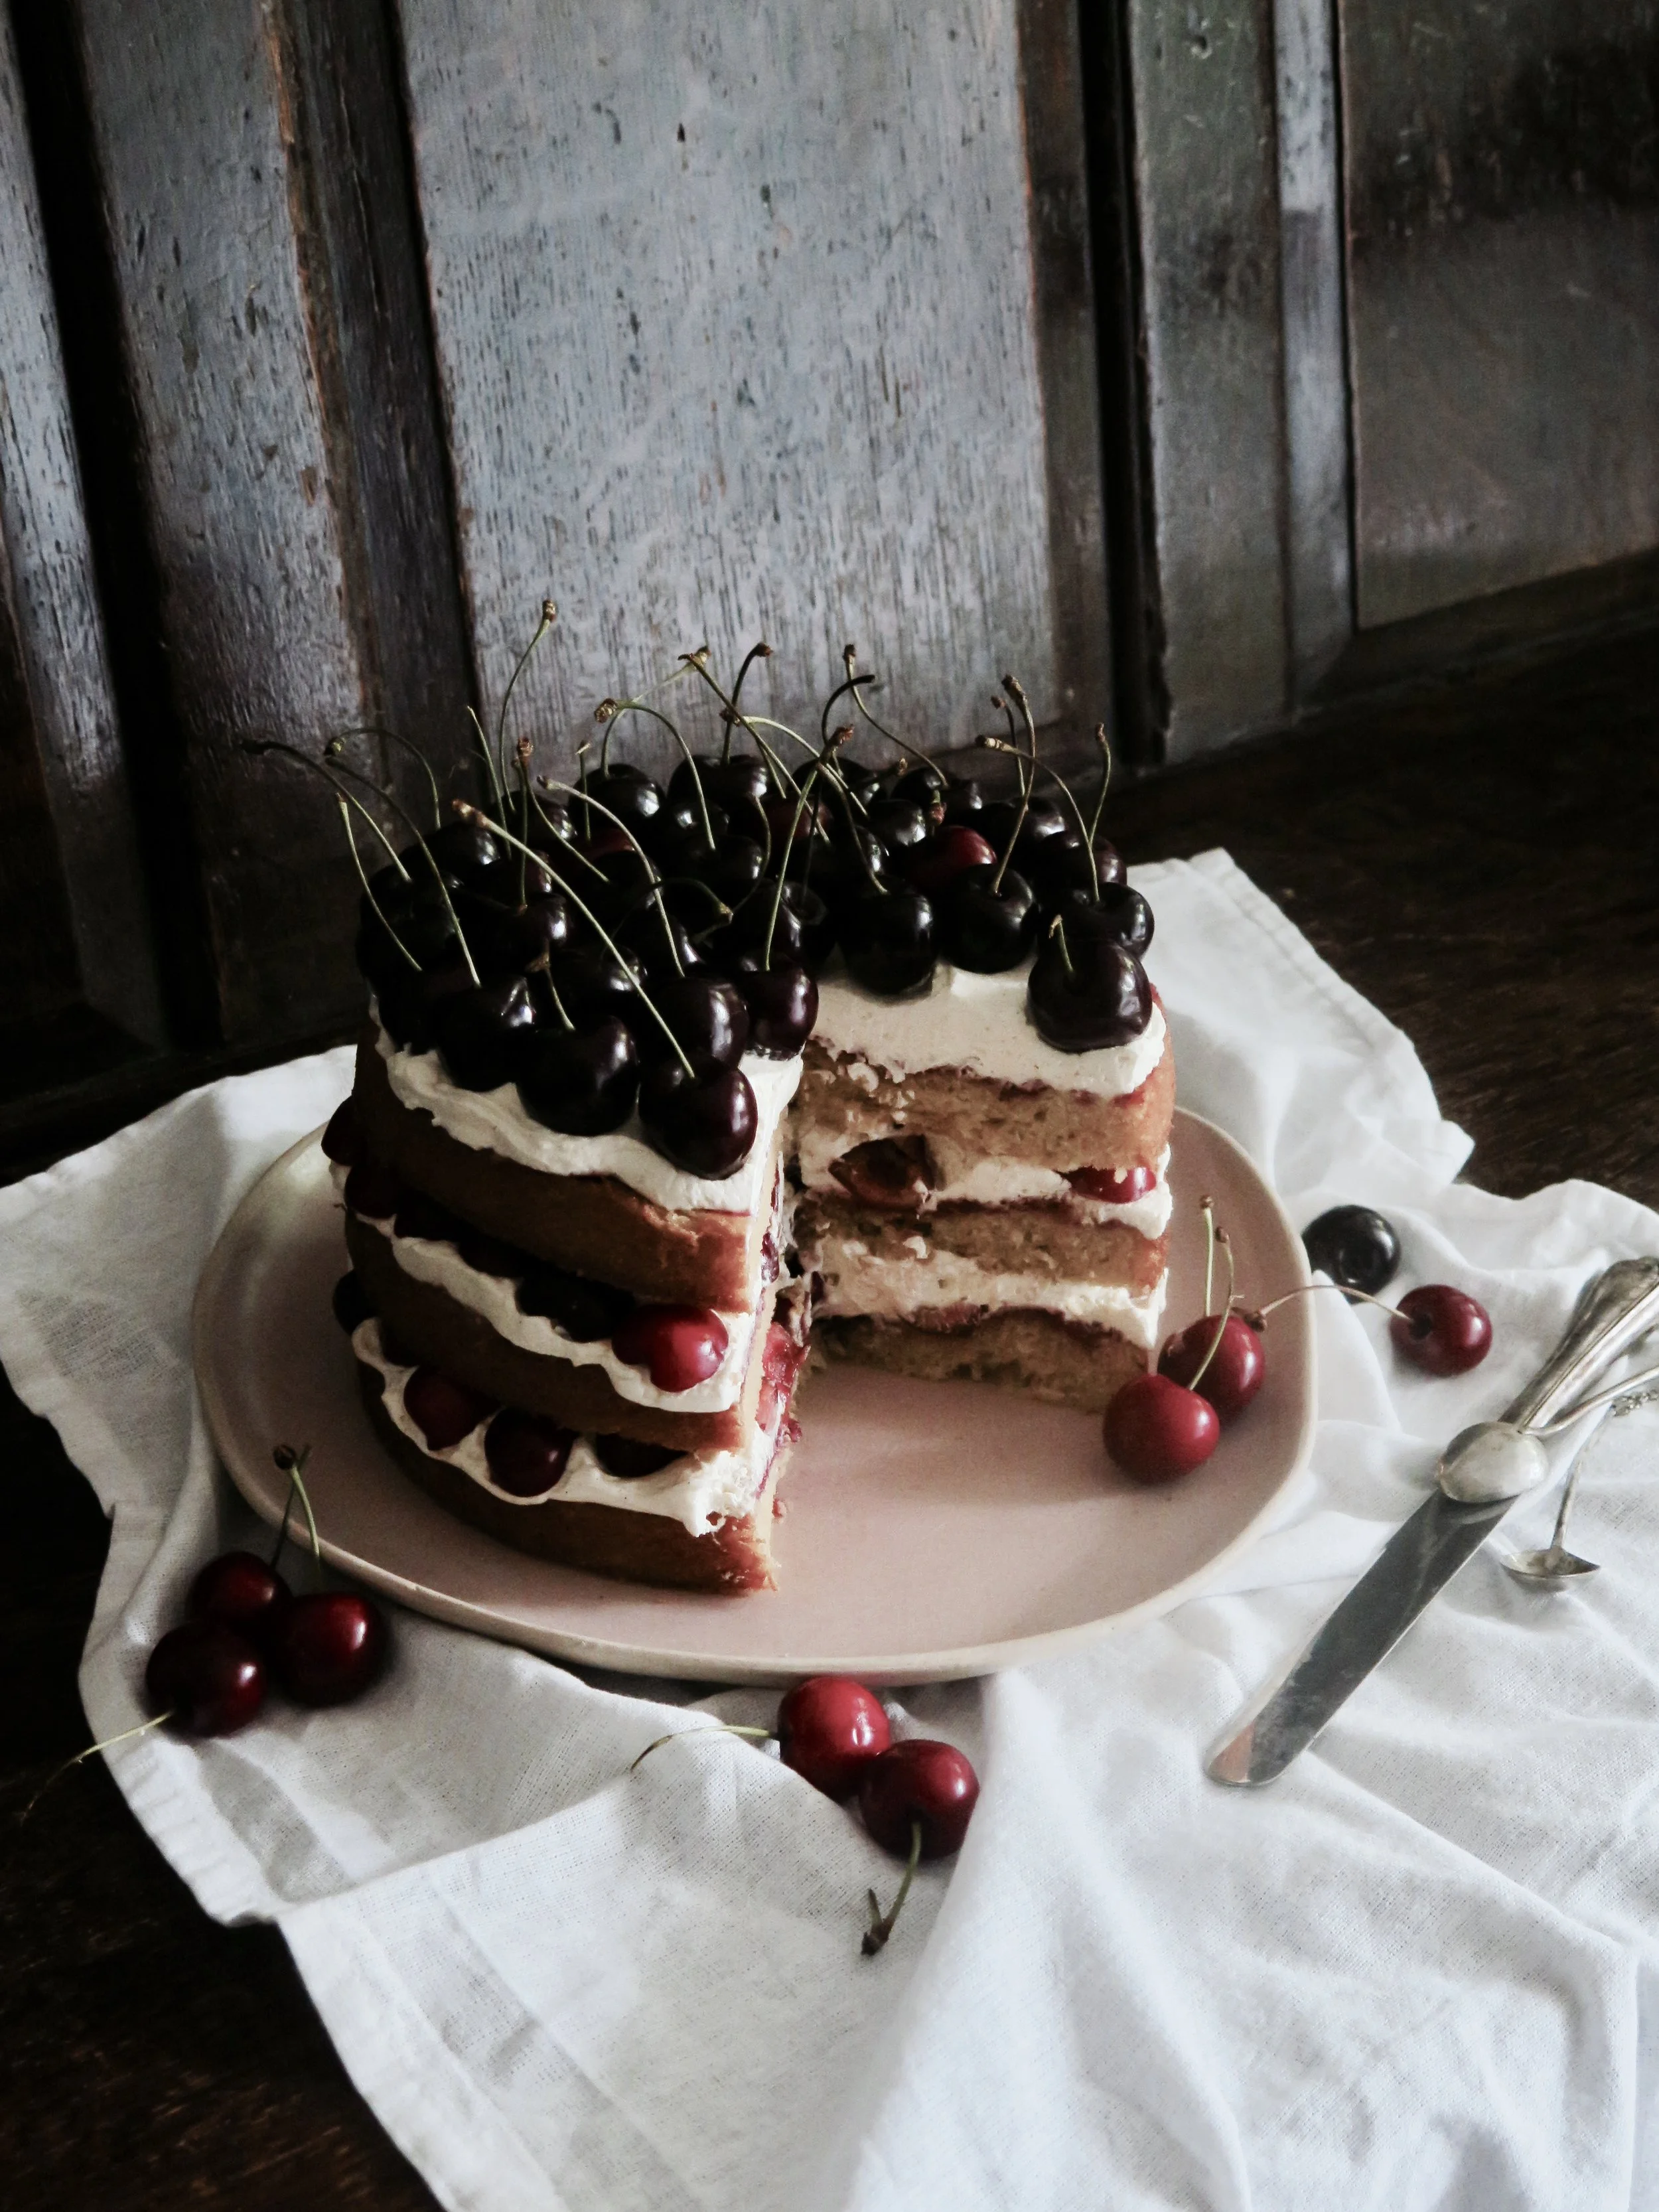
This the perfect non-picnic picnic cake. It’s light with a cloudy vanilla sponge, and laced with fresh cherries which burst in your mouth and whose astringency perfectly cut through the smooth rich vanilla-cream. I keep the cherries fresh and unadulterated so as to keep the cake not too sweet, with a hint of cherry jam just to counter too much acidity.
The ideal combo of oatmeal, pancake and muffin. They’re protein and fibre-full and naturally sweet (no refined sugar), bursting with berries (zero dryness here) and filling. They’re quick to make, and super convenient as they can be made in advance, frozen and defrosted when cravings strike. They also look rather irresistible on any breakfast table, so great for when you have guests.
If I told you that a vegan, refined sugar-free, protein-rich, wheat-free, ancient-grain (and if you so desire, gluten-free) cookie existed, you’d think it was the stuff of myth and legend or, alternatively, something so disgusting that it couldn’t be deemed edible.
Well, it does exist.
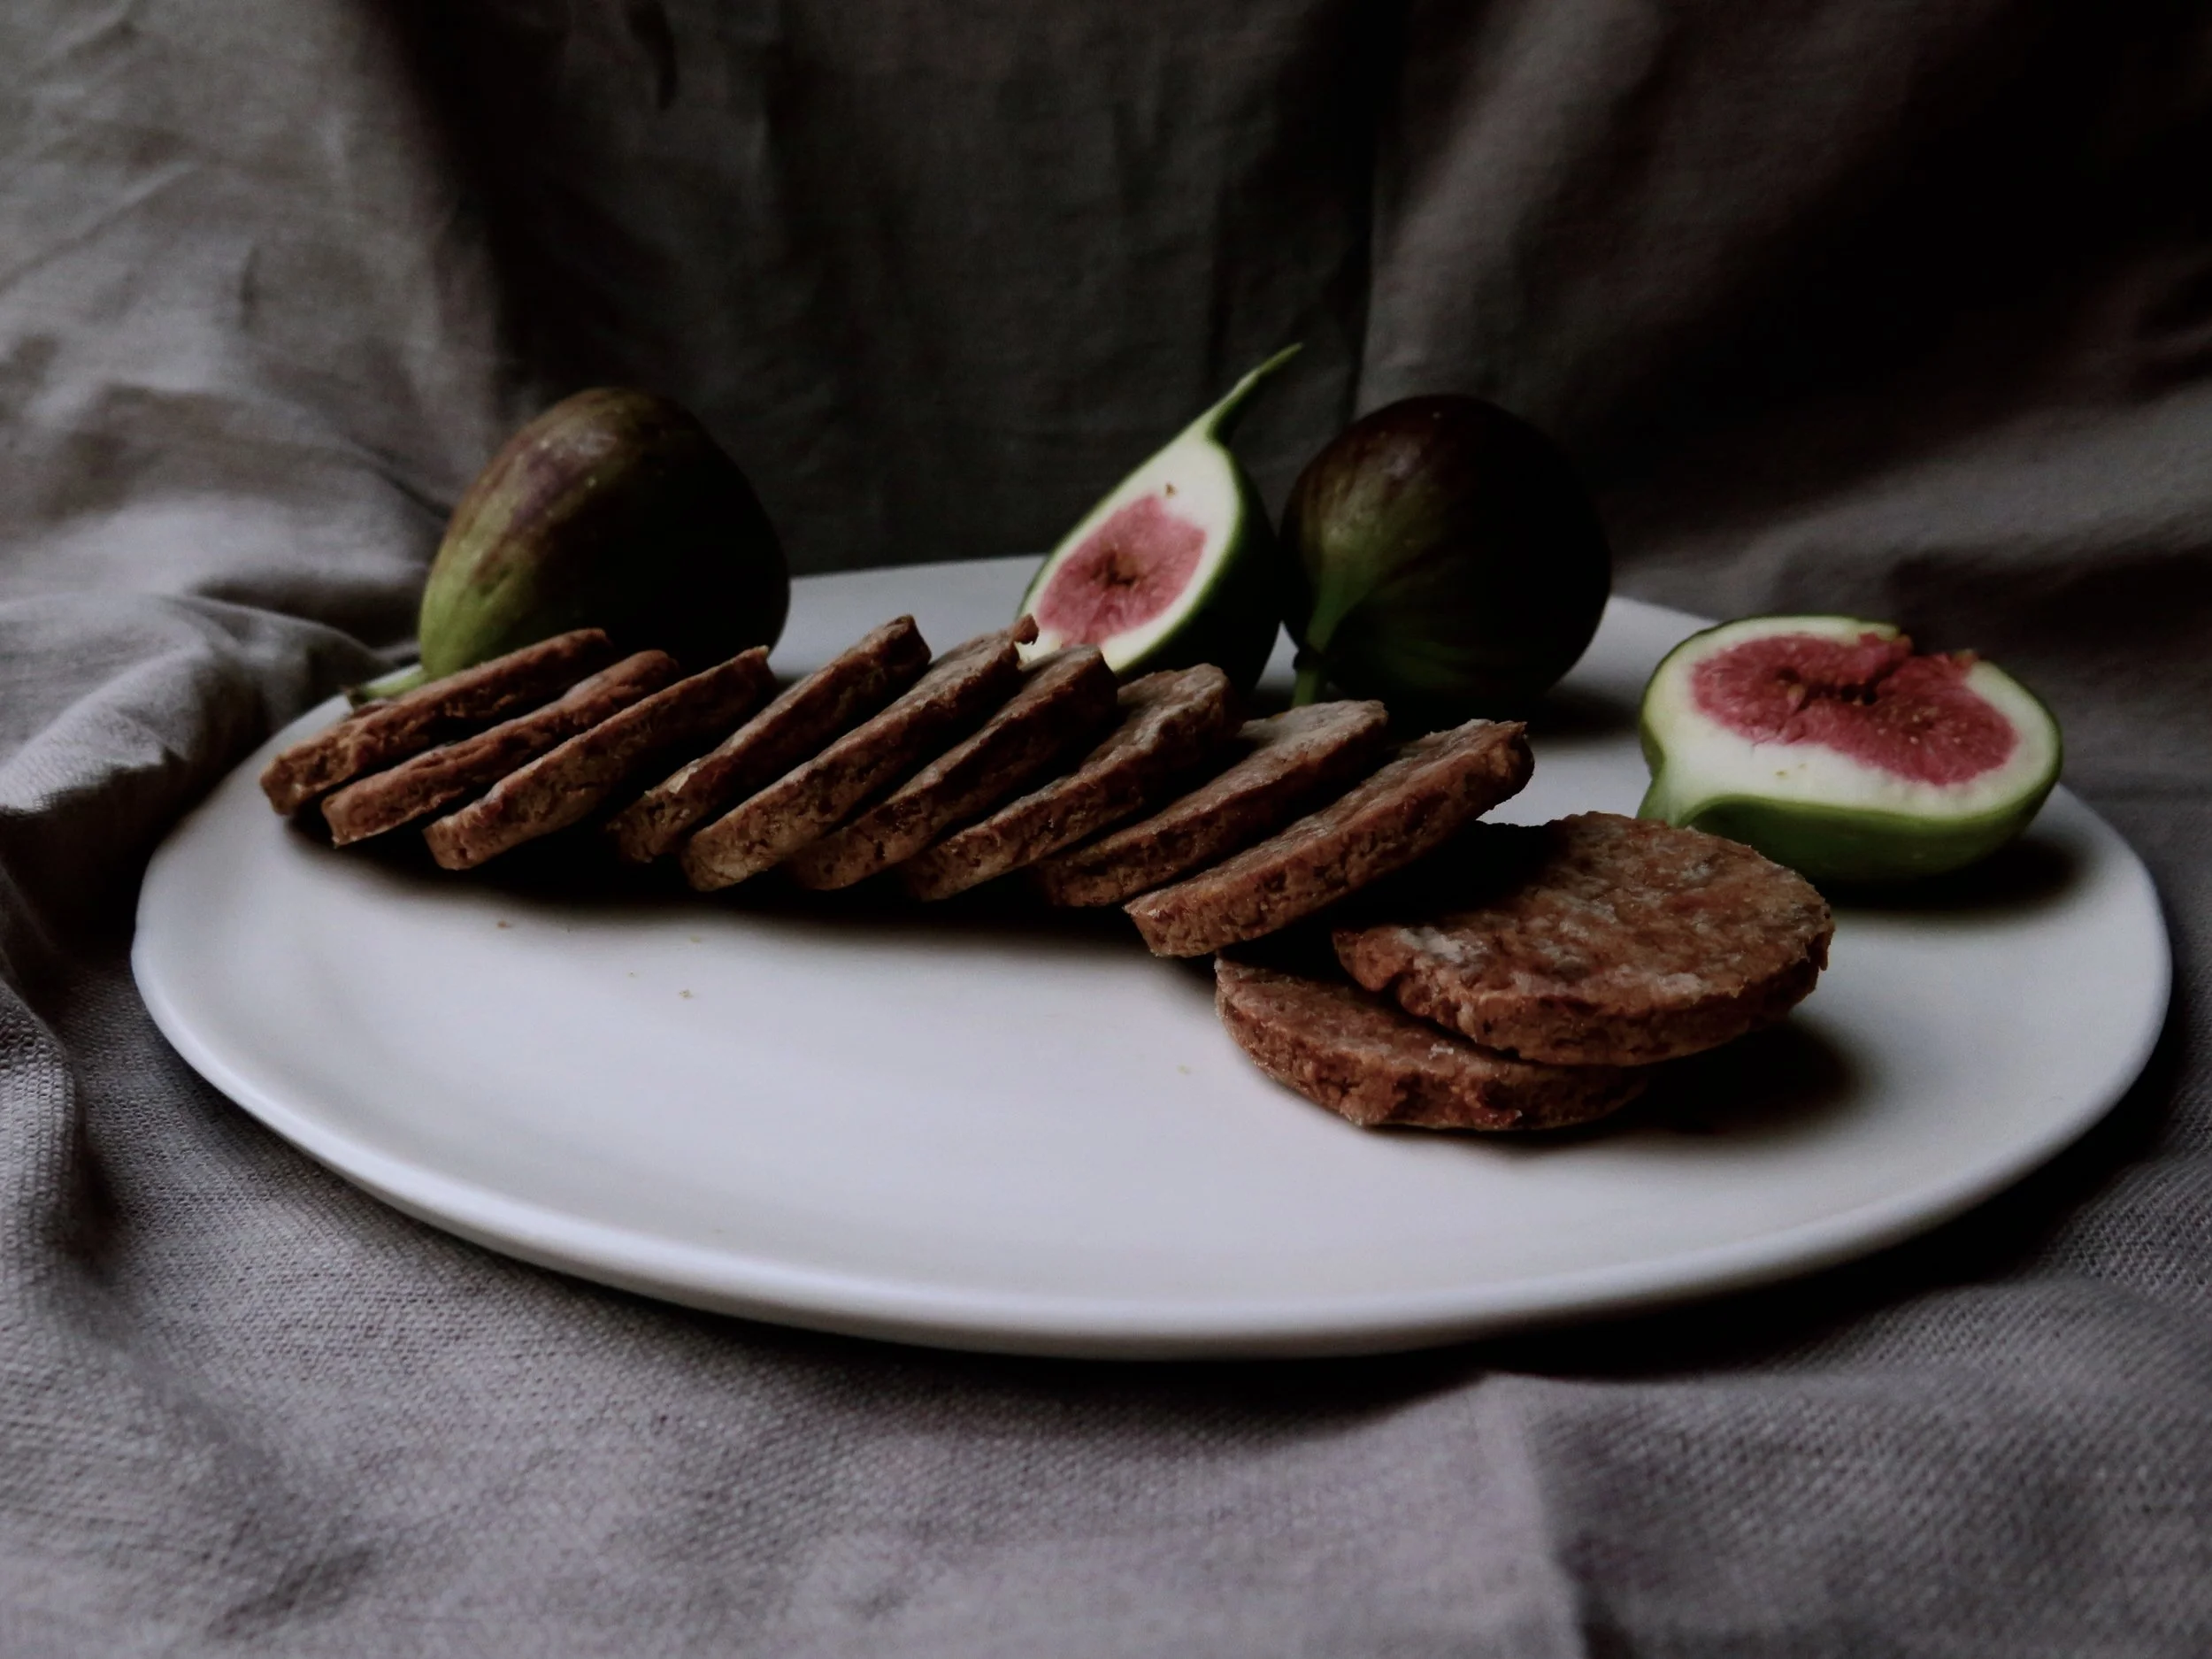
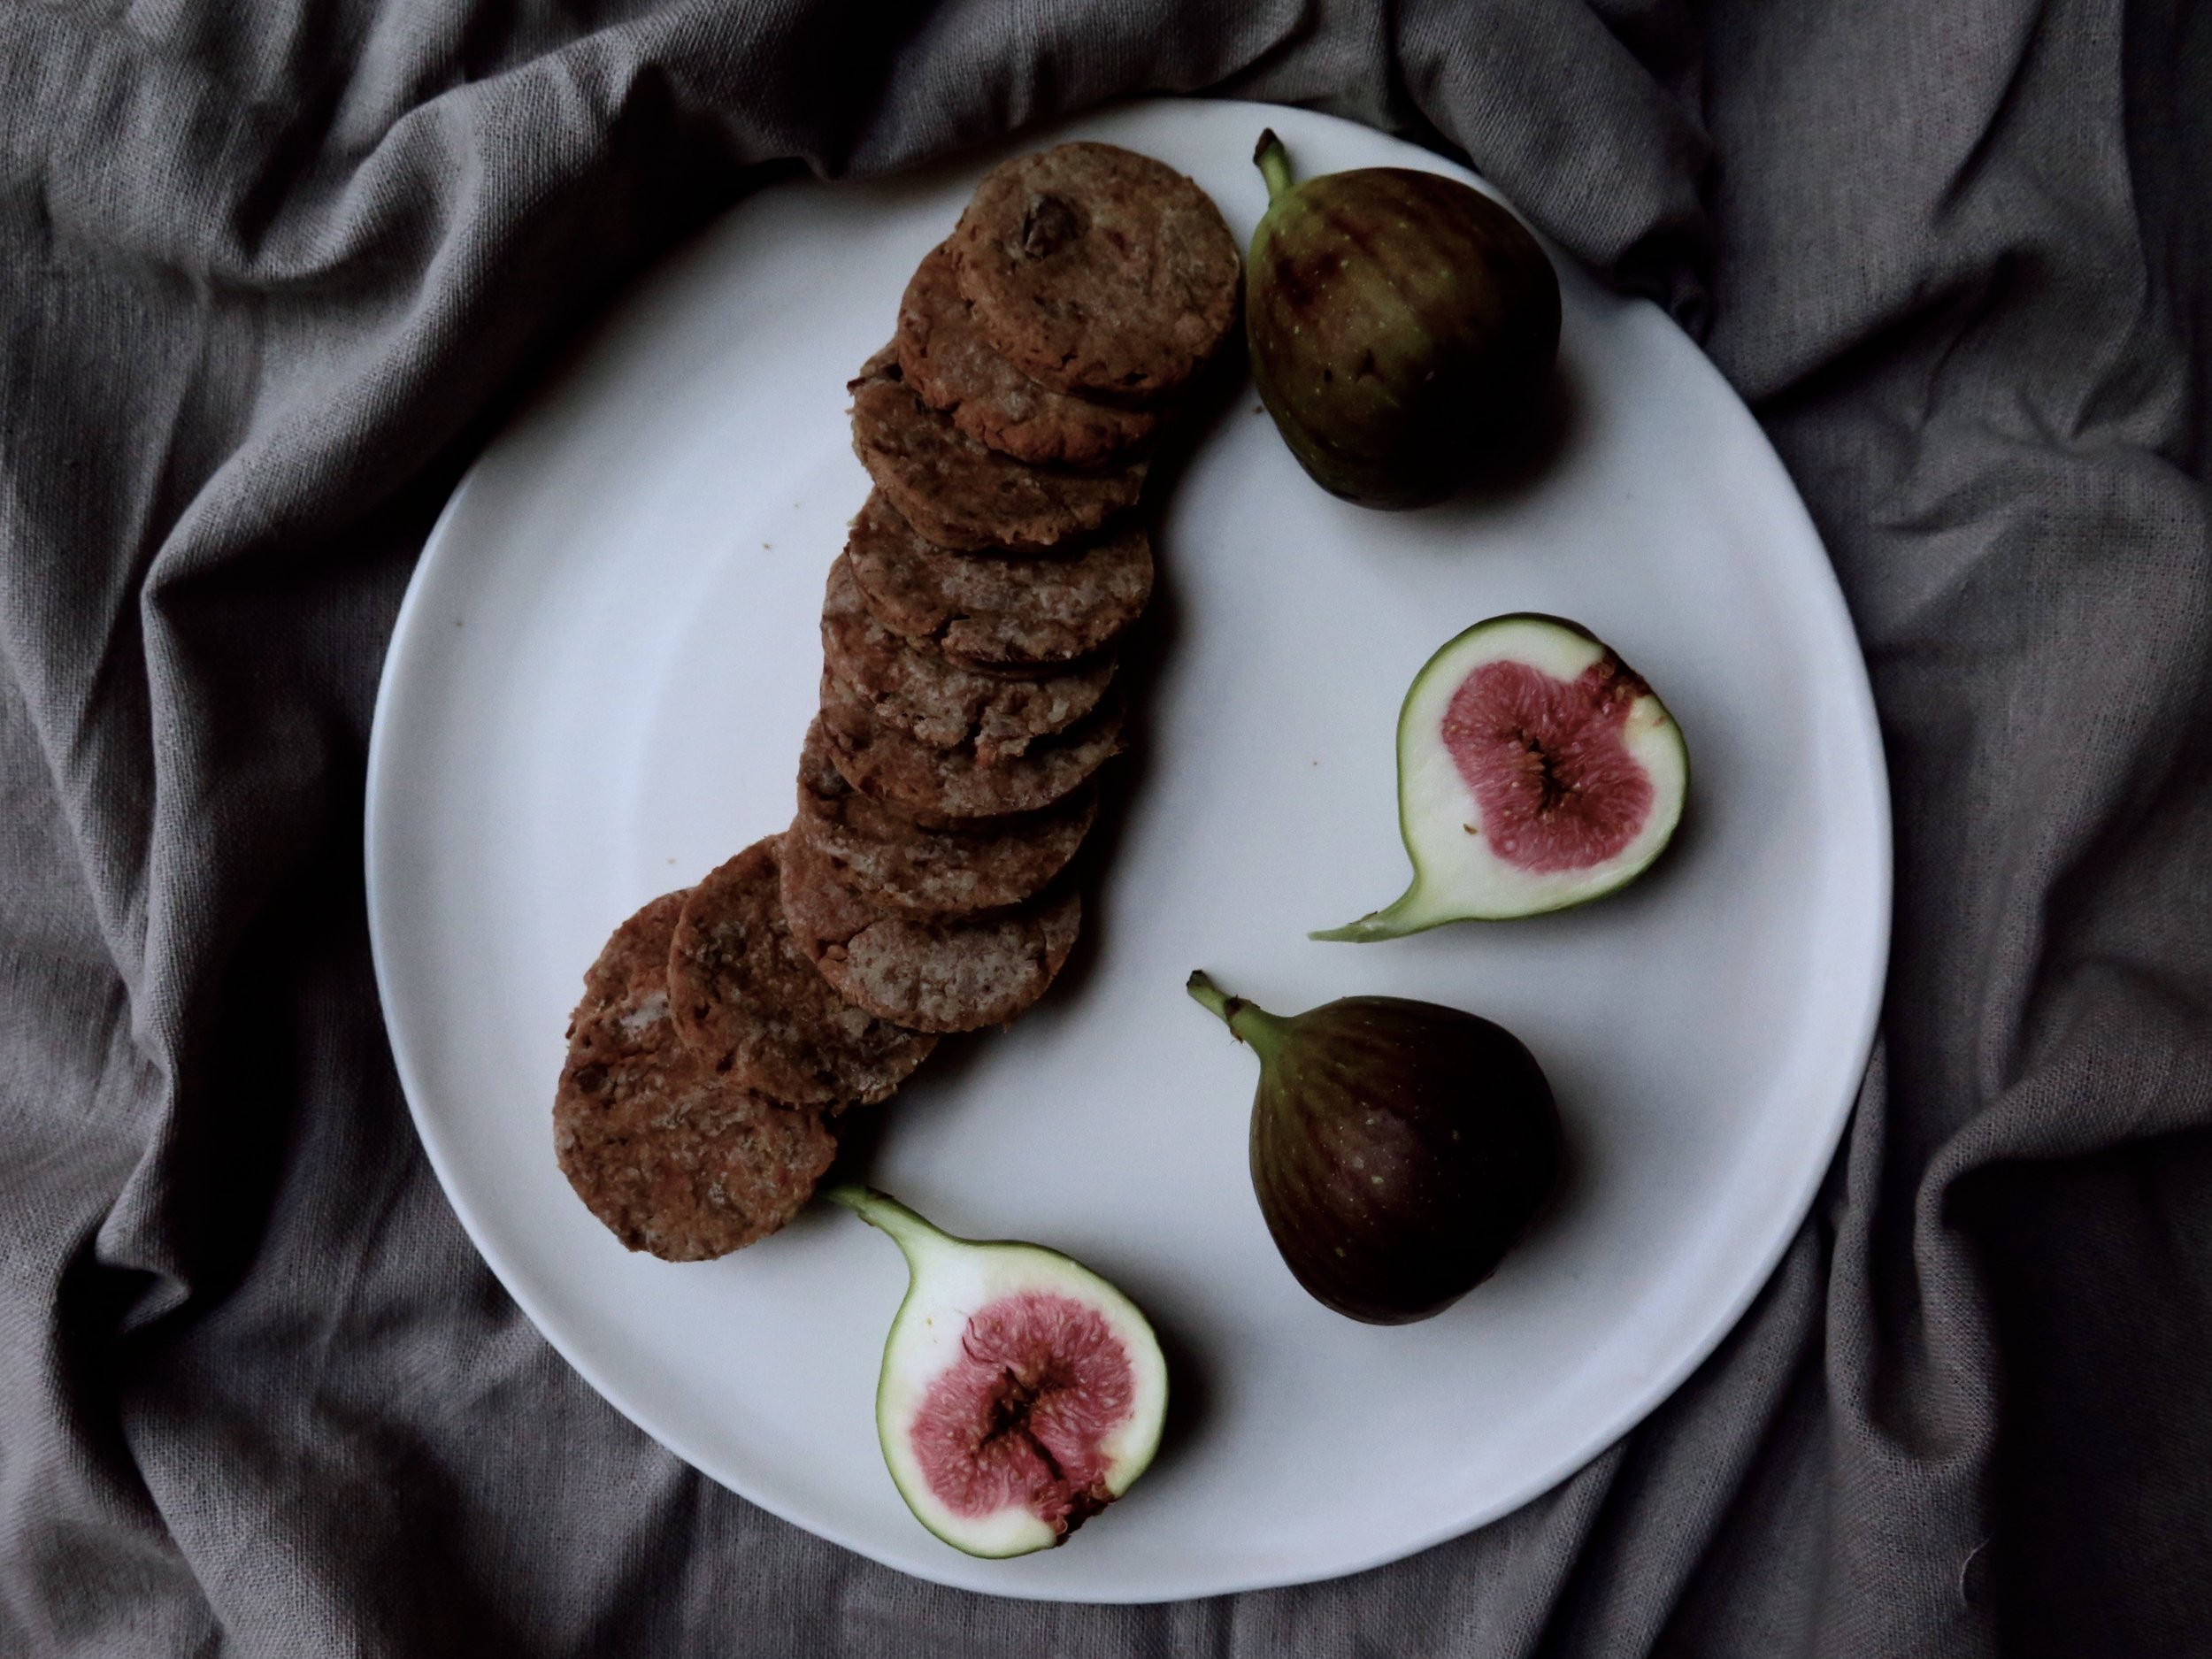
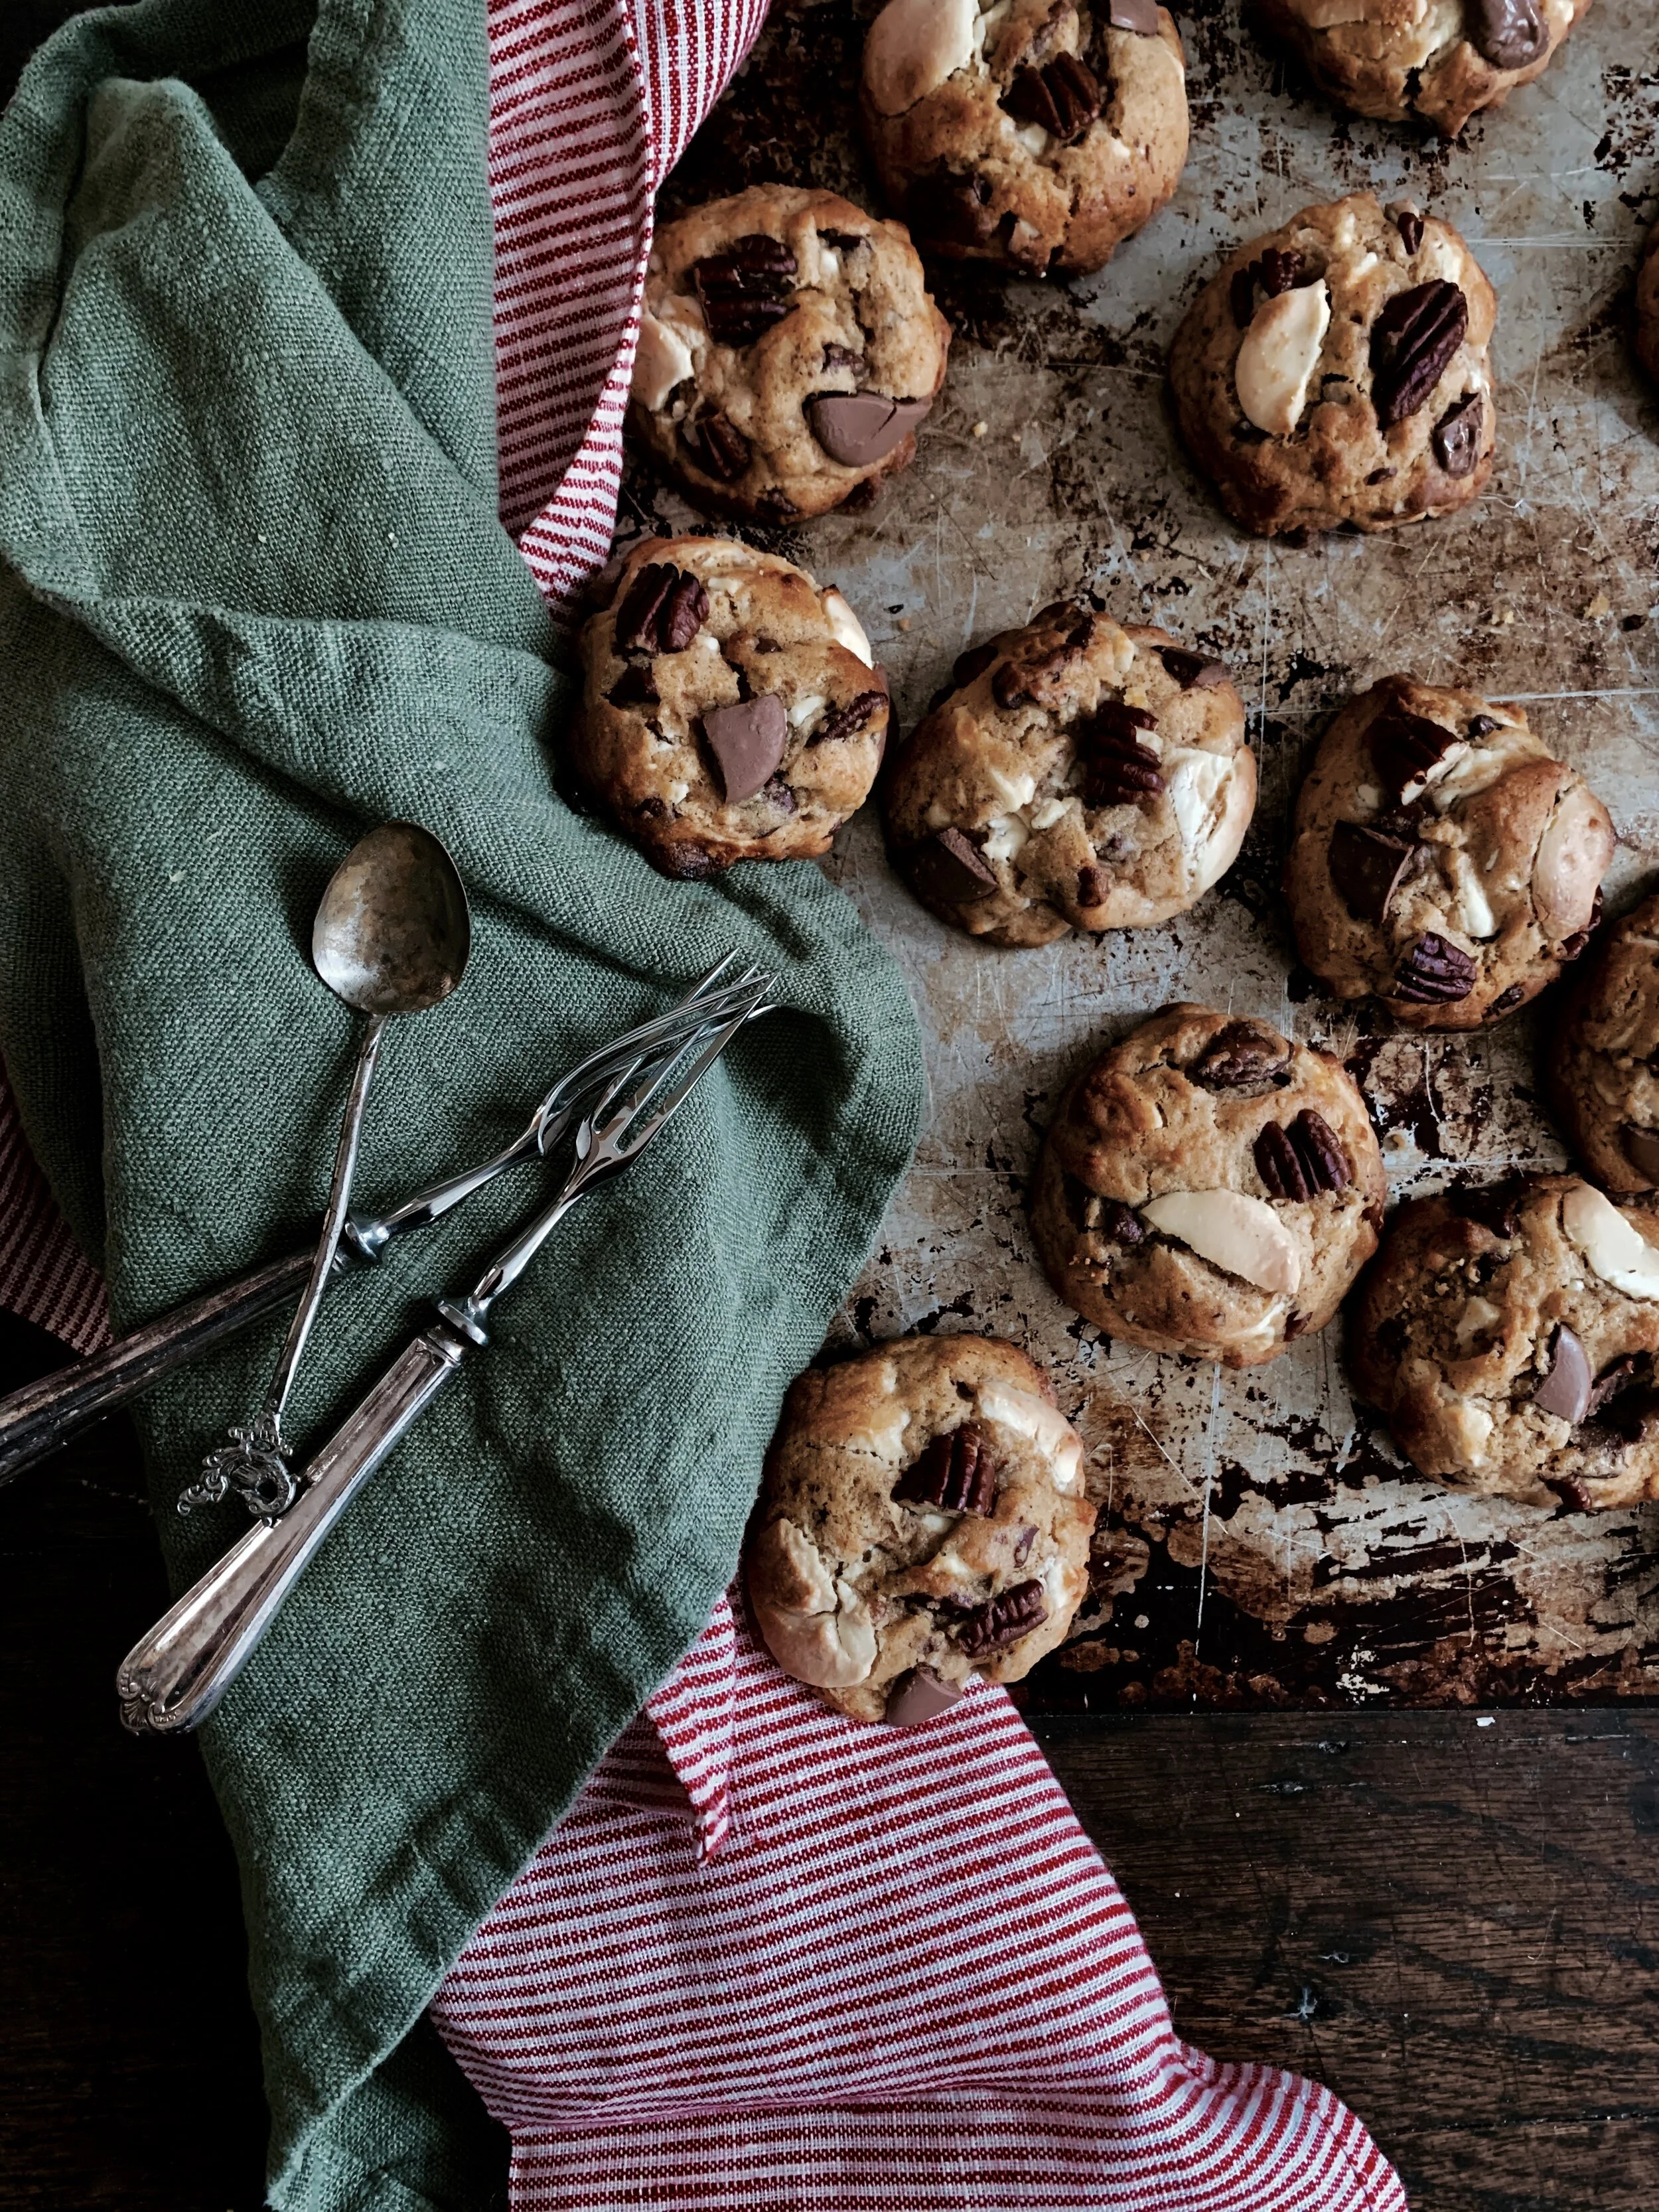
After an overindulgent stay in NYC, I made these for my birthday. They aren’t overpoweringly sweet, and they aren’t going to be equivalent to the 500 calories a pop thick, fudgy cookies you see in bakeries. However, they are delicious in their own right, soft and just sweet enough. Plus, being vaguely healthy automatically entitles one to devour 5x the quantity. In fact, for a snack to be officially deemed a source of protein, it needs to contain 6g protein. Well, 3 of these cookies contain just that.
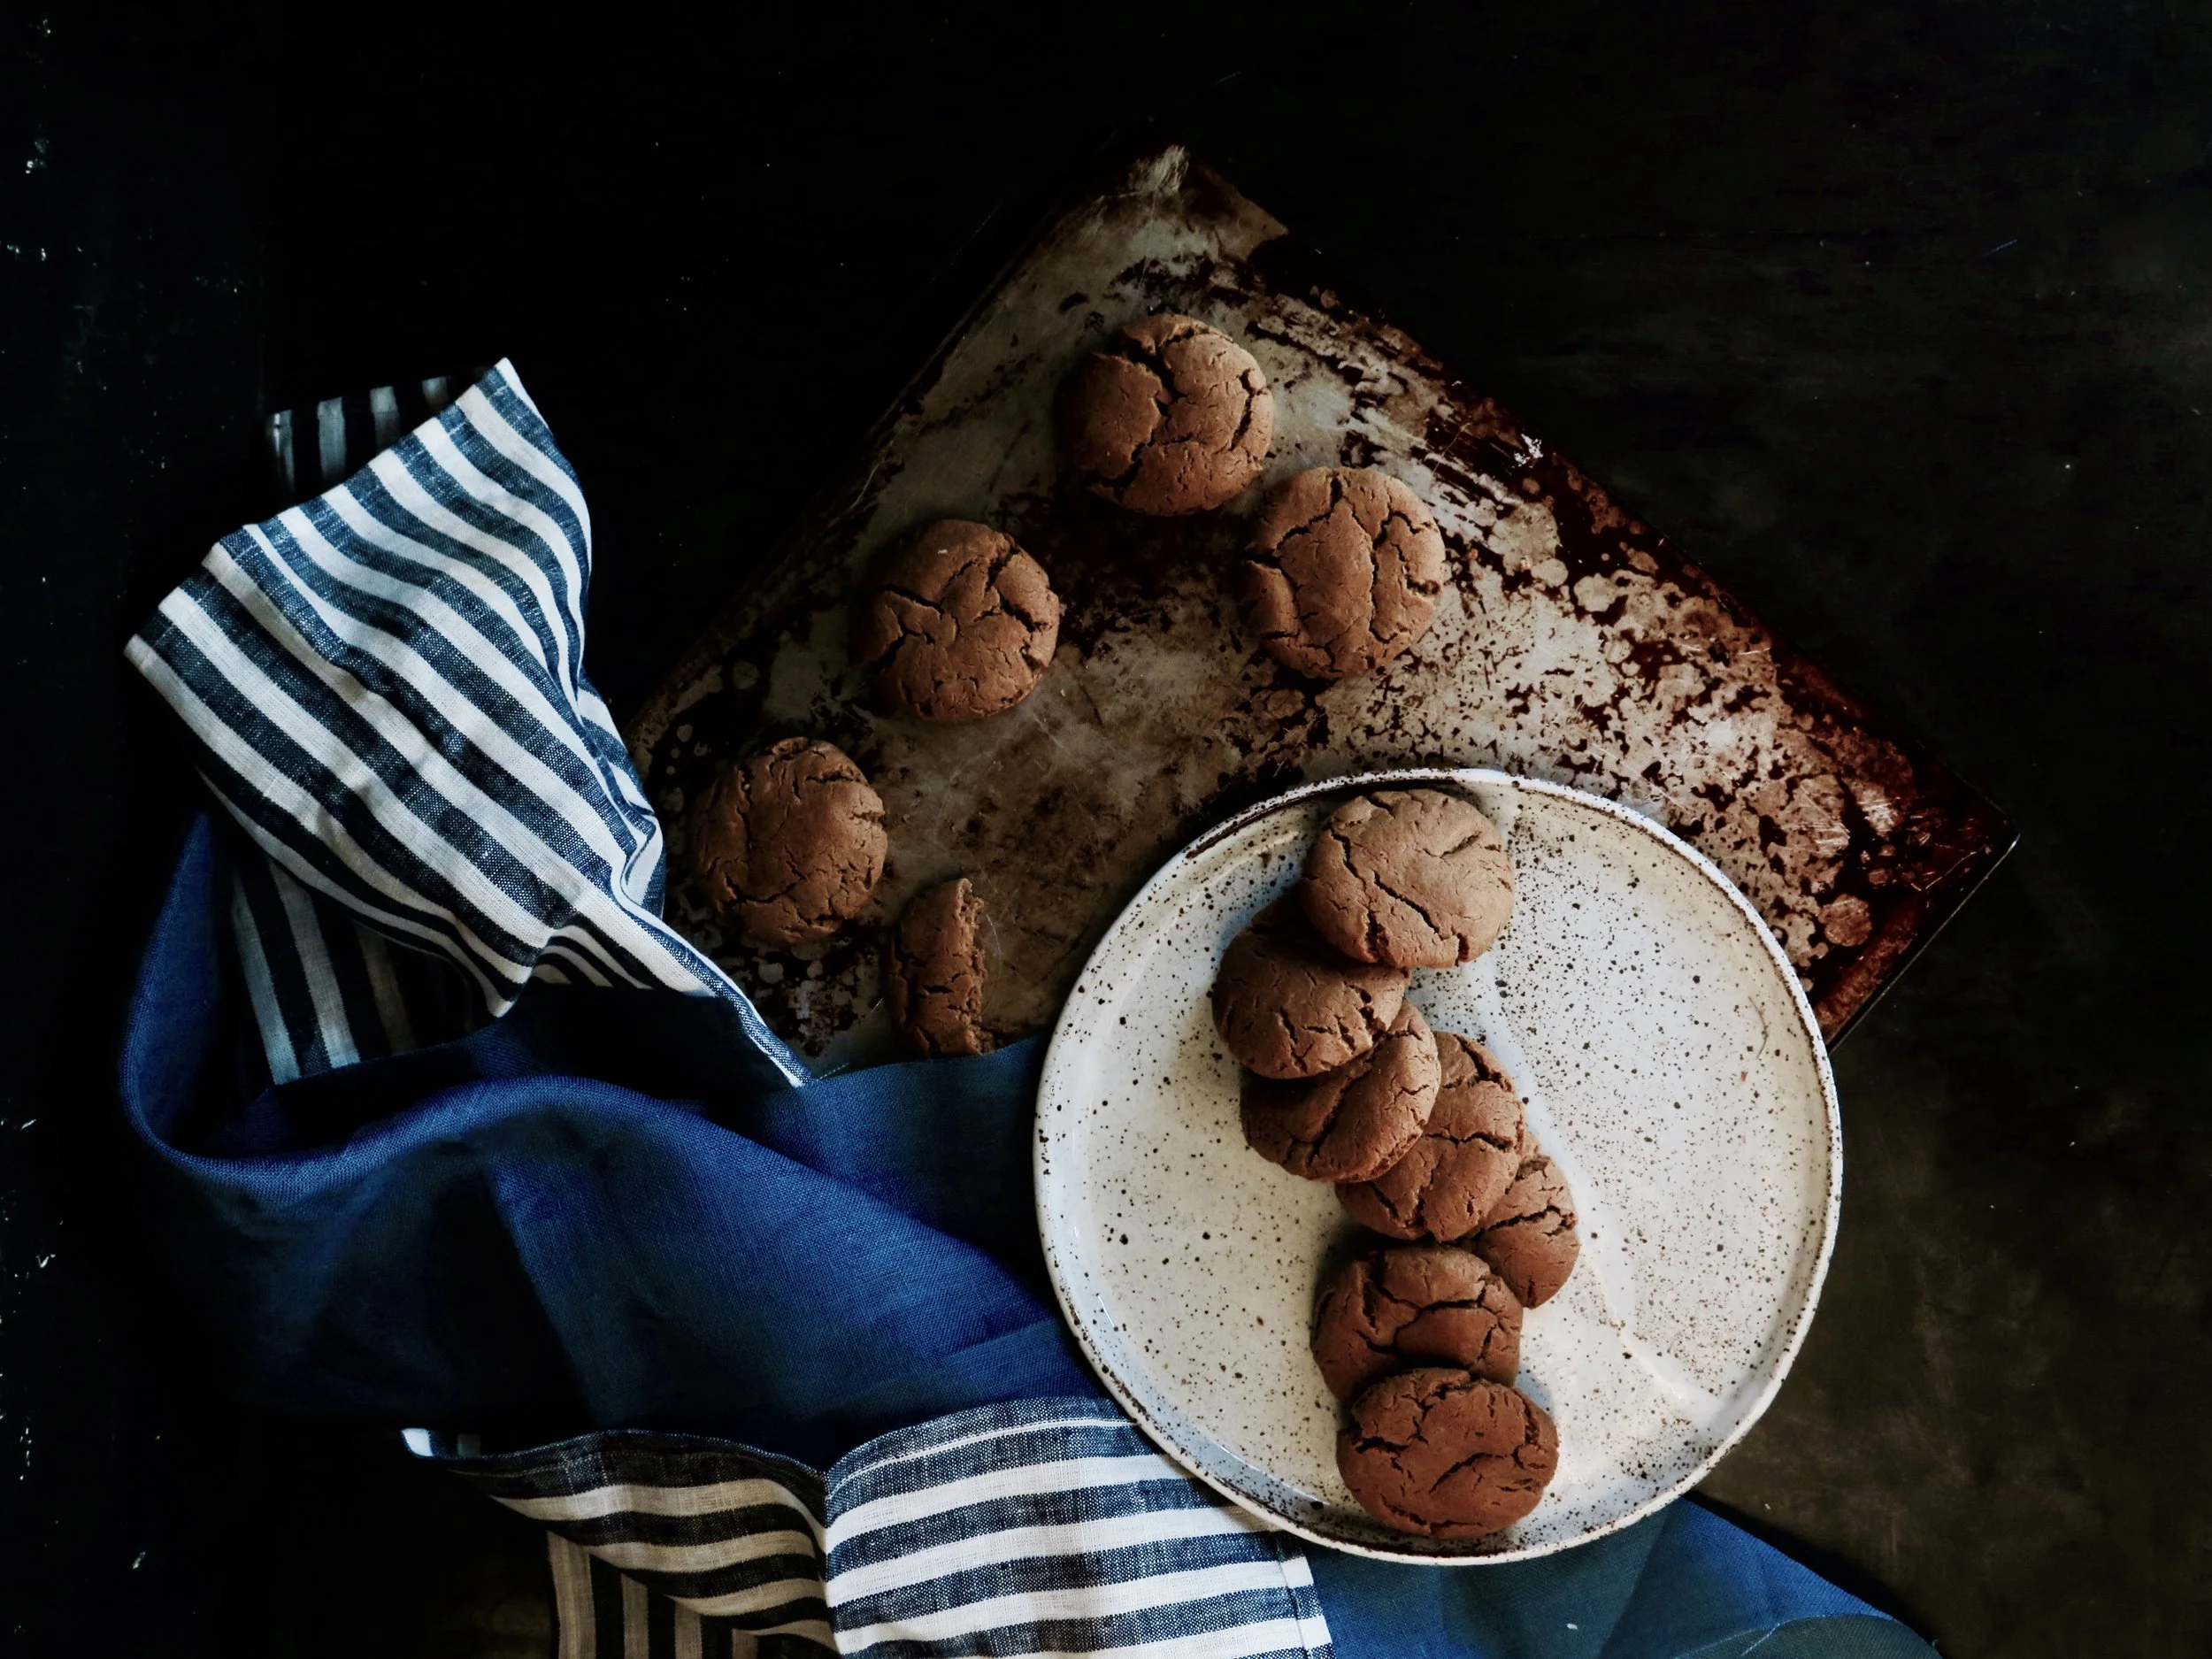
They are extremely quick to conjure up and would be good for that weak-point, late afternoon slump when you crave something sweet, and delicious, too, paired with a (vegan) ice cream for dessert, or even with a wedge of stilton and a dollop of pear compote if you’re going down the non-vegan route. If you want a slightly more savoury option, substitute the dates with figs as in the photos.
Ingredients (makes 20 medium cookies)
160g pitted medjool dates, roughly chopped (about 10) (if you want a more savoury cookie, substitute dates with figs, as per the photos)
4 tbsp orange juice
4 tbsp water
1 tsp vanilla
½ tsp finely grated orange zest
80g smooth peanut butter
200g spelt flour (or gluten free flour)
½ tsp mixed spice
¼ tsp salt
baking tray lined with baking parchment
4-5cm round cookie cutter
Method
1) Pre-heat oven to 180°C
2) Place the chopped dates, orange juice, water, vanilla extract and orange zest in a small pan over a medium/high heat and allow to come to a boil. Stir continuously for about 4/5 minutes until all the liquid has evaporated and the dates have turned into a thick, sticky pulp.
3) Place the date mixture together with the peanut butter in a blender and pulse until smooth. Pour in the spelt flour, mixed spice, and salt and pulse until it comes together to form a slightly sticky dough.
4) Lightly flour a board and roll out the dough to a 0.5cm thickness. Stamp out cookies with the cutter and place on the baking tray. Bake in the oven for 7-10 minutes until firm and slightly golden. Allow to cool, then devour.
HUNGRY FOR MORE?
...& 14 Thoughts from the Kitchen Sink
From the moronic to the morbid, here’s an insight into what happens when I bake and let my mind wander:
- Drowning in a vat of sticky bread dough would probably be the worst way to die.
- When you sieve icing sugar and it puffs into the air in clouds, how many calories are there in one mouthful of air?
- Why do so many obscure meats taste like chicken and not beef?
- What is the significance of sometimes craving baby food - especially rusks, and pureed apple and banana?
- Why do we delude ourselves that avocado on toast has been ‘smashed’? I’ve never seen anyone smash an avocado. I suppose ‘smeared’ doesn’t have the same ring to it.
- If I could subsist on one food for the rest of my life it would most likely be oats.
- Nandos’ ‘hot’ sauce is anachronistic. It was created about 20 years ago and people’s (i.e.my brother’s and my) tolerance for heat has gone up. They should downgrade it to ‘medium’.
- What was the exact moment when someone decided to put sugar, milk, butter and flour together to make the very first cake?
- How do you know nigella seeds are nigella seeds and not mouse droppings?
- If 2017 was the year of slime porn, why can’t 2018 be the year of dough porn?
- Earlier this year some pig farmers tried to halt the use of pig terminology as connotative of greed. Imagine if other farmers were to do the same: we couldn’t exclaim something was cheesy, or call people ugly cows, or ask people with whom we’re angry if they want beef, or complain that bland people are vanilla, or exclaim that someone is mutton dressed up as lamb, or taunt cowards as being chicken…
- How many times in my life has a waiter spat in my food on purpose?
- Why do I have six jars of preserved lemons in my cupboard when I only use a small shaving of one once a year?
- The smell of freshly baked bread should be a perfume.
That’s enough musing for one day.
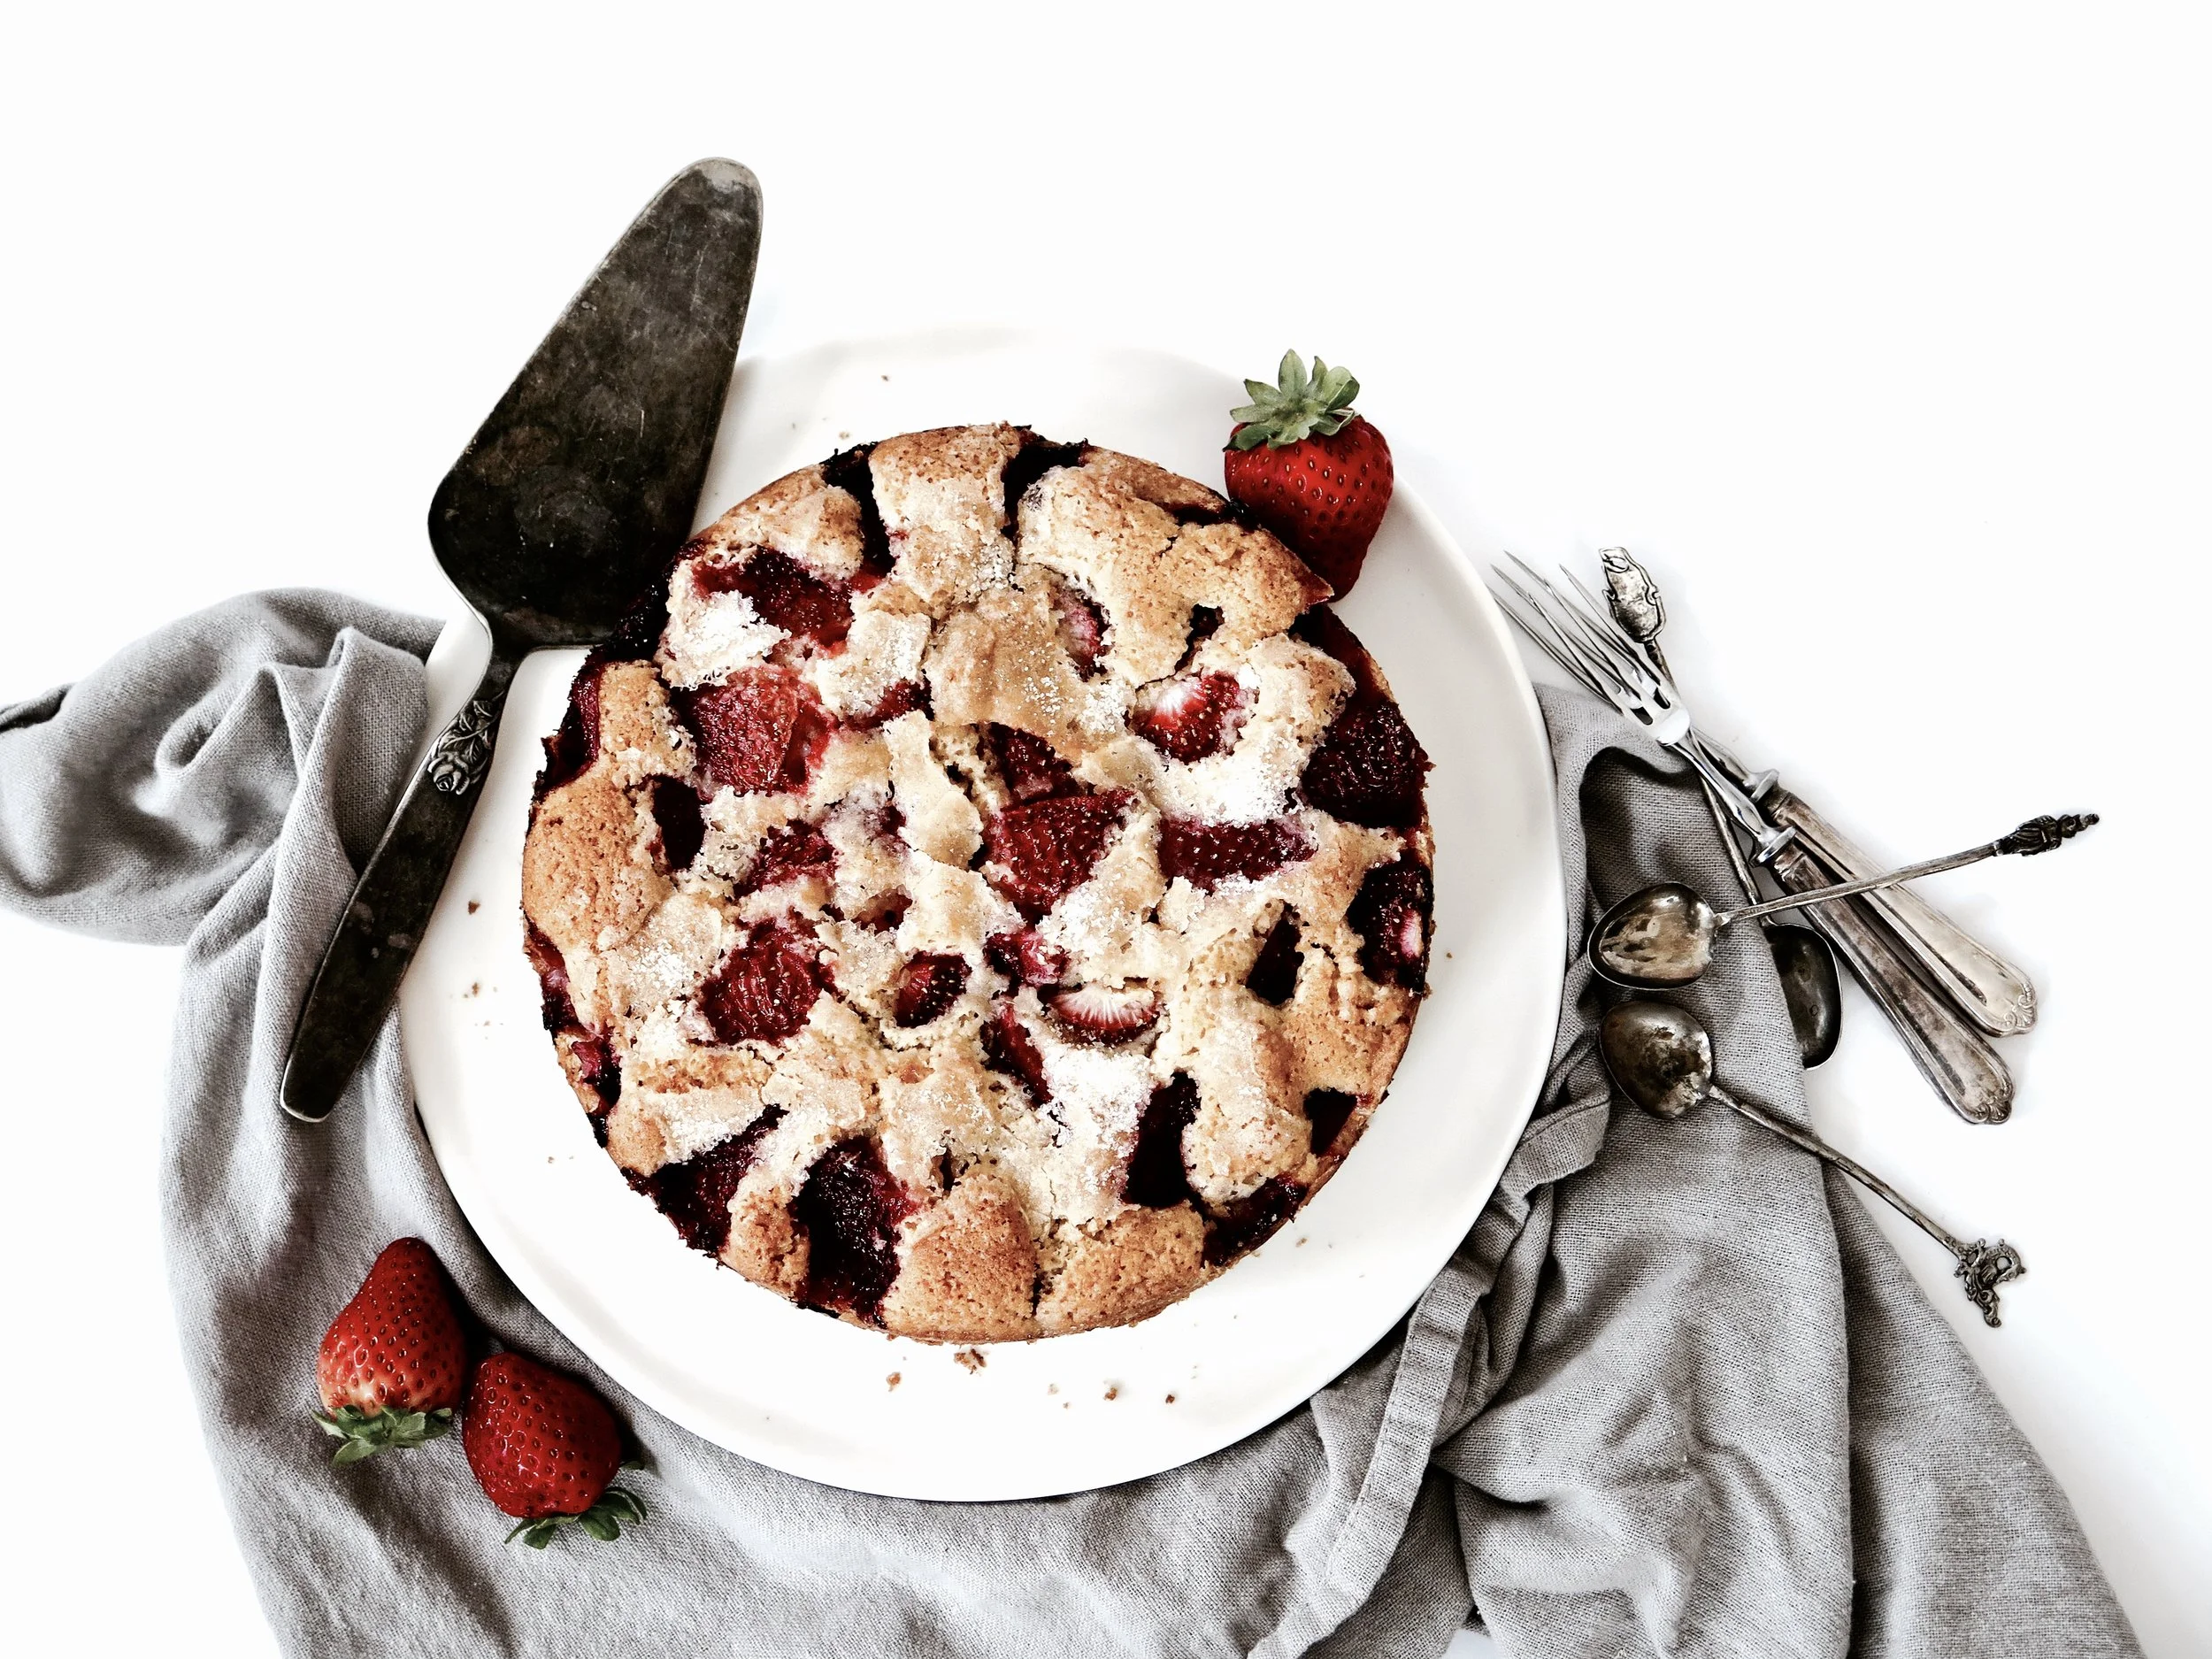
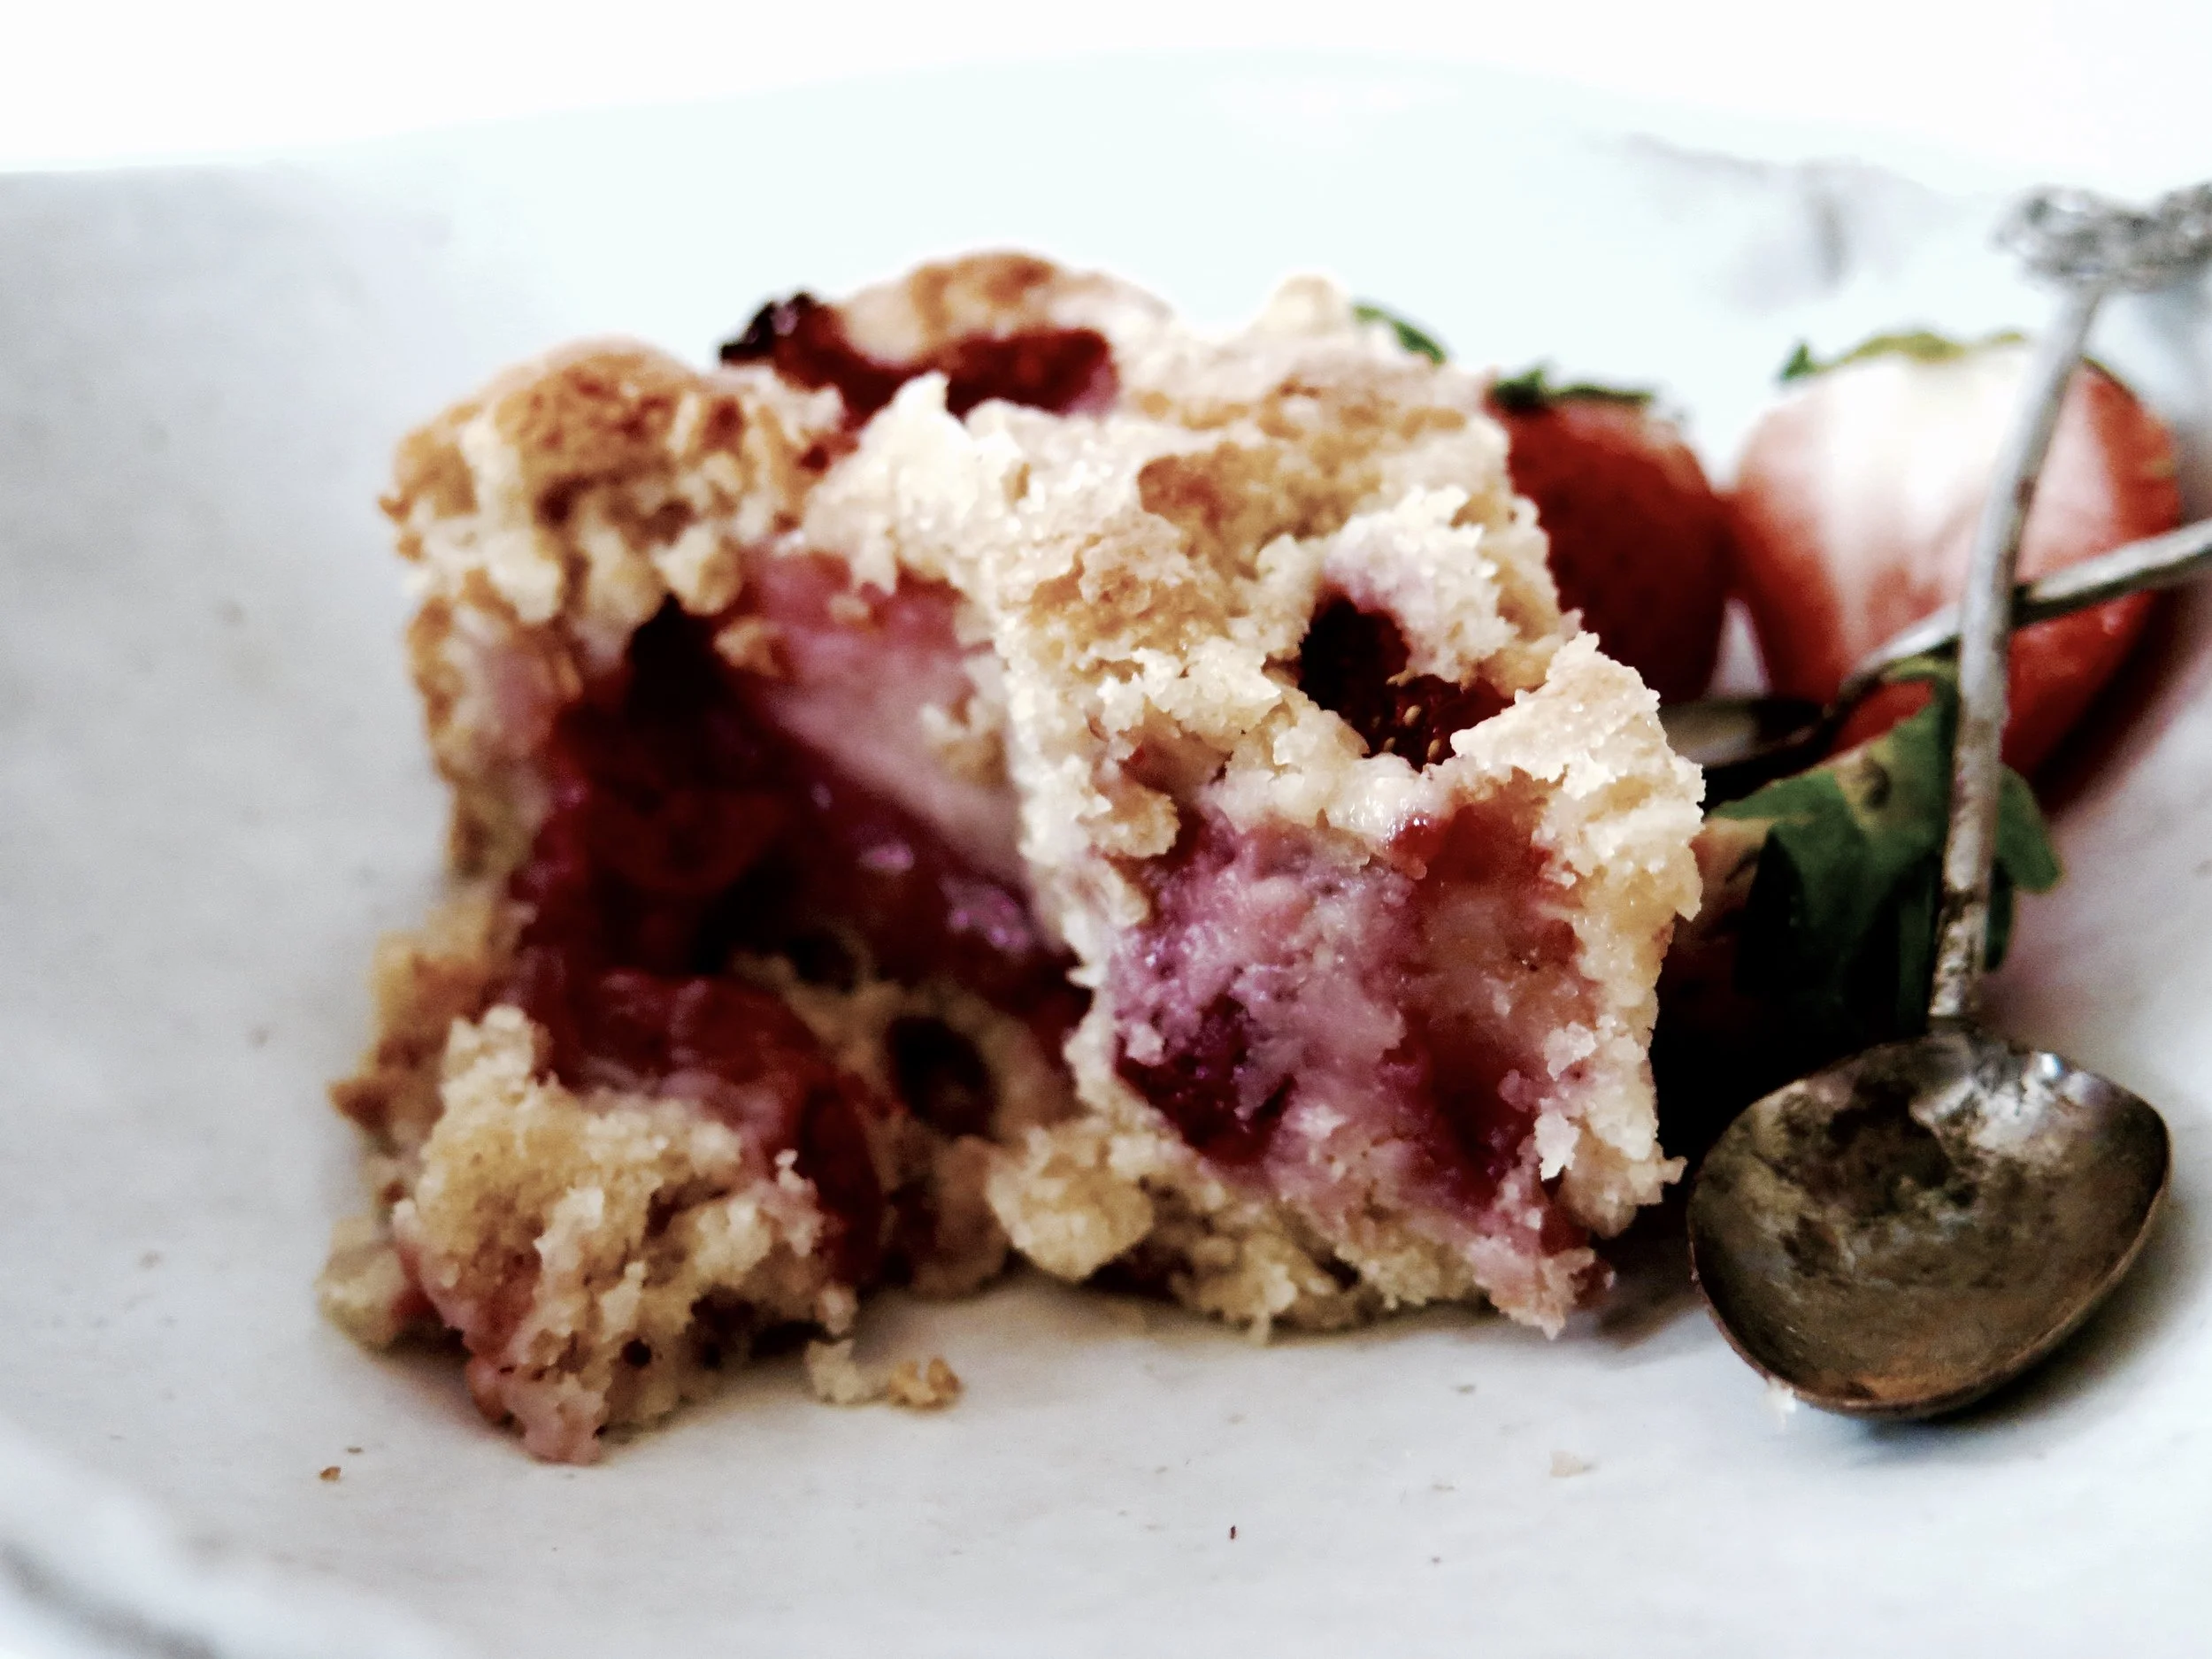
Here’s the recipe for an exceedingly luscious cake. It is succulent, and filled with roasted strawberries so that there is at least one deliquescing in every bite. The berries on the surface turn almost jam-like in the oven. Absurdly quick and easy to make, it is totally moreish.
NB. This cake can be made gluten-free by substituting the flour for gluten free.
Luscious Strawberry cake
Serves 6-8 (depending on level of greed)
Ingredients
85g unsalted butter, at room temperature
160g caster sugar + 2 tbsp for the topping
1 large egg
120ml milk
1 tsp vanilla extract
190g white spelt flour (or gluten-free equivalent)
1 1/2 tsp baking powder
1/2 tsp salt
400g strawberries, after having been hulled and halved
20cm diameter round springform cake tin, either totally lined with baking parchment (if you’re feeling lazy and you don’t mind crinkly cake sides), or thoroughly greased with butter and the base lined with a circle of baking parchment
Method
1) Preheat the oven to 180°C.
2) Either by hand or in a stand mixer fitted with the paddle, beat the butter and sugar together until soft, light and fluffy (which should take about three minutes). Then pour in the egg, milk and vanilla extract and beat to combine. It may look slightly curdled but that is not a problem.
3) Into the wet ingredients sieve the flour, baking powder and salt. Gently fold the dry ingredients through until the batter is smooth and fully combined. Pour into the prepared cake tin.
4) Arrange the strawberries cut side down in the batter. You make need to overlap some or push some down to fit them all in. Sprinkle the 2 tbsp of caster sugar over the top and place in the oven.
5) Bake for 45-55 minutes (depending on oven), checking after 30 minutes. You may need to cover the top with aluminium foil if the surface looks at risk of becoming too dark. When ready, the top should be a deep gold and a cake tester should come out batterless (moisture from the strawberries will prevent it from coming out totally clean).
6) Allow to cool on a wire rack and devour on the day, or within two days, of baking.
(Adapted from Smitten Kitchen)
HUNGRY FOR MORE?
A trip to Toronto when I was seven years’ old is anchored for me by one thing: not the CN tower, or Niagara Falls or my cousin’s wedding, but a visit to the farmers’ market, and in particular, a potentially life-changing stall. A tall, russet-cheeked man was in command, his floured apron stretched taught over his protuberant belly.
And on his table lay not the garish, sprinkle- speckled swirls that would have drawn a normal child. Instead, tray after tray of rubbly slabs of oat and date crumble bars were arrayed.
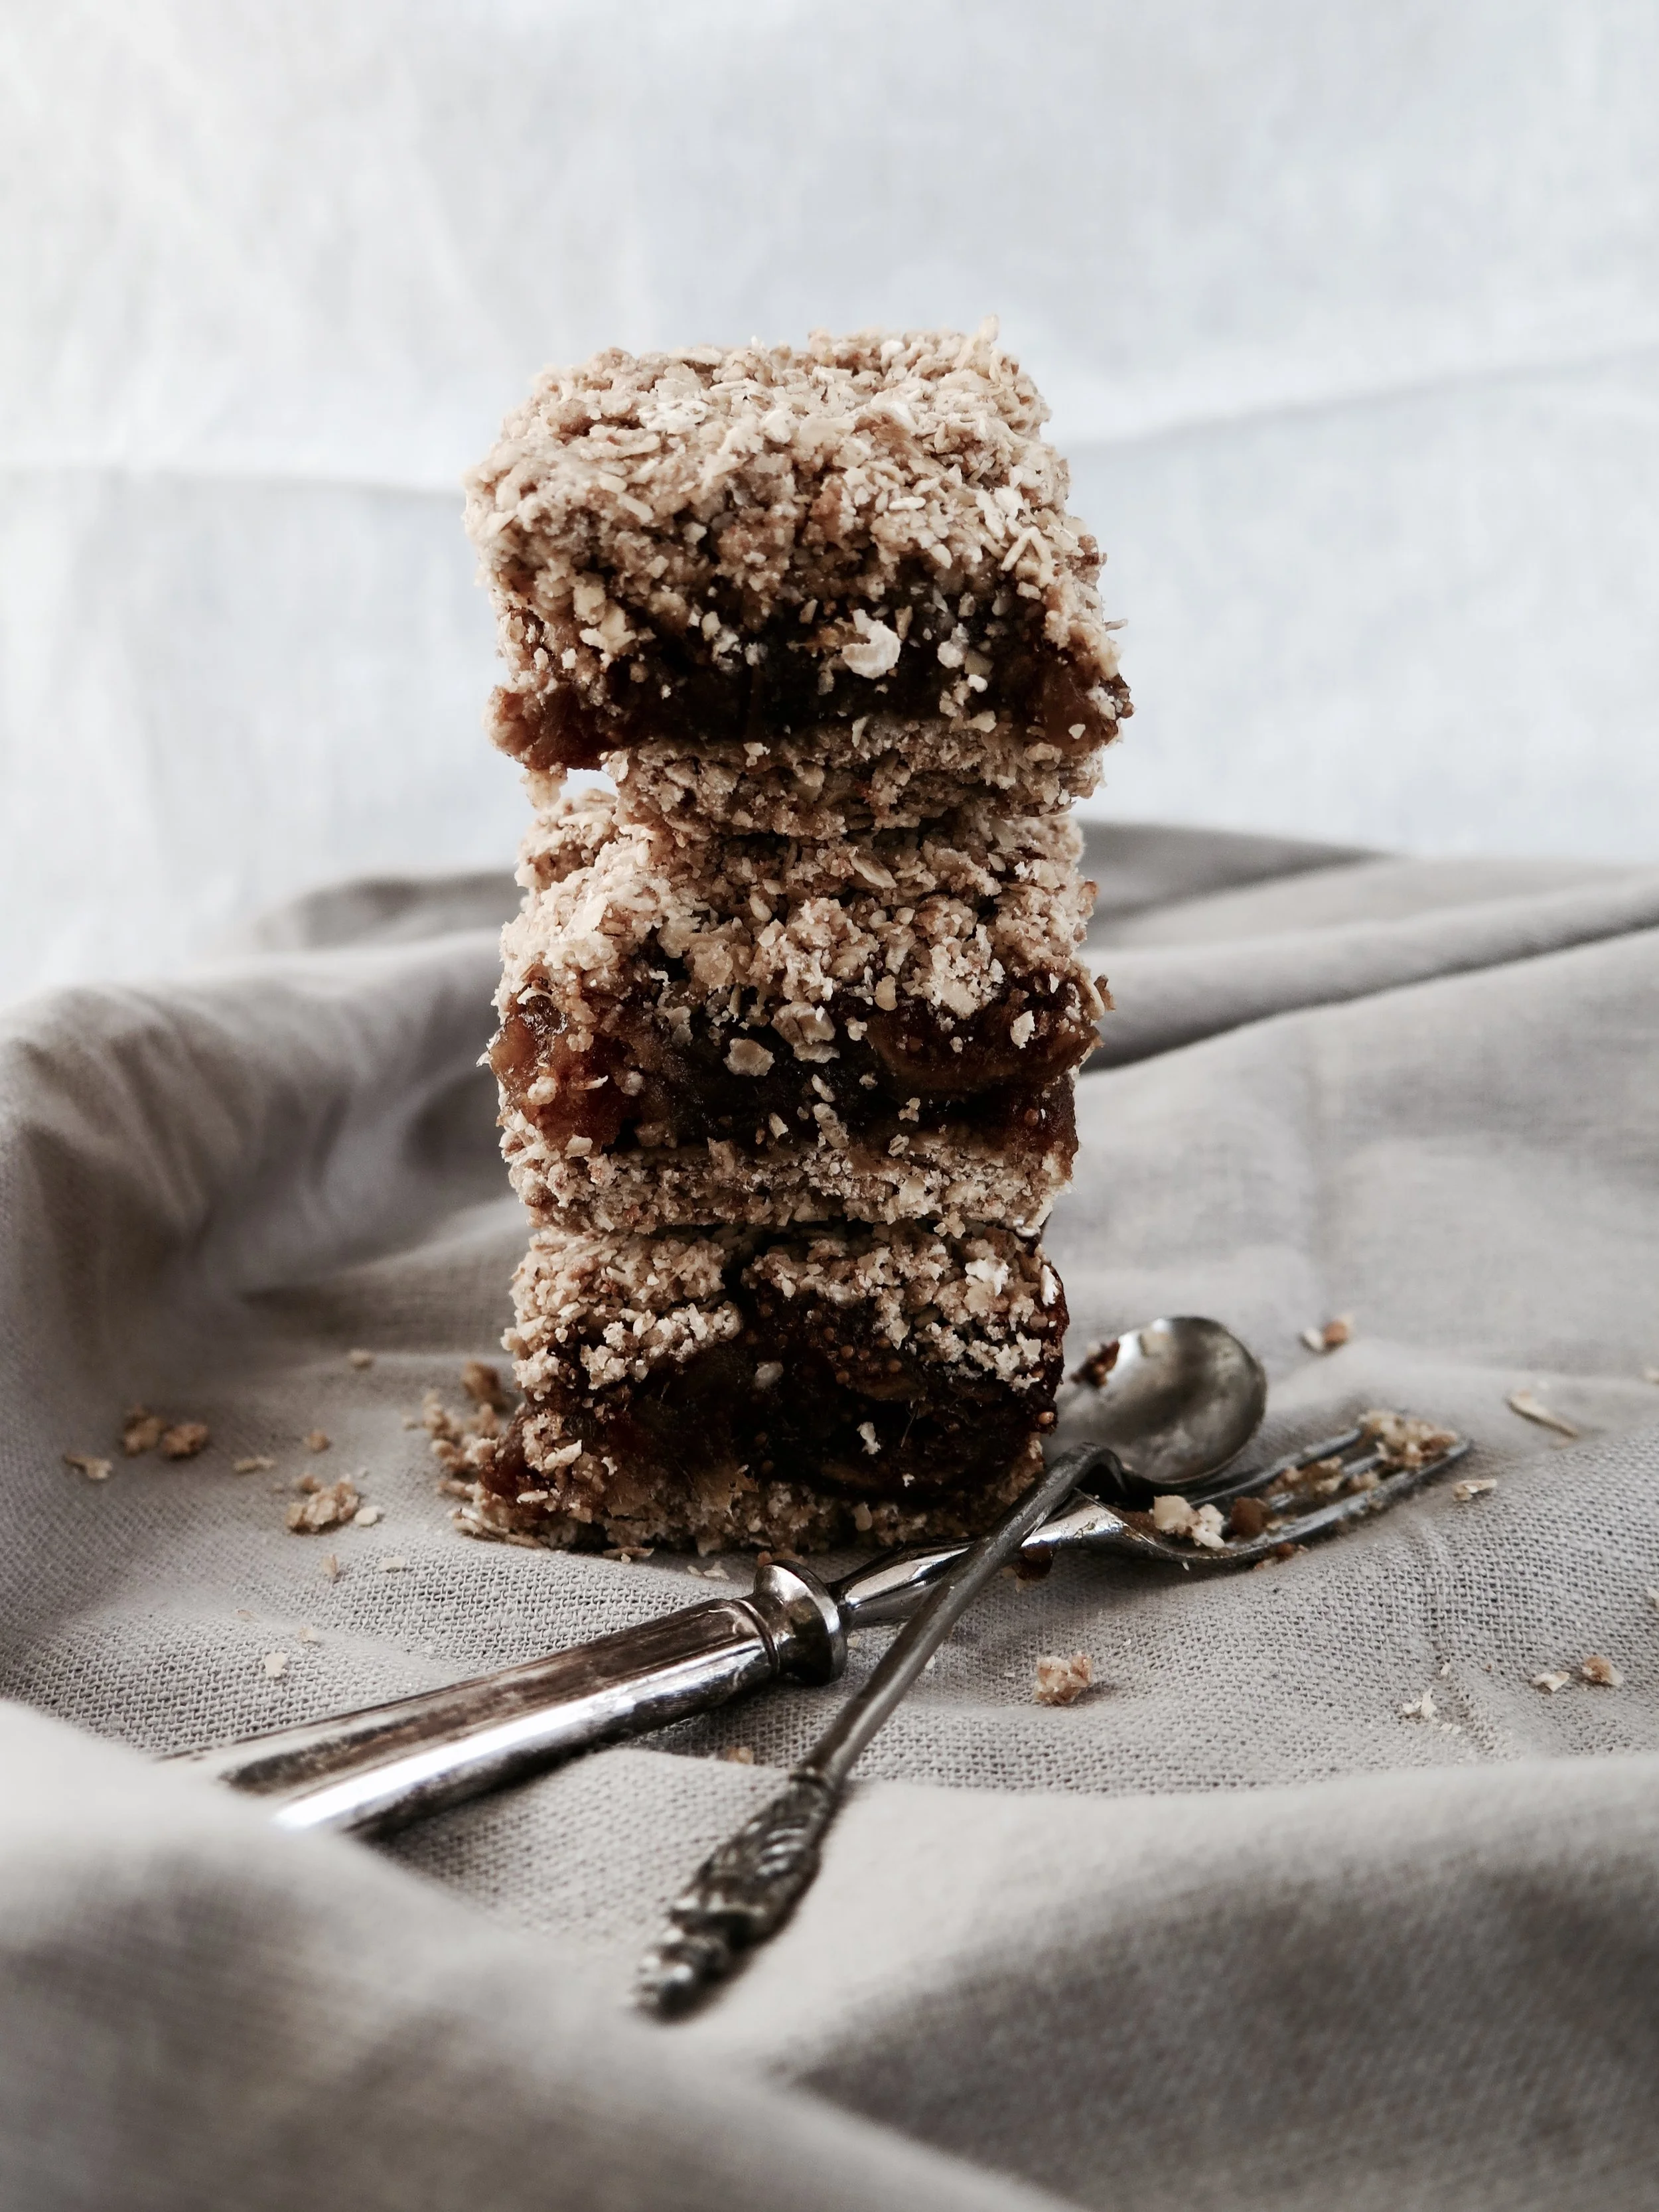
The date layer of the bars was jaw-clenchingly sticky, and thick – not like the mean, shop-bought equivalent. The oaty outer layers were both crunchy and then soft, golden and not overly sweet, allowing the natural date sweetness to shine through.
. For the last seventeen years I’ve been raiding bakeries and markets, seeking to relive the experience, but the date and oat crumble bars always disappoint – too saccharine, too solid, too floury. In between raids, I’ve been working on my own: these are the closest I have come to Toronto’s best kept secret. I added the crushed amaretti to give them a little twist. Feel free to leave the sugar out of the crumble if your palate is adjusted to the less-sweet.
It’s incredibly hard to resist them when they emerge from the oven golden and crisp, but I think they taste even better when they have cooled and the flavours are more distinct (or maybe try them both ways, just to be sure…).
NB. They can be made gluten-free by substituting gluten-free flour for spelt.
Ingredients
Date filling
400g medjool dates, pitted & roughly chopped (about 20)
3 tbsp fresh orange juice
120ml water
2 tsp vanilla extract
½ tsp mixed spice
½ tsp finely grated orange zest
Crumble
250g oats
120g butter
100g wholemeal spelt flour
50g dry amaretti biscuits
40g light brown muscovado sugar
¼ tsp mixed spice
½ tsp vanilla extract
¼ tsp salt
A square 20cm baking tin (or tin of equivalent area), lined with baking parchment, with sides and base fully covered.
Method
1) Preheat oven to 180°C
2) Place all ingredients for the date filling in a pot and place on a medium heat. Stir as the mixture begins to simmer. After about 5 minutes, when the dates have broken down into more of a paste and all the water has evaporated, remove from the heat and set aside.
3) Pour all the crumble ingredients into a blender and pulse until the mixture still has some texture and is slightly coarser than sand.
4) Pour 2/3 of the crumble mixture into the base of the tin, and, with your fingers or the back of a spoon, press the mixture down evenly across the base of the tin until firm and compact. Pour the date filling over and spread evenly across the base. Then pour over the remaining crumble mixture and press down until even and as compact as possible.
5) Place in oven to bake for 15-20 minutes until golden and firm to the touch.
6) Slice and allow to cool before devouring. Keeps well in an air tight container in fridge for up to 5 days, or in freezer for 2 months (also tastes delicious when frozen).
HUNGRY FOR MORE?
Maybe they think that all the gluttony and swollen stomachs affect our ability to digest information, that all the turkey/mince/fruit/chocolate/stuffing becomes blinding and we are no longer able to read paragraphs of text. Instead, we have to have things numbered so as to reassure us that whatever we are reading won’t detract too long from the Christmas stasis.
Every newspaper or magazine clearly has some greedy journalist on its team who takes it upon him or herself to rate every mince pie out there to save us all the hard work. Then the subjective lists are compiled and played back to us year after year, despite the foods remaining the same, in the identical, consumable, numbered format.
In response to this, and inspired by an affront to my eyes when opening the newspaper magazine this weekend, I thought I would do a light review of the food adverts themselves:
WAITROSE
Apparently, it’s for fruit lovers: congealed, glistening and with blood/jam trickling through its rivulets. But what is it? Depends how you like your desserts, but I’ll pass.
1/5
SAINSBURY’S
I know Christmas is supposedly about family and coming together, but the picture of “grandma” with a prawn coming out of her head doesn’t conjure up any feelings of warmth for me
1/5
BOURSIN
I’ve caught members of my family spooning Boursin directly into their mouths. I was cynical at first about their Christmas rebrand with the addition of the “merry” epithet. But somehow, heady with garlicky creaminess, it has caught on in my household – we are now asking each other whether we’d like some “Merry Boursin” on our toast.
4/5
LIDL
Lidl has gone down the particularly salivating route in showing us the turkeys pre-slaughter. They are relaxing free range by a bale of hay with the sun shining to stained glass effect through the translucent wattles. Delicious.
0/5
Anyway, with all this Christmas “magic” abounding (and as a remedy for all this gaudiness), we might as well move on to an actual “magic” cake. Making a cake is magical enough, but there is a childlike joy when you put a homogeneous mix into the oven and it emerges, burnished, in perfectly ordered layers. This particular magic cake is like a perfectly formed French entremet, but without the effort. All it requires is eggs to be separated and whisked and somehow it all falls into place. When making the speculoos topping, I would advise making a bit extra to allow some innocent “sampling” during the process (it’s ambrosial).
Ingredients
Speculoos layer
300g Speculoos cookies + 100g for decoration
220ml unsweetened condensed milk
¼ tsp salt
Cake
3 eggs, separated
75g caster sugar
90g unsalted butter
50g plain flour
¼ tsp salt
300ml milk
4 small pears, peeled, cored and diced into 1cm cubes
21cm square cake tin (or round tin with similar area) fully lined with baking parchment. It doesn’t matter if the tin is marginally larger or smaller
Method
1) Preheat the oven to 150°C
2) Put all the ingredients for the speculoos layer into a blender and blitz until smooth, and set aside.
3) Melt the butter and set aside to cool. In a bowl (if doing by hand) or electric mixer beat the sugar with the egg yolks until thick and pale. Pour in the butter and 150g of the Speculoos layer and gently combine. Then sieve in the flour and salt and fold to combine. Pour in the milk and combine.
4) In the bone-dry bowl of an electric mixer or by hand, whisk the egg whites vigorously until they thicken and hold their shape in stiff peaks. Very gently fold them into the batter, taking care to preserve the aeration.
5) Scatter the diced pear evenly on the bottom of the cake tin, then gently pour the batter on top. Smooth the surface with a knife and place in the oven to cake for 35 minutes. The cake will still be soft when you remove it from the oven but this is how it is meant to be. Put it onto a rack to cool to room temperature, then place in the fridge for an hour to set.
6) To serve, lift the cake out of the tin on the serving plate using the baking parchment and remove baking parchment. I choose to slice off the cake edges in order to better expose the layers. Spread the remaining speculoos layer on top and over it crumble the decorative speculoos cookies.
Recipe adapted from "Magic Cakes" by Christelle Huet-Gomez
It’s on an almost daily basis that I find my thoughts converging on that scene in Matilda: Bruce vs the chocolate cake – moist, dense, dark, and yes, revolting. It’s a tempting challenge, and only on a handful of occasions in my life have I come close to those chocolatey depths (or heights, depending on your perspective).
The first time was at my 9th birthday party which took place in the civilized private room of a pottery painting shop, surrounded by friends from my all-girls school, all politely detailing their teacups with flowers, and hearts, and stars. The birthday cake arrived, tall and majestic, lavishly enrobed in sumptuous swathes of soft chocolate buttercream.
All I can say in mitigation of what was to come was that at least I waited until my slice was placed in a bowl. But then the urge became overpowering, and it was with unbridled joy that I plunged my face into my bowl and into the luscious embrace of the cake.
But my Bruce experiences don’t end there. I waited a further nine years until I was at university, when a five pence coin thrown into a neighbour’s dessert meant that it had to be devoured without cutlery. This was a curse to many, but an opportunity I wholeheartedly seized. Why waste time on cutlery when you can cut to the chase, pig-in-trough style, with an audience?
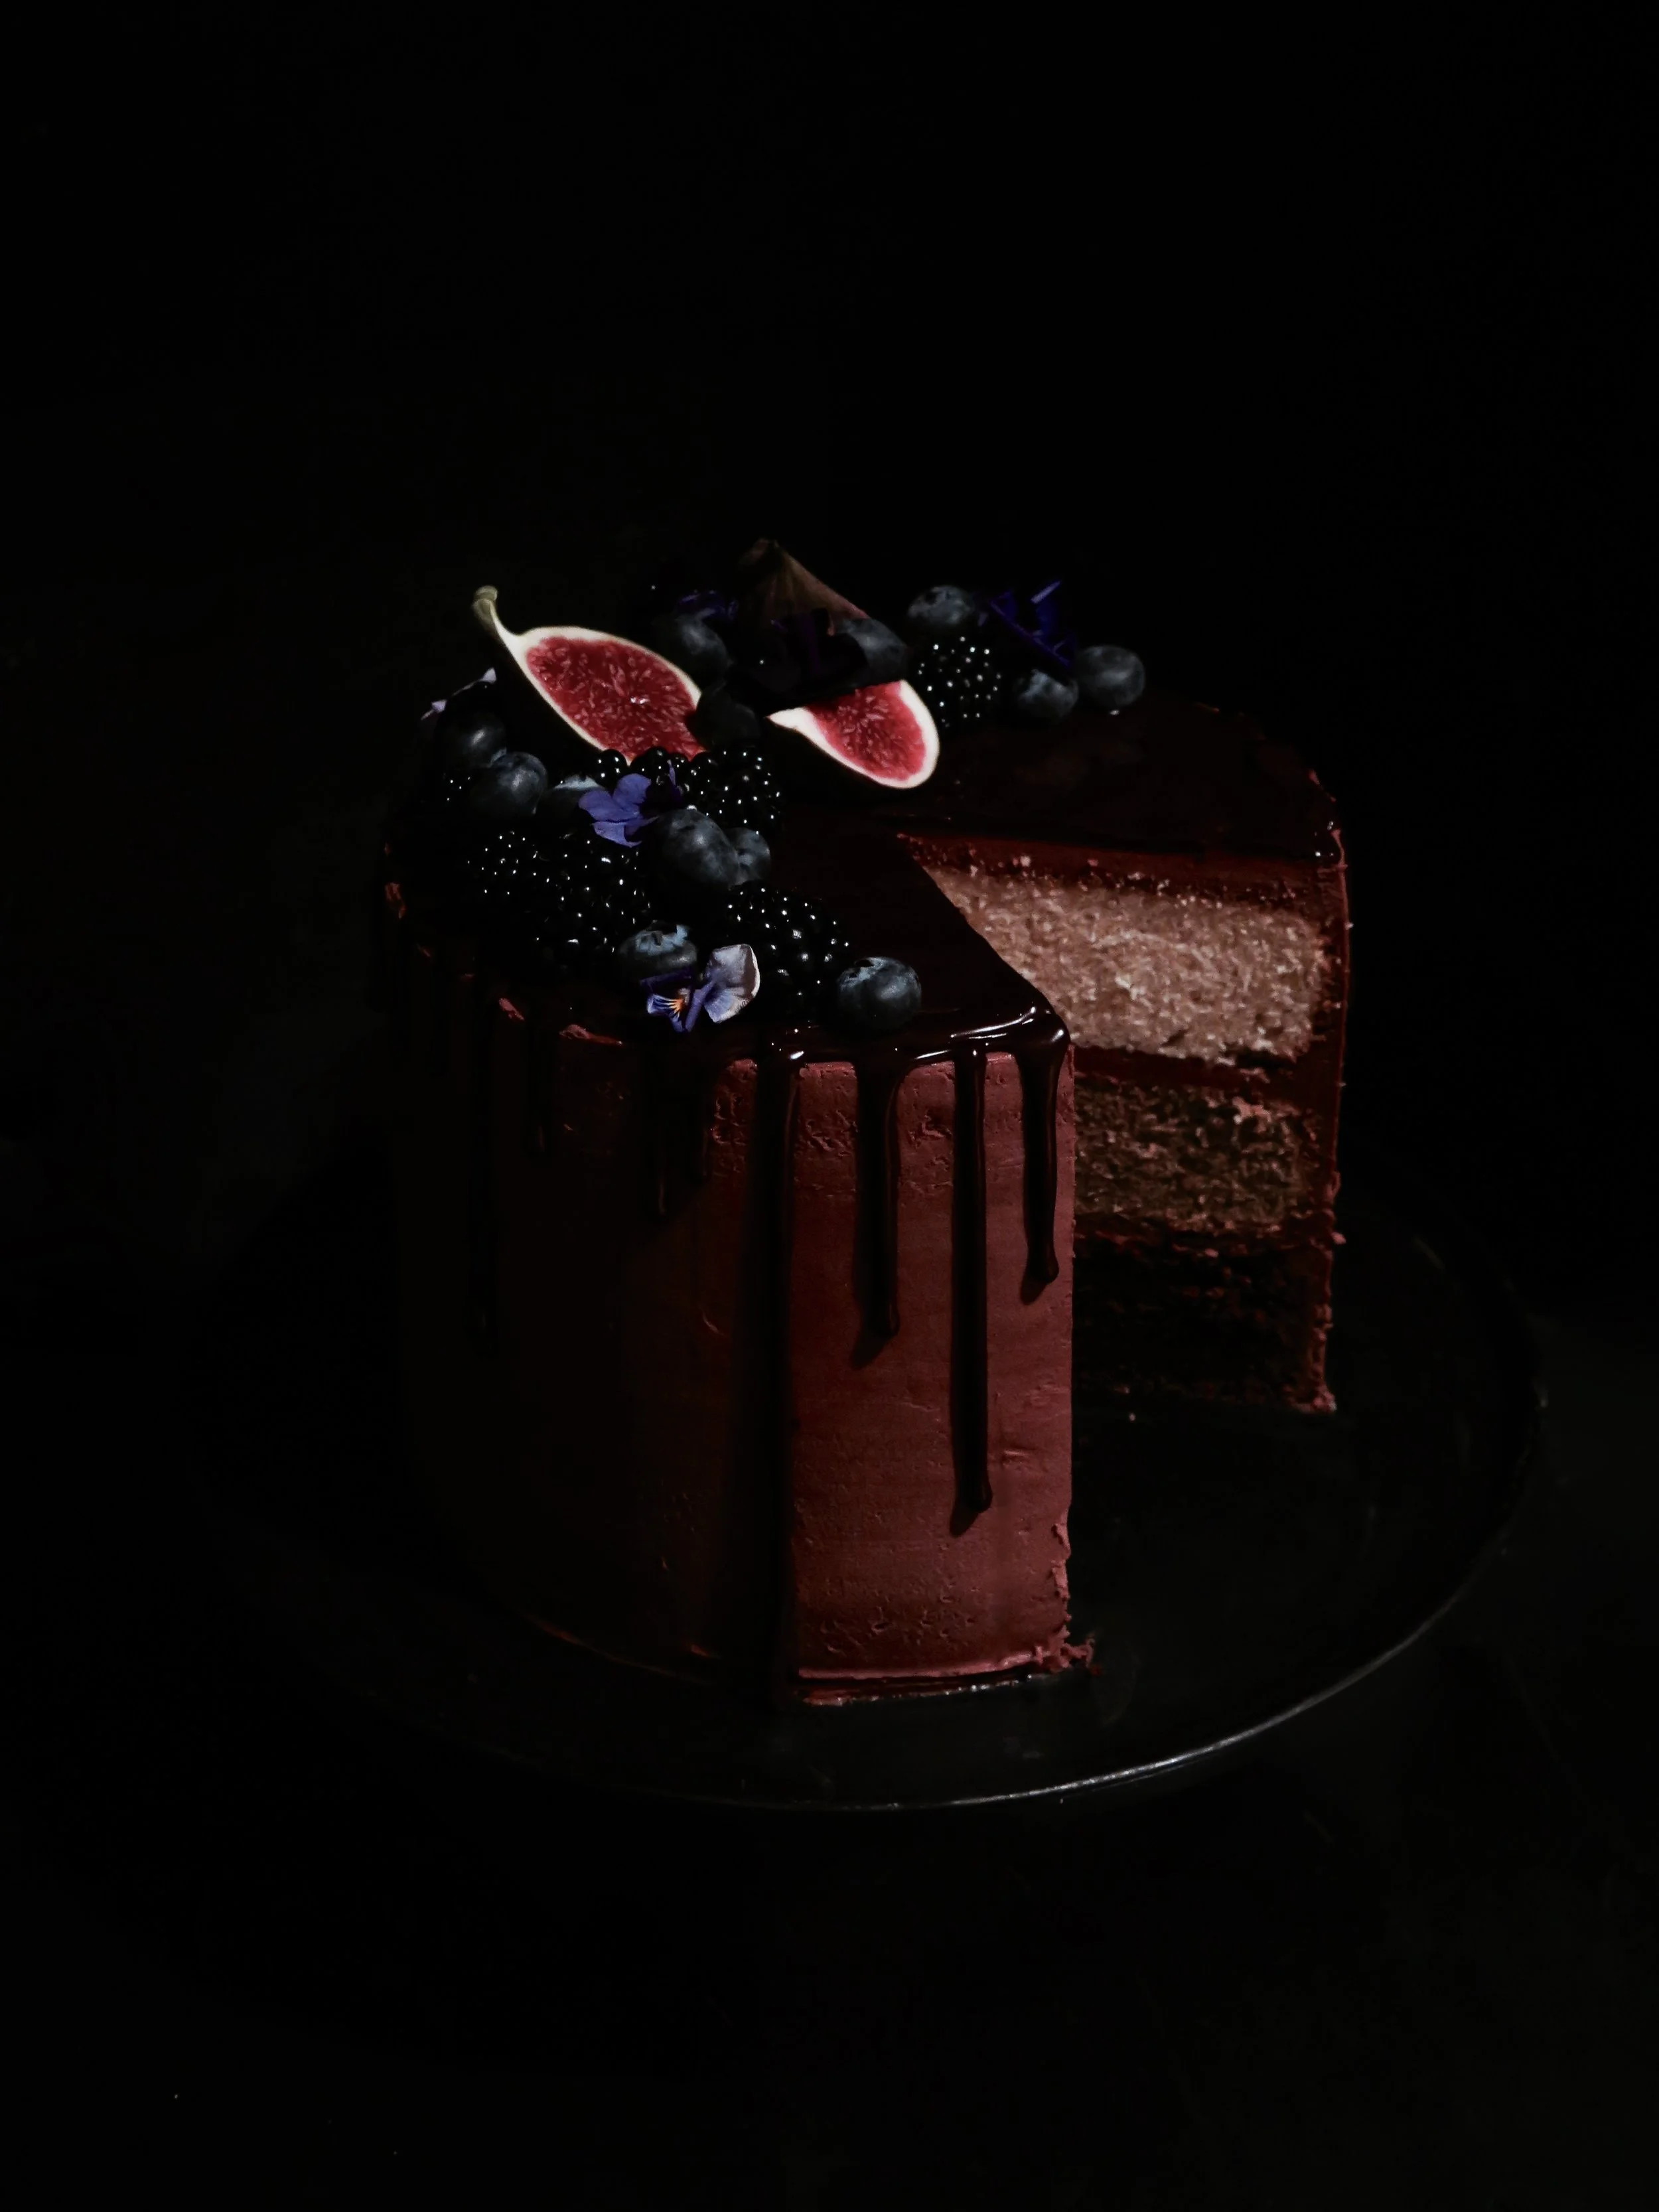
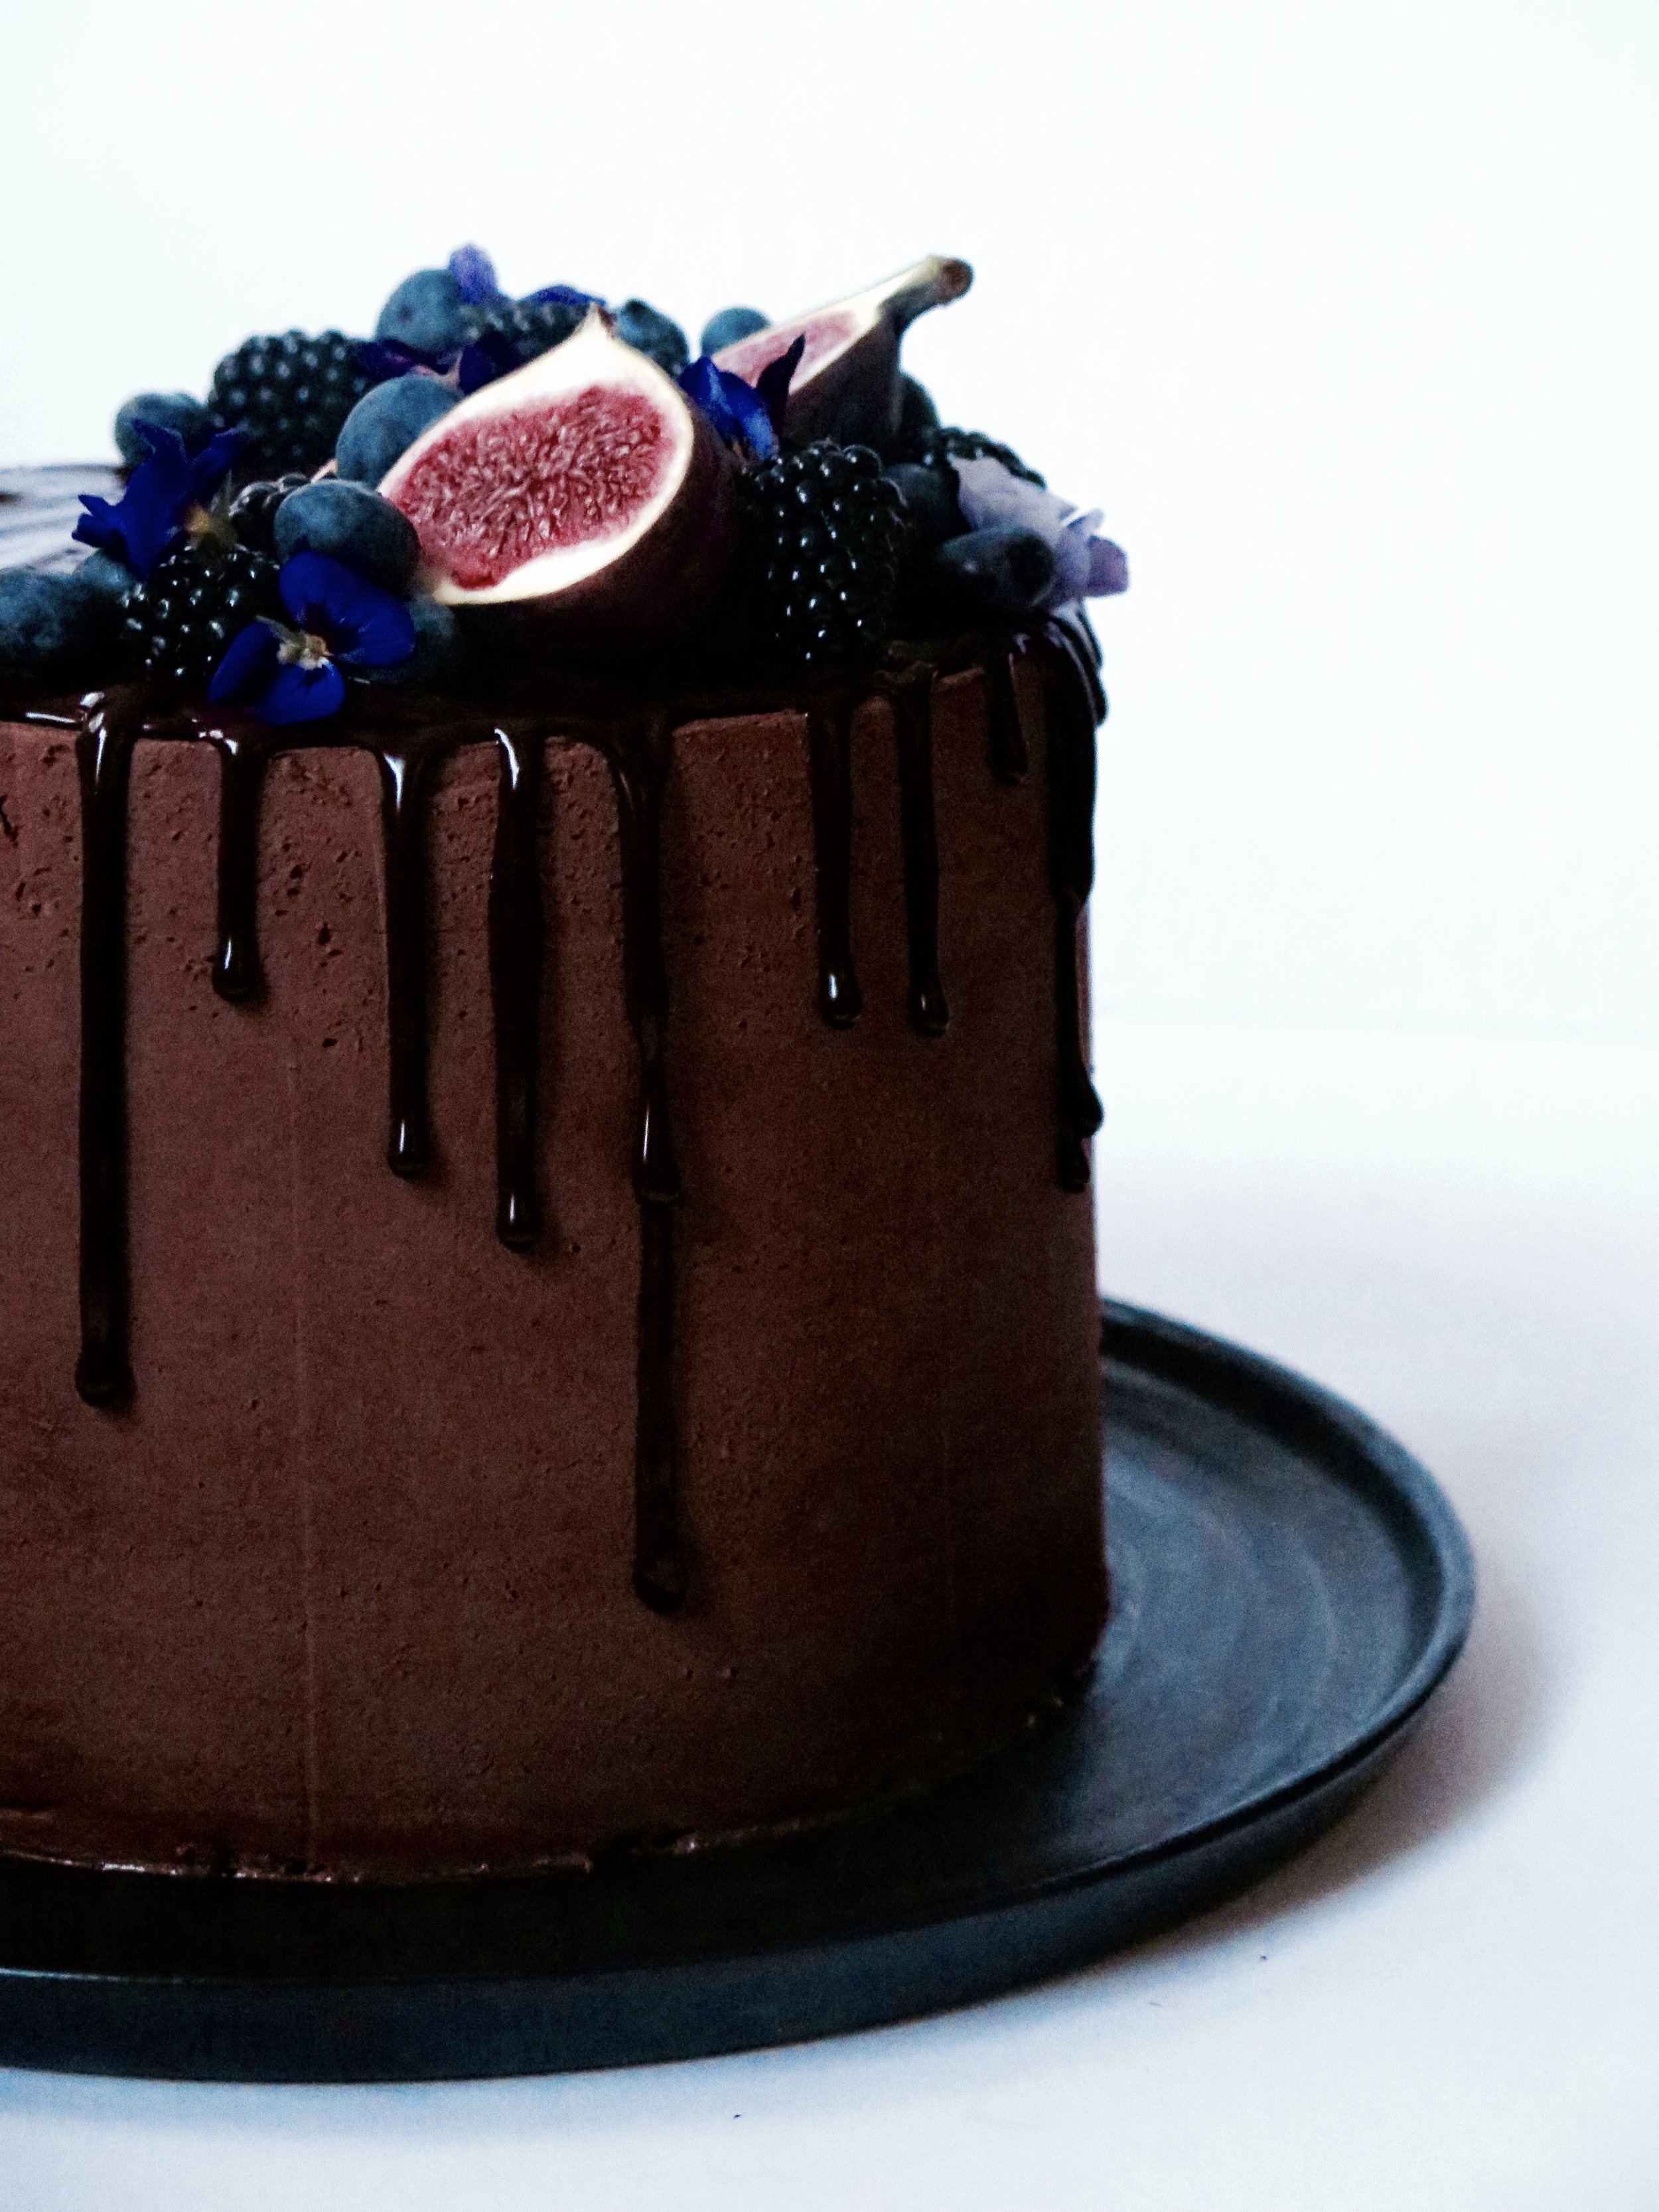
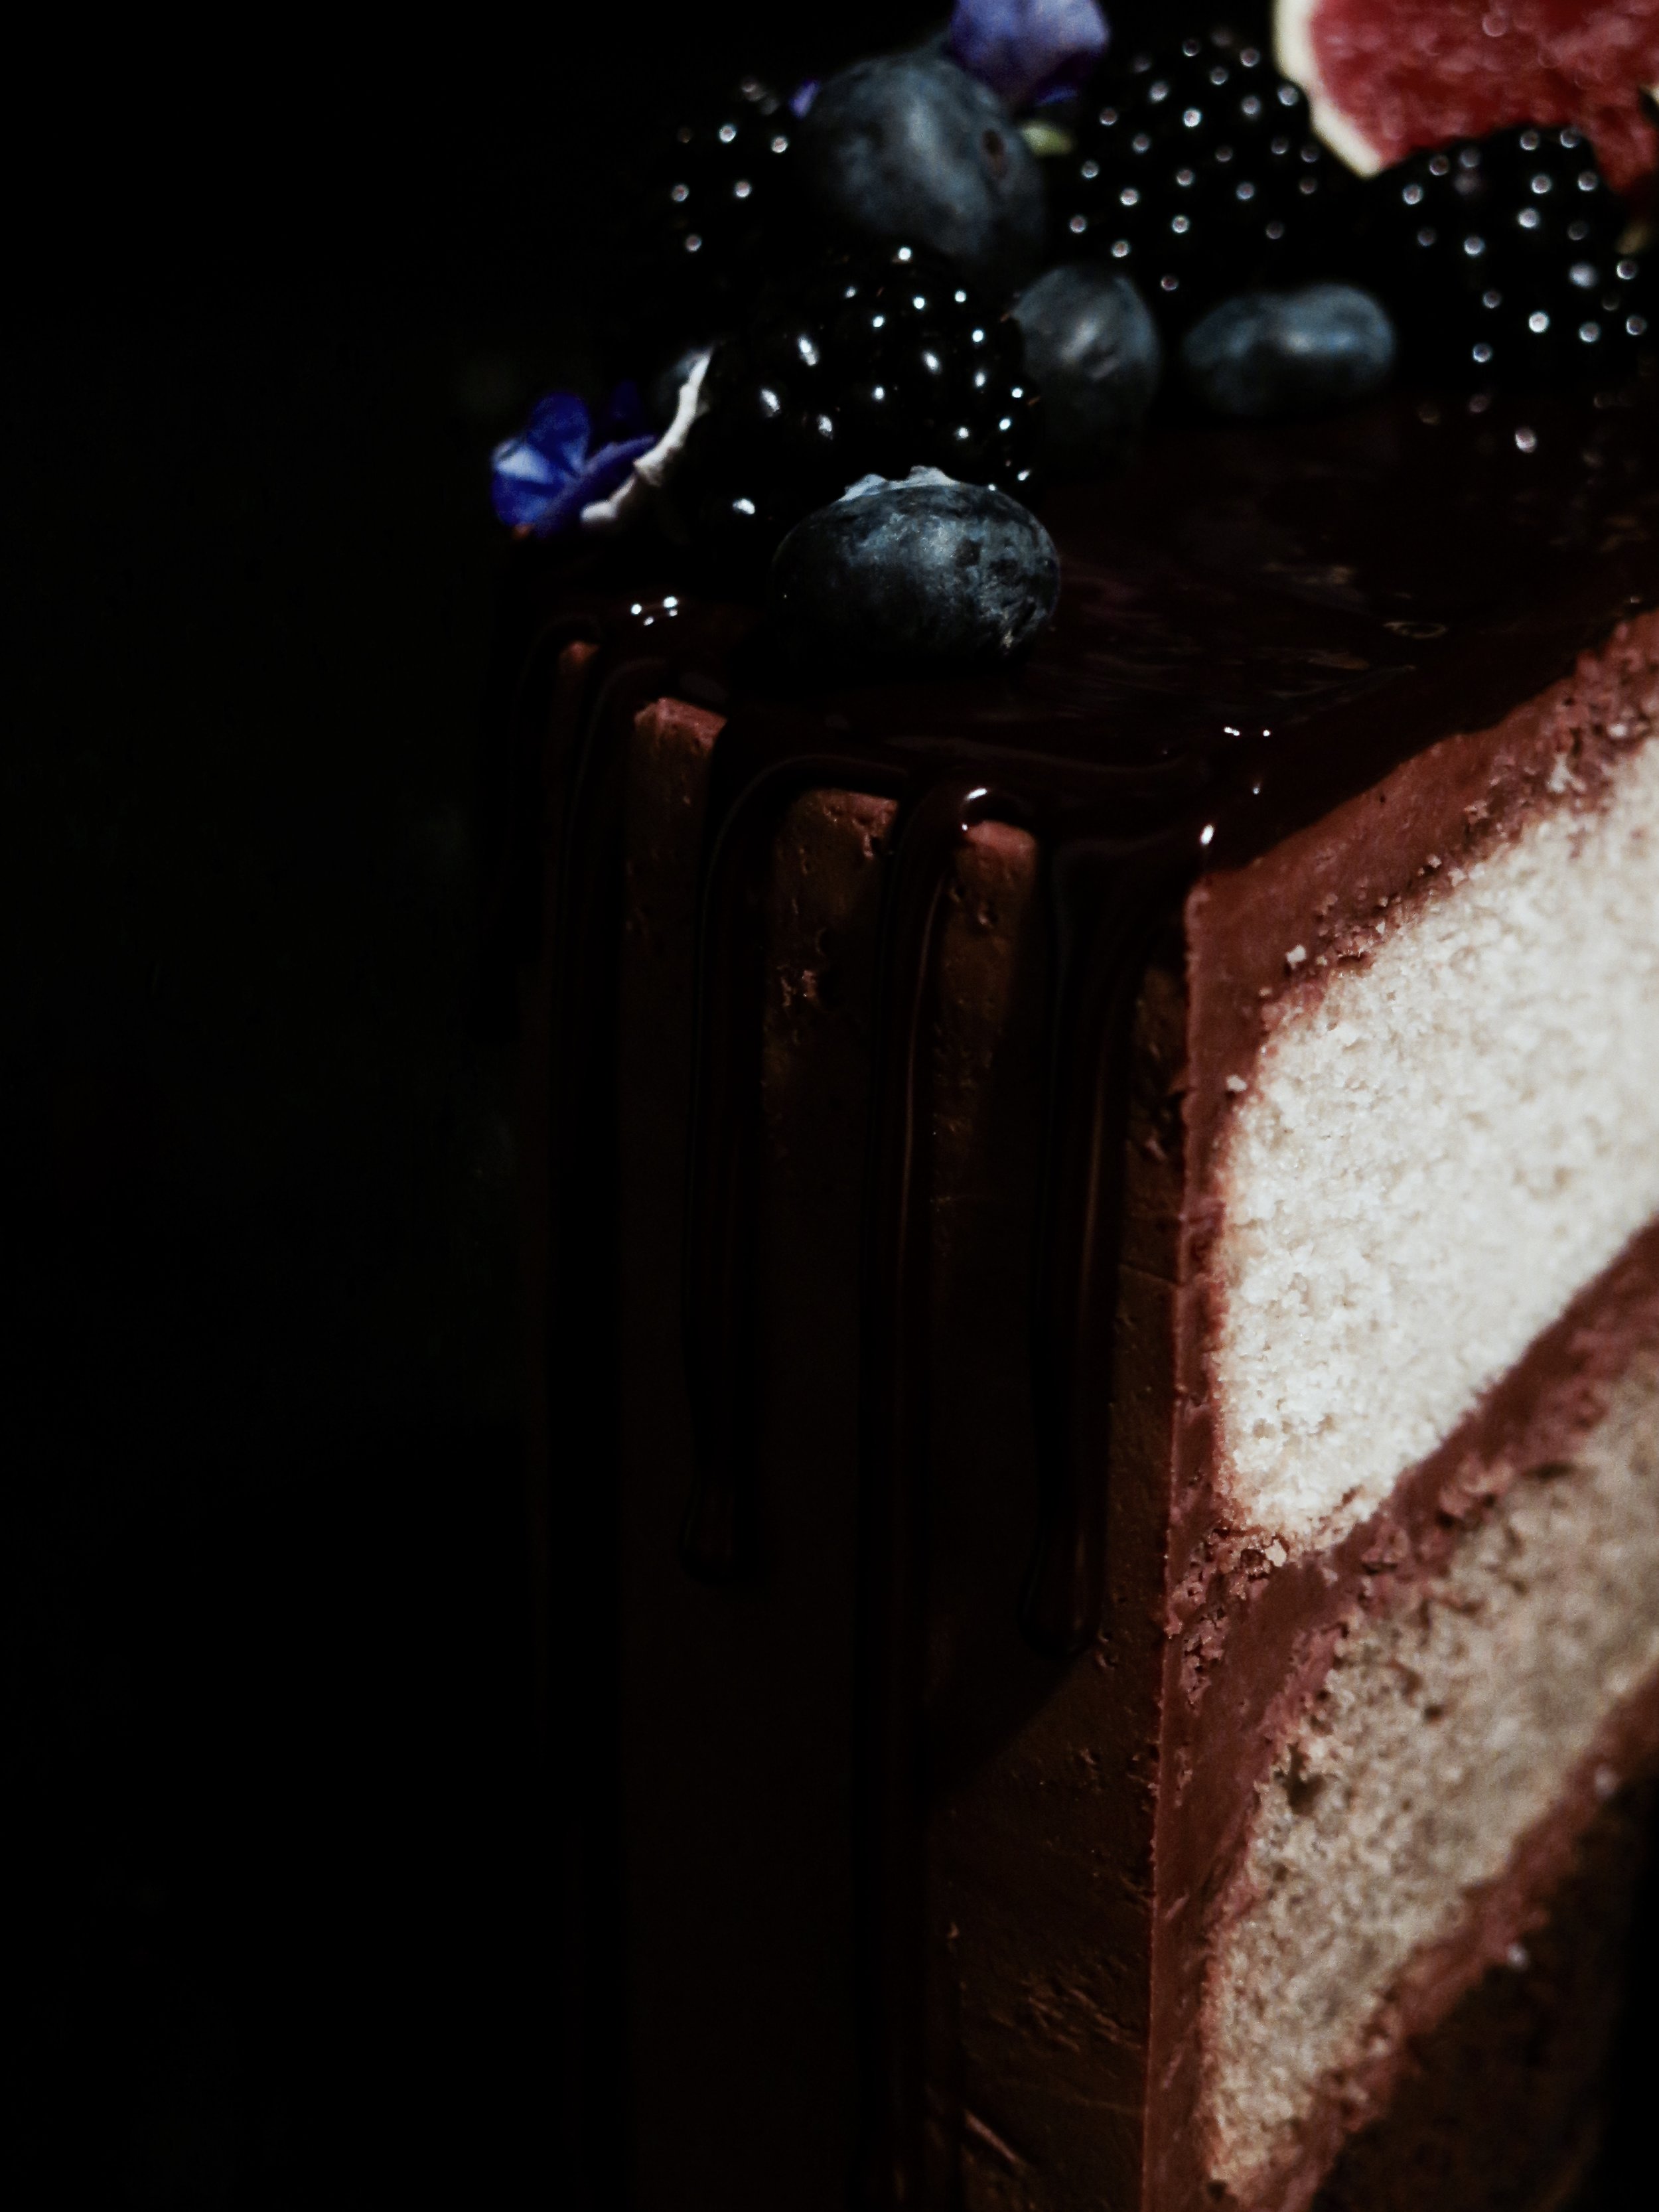
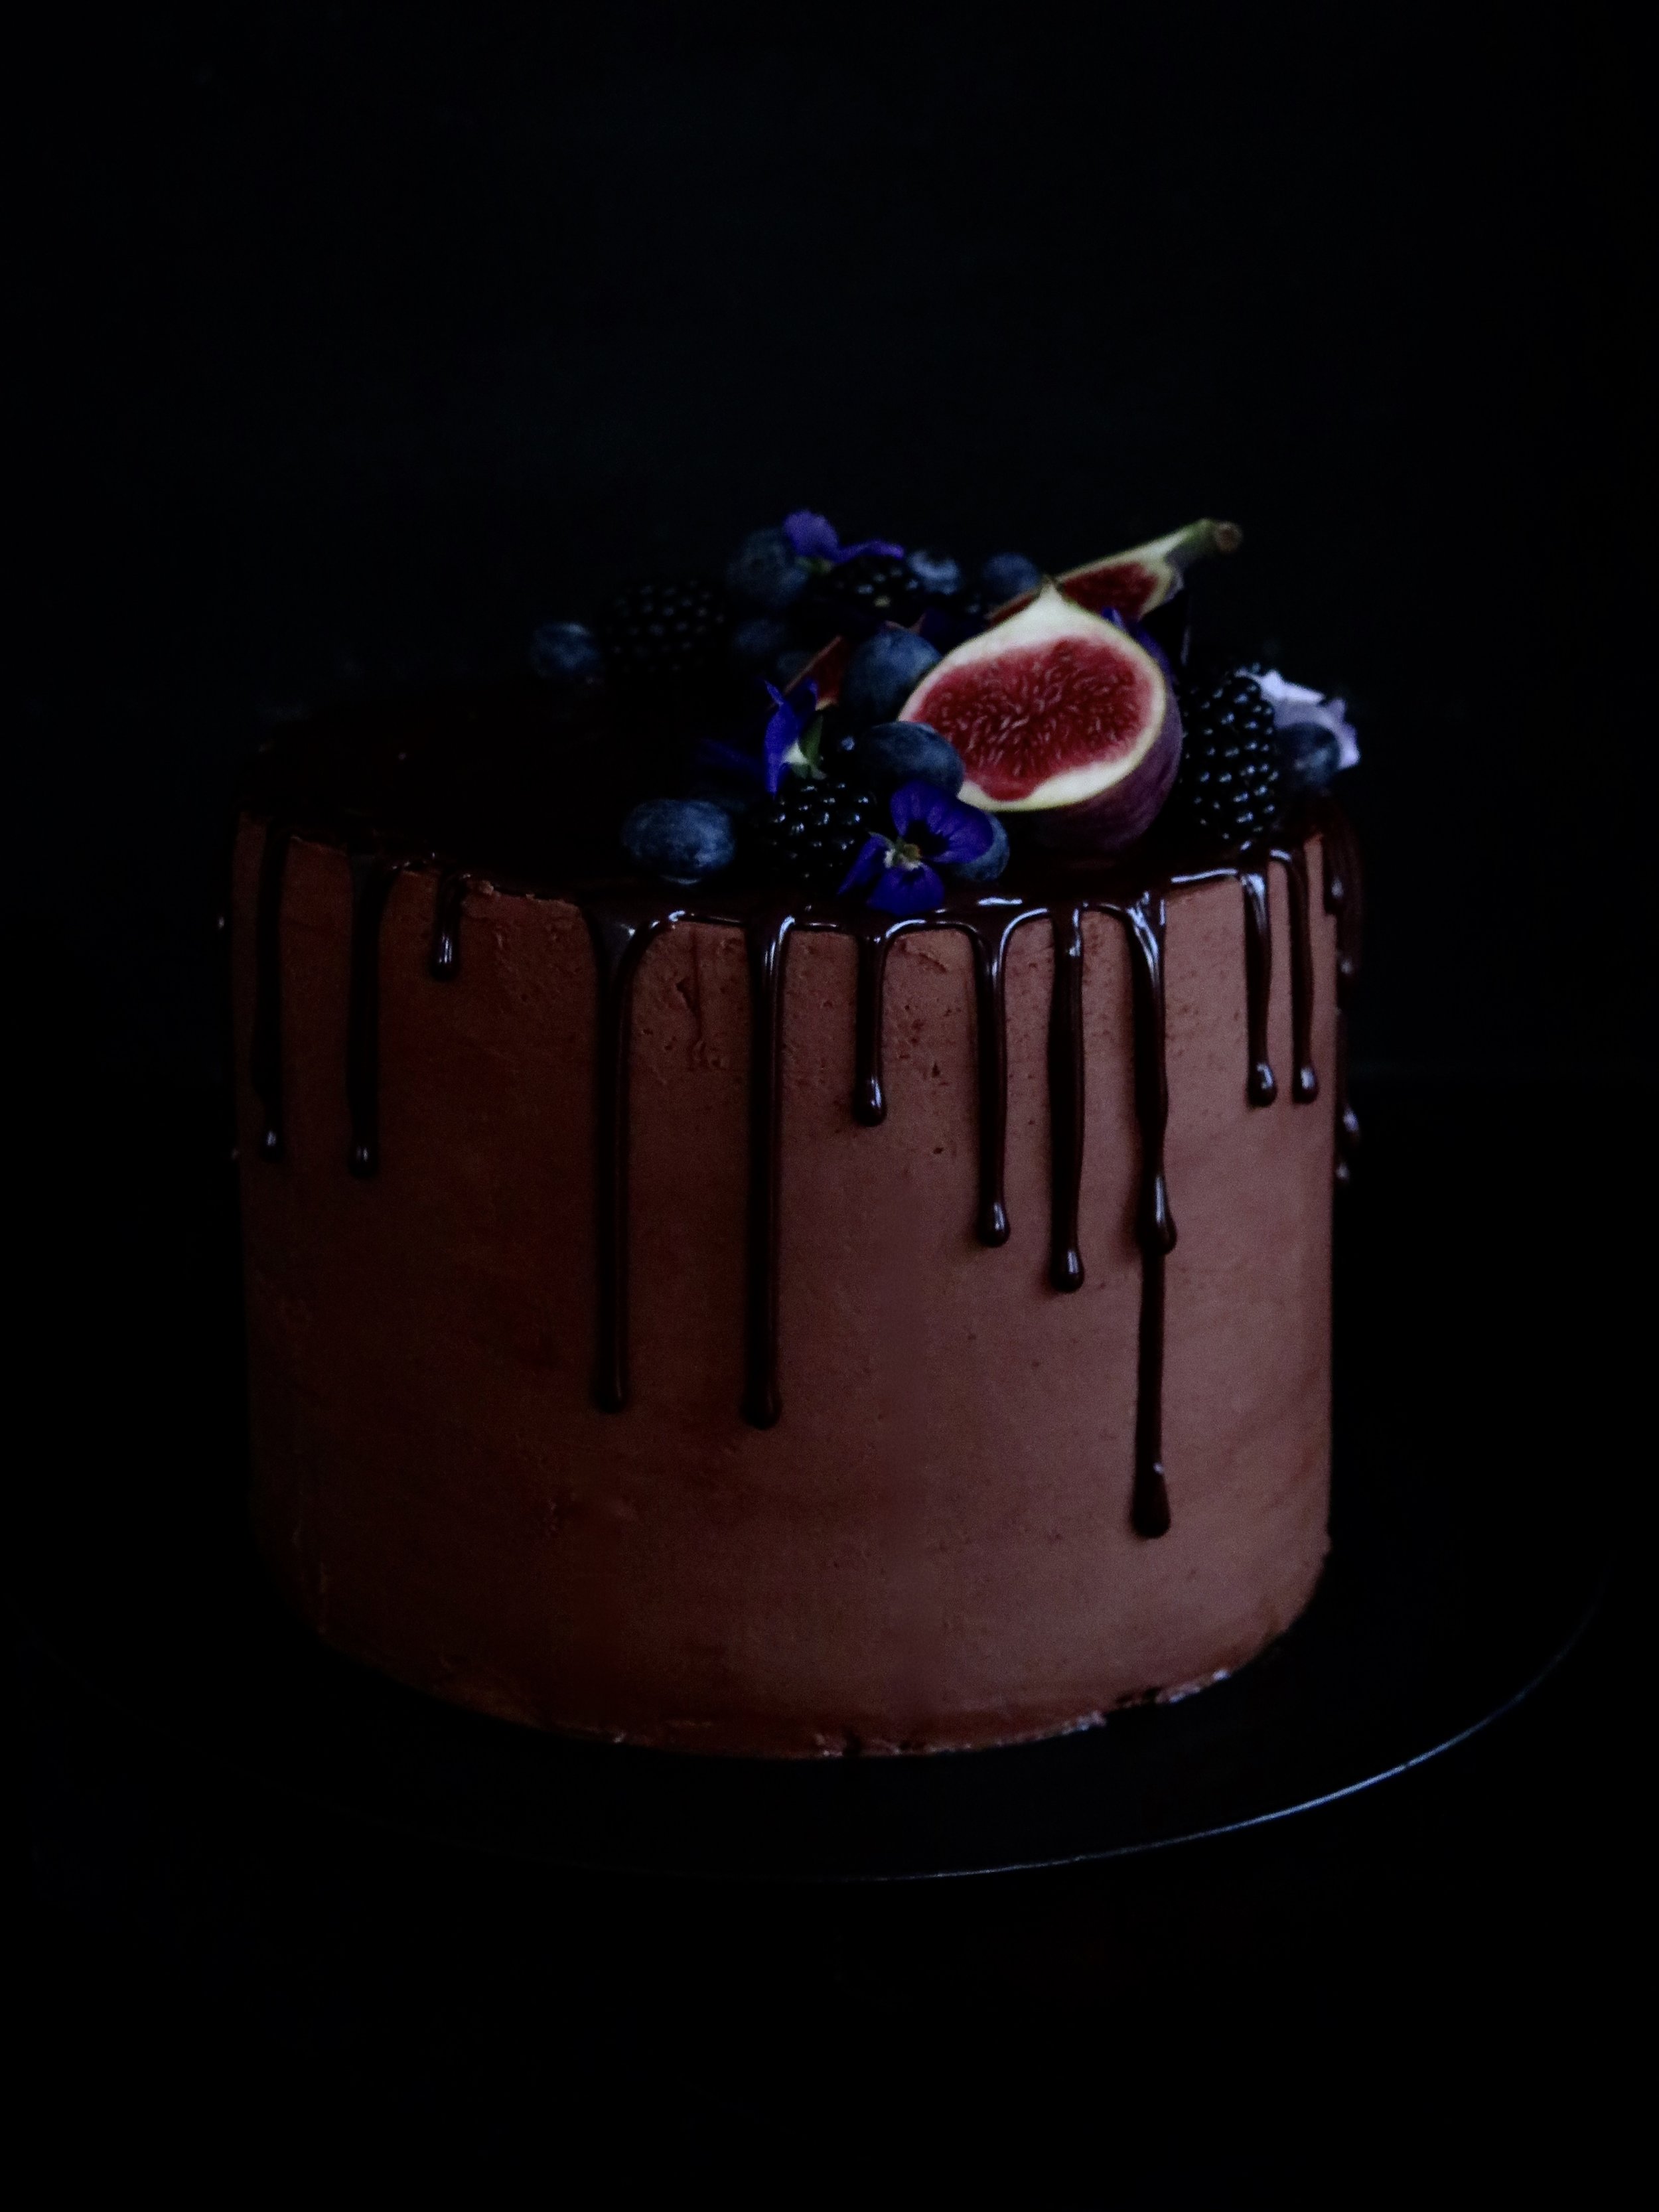
The desire was mostly satisfied then but I still dream up opportunities to replicate it. I imagine this cake would be peak territory for such caveman antics: a base layer of moist and rich chocolate cake (ticks the Bruce box), a golden middle tier of coffee cake, and a fluffy vanilla sponge top tier. The buttercream is deeply chocolatey with a pinch of salt to counteract the sweetness, and the cake is topped with a mirror ganache drip glaze (easier to do than you may think). Nigella famously writes in her recipe: “Feeds twelve, or one with a broken heart”. This feeds twenty, or one with an overpowering Man vs Food, Matilda’s Bruce desire.
Although this cake has multiple elements and steps it is not difficult to carry out.
- If you wish to have all three layers identical, then just triple the quantity of one cake.
- Feel free to experiment with buttercreams as well (for example, vanilla, coffee, or caramel).
- Additionally, I use dark fruits to decorate the cake, but you can keep it plain, or venture down more chocolatey routes. It is also delicious kept simple, without the mirror chocolate ganache.
- This is effectively three cakes in one so you can just make one of the cakes, and make a third of the icing in which to cloak it.
- The chocolate cake recipe makes slightly more than necessary, hence the muffin cups into which the excess mixture is poured – a bonus in my book…
Ingredients
The vanilla and coffee cakes:
450g unsalted butter, at room temperature
450g caster sugar
2 tsp vanilla extract
4 tbsp milk
8 large eggs, at room temperature
450g self-raising flour, sieved
½ tsp salt
1 tbsp espresso powder, dissolved in 1 tsp boiling water
The chocolate cake:
400g plain flour
250g caster sugar
100g light muscovado sugar
50 high quality cocoa powder
2 tsp baking powder
1 tsp bicarbonate of soda
½ tsp salt
3 large eggs, at room temperature
140g soured cream
1 tbsp vanilla extract
175g unsalted butter, melted
125g corn or vegetable oil
300ml cold water
Salted cocolate buttercream:
250g high quality 70% dark chocolate
375g unsalted butter, at room temperature
680g icing sugar, sieved
½ tsp salt
4 tsp vanilla extract
Mirror chocolate ganache:
100g double cream
100g high quality 70% dark chocolate
Equipment:
3 (or 2 if you wash one up in between making vanilla/coffee and chocolate cakes) x 20cm diameter round cake tins, buttered, with the base lined with a circle of baking parchment
1 muffin tin with 5 muffin cases
piping bag fitted with a 2-3mm round nozzle
Method
The vanilla cake and the coffee cake:
1) Preheat fan oven to 180C. In a large bowl with a spoon, or in a mixer fitted with the paddle, beat together butter and sugar for about 3 minutes until the mixture turns fluffy, soft and almost white. Beat in the vanilla and milk.
2) Then beat in one egg at a time alternating each egg with a tablespoon of flour. Don’t panic if it looks slightly curdled, as this is normal. Add in the rest of the flour and salt and, by hand, gently fold them into the mixture.
3) Pour half the mixture into one of the lined baking tins – this is the vanilla cake. For the coffee cake, add in the dissolved espresso powder into the remaining mixture and fold in gently. Pour into the second baking tin and place both in the oven to bake for 30-40 minutes until golden on top and a skewer comes out clean. After 30 minutes, you may need to cover them with tinfoil to prevent the surface from burning.
4) Once cooked, remove from oven and place on a rack to cool.
The chocolate cake:
1) Preheat fan oven to 180C. Into a large bowl, sieve all the dry ingredients and mix through. In a separate medium sized bowl, whisk together the eggs, soured cream and vanilla.
2) In a third, large bowl, either by hand or in a mixer fitted with the paddle, beat together oil, butter and water until combined. Into this bowl, pour the dry ingredients and fold gently to combine. Then pour in the egg, cream, vanilla mixture and fold gently together until smooth and just combined.
3) Pour off 300g of the mixture into a separate bowl and divide equally between 5 muffin cases. Pour the rest of the mixture into the prepared cake tin. Place muffins and large cake in the oven. Bake the muffins for 20 minutes, and the large cake for 40-50 minutes until a skewer comes out clean. Check the large cake after 30 minutes, as you make need to cover it with tinfoil to prevent the surface from burning. Once cooked through, remove from the oven and place on a baking rack to cool.
The salted chocolate buttercream:
1) Melt the chocolate in a bowl sitting on top of a pan of boiling water (don’t let the water touch the base of the bowl containing chocolate). Set the melted chocolate aside to cool slightly.
2) In a mixer fitted with a paddle, or in a large bowl with a spoon, beat together the icing sugar and butter until combined. Pour in the melted chocolate, salt and vanilla, and beat once more until combined.
The chocolate mirror ganache:
1) Make this only once the cake is iced. Heat the double cream in a small pan over a medium heat until it just begins to bubble. Remove from heat immediately and stir in the chocolate until it has melted and both combine into a glossy ganache.
Assembly:
1) The cakes should be of equal depth, so line the three cakes alongside each other and, with a long-serrated knife, slice the domes off each to make them even. I then place the cakes in the freezer for 10 minutes as it makes them easier to ice.
2) Place the chocolate cake on the stand on which you wish to serve the cake. This will be the bottom most layer. Place about a fifth of the icing mixture on top and spread it carefully with a spatula. Place the coffee cake directly on top and repeat, finally placing the vanilla layer on top.
3) At this point, if you are impatient, you can continue to ice the rest of the cake with the remaining buttercream, and proceed directly to stage 4. If, however, you want to ice the cake perfectly, it is advisable to do a crumb layer. This involves placing another fifth of the buttercream on the top of the cake and using a spatula to spread it evenly in as thin layer as possible around the cake, coating and filling any irregularities or gaps so that the sides and top are totally smooth and flat. Once this is done, place the cake in the fridge for a further 30 minutes until the icing is slightly hard to the touch. Remove from the fridge, and place the remaining icing onto the top of the cake and use a spatula to spread it off the top and around the sides. I dip the spatula in hot water to help achieve a smooth result. Place the cake back in the fridge while making the ganache.
4) Spoon a third of the ganache into the piping bag. Begin by drawing a line round the edge of the cake surface as a border. Then to make a drip, hold the piping bag very still with the nozzle pointing directly down, and put consistent pressure on the bag to allow the drop to fall from the edge down the side of the cake. Stop when the drip is nearly at the length you want. Continue along the edge of the cake making drips of different lengths. Once this is done, pour the remaining ganache onto the top of the cake and spread with a spatula to cover the surface.
5) Top with dark fruits or any decoration of choice, and serve.
All cake recipes are adapted from Nigella Lawson’s Chocolate Fudge Cake and Victoria Sponge Cake recipes
HUNGRY FOR MORE?
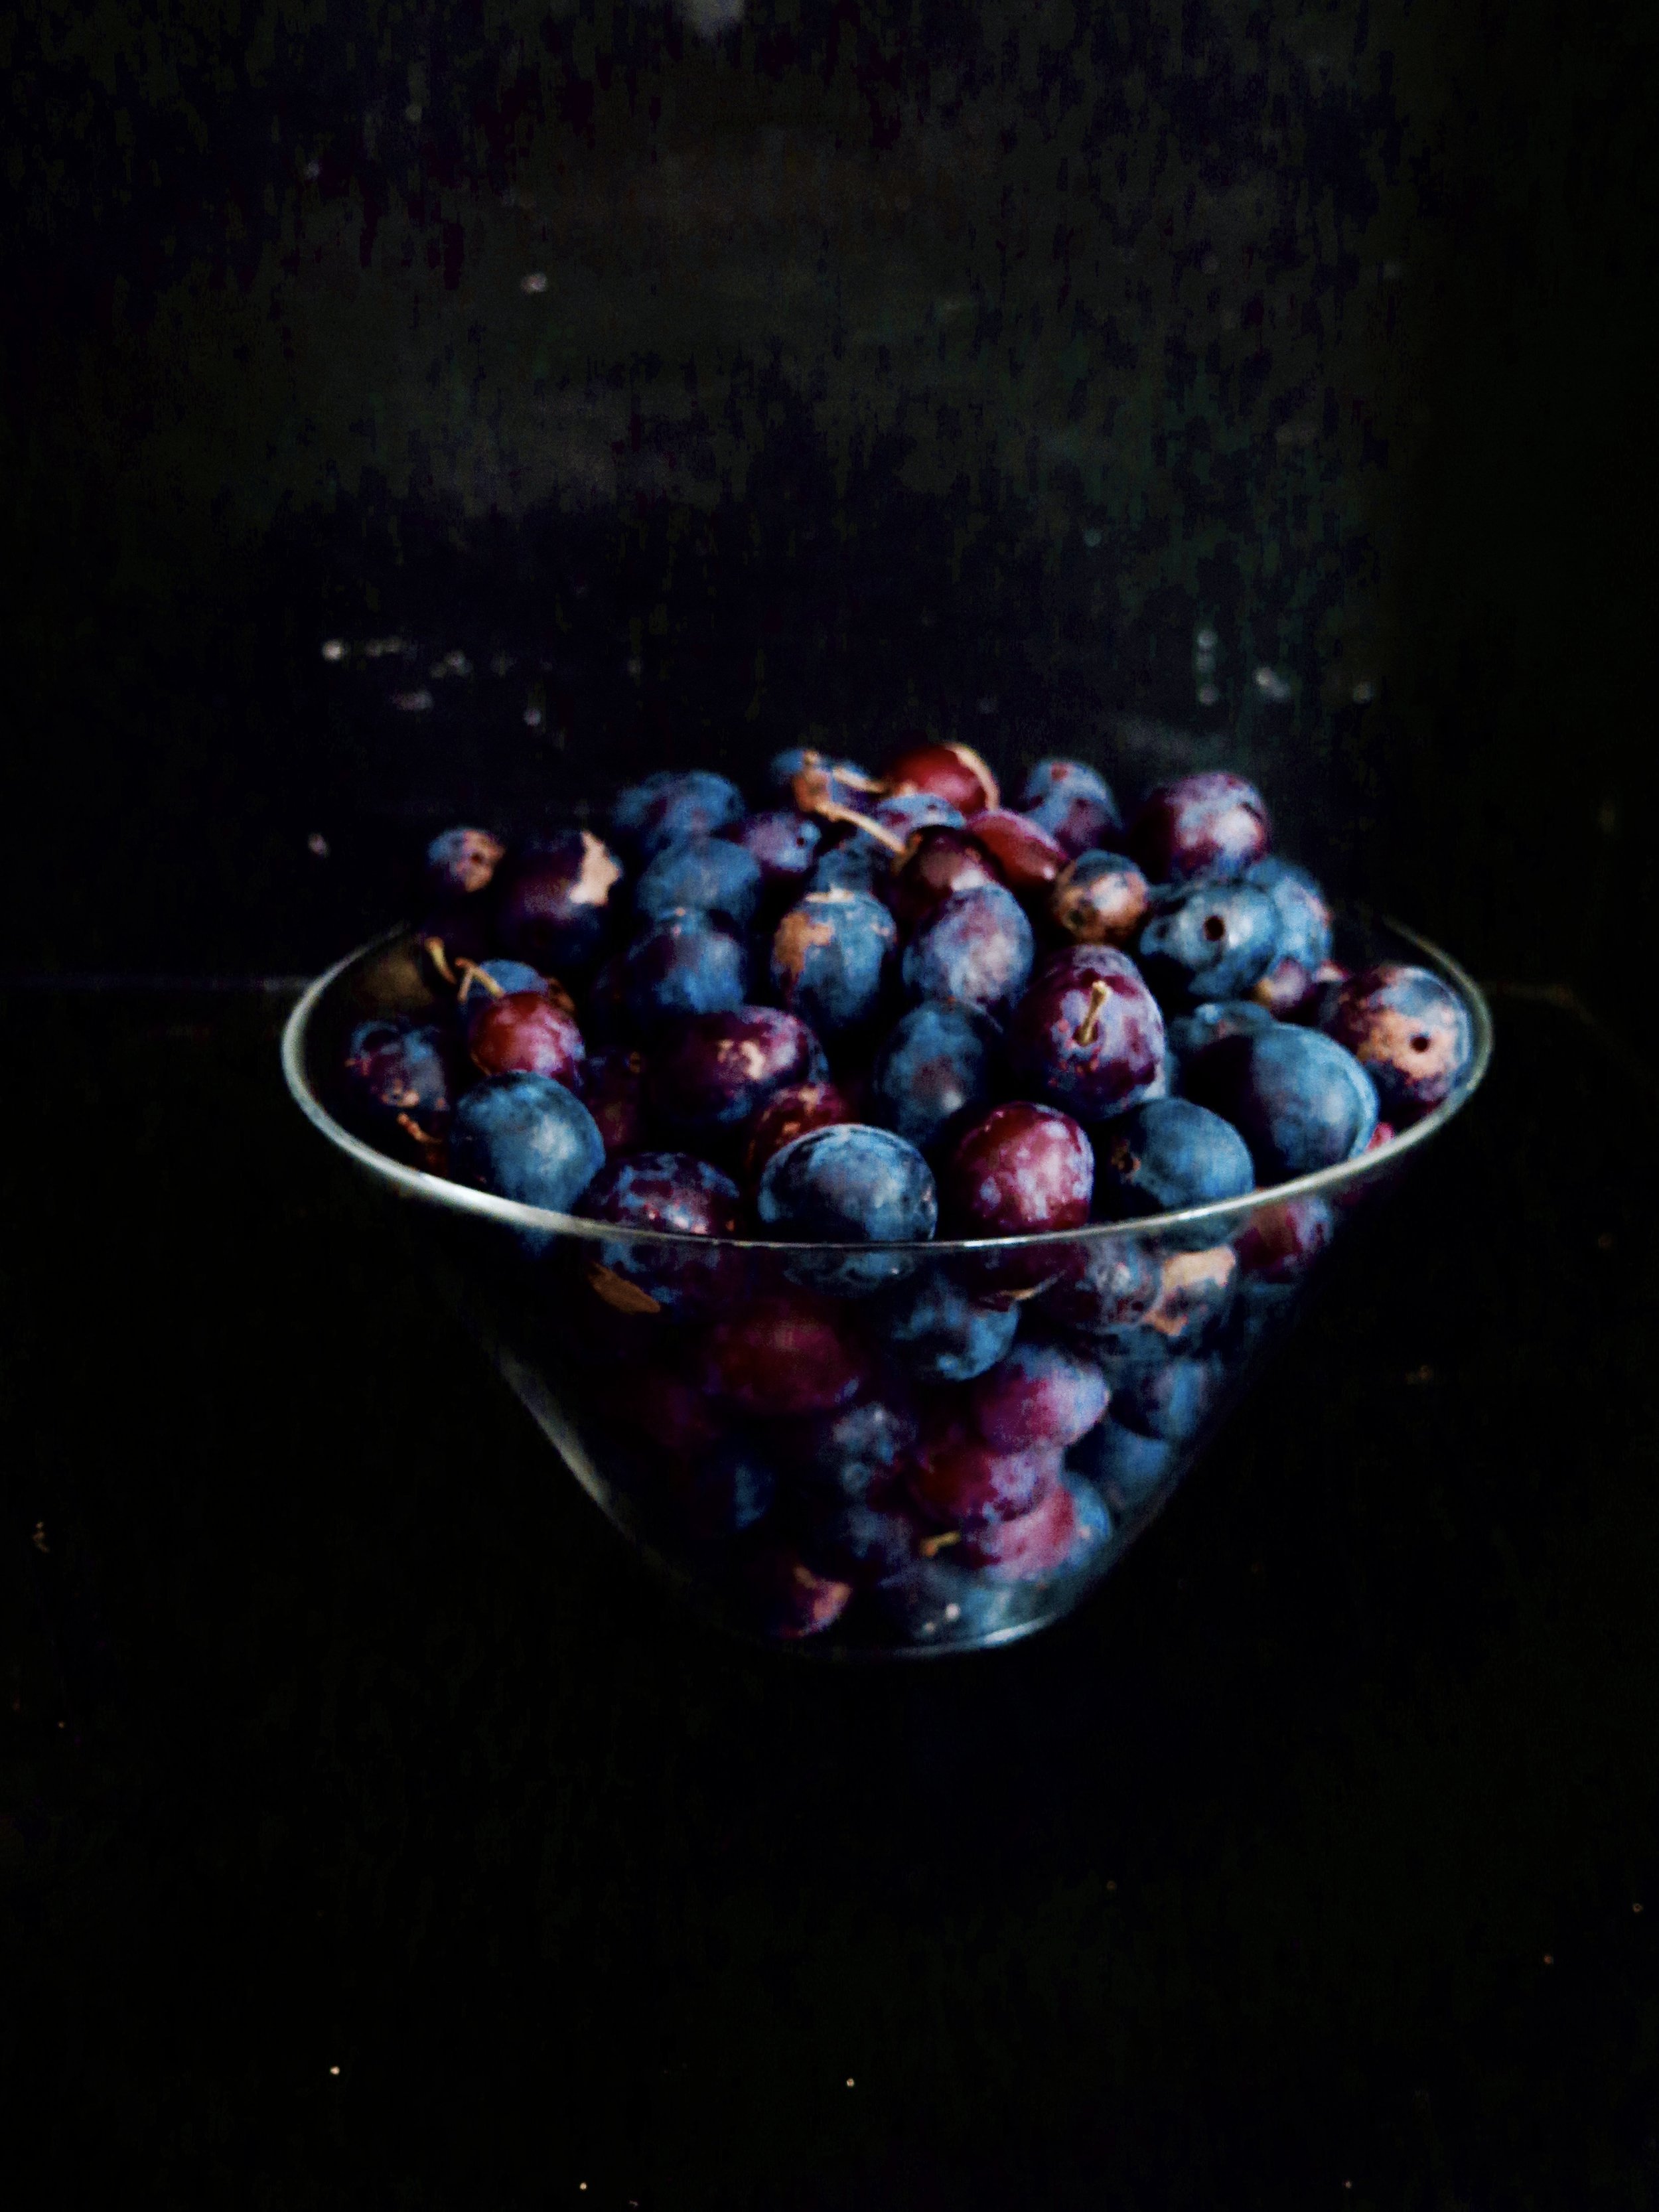
Adorned with dew drops of glaucous fruits, the damson tree was innocent in its fairy tale perfection. Plump and firm, tart and succulent they were ideal contenders for picking. There seemed at first glance to be very few, but as the minutes rolled by, our bags heavier and the ladder creaking, the tree continued to proffer its bounty. The result: 6kg of damsons and a swollen stomach from ones that never quite made it into the bag.
Our supply of sugar rather pitiful in the wake of the unsurpassed abundance, I heaved an Olympian quantity back from the supermarket. The one bag that decided to split has left a coating of sticky grit on any coins that I dig out of the corners of my bag.
Then on to the stove went the damsons, the heated sugar and a touch of water. They blistered, bubbled and broke out of their skins. The stones rose to the surface like witches on trial and had to be picked out one by one. Meanwhile the mixture boiled and thickened, giving off a foamy pink effervescence that I carved off as it supposedly tastes slightly bitter (although I rather enjoyed spooning it directly into my mouth). Then as it reached its rich amethyst depths and a satisfying viscose texture, I took it off and poured it into the sterilised jars: therapeutic and deeply satisfying…the first-time round.
But as I tried to leave the kitchen I was bludgeoned with another 3kg worth of damsons. I was pelted, too, with threats of waste and rotting fruit if I didn’t make jam immediately. The kitchen became heated with the upset from my father who had cultivated and nurtured the tree for years.
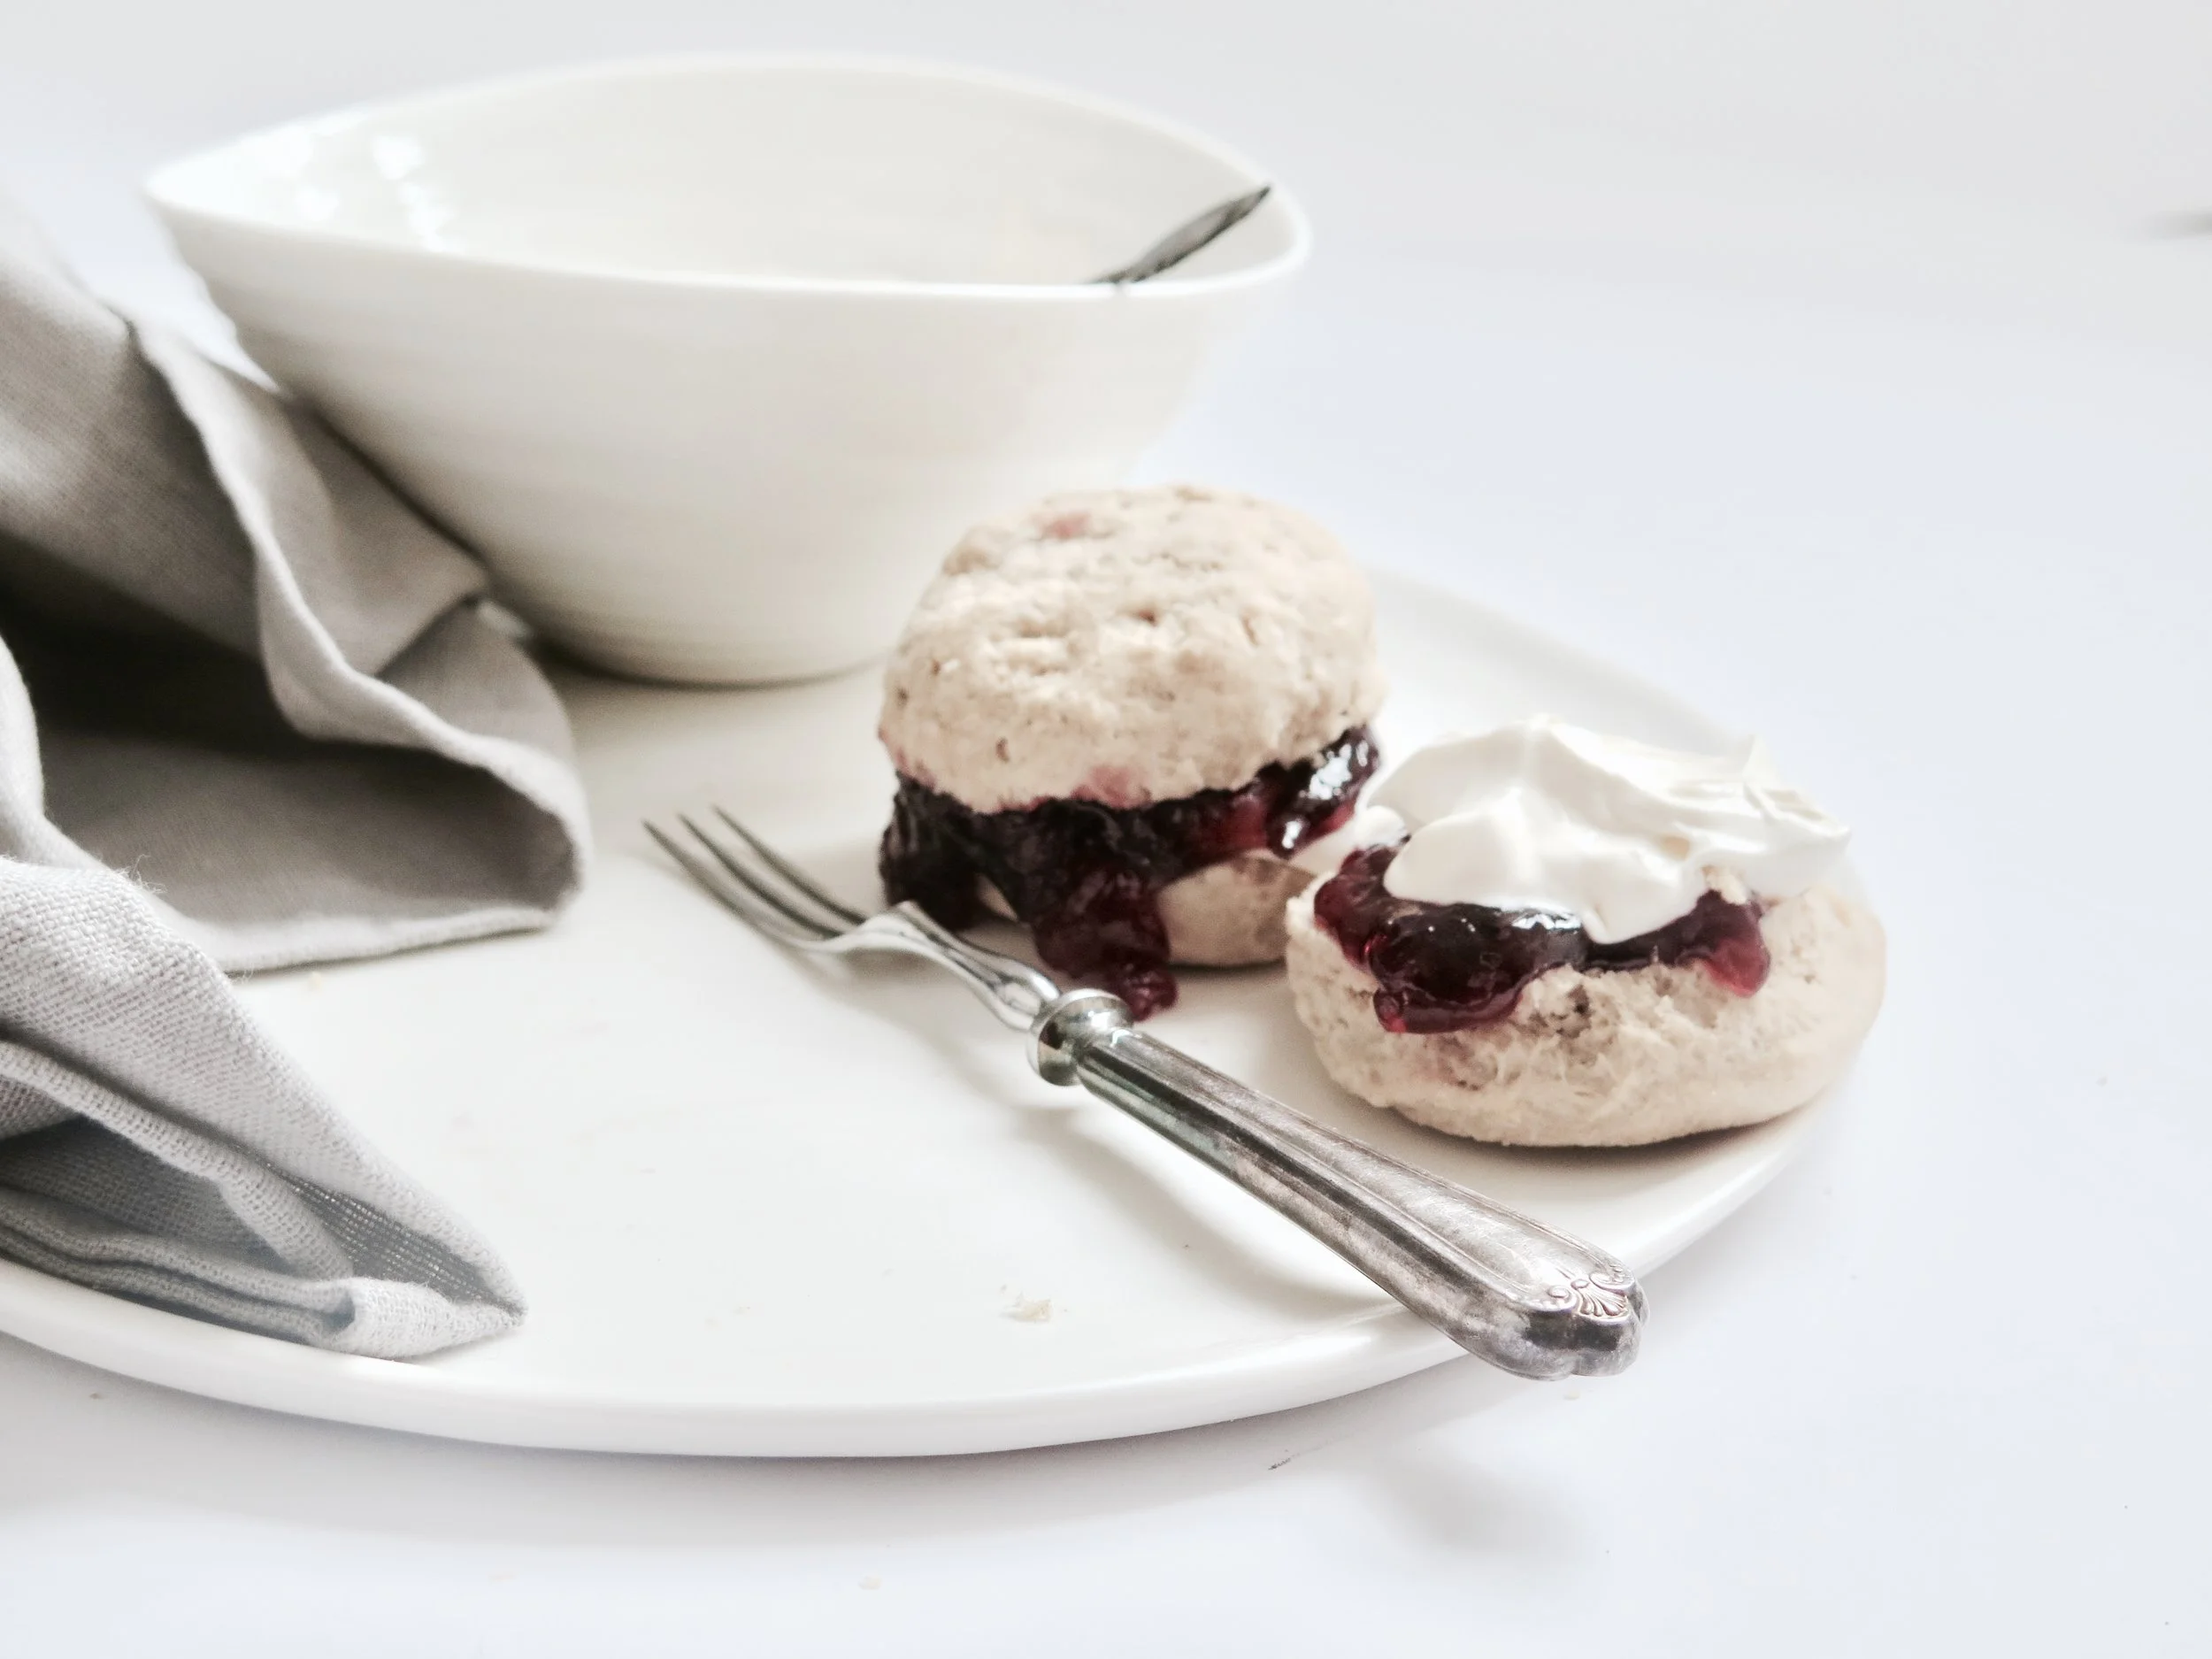
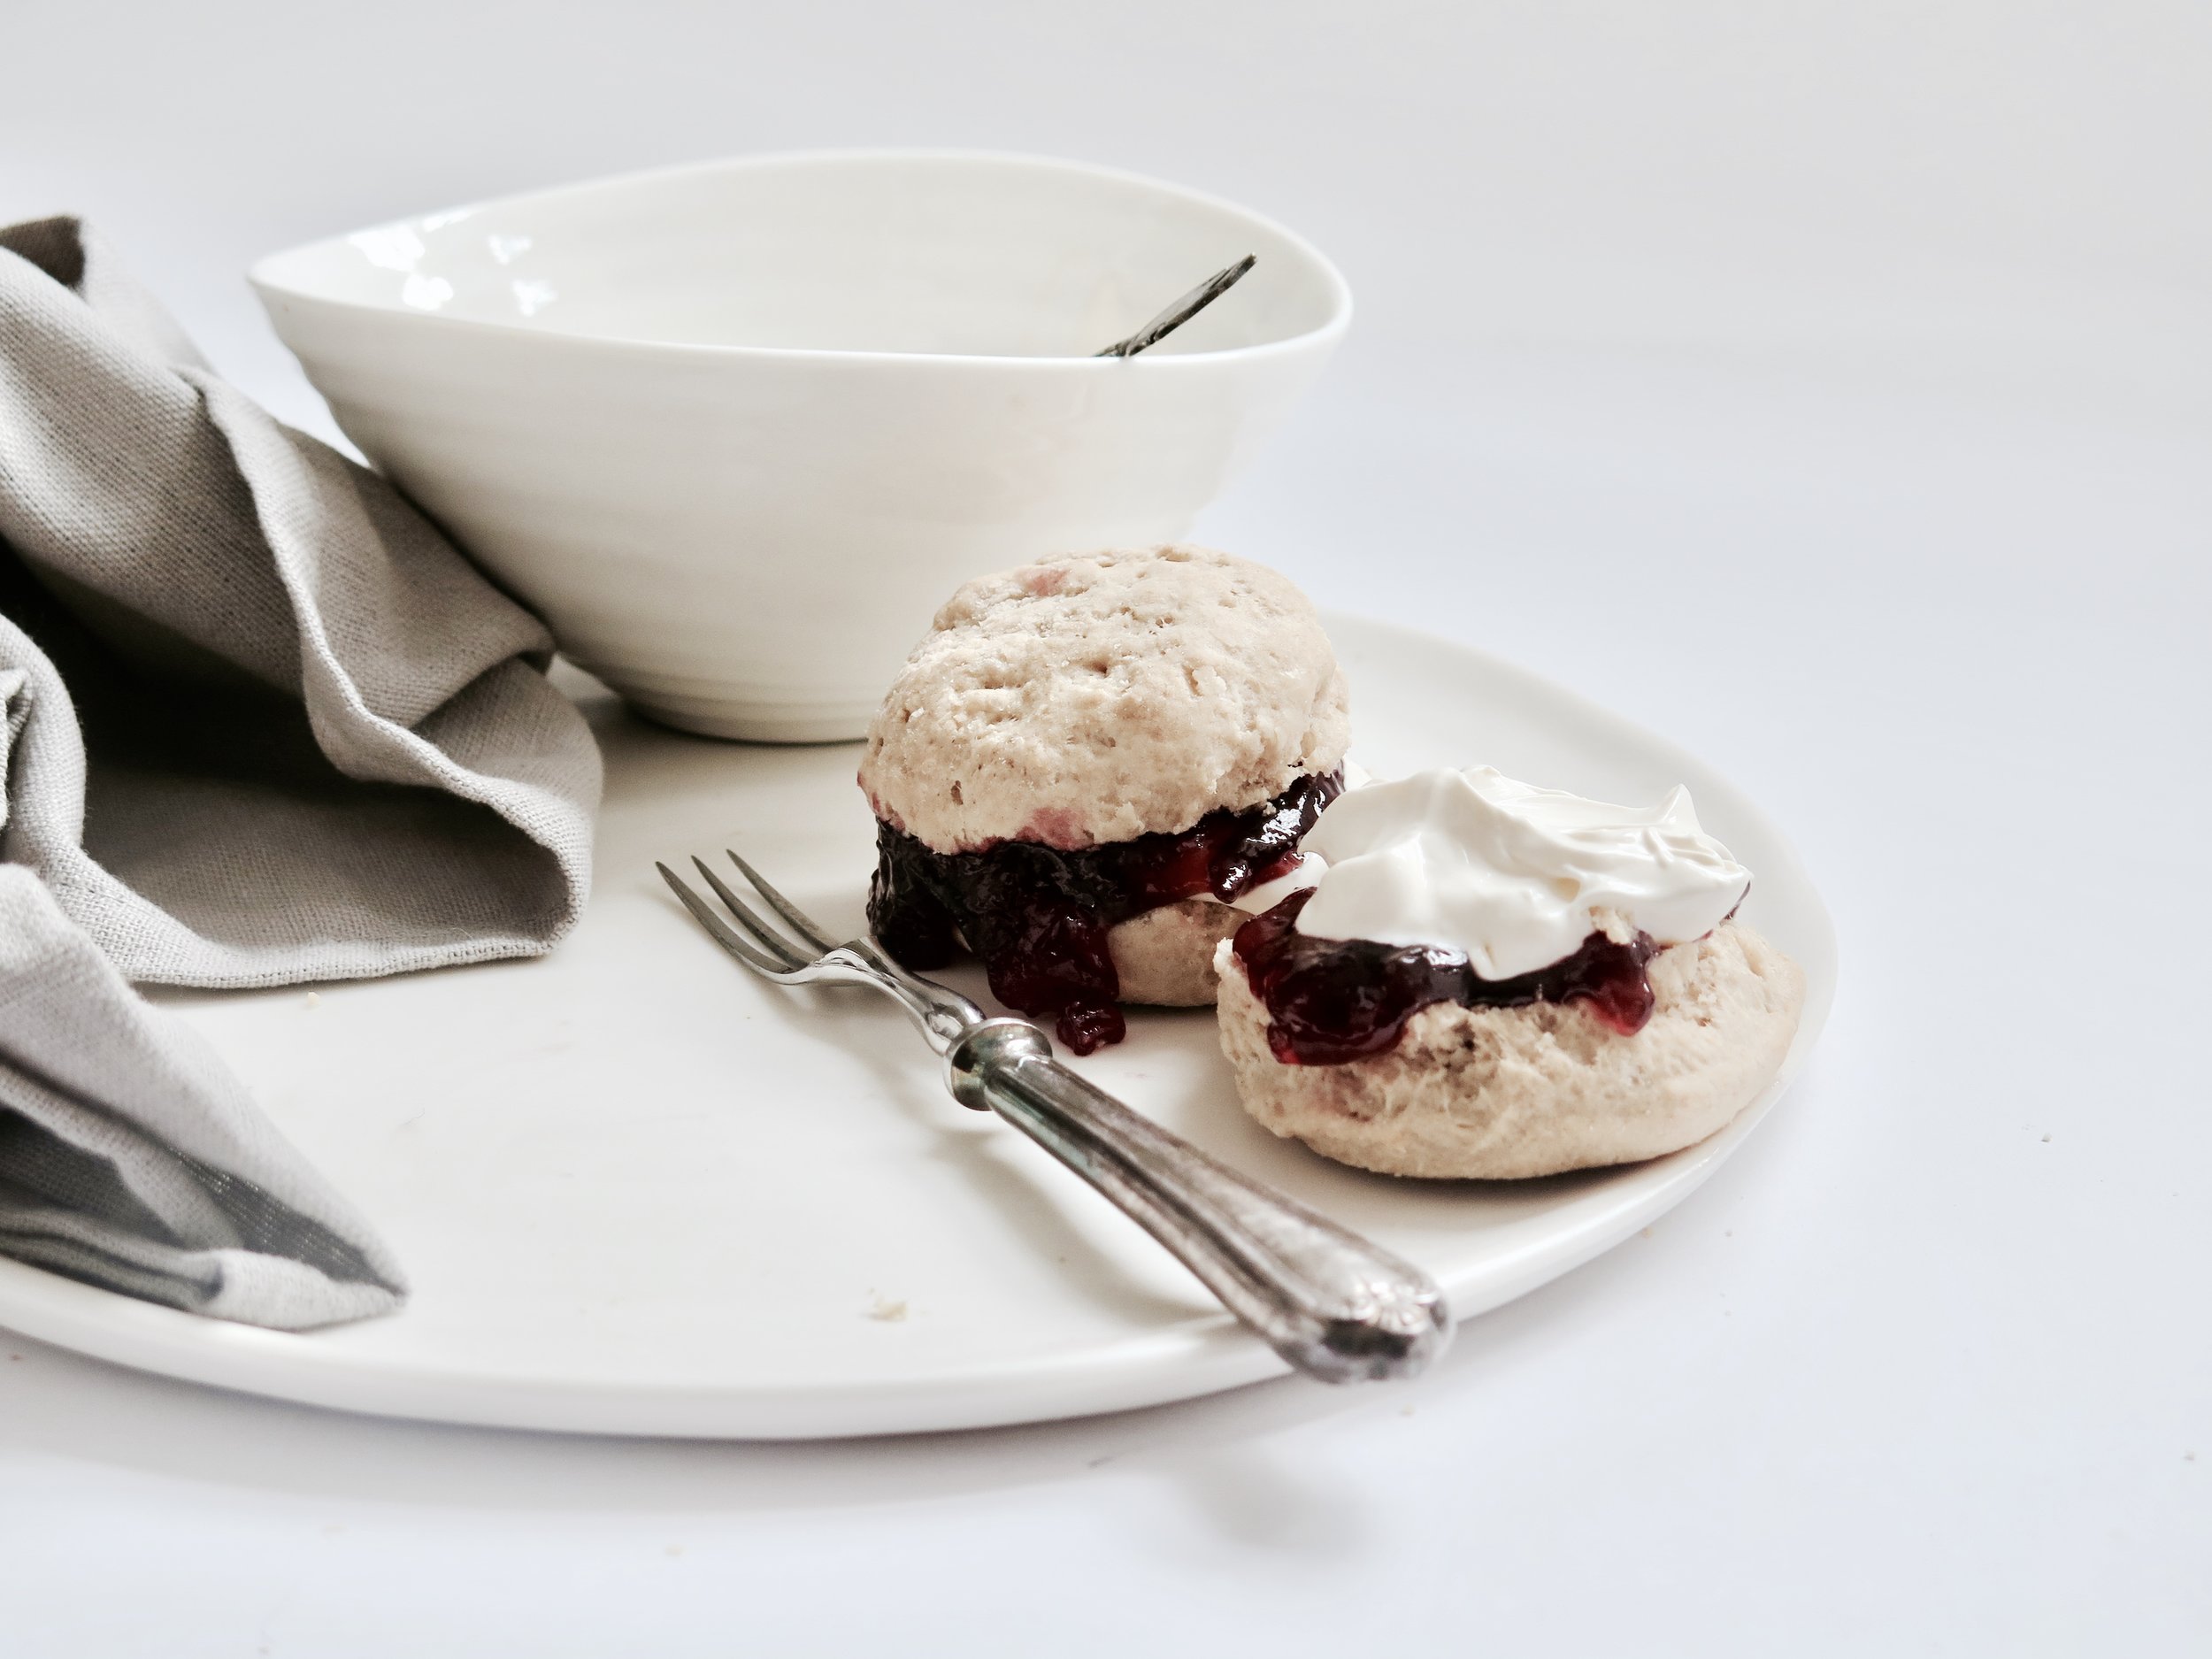
So, I gave in and became a slave to the damson tree once more, boiling, straining, stirring pouring. And now we have half a fridge thronging with jar upon jar of jam. And what does one do when he or she has a year’s supply of jam? Well, I find eating it straight from the jar perfectly acceptable, but others need a medium as an excuse. So I made scones. These are not the dry, stale and overly sweet ones that leave you desperately seeking a currant to relieve you from the accumulating doughy mass at the top of your palate. These are soft, light, moist and crumbly. Rustic in shape, they are best eaten immediately or on the same day (though it is unlikely they will survive longer).
Spelt Scone Recipe – makes 12
500g white spelt flour (can be substituted with plain)
4 ½ tsp cream of tartar
2 tsp bicarbonate of soda
(optional: 2 tbsp sugar if would like them sweet)
1/2 tsp salt
125g cold unsalted butter, diced
300ml milk
1 egg, beaten, for egg wash
6cm round cookie cutter
Large baking sheet, lined with baking parchment
Method
1) Preheat the oven to 220°C.
2) Into a large bowl sift all the dry ingredients. Add in the butter and with fingertips rub it into the dry ingredients until like damp sand. Pour in the milk and very gently fold in until just combined (there may still be pockets of flour).
3) Turn the dough out onto a floured surface and knead it lightly for about 10 seconds. Roll out to a 3cm thickness and then cut out as many scones as possible. Lightly re-knead the scraps of dough and roll out once more to cut out the last remaining scones. Space them out on the tray and blush with the beat egg. Place in oven to bake for 8-10 minutes until they are shiny and golden.
Damson Jam Recipe (makes about 3kg, 9 jars)
NB. This recipe can be adapted for any number of damsons by maintaining the ratio
2kg damsons (slightly under-ripe and not too soft)
2kg sugar
200ml water
9 jam jars, sterilised
Method
1) Pour sugar into an over proof dish and place in oven heated to a low temperature (around 120°C) while the damsons are prepared. Place a couple of small plates into a fridge to cool – these will be used to check the jam’s consistency later.
2) Grease a large stainless-steel pot with butter to prevent the fruit from sticking. Then pour in the damsons and water and stew over a medium-low heat, stirring gently until the damsons’ skins break. Pour in the warmed sugar and stir over medium-low heat until the sugar has dissolved.
3) Increase the heat to medium-high and allow to boil (controllably), stirring occasionally to prevent the fruit from sticking. After a few minutes, as the fruits break down, a pink foam will rise to the surface. Using a slotted spoon, siphon this off into a bowl. If some remains it won’t ruin the jam, it just doesn’t taste as pure as the rest. Then, as the stones begin to rise up, siphon off those too.
4) After about 15 minutes of boiling, when all the stones have been removed, pour a teaspoon of the liquid onto a cold plate. Let it sit for about a minute then tilt the plate, if the liquid is no longer watery, with a viscosity between a sauce and a jam, and wrinkles when pushed with the finger, it is set. For the more scientifically-minded, it should be 105°C on a sugar thermometer. Pour the jam into the sterilised jars and allow to come to room temperature before sealing them with lids.
HUNGRY FOR MORE?
Entremets, soufflés, macarons, choux buns - even making ciabatta, a two day process, which culminates in a dough whose tenacious elasticity has been known to reduce some people to tears - I’ve generally met their challenges.
However, hubris met nemesis a couple of weeks ago. I came home to the nutty toasted perfume of a new recipe my mom had tried out: ridiculously simple, five ingredient coconut wafers so thin you could see the sunset through them, so tender that they crumbled in anticipation of hitting one’s tongue, and so light and moreish that a second batch was immediately required in order to satisfy my family’s greed.
I duly crumbed, clumped, chilled, and sliced. “Make them thinner,” my mom said. And I did, each slice crumbling into thousands of buttery coconut crumbs. I pressed them together and started again. And again. Unfortunately, it was only my patience that turned out thin, and the petulant three year old in me ended up scooping together the entire mixture and, from a height, throwing it down onto the tray.
Finally, I managed to get the fragments to coagulate by adding water. Things went more smoothly, but the biscuits, when baked, were slightly tougher, less flaky and less moreish than the original batch. Nevertheless, my brother took them to university. One of his friends, suffering from tonsillitis, reached into the box of biscuits, and in taking out one, touched many. The rest were binned, mostly due to the possibility of their having being infected with tonsillitis, but clearly not delicious enough to warrant risking it – a failure in my book.
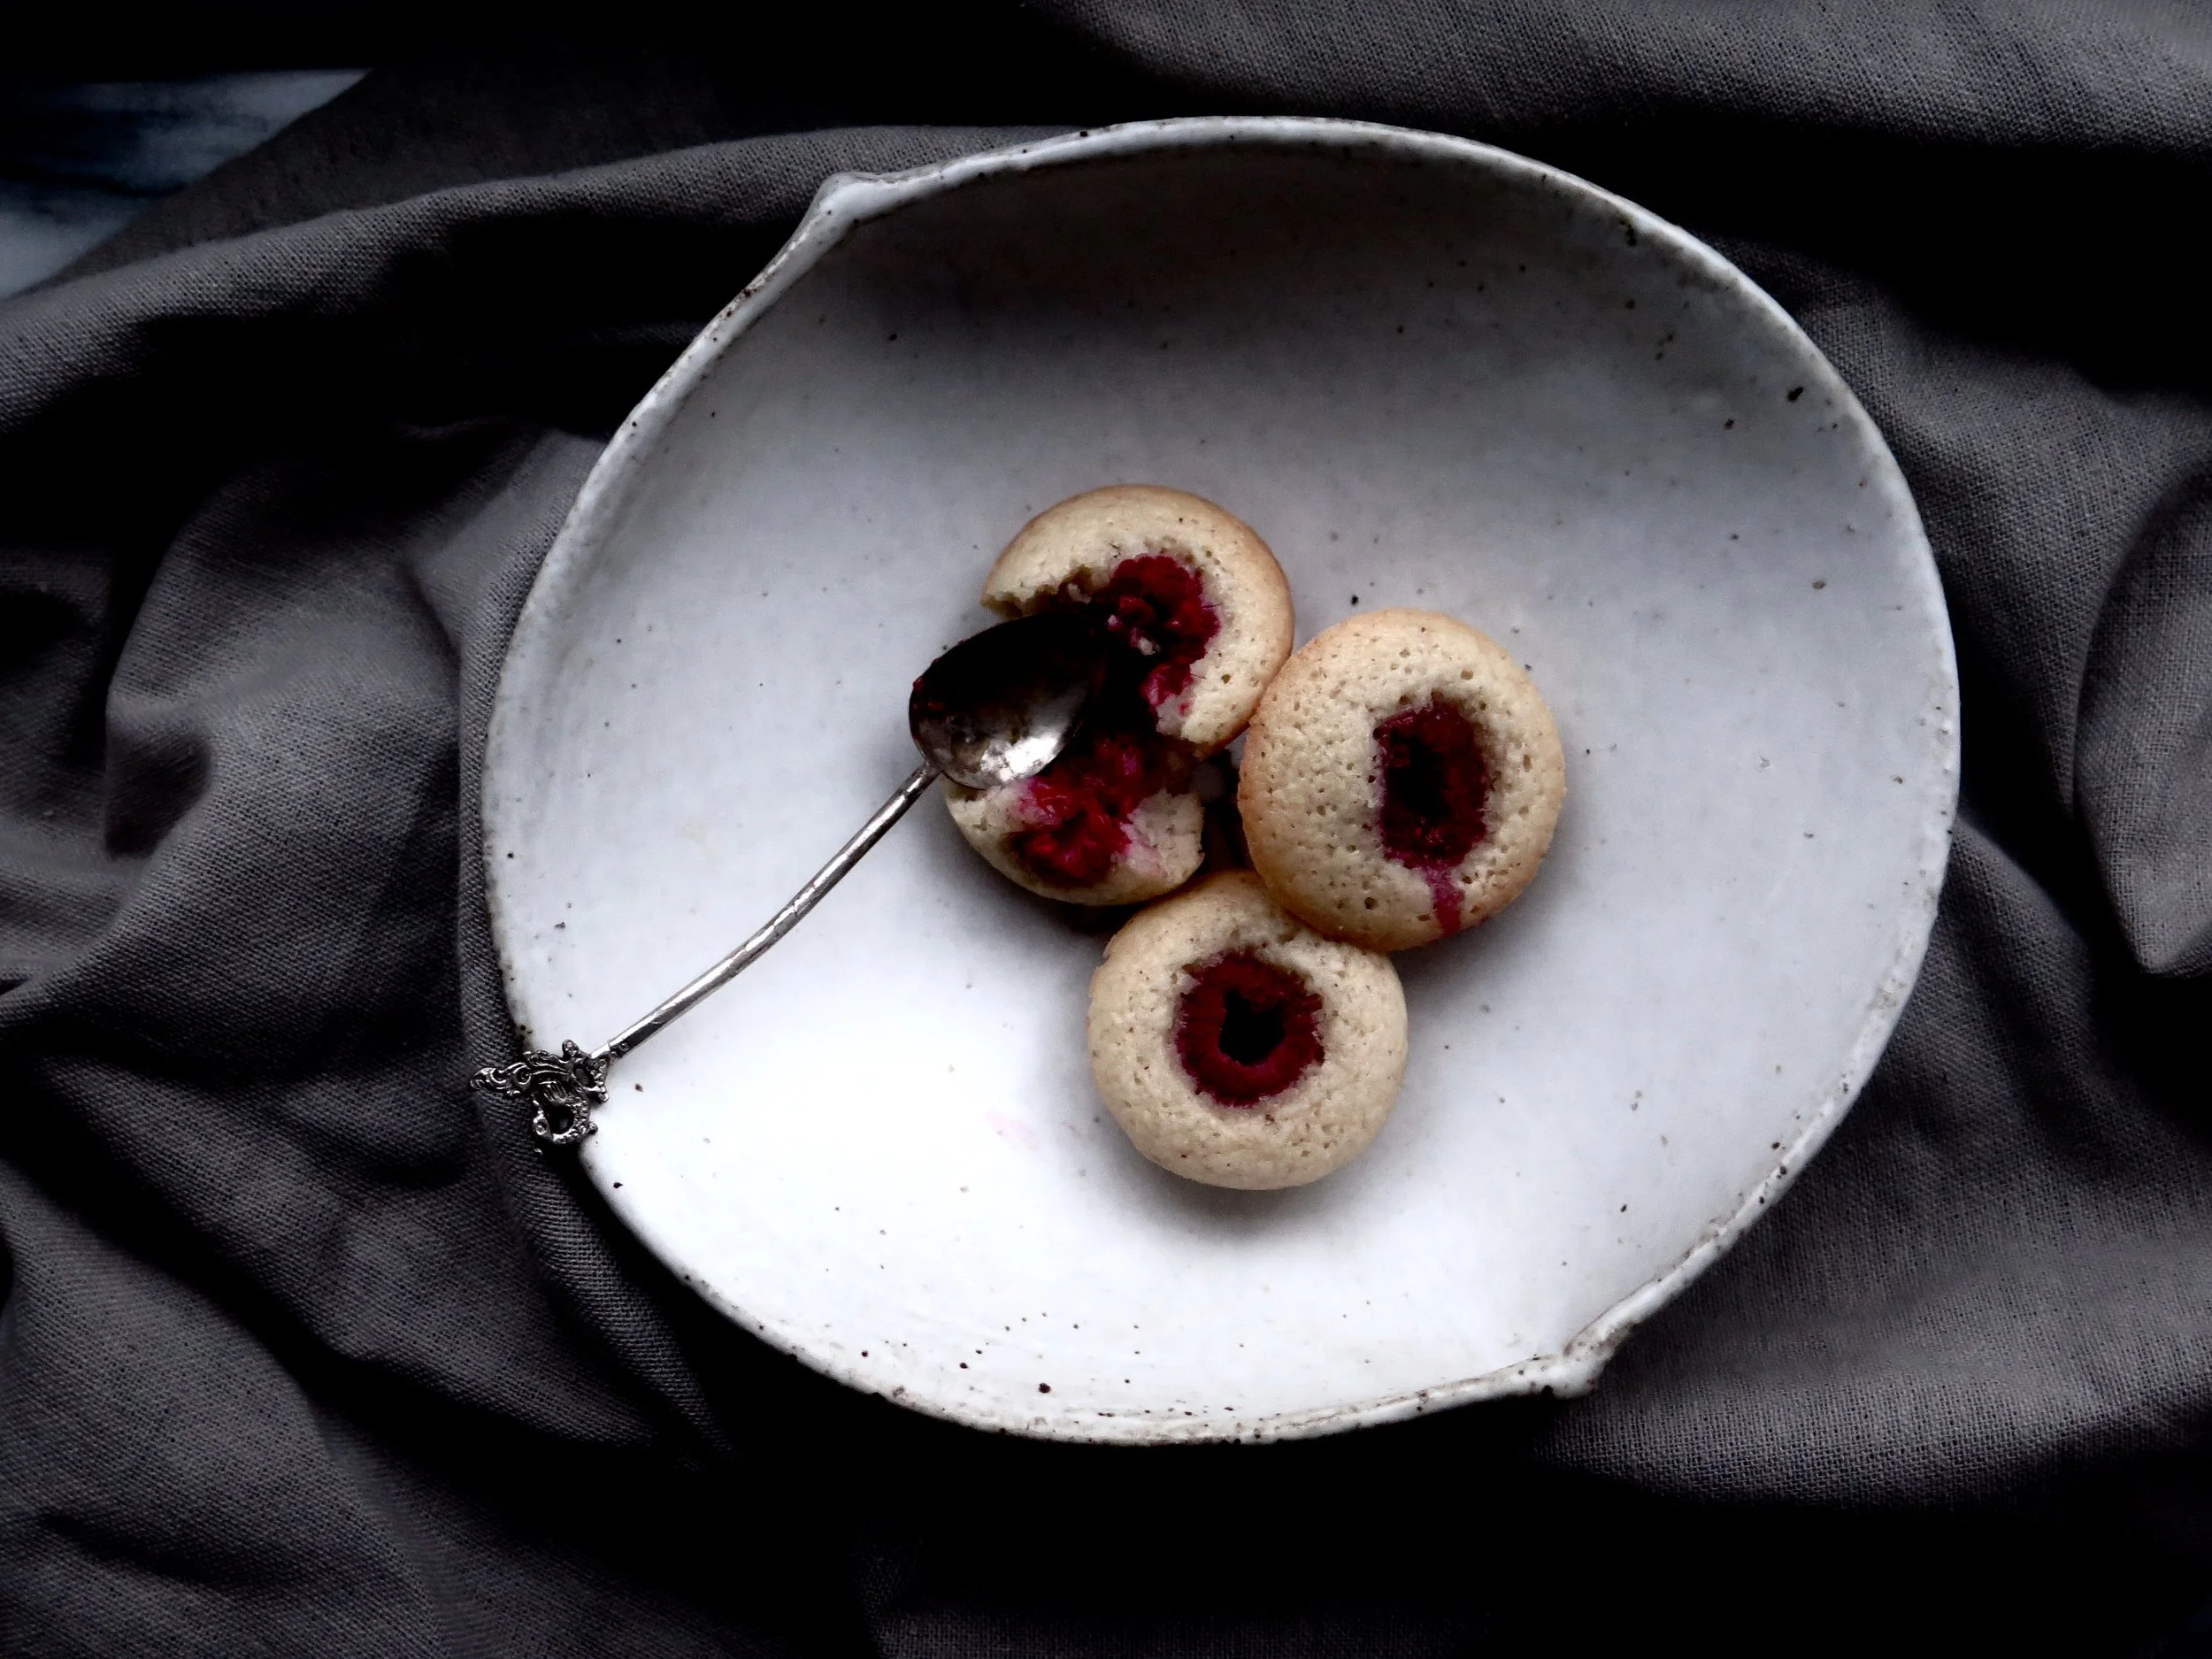
After nursing my crumbled confidence for several days I swerved off the rocky path of coconut wafers to try my hand at financiers. I have always admired them - perfectly bite sized and innocent- looking with the flush of raspberry in the centre. They are also simple to make, requiring few ingredients, and turning out both delicious and delicate.
The history is much debated, but some say they were create by nuns of the Order of the Visitation and then adapted by a French baker, Lasne, to sell in the Parisian financial district where their almond content allowed them to keep well in the pockets of bankers.
They are elegant and dainty, slightly crunchy on the outside, the tender blond crumb perfumed with a slight orange tang and moistened by the burst of raspberry. They do keep rather well and would bless a summer’s picnic.
Recipe:
Makes 30 (approx)
50g unsalted butter
50g plain flour
160g icing sugar
140g ground almonds
1/2 tsp salt
200g egg whites (6 large eggs)
1/4 tsp almond extract
zest of 1/4 orange
60g raspberries (minimum of 30 raspberries i.e. 1 per financier)
Very well-greased and flour- dusted 3 x 12 hole mini cupcake tins (with 2.5cm diameter circles) OR 1 to be used 3 times
Method:
- Melt the butter in a small pan over a medium heat. When completely melted, stir the bottom of the pan continuously until the butter turns a deep gold colour and nutty in aroma. Set aside to cool.
- Sieve the flour and icing sugar into large bowl. Stir in the ground almonds and salt. Once combined, pour in the egg whites, almond extract, zest and slightly cooled butter and stir to fully combine. Cover the bowl and allow the mixture to chill in the fridge for 2 hours.
- Preheat the oven to 180C.
- Spoon the batter into the holes until each is two thirds full. Press a raspberry into the centre of each - the batter should rise to all the way to the top.
- Place in the oven to bake for 10-12 minutes or until light gold in colour. Transfer to a wire rack to cool (to avoid them becoming soggy) or devour immediately.
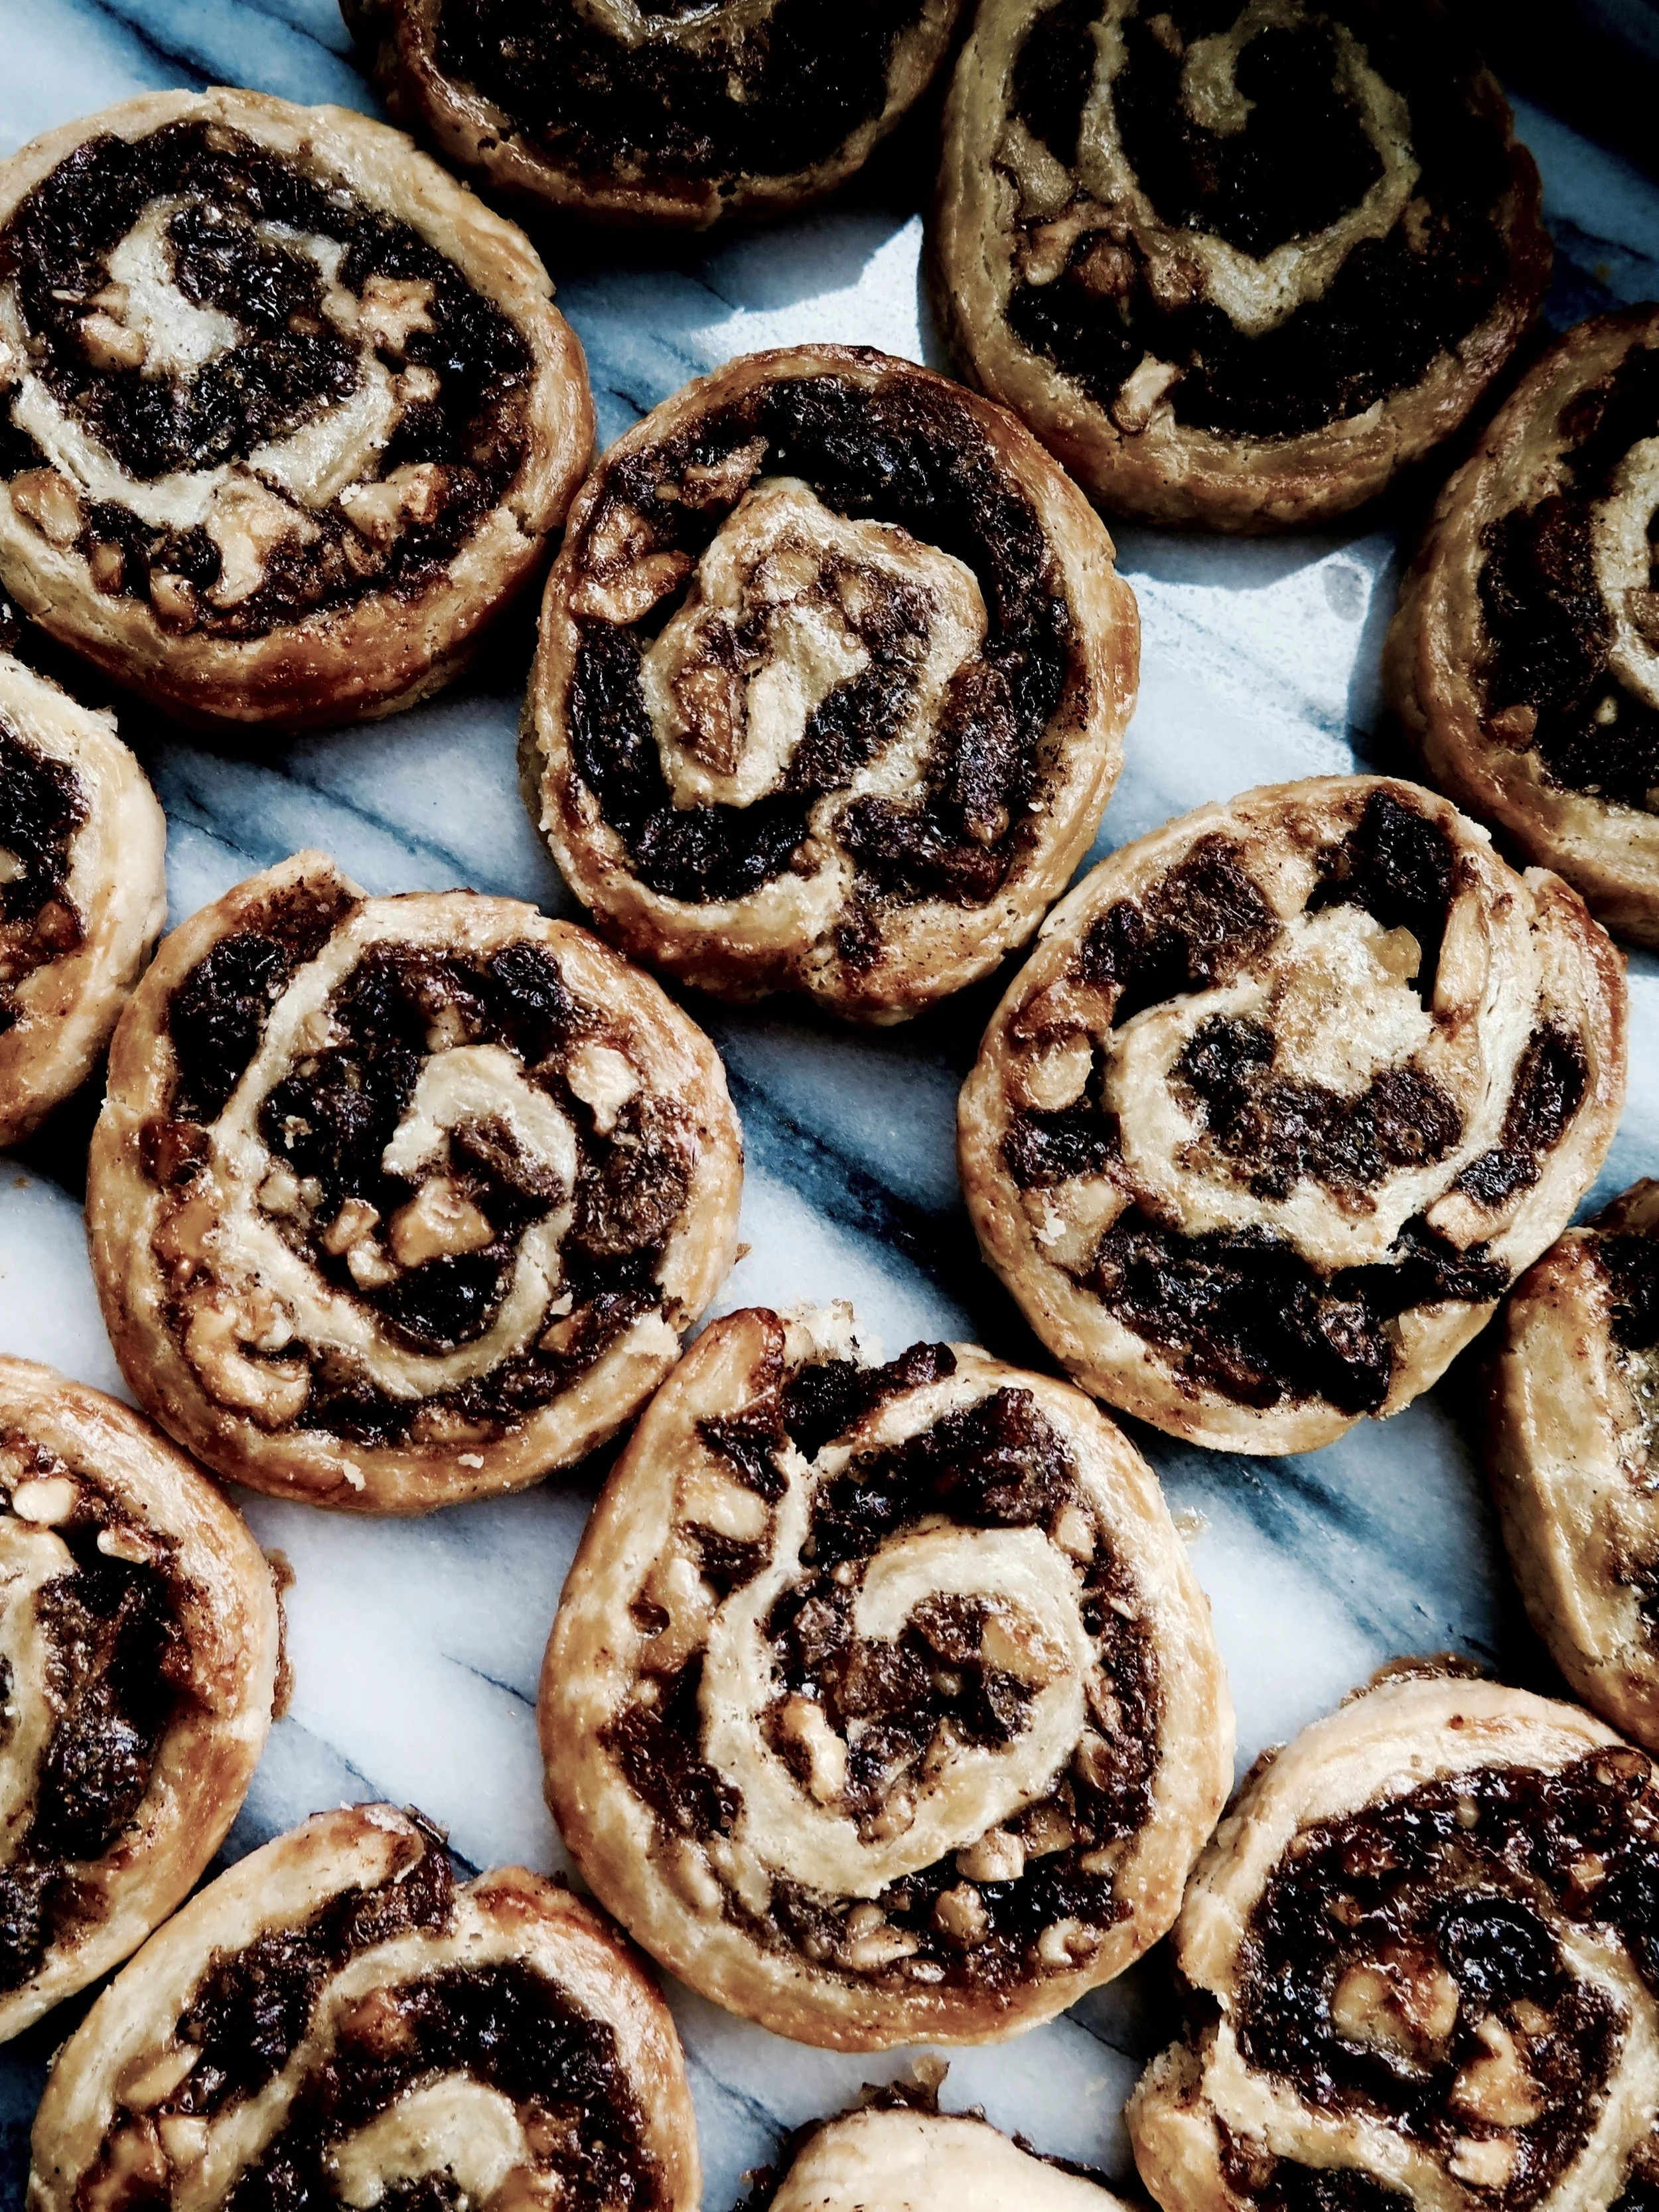
Moreishly light & flaky pastry swirled with chewy & caramelised cinnamon dusted apricots & sultanas


























This recipe is delivered with a warning: this stollen, despite its understated, simple, appearance, is highly addictive. I ate almost an entire stollen in one day and felt quite sorry for myself afterwards (guilt streaked sugar-overload), so arm yourself with friends or a freezer before making it