Viewing entries in
Tarts and Pies

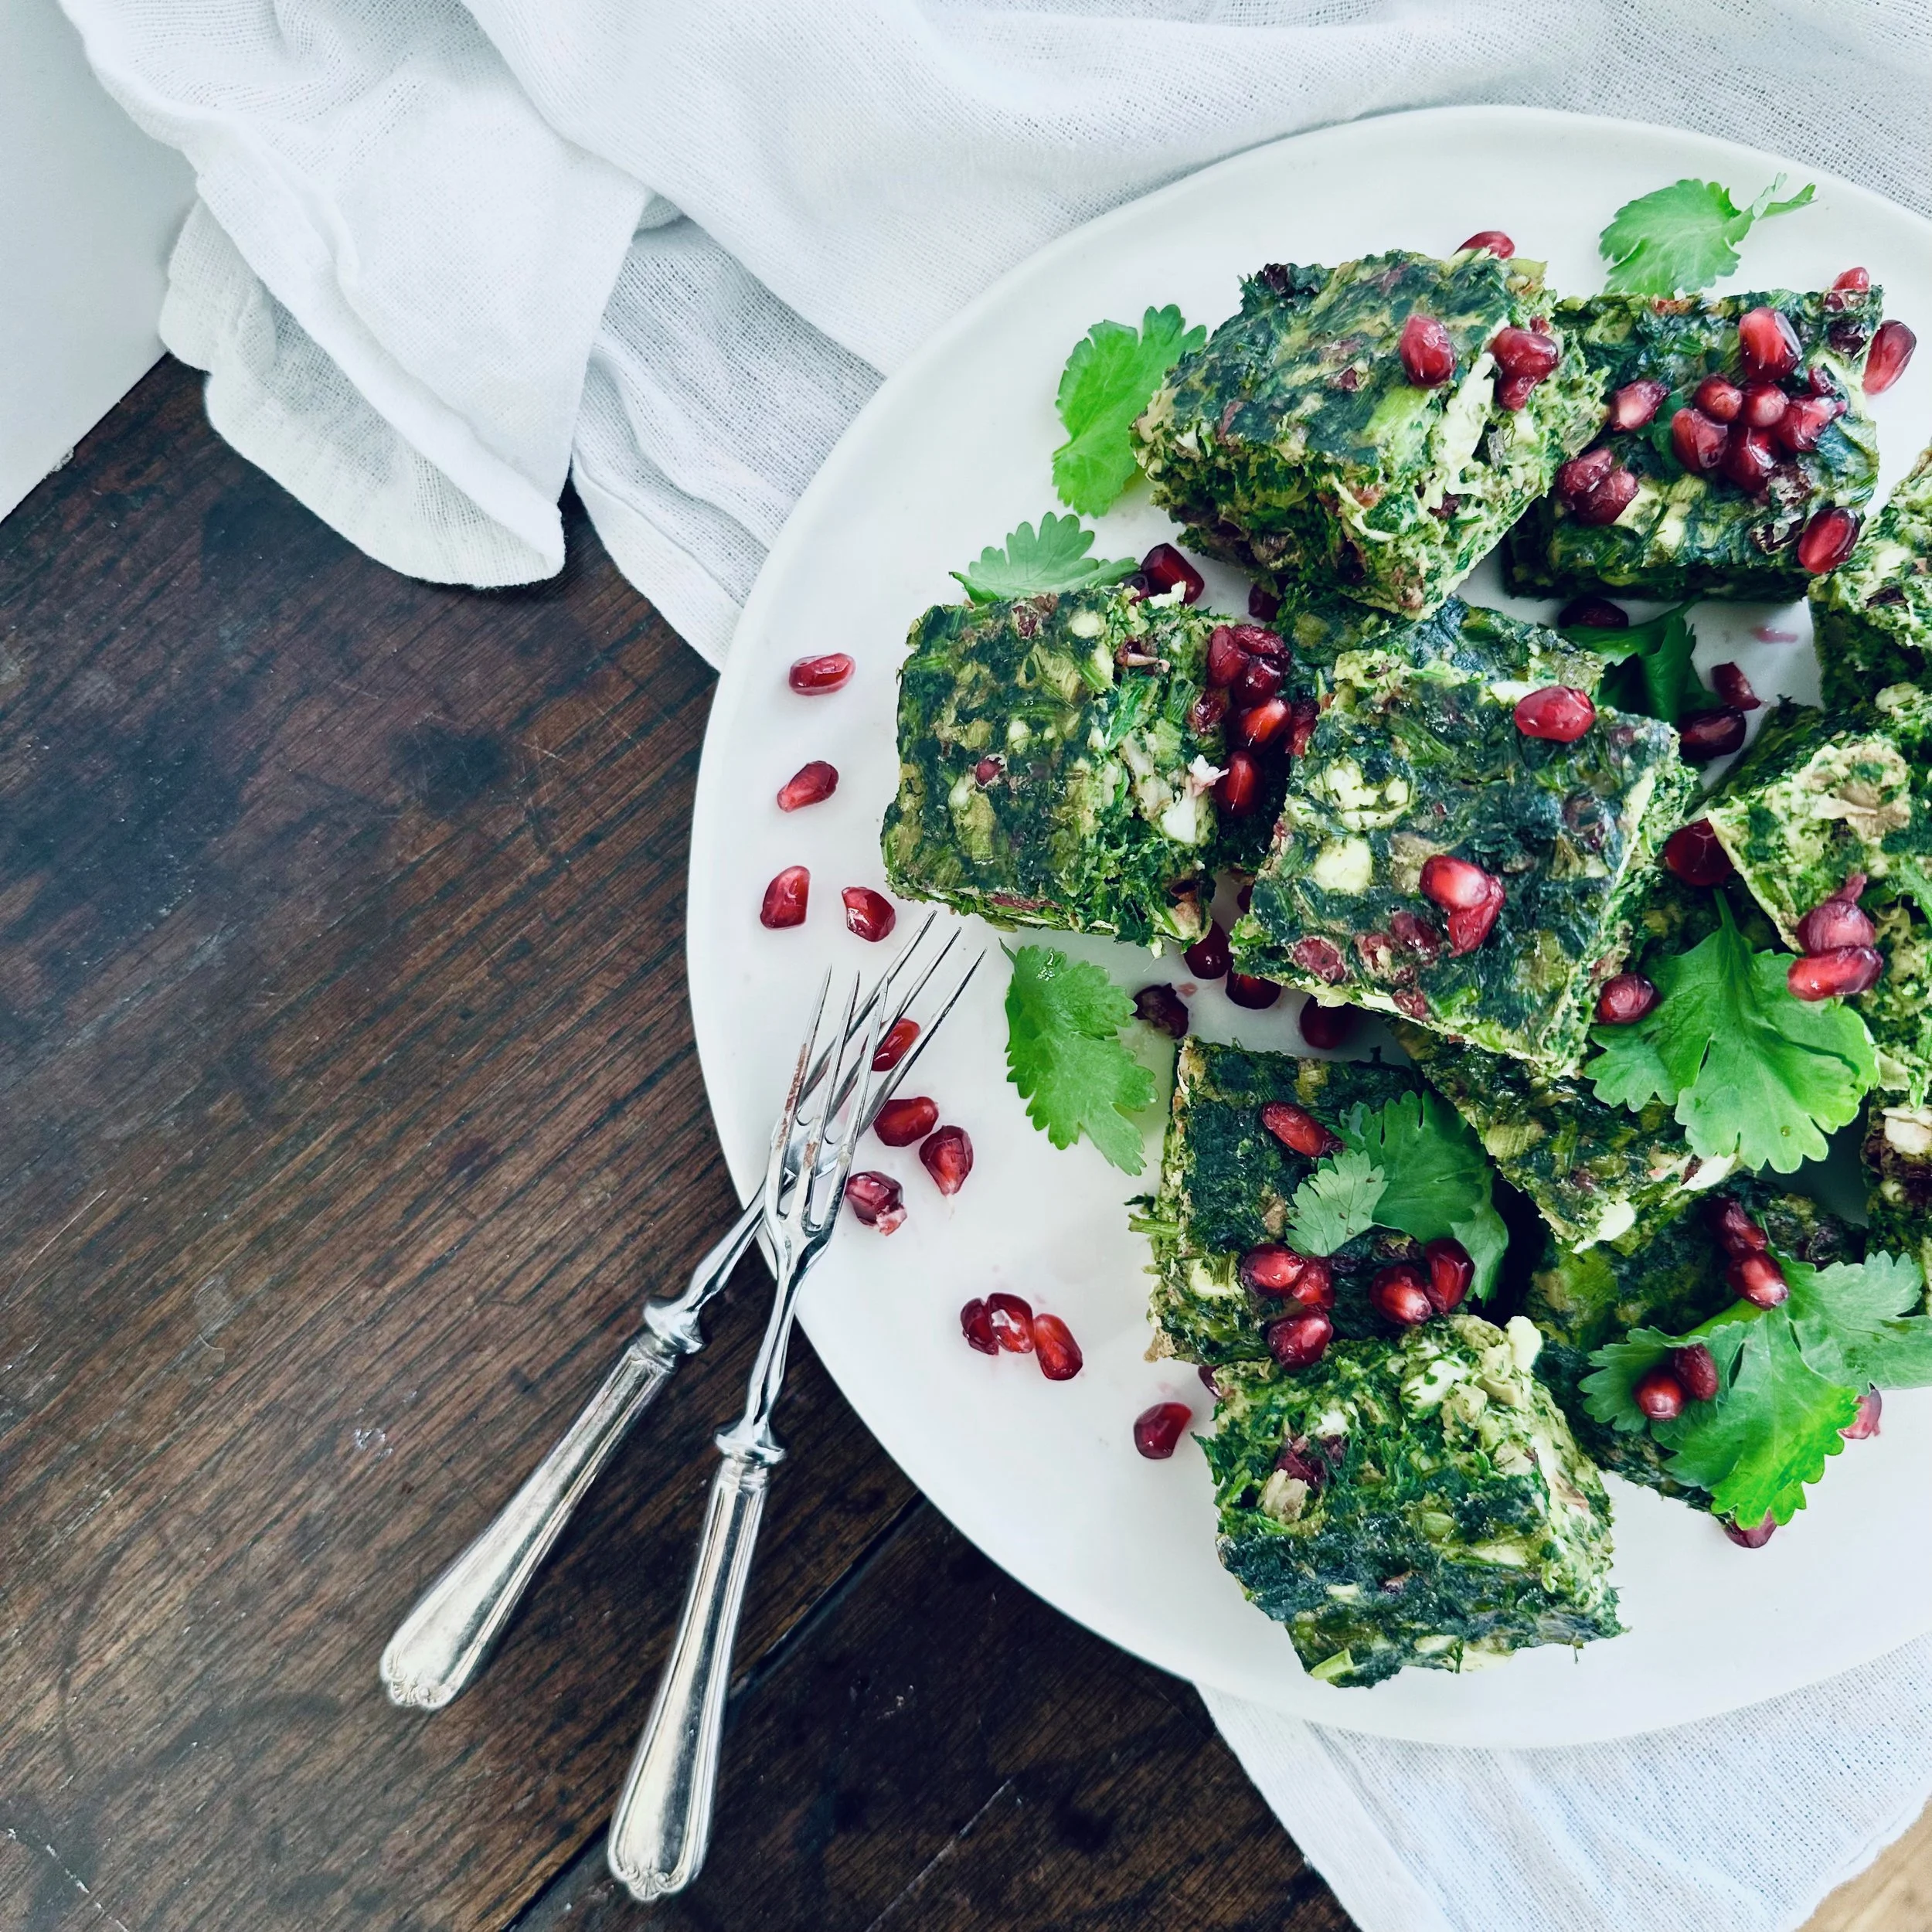
Feta, herb and barberry kuku

Comment

Feta, herb and barberry kuku

It’s suffused with herbs and umami spring onions, and laced with tongue-tingling sour barberries, sharp and salty feta, and warming toasted walnuts which add necessary texture. I add chilli, too, which means that every bite is an avalanche of flavour.

Kuku is high in protein, and basically carb-free (if that’s your thing), and really filling, too. I’ve adapted this one from a more traditional Persian recipe (where this dish originates).

Comment

Epic Apple Pie

Comment

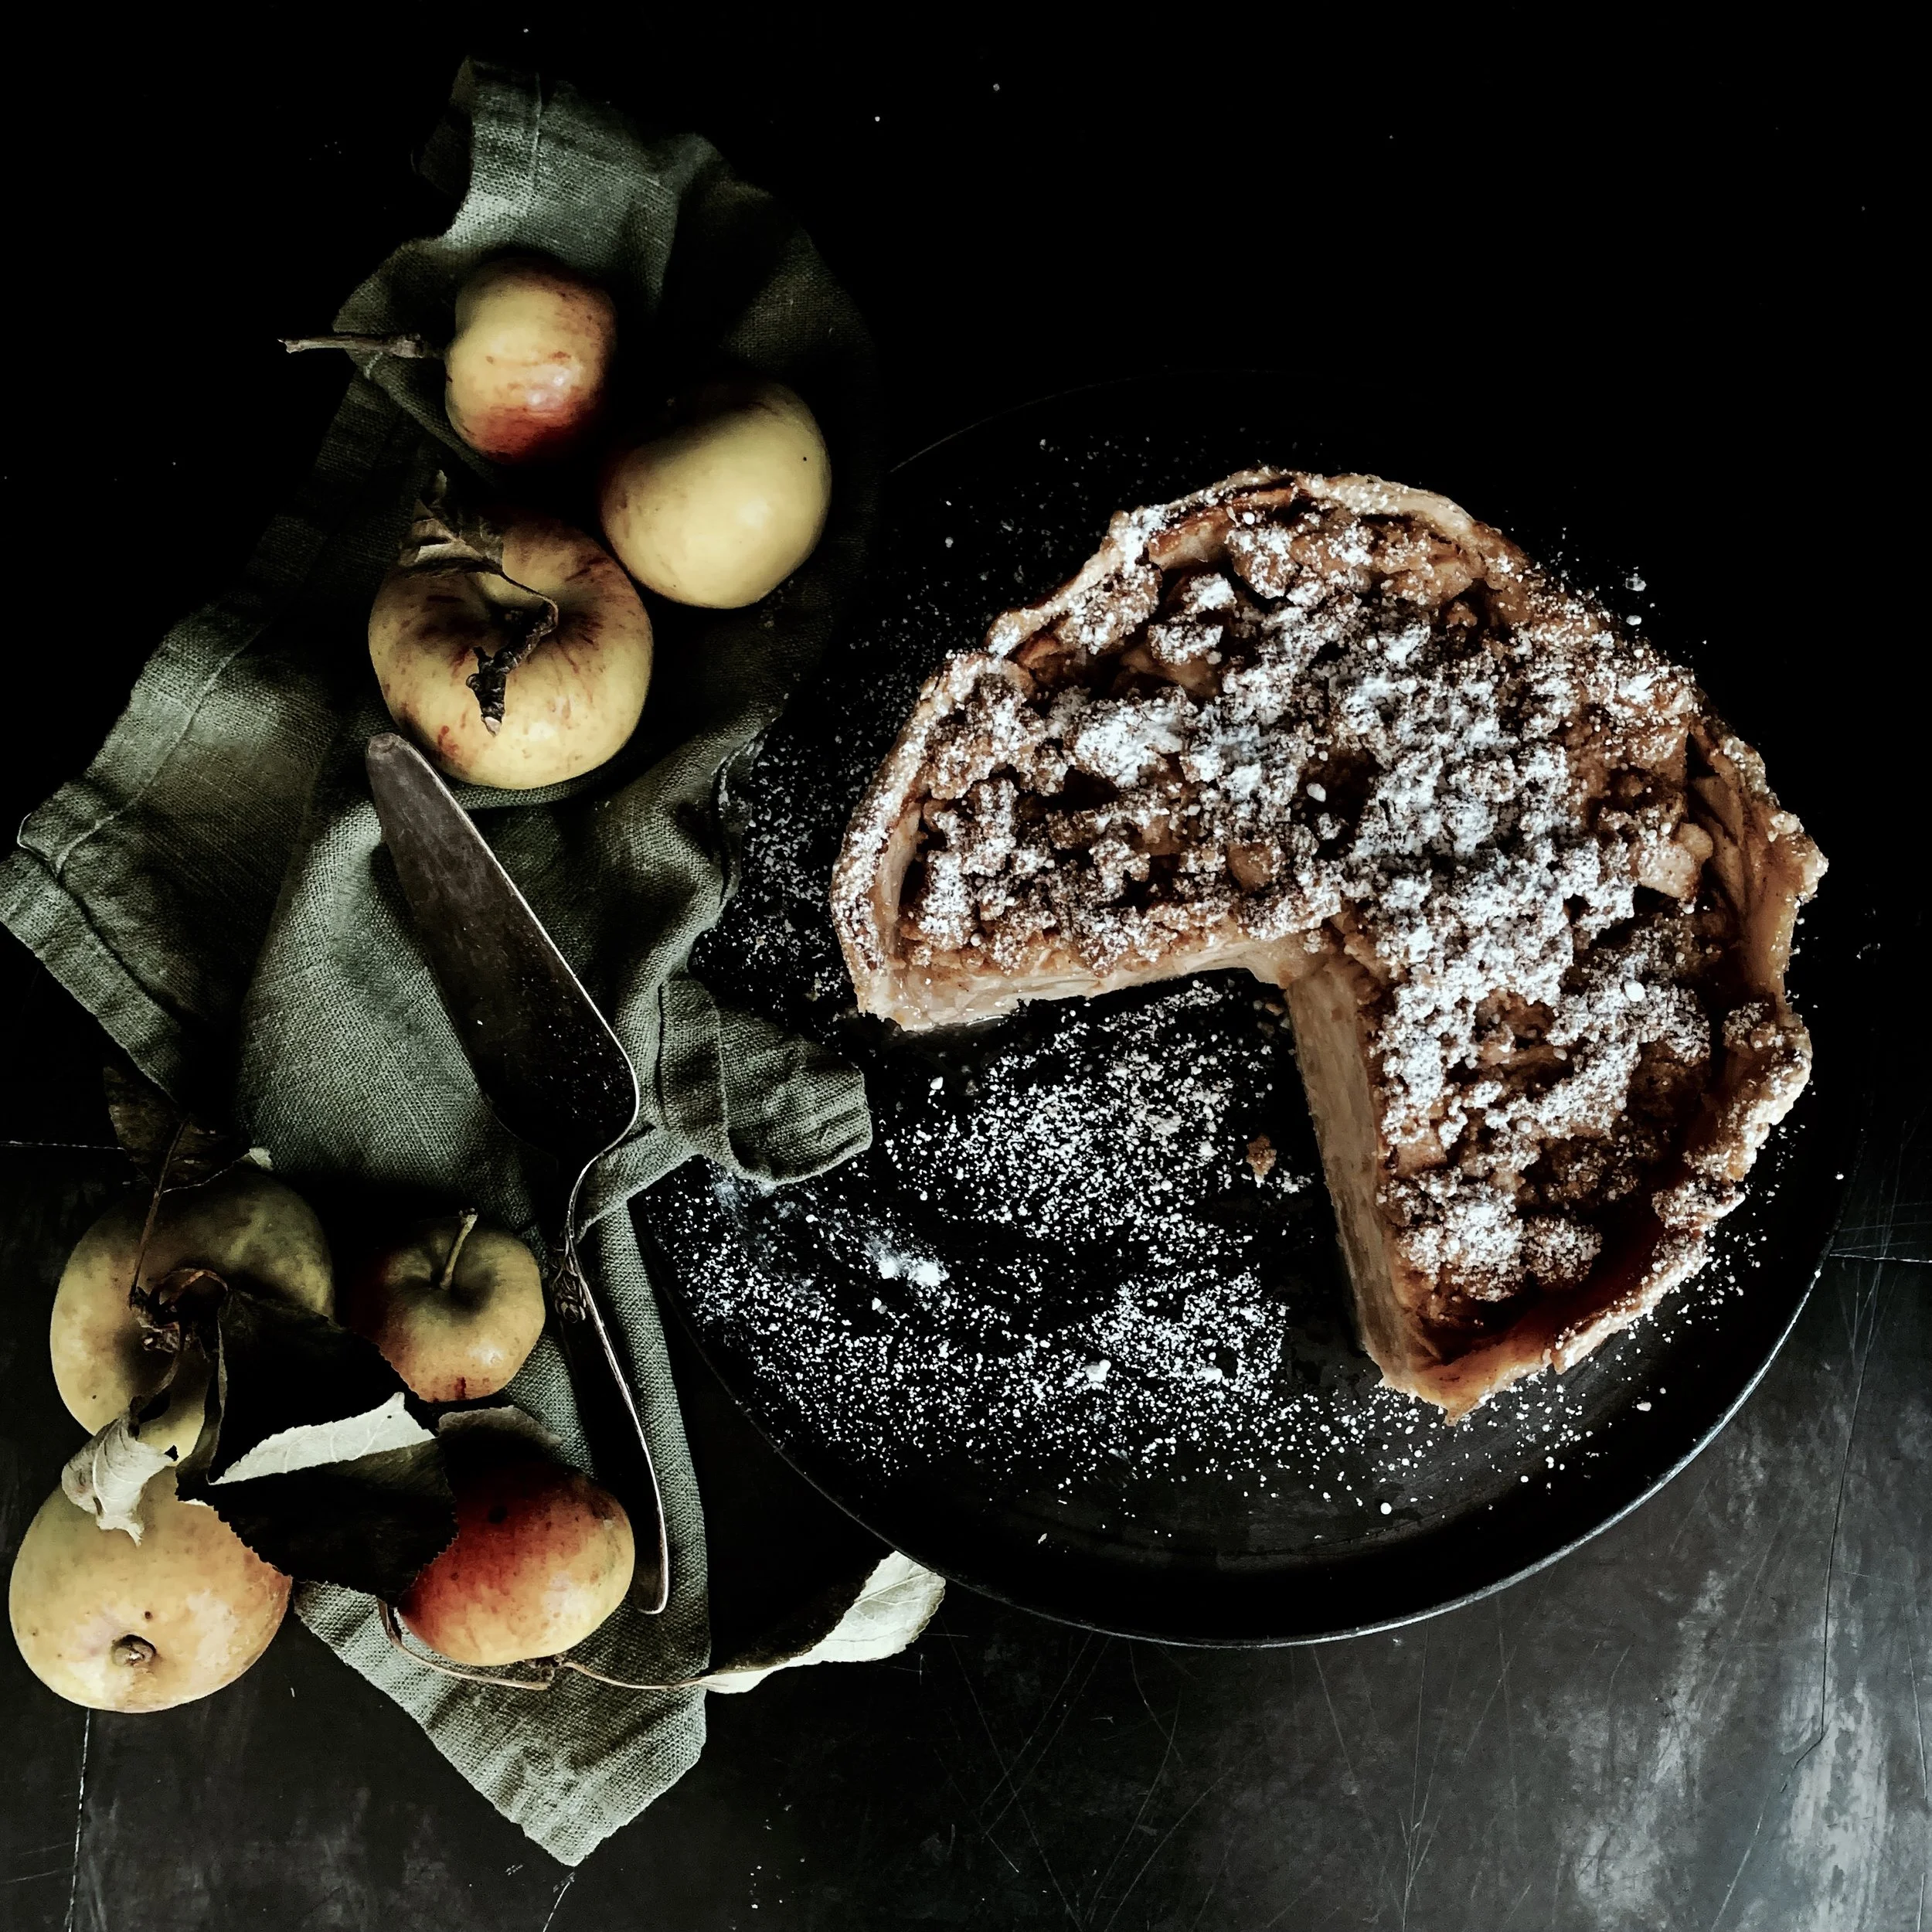
Epic Apple Pie

Epic apple pie: the pastry is golden and flakey, and the apple filling a medley of tart, tangy and sweet. There’s a hint of autumnal spice (without it being overpowering), and it’s topped, not with more pastry, but a brown butter cinnamon crumble that adds moreish crunch.

Comment

Salted Caramel & Peanut Chocolate Tart

Comment

Salted Caramel & Peanut Chocolate Tart

I wanted chocolate. I wanted peanuts. I wanted caramel. And so came together three revered ingredients to make this simple but deeply luscious dessert. I admit to a glimmer of inspiration from the Season 11 contestant of RuPaul’s Drag Race contestant, the drag queen with the moniker Silky Nutmeg Ganache. But apart from that, I attribute this recipe to greed.

Comment

Mozzarella, Tomato & Basil Crostata

Comment

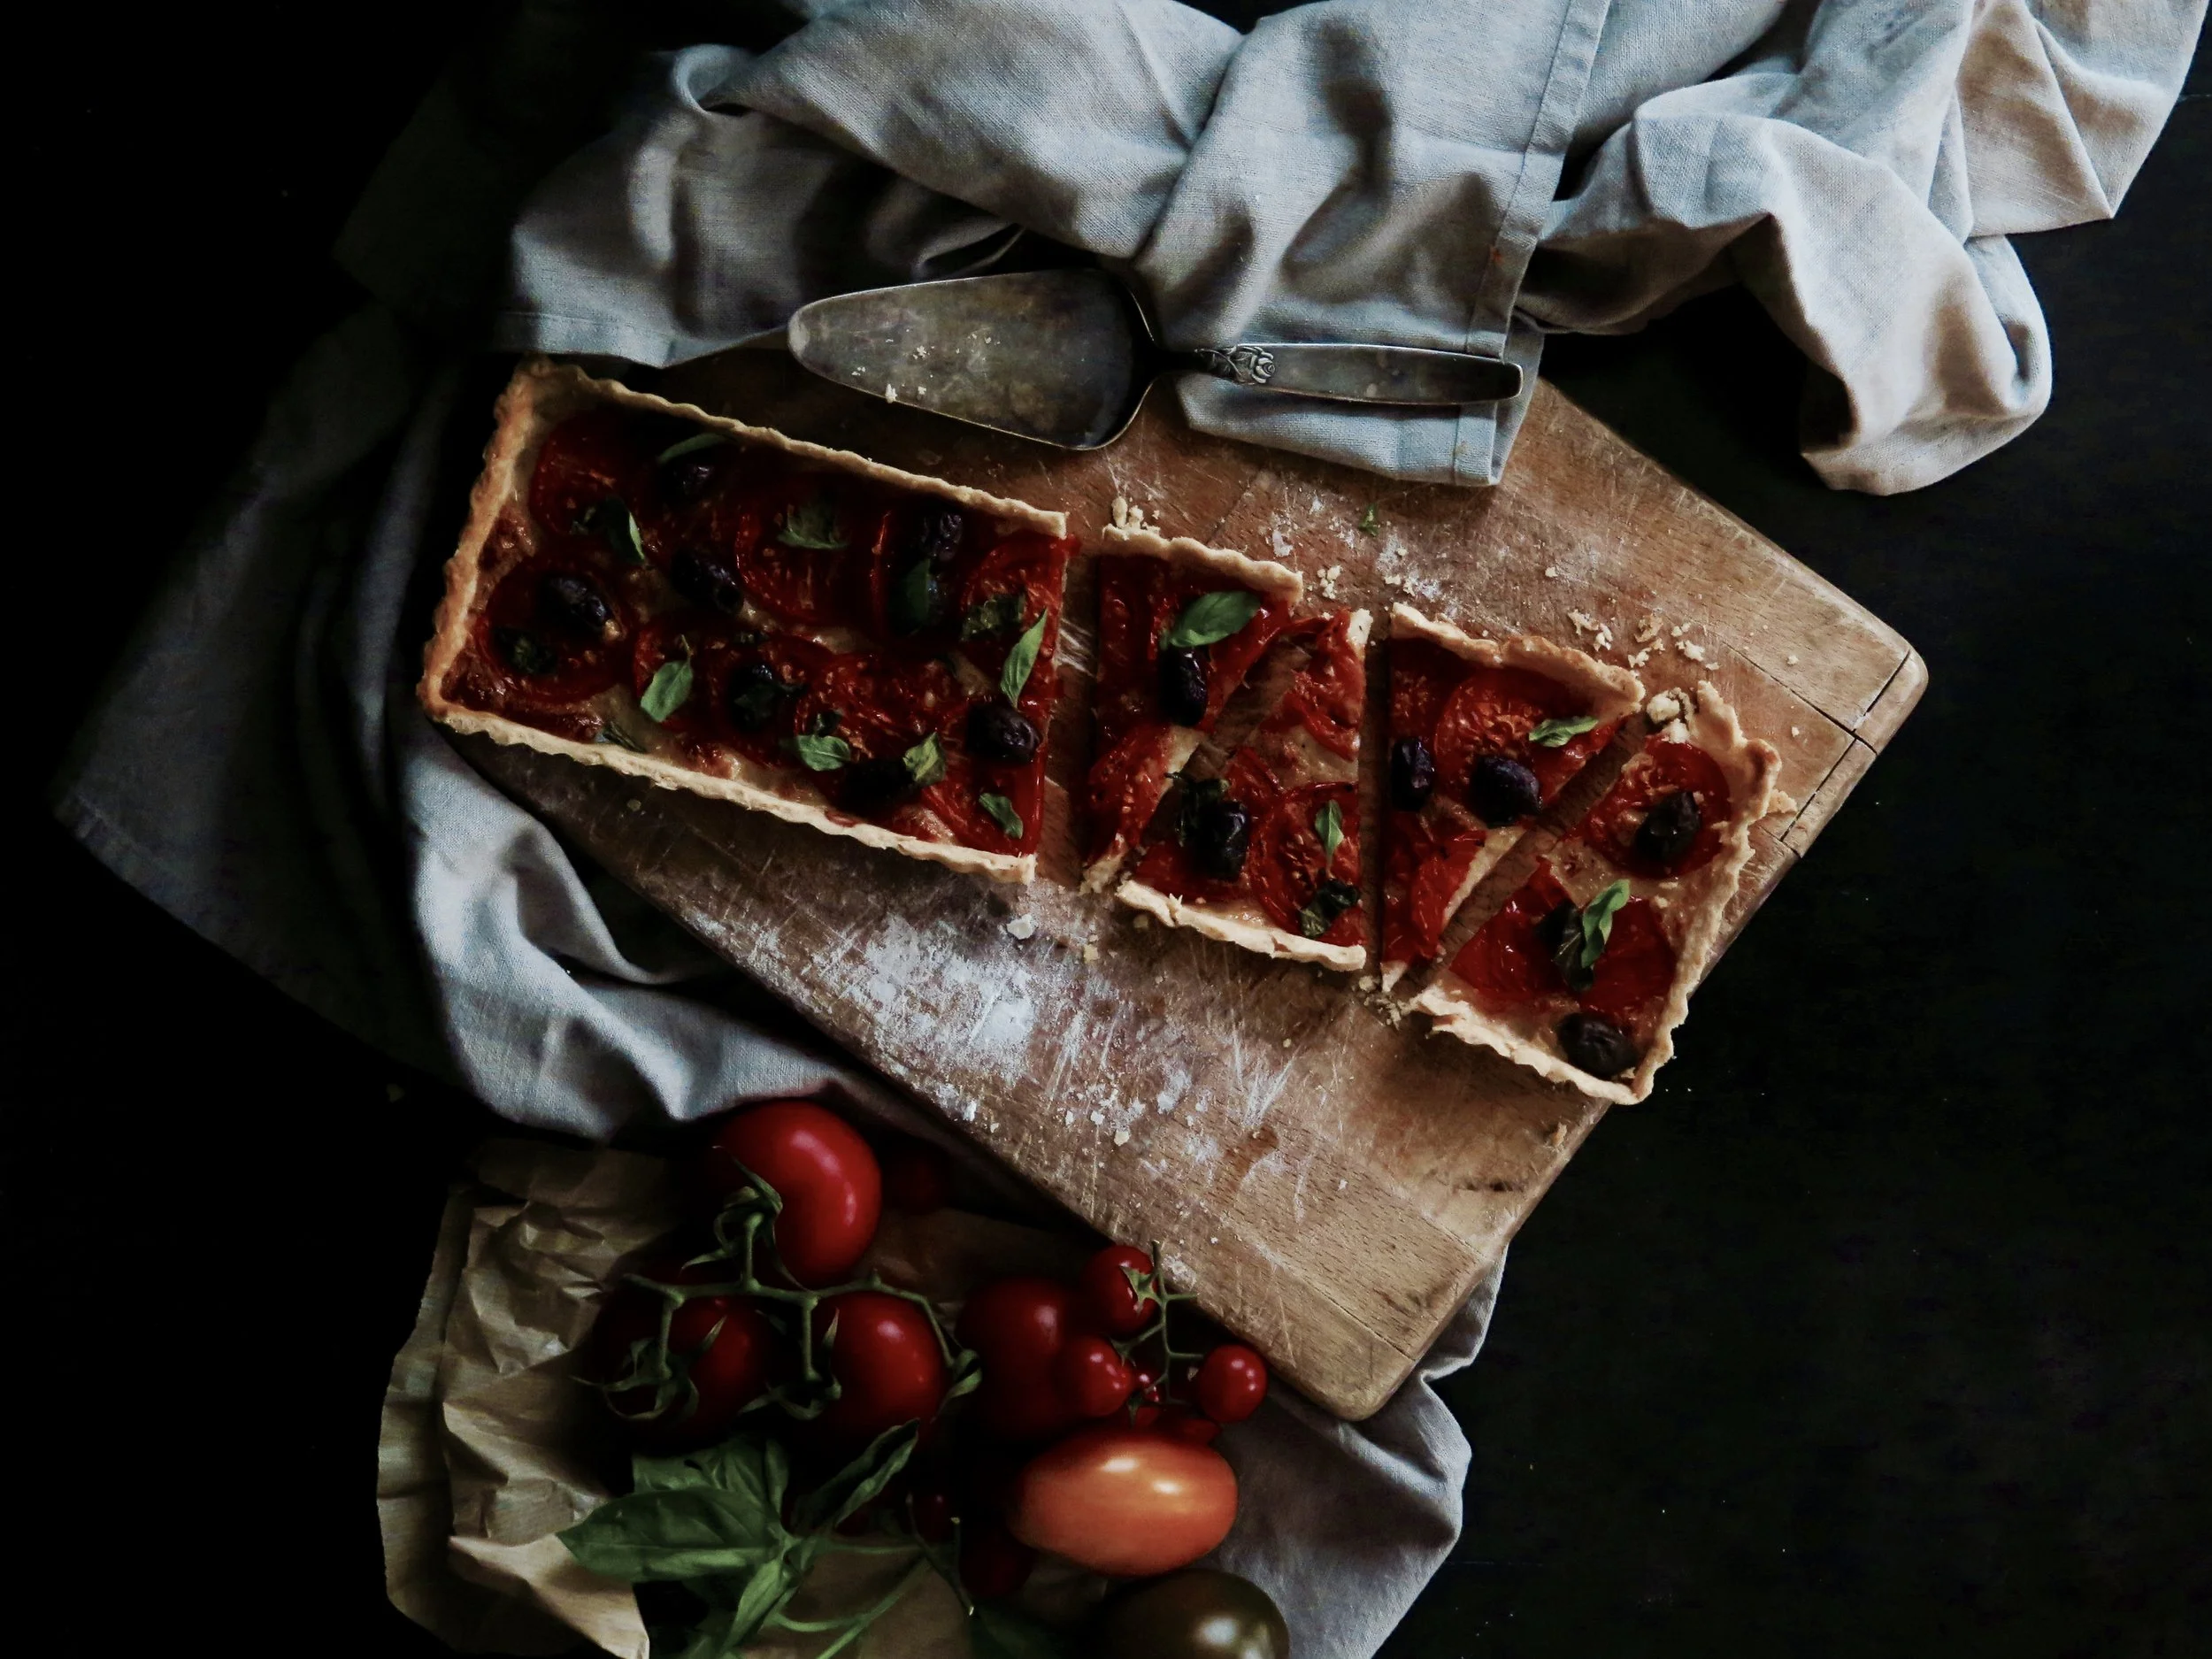
Mozzarella, Tomato & Basil Crostata

This is my favourite meal and has been since I was three – the precocious (and pretentious, no doubt) answer to my friends’ parents’ question as to my favourite food. Apart from the fact that there really isn’t anything fancy about it, it’s crazily simple to make. Despite being pastry-based and with a molten bed of mozzarella, it is very light, and perfect for a gathering.

Comment

Sticky Date & Amaretti Crumble Bars

Comment

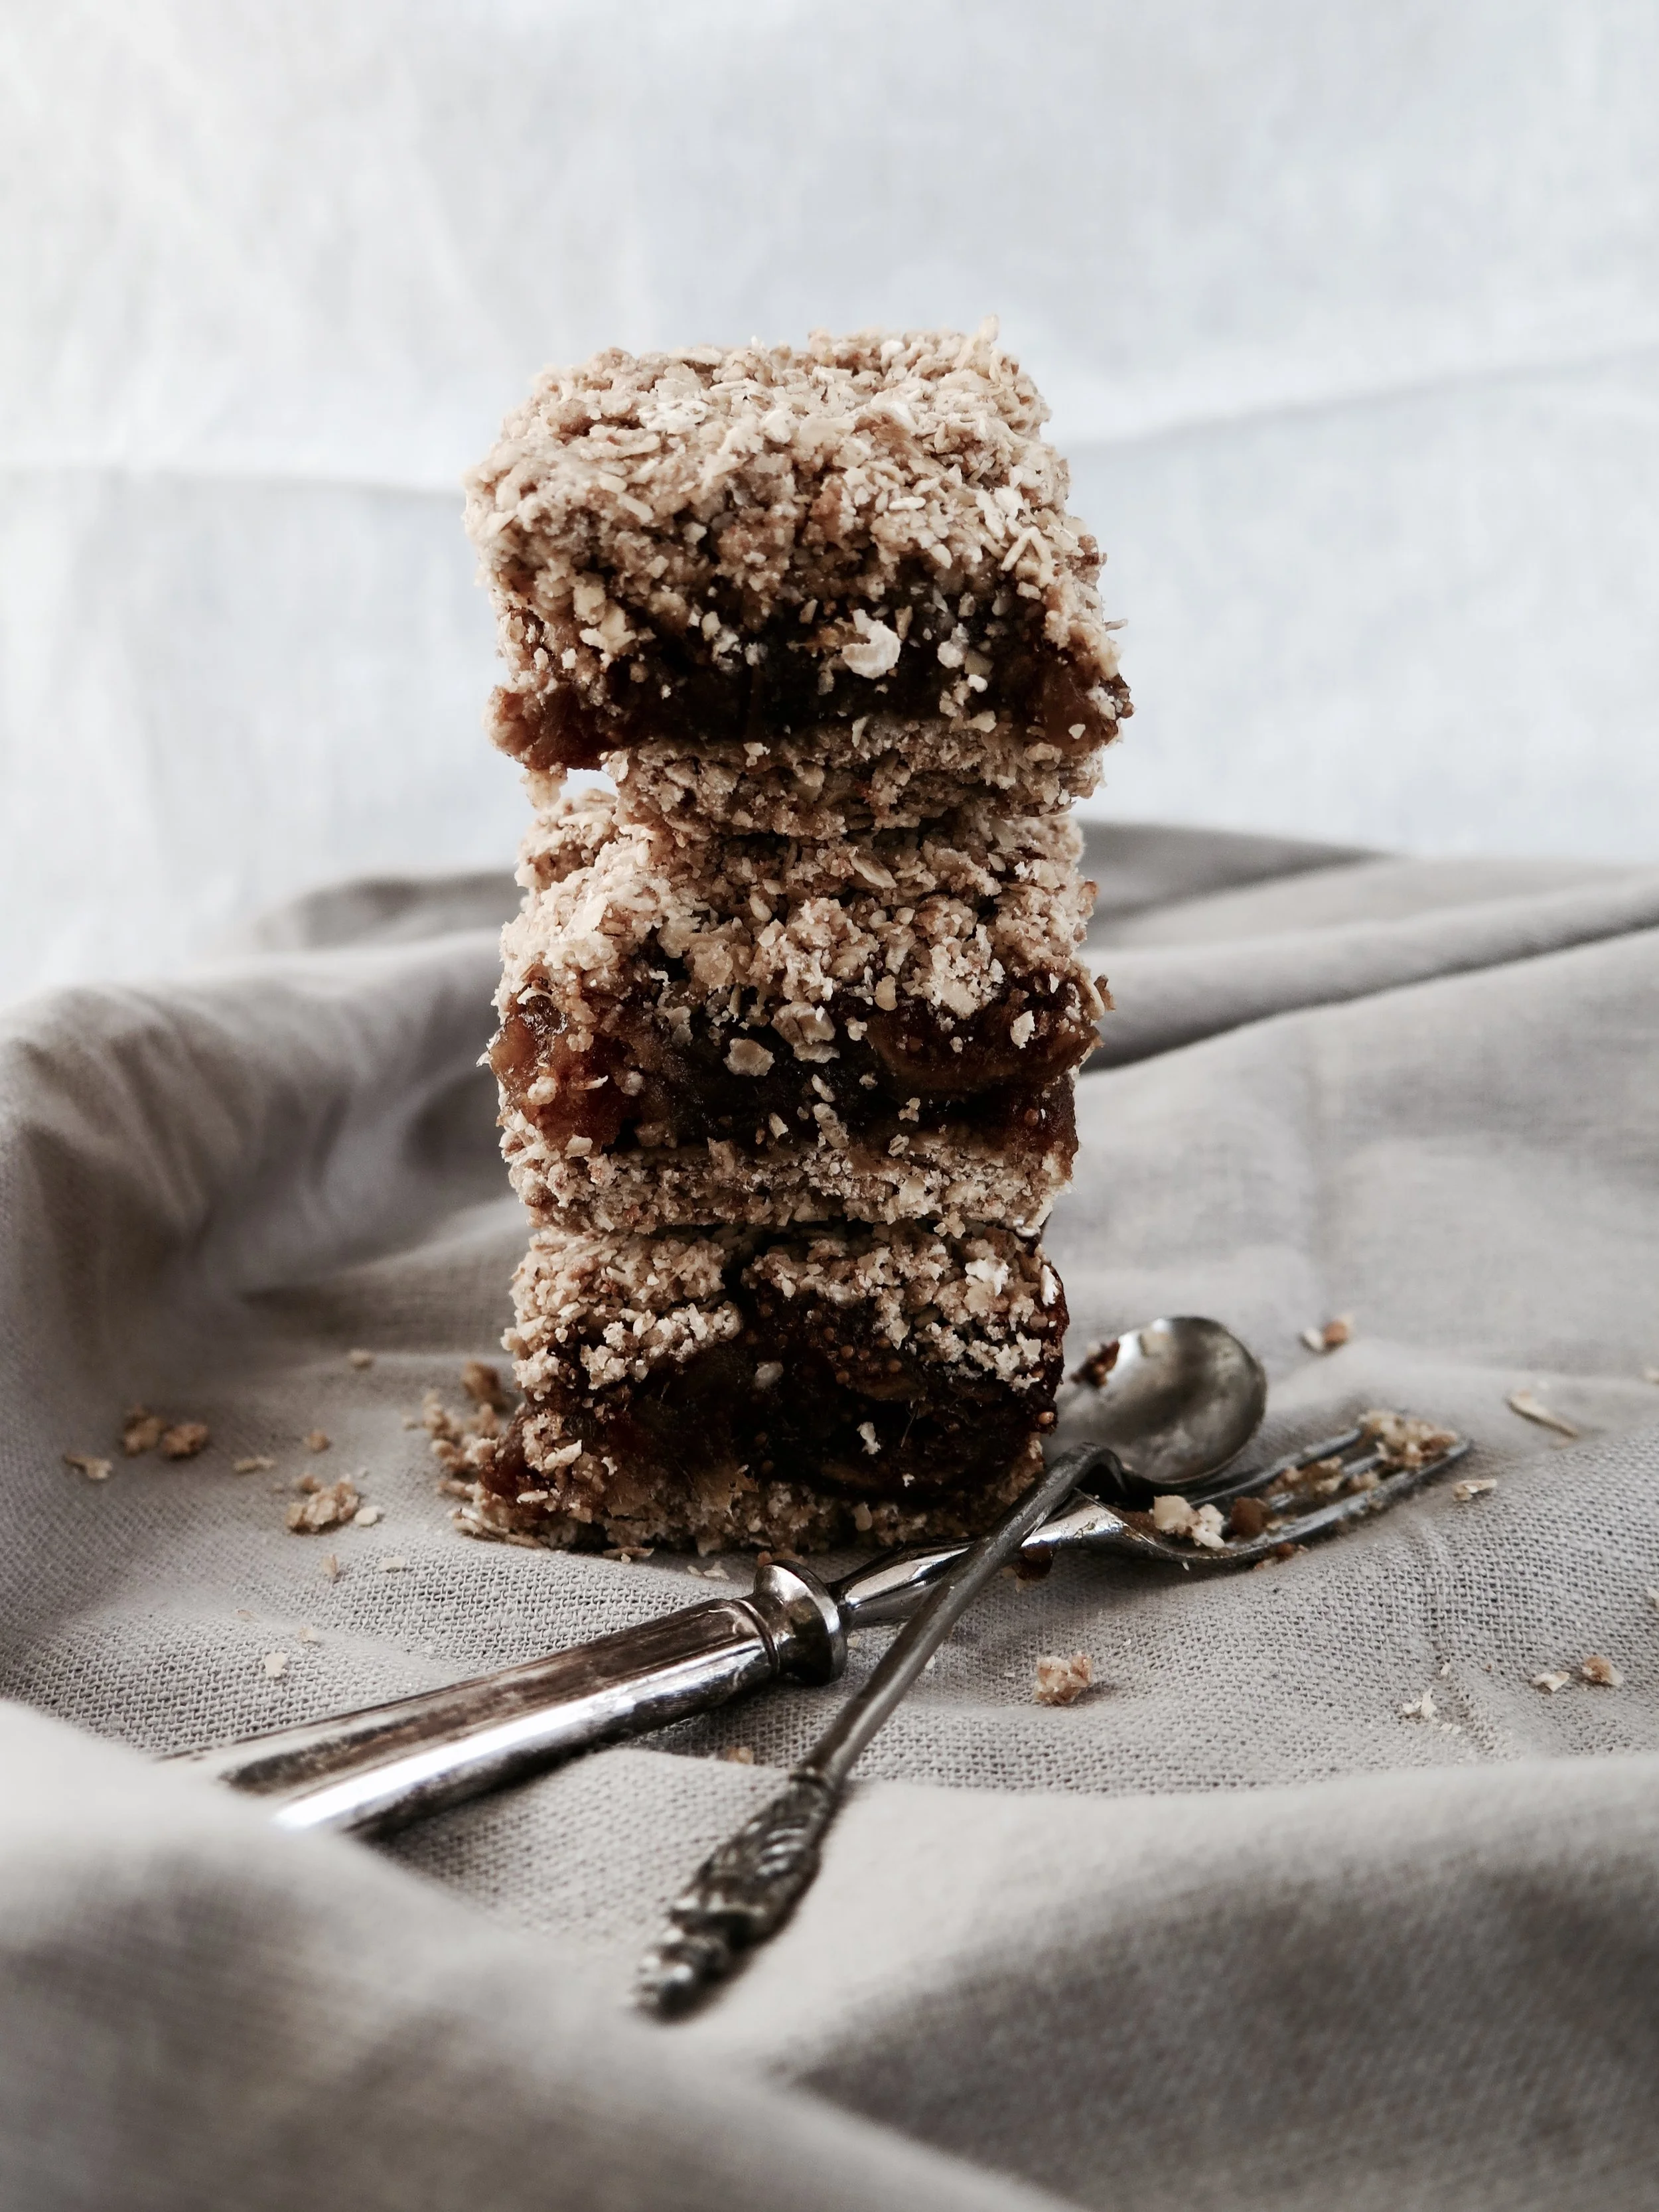
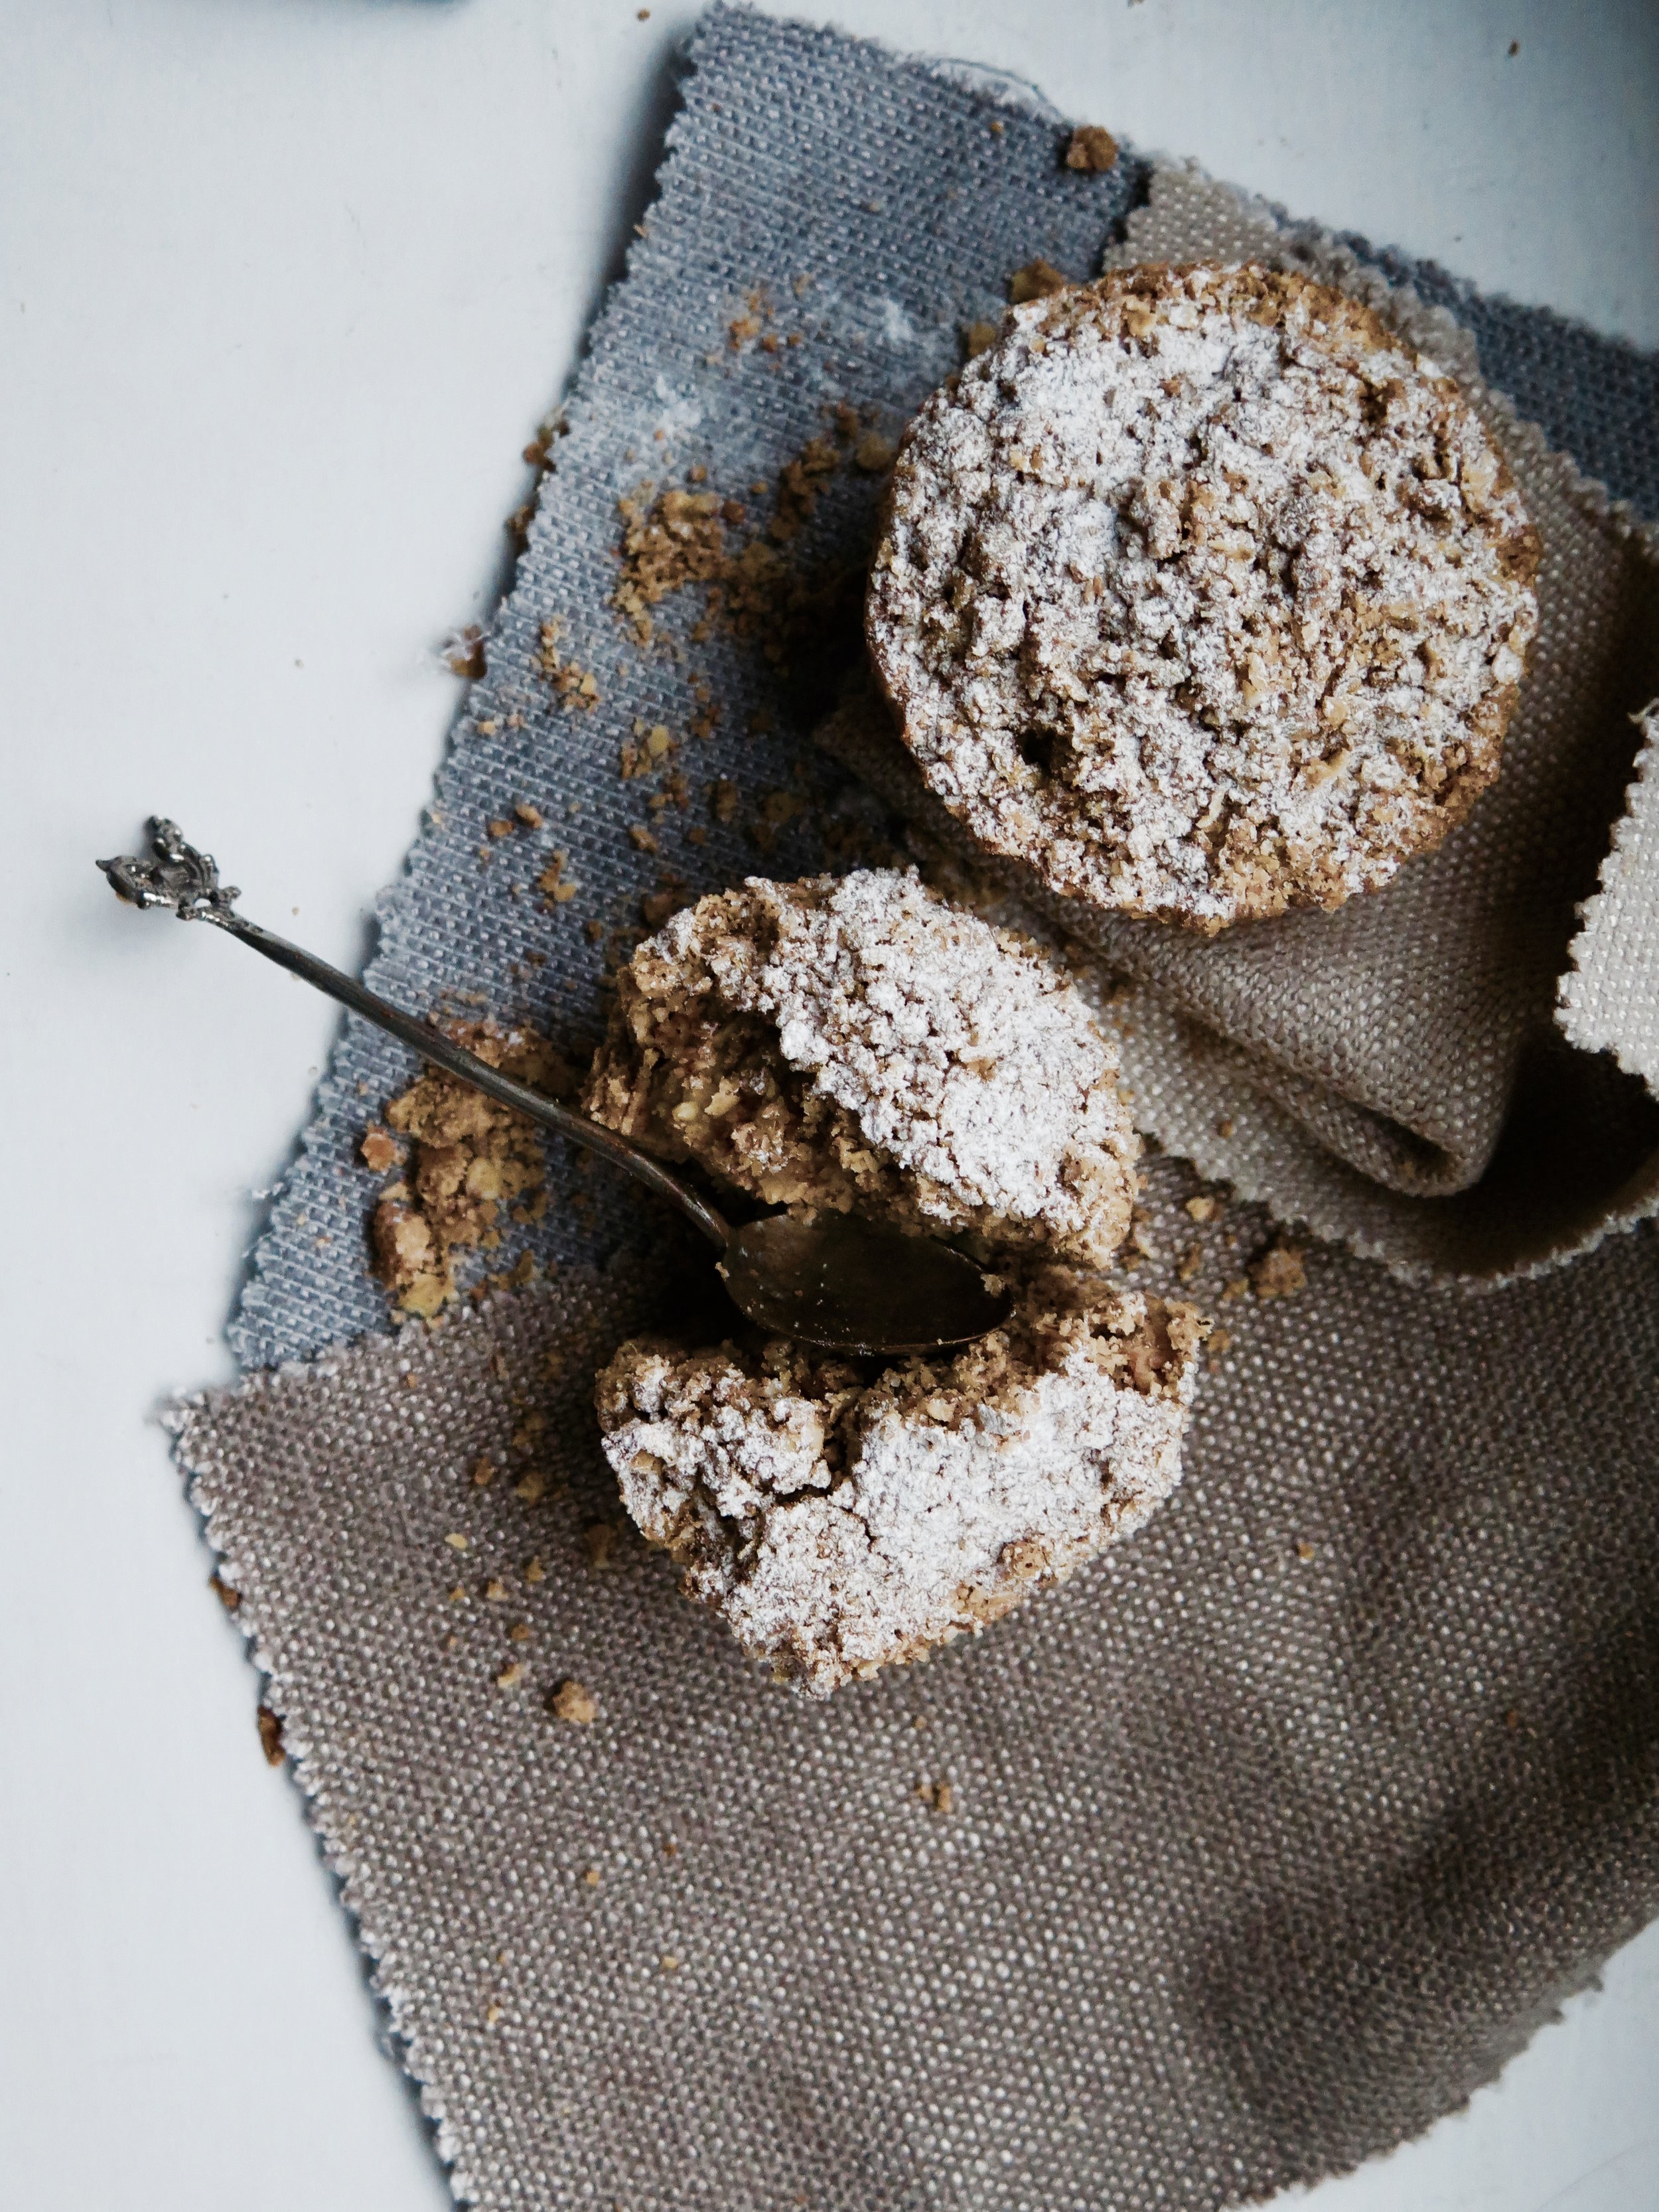
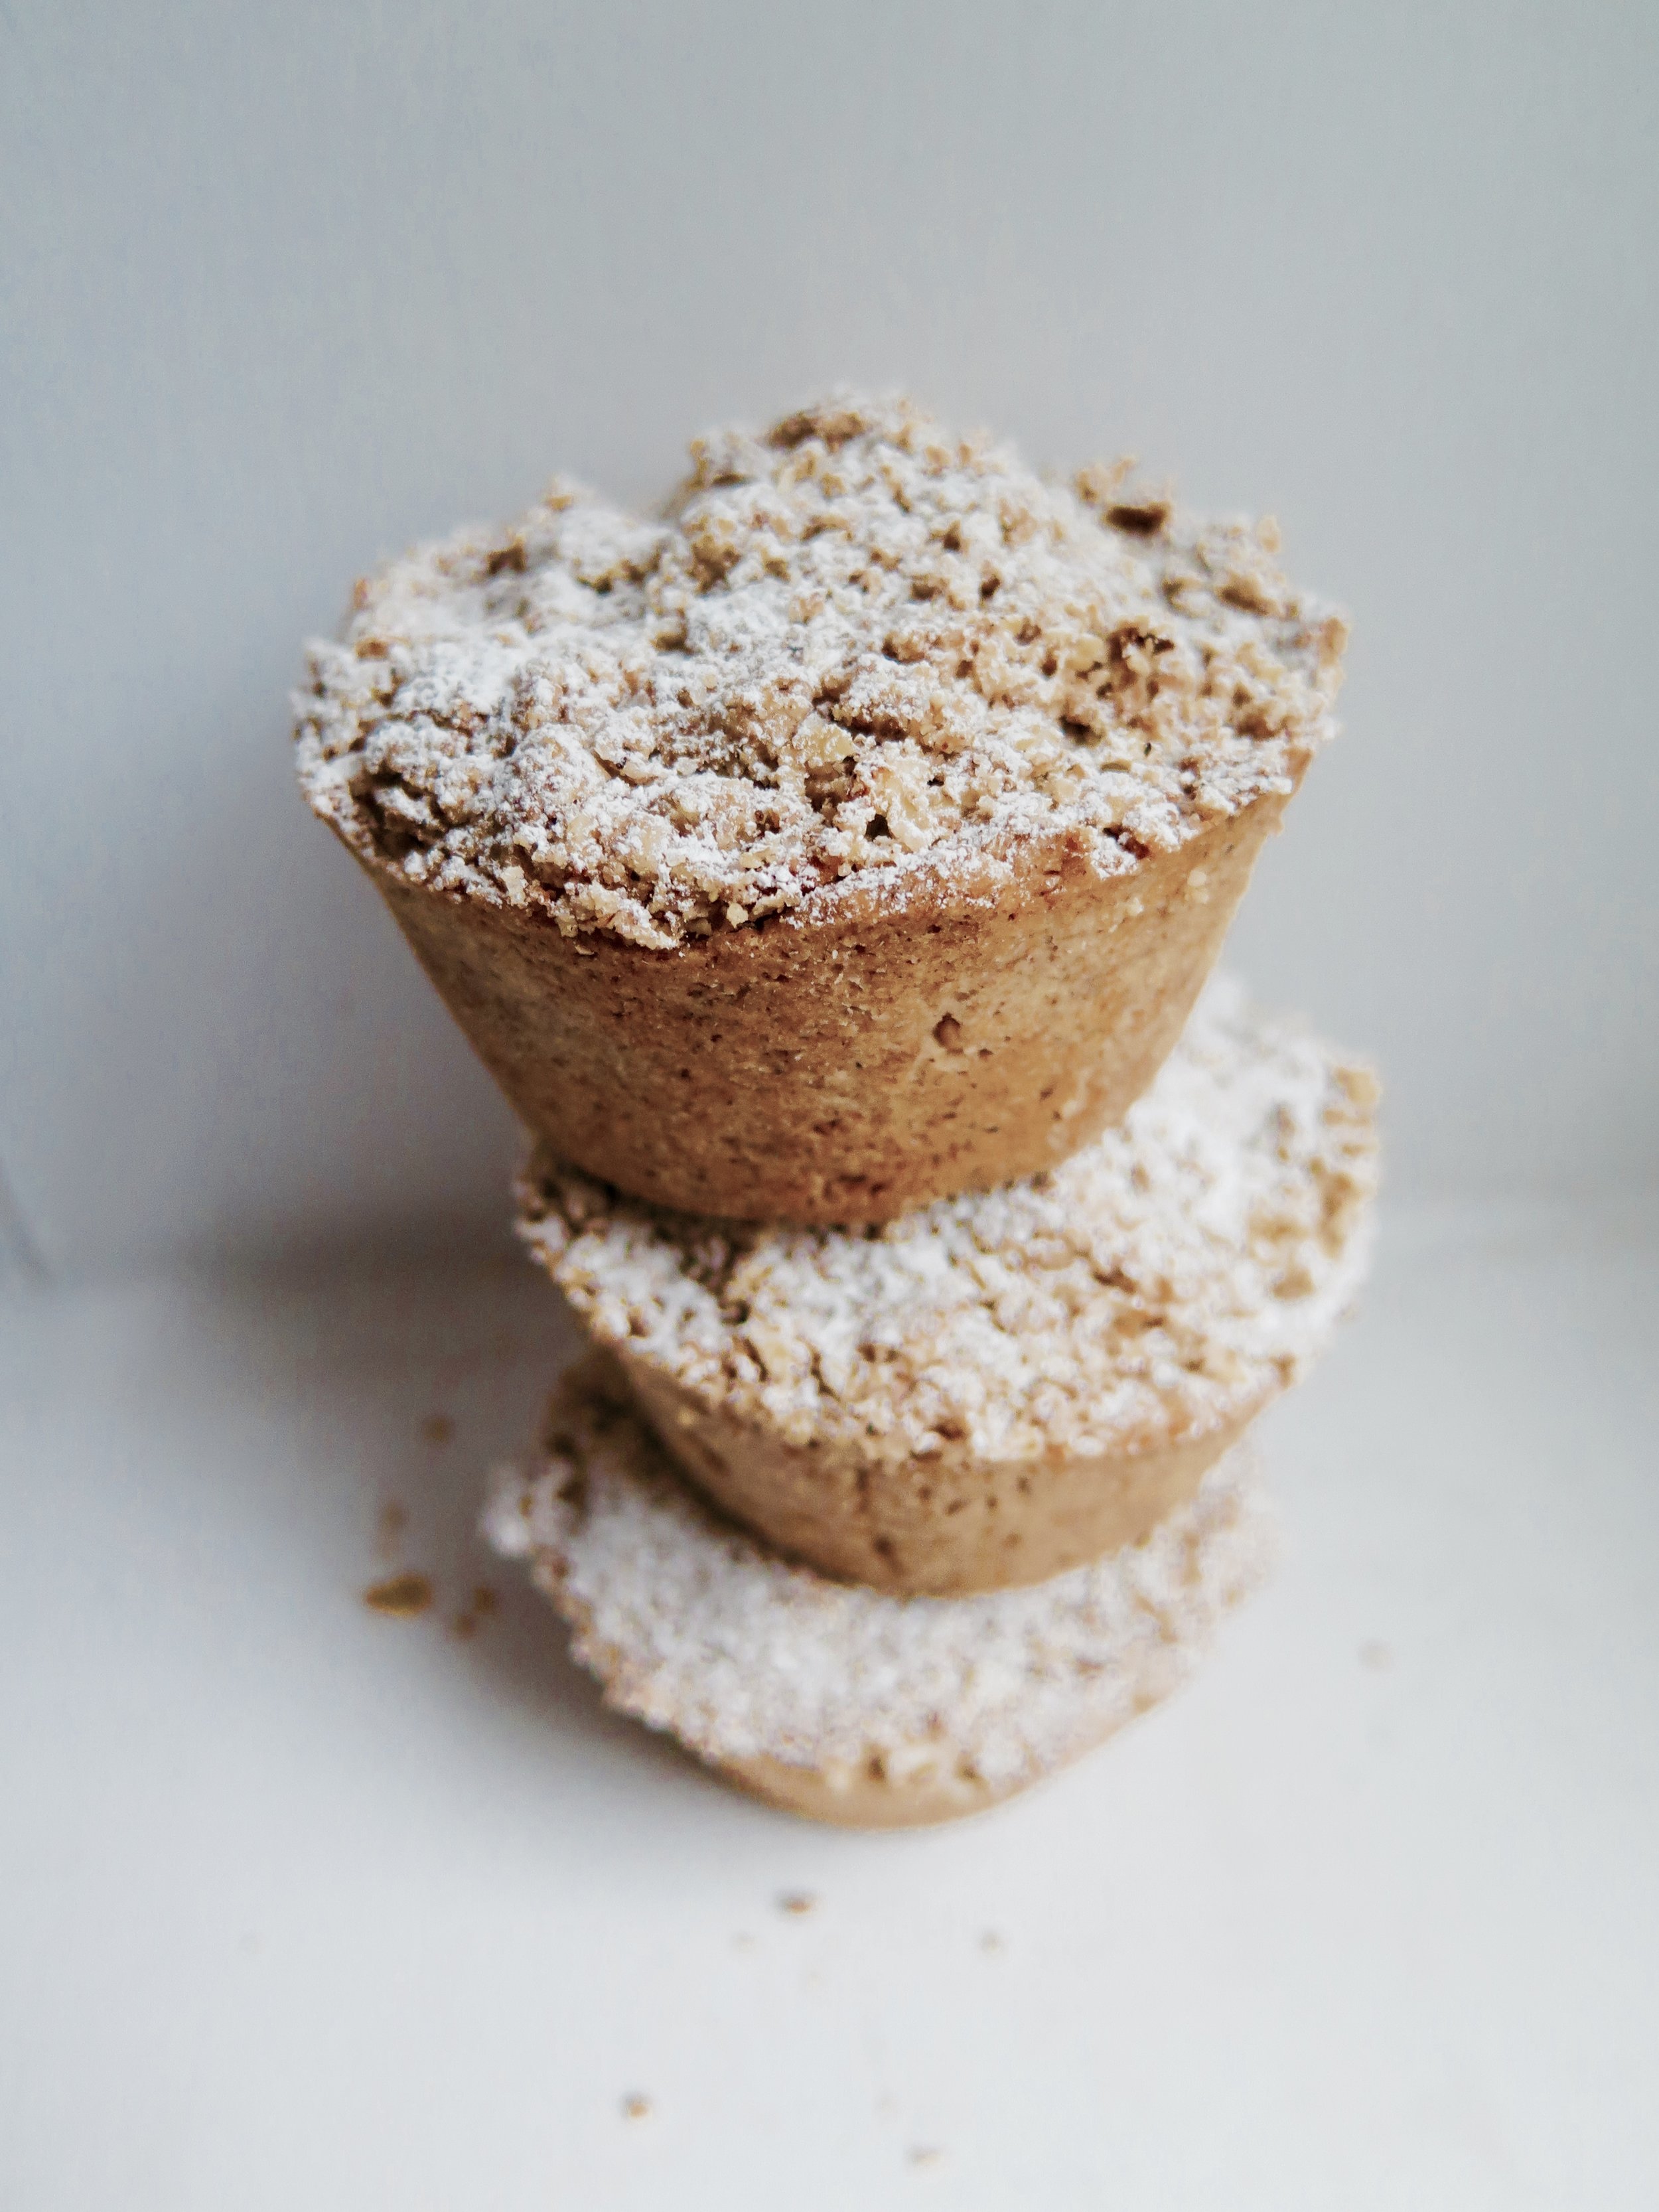
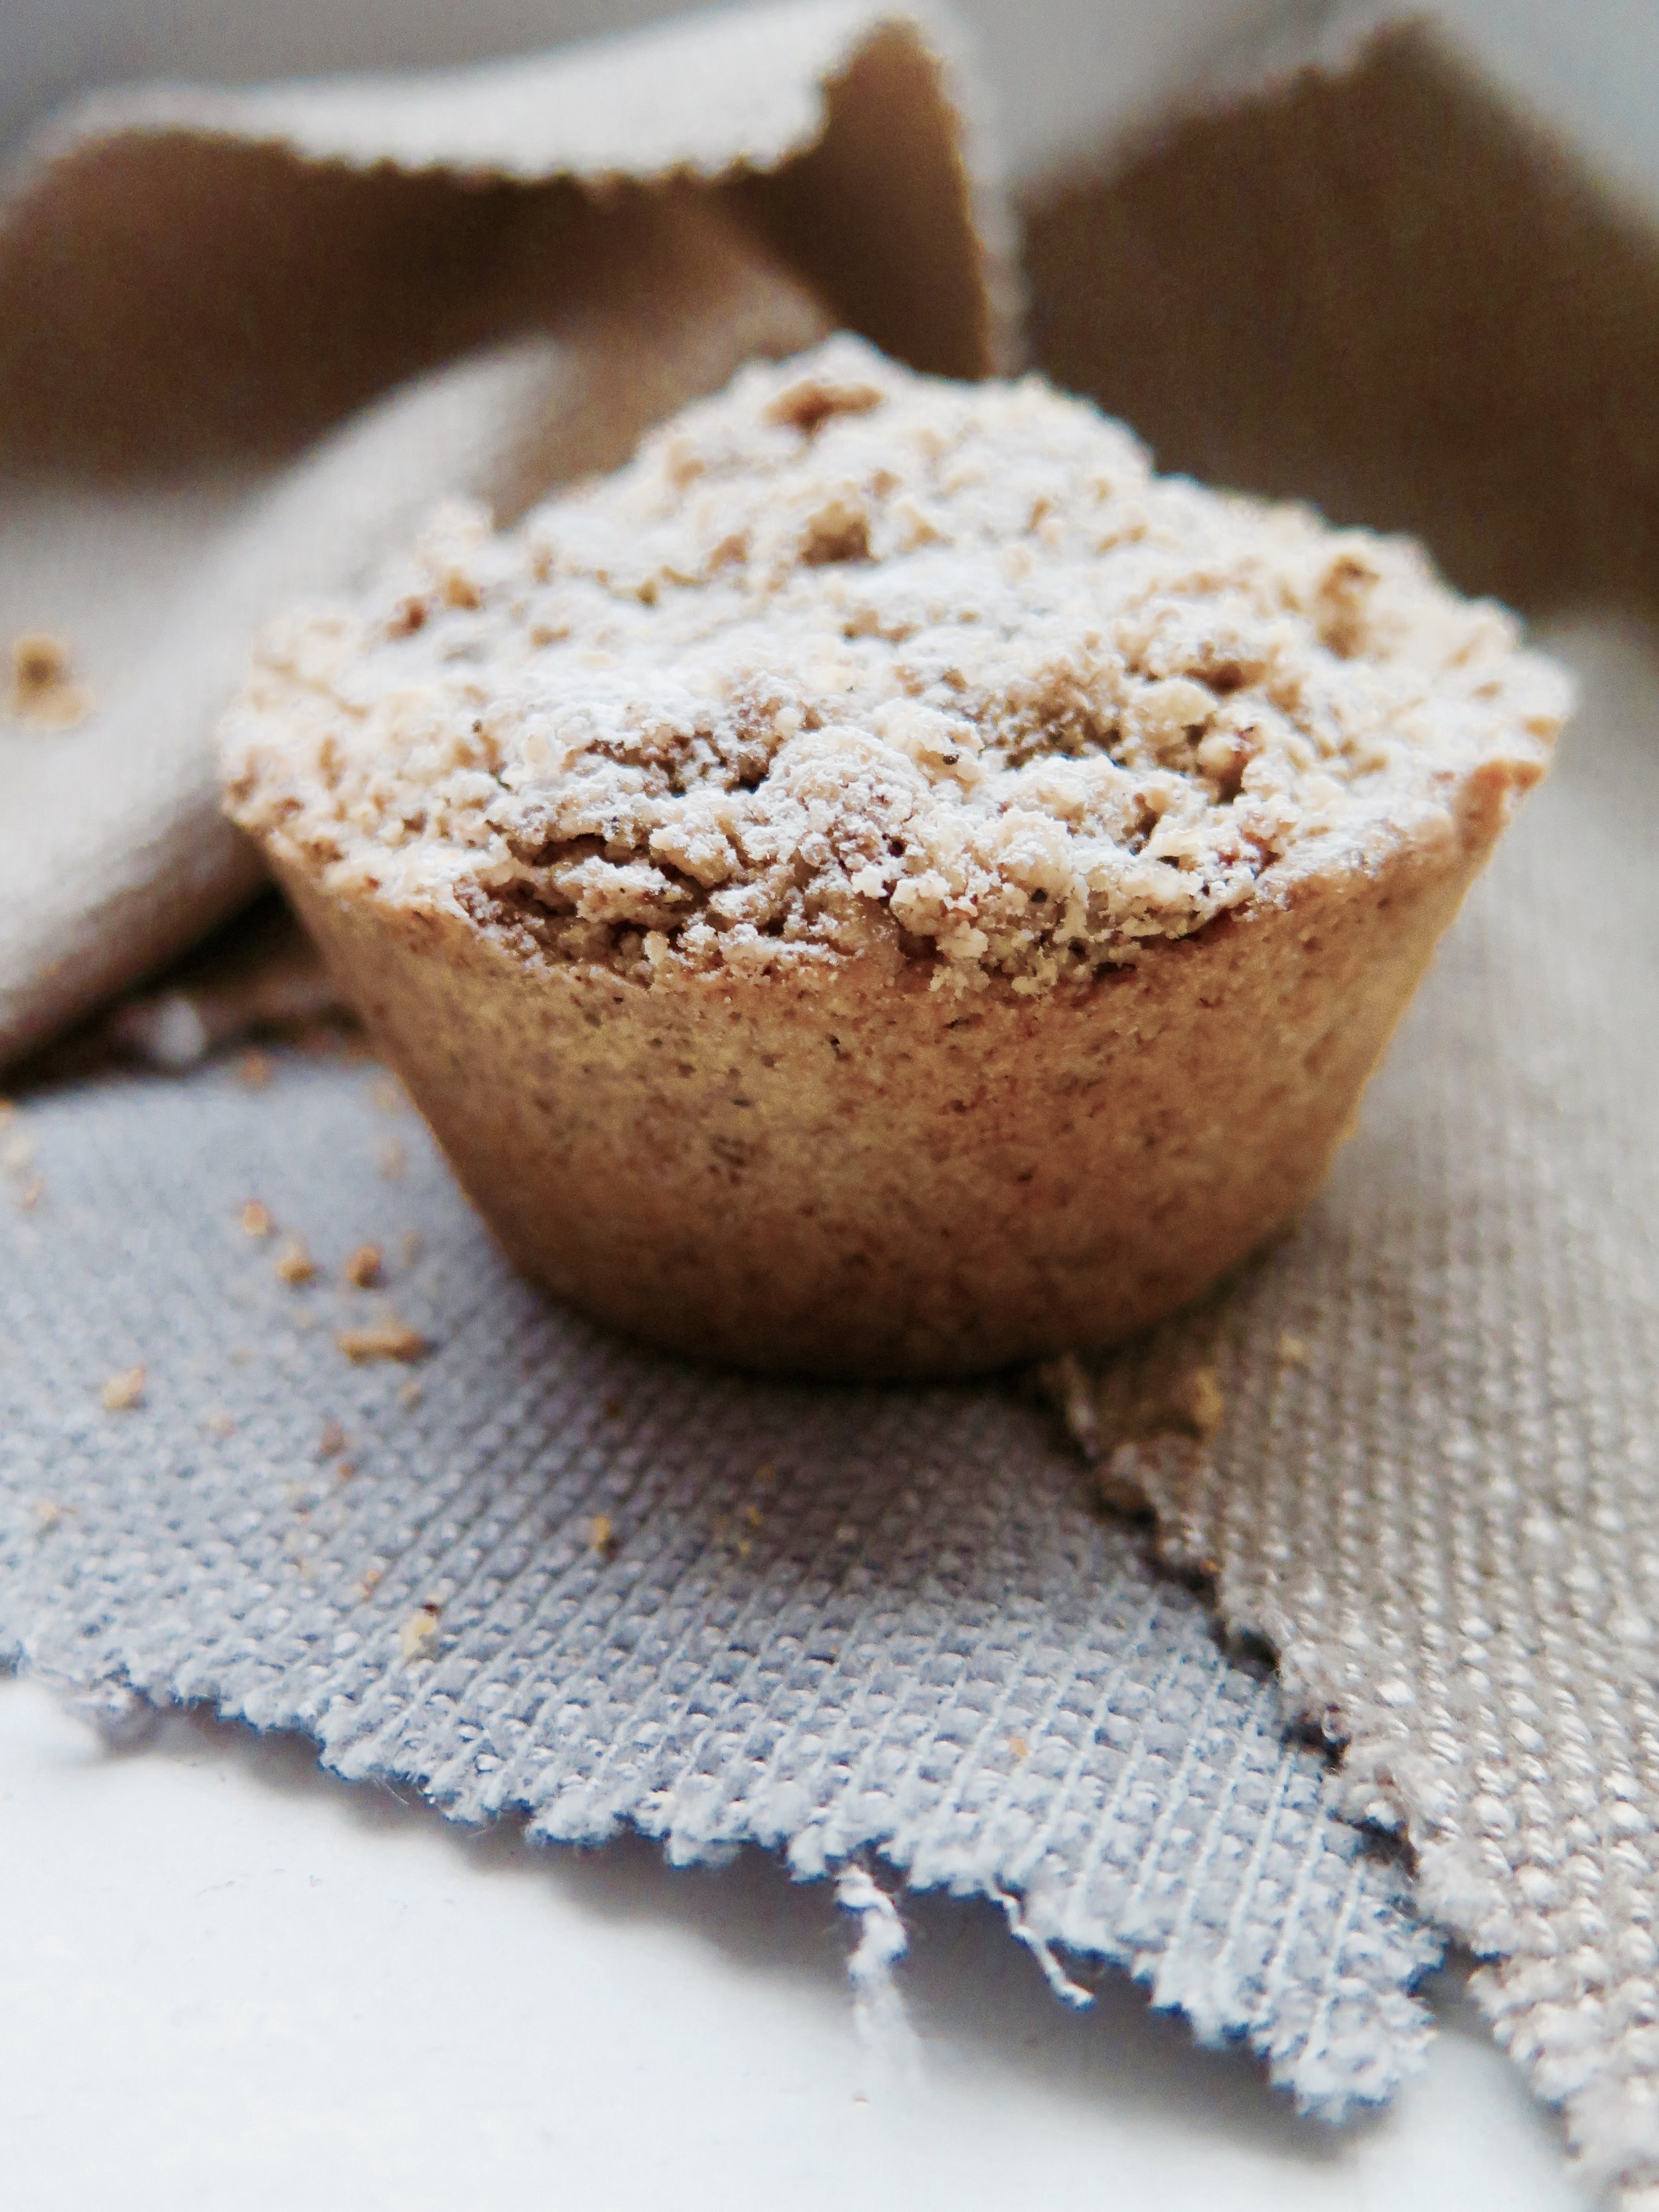
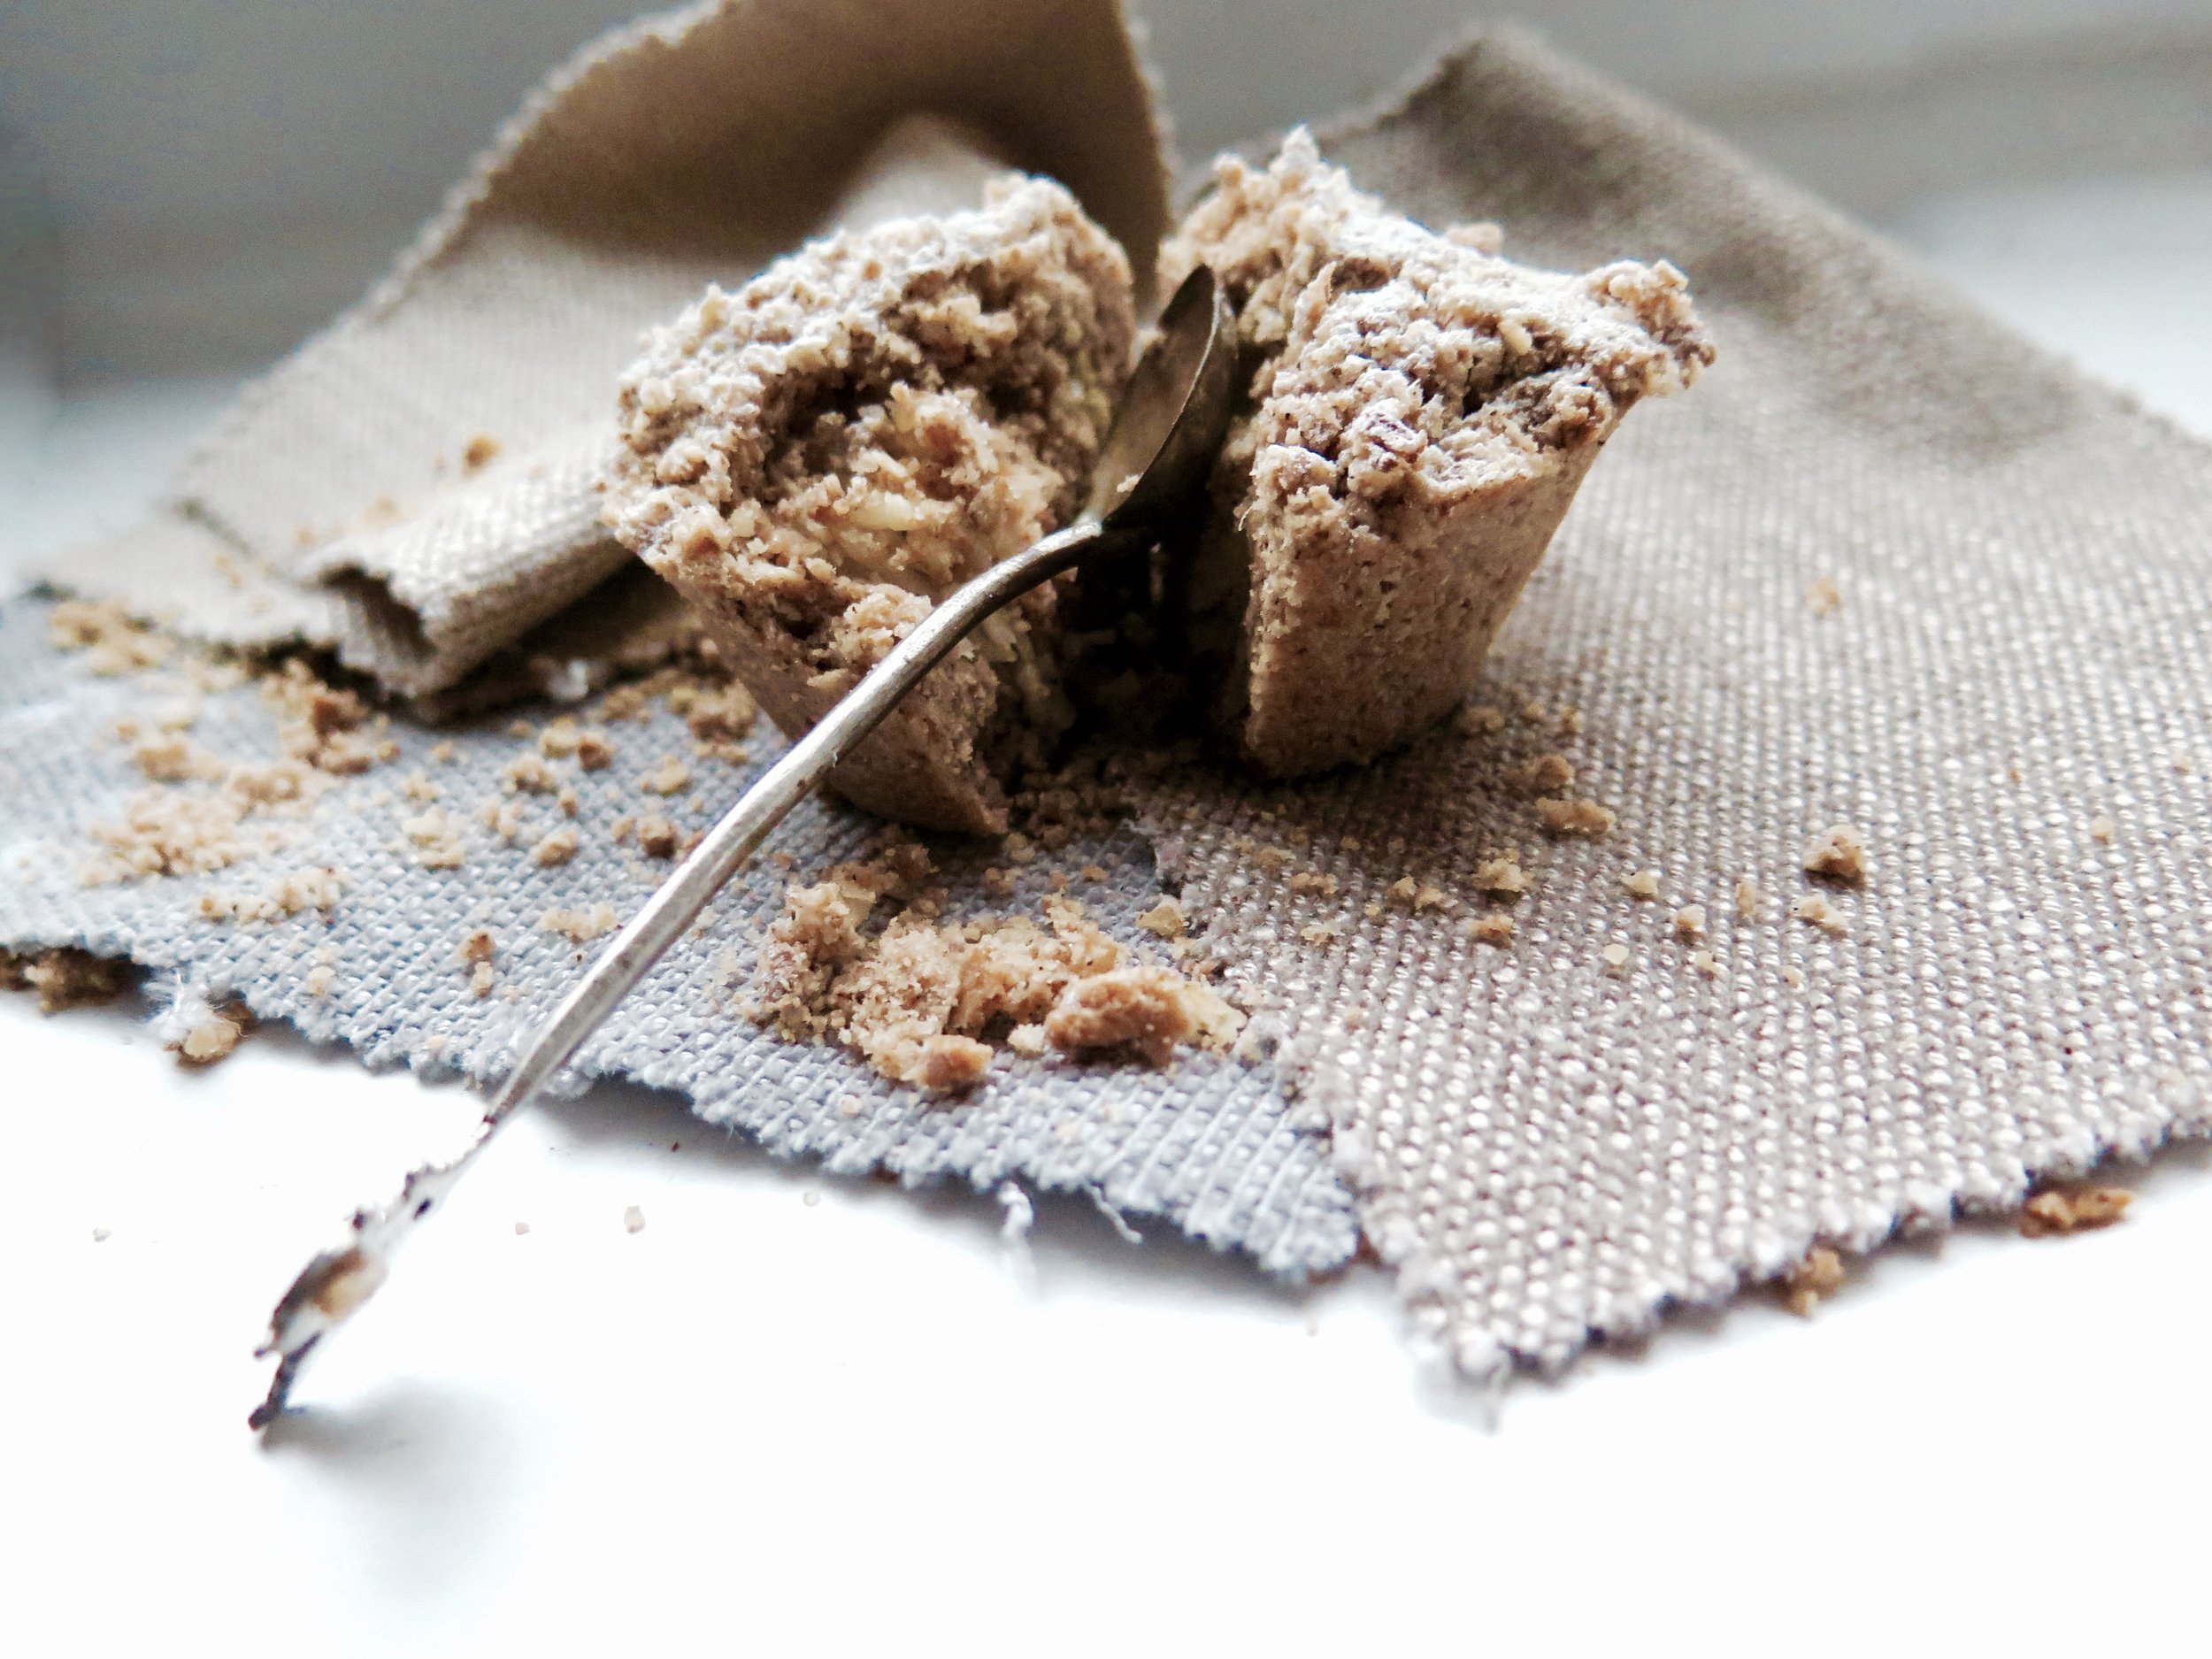
Sticky Date & Amaretti Crumble Bars

fullsizeoutput_db1.jpeg

A trip to Toronto when I was seven years’ old is anchored for me by one thing: not the CN tower, or Niagara Falls or my cousin’s wedding, but a visit to the farmers’ market, and in particular, a potentially life-changing stall.  A tall, russet-cheeked man was in command, his floured apron stretched taught over his protuberant belly. 

fullsizeoutput_db5.jpeg

And on his table lay not the garish, sprinkle- speckled swirls that would have drawn a normal child. Instead, tray after tray of rubbly slabs of oat and date crumble bars were arrayed. 

The date layer of the bars was jaw-clenchingly sticky, and thick – not like the mean, shop-bought equivalent. The oaty outer layers were both crunchy and then soft, golden and not overly sweet, allowing the natural date sweetness to shine through. 

fullsizeoutput_dc8.jpeg

. For the last seventeen years I’ve been raiding bakeries and markets, seeking to relive the experience, but the date and oat crumble bars always disappoint – too saccharine, too solid, too floury. In between raids, I’ve been working on my own: these are the closest I have come to Toronto’s best kept secret. I added the crushed amaretti to give them a little twist. Feel free to leave the sugar out of the crumble if your palate is adjusted to the less-sweet. 

It’s incredibly hard to resist them when they emerge from the oven golden and crisp, but I think they taste even better when they have cooled and the flavours are more distinct (or maybe try them both ways, just to be sure…).

NB. They can be made gluten-free by substituting gluten-free flour for spelt. 

fullsizeoutput_1223.jpeg

Ingredients

Date filling

400g medjool dates, pitted & roughly chopped (about 20)

3 tbsp fresh orange juice

120ml water

2 tsp vanilla extract

½ tsp mixed spice

½ tsp finely grated orange zest


Crumble

250g oats

120g butter

100g wholemeal spelt flour

50g dry amaretti biscuits

40g light brown muscovado sugar

¼ tsp mixed spice

½ tsp vanilla extract

¼ tsp salt

A square 20cm baking tin (or tin of equivalent area), lined with baking parchment, with sides and base fully covered.

Method 

1)    Preheat oven to 180°C

2)    Place all ingredients for the date filling in a pot and place on a medium heat. Stir as the mixture begins to simmer. After about 5 minutes, when the dates have broken down into more of a paste and all the water has evaporated, remove from the heat and set aside.

3)    Pour all the crumble ingredients into a blender and pulse until the mixture still has some texture  and is slightly coarser than sand.

4)    Pour 2/3 of the crumble mixture into the base of the tin, and, with your fingers or the back of a spoon, press the mixture down evenly across the base of the tin until firm and compact. Pour the date filling over and spread evenly across the base. Then pour over the remaining crumble mixture and press down until even and as compact as possible.

5)    Place in oven to bake for 15-20 minutes until golden and firm to the touch.

6)    Slice and allow to cool before devouring. Keeps well in an air tight container in fridge for up to 5 days, or in freezer for 2 months (also tastes delicious when frozen).

fullsizeoutput_1229.jpeg

HUNGRY FOR MORE?

Comment

Cinnamon Apple Crumble Pies

Comment

Cinnamon Apple Crumble Pies

IMG_8392.jpg

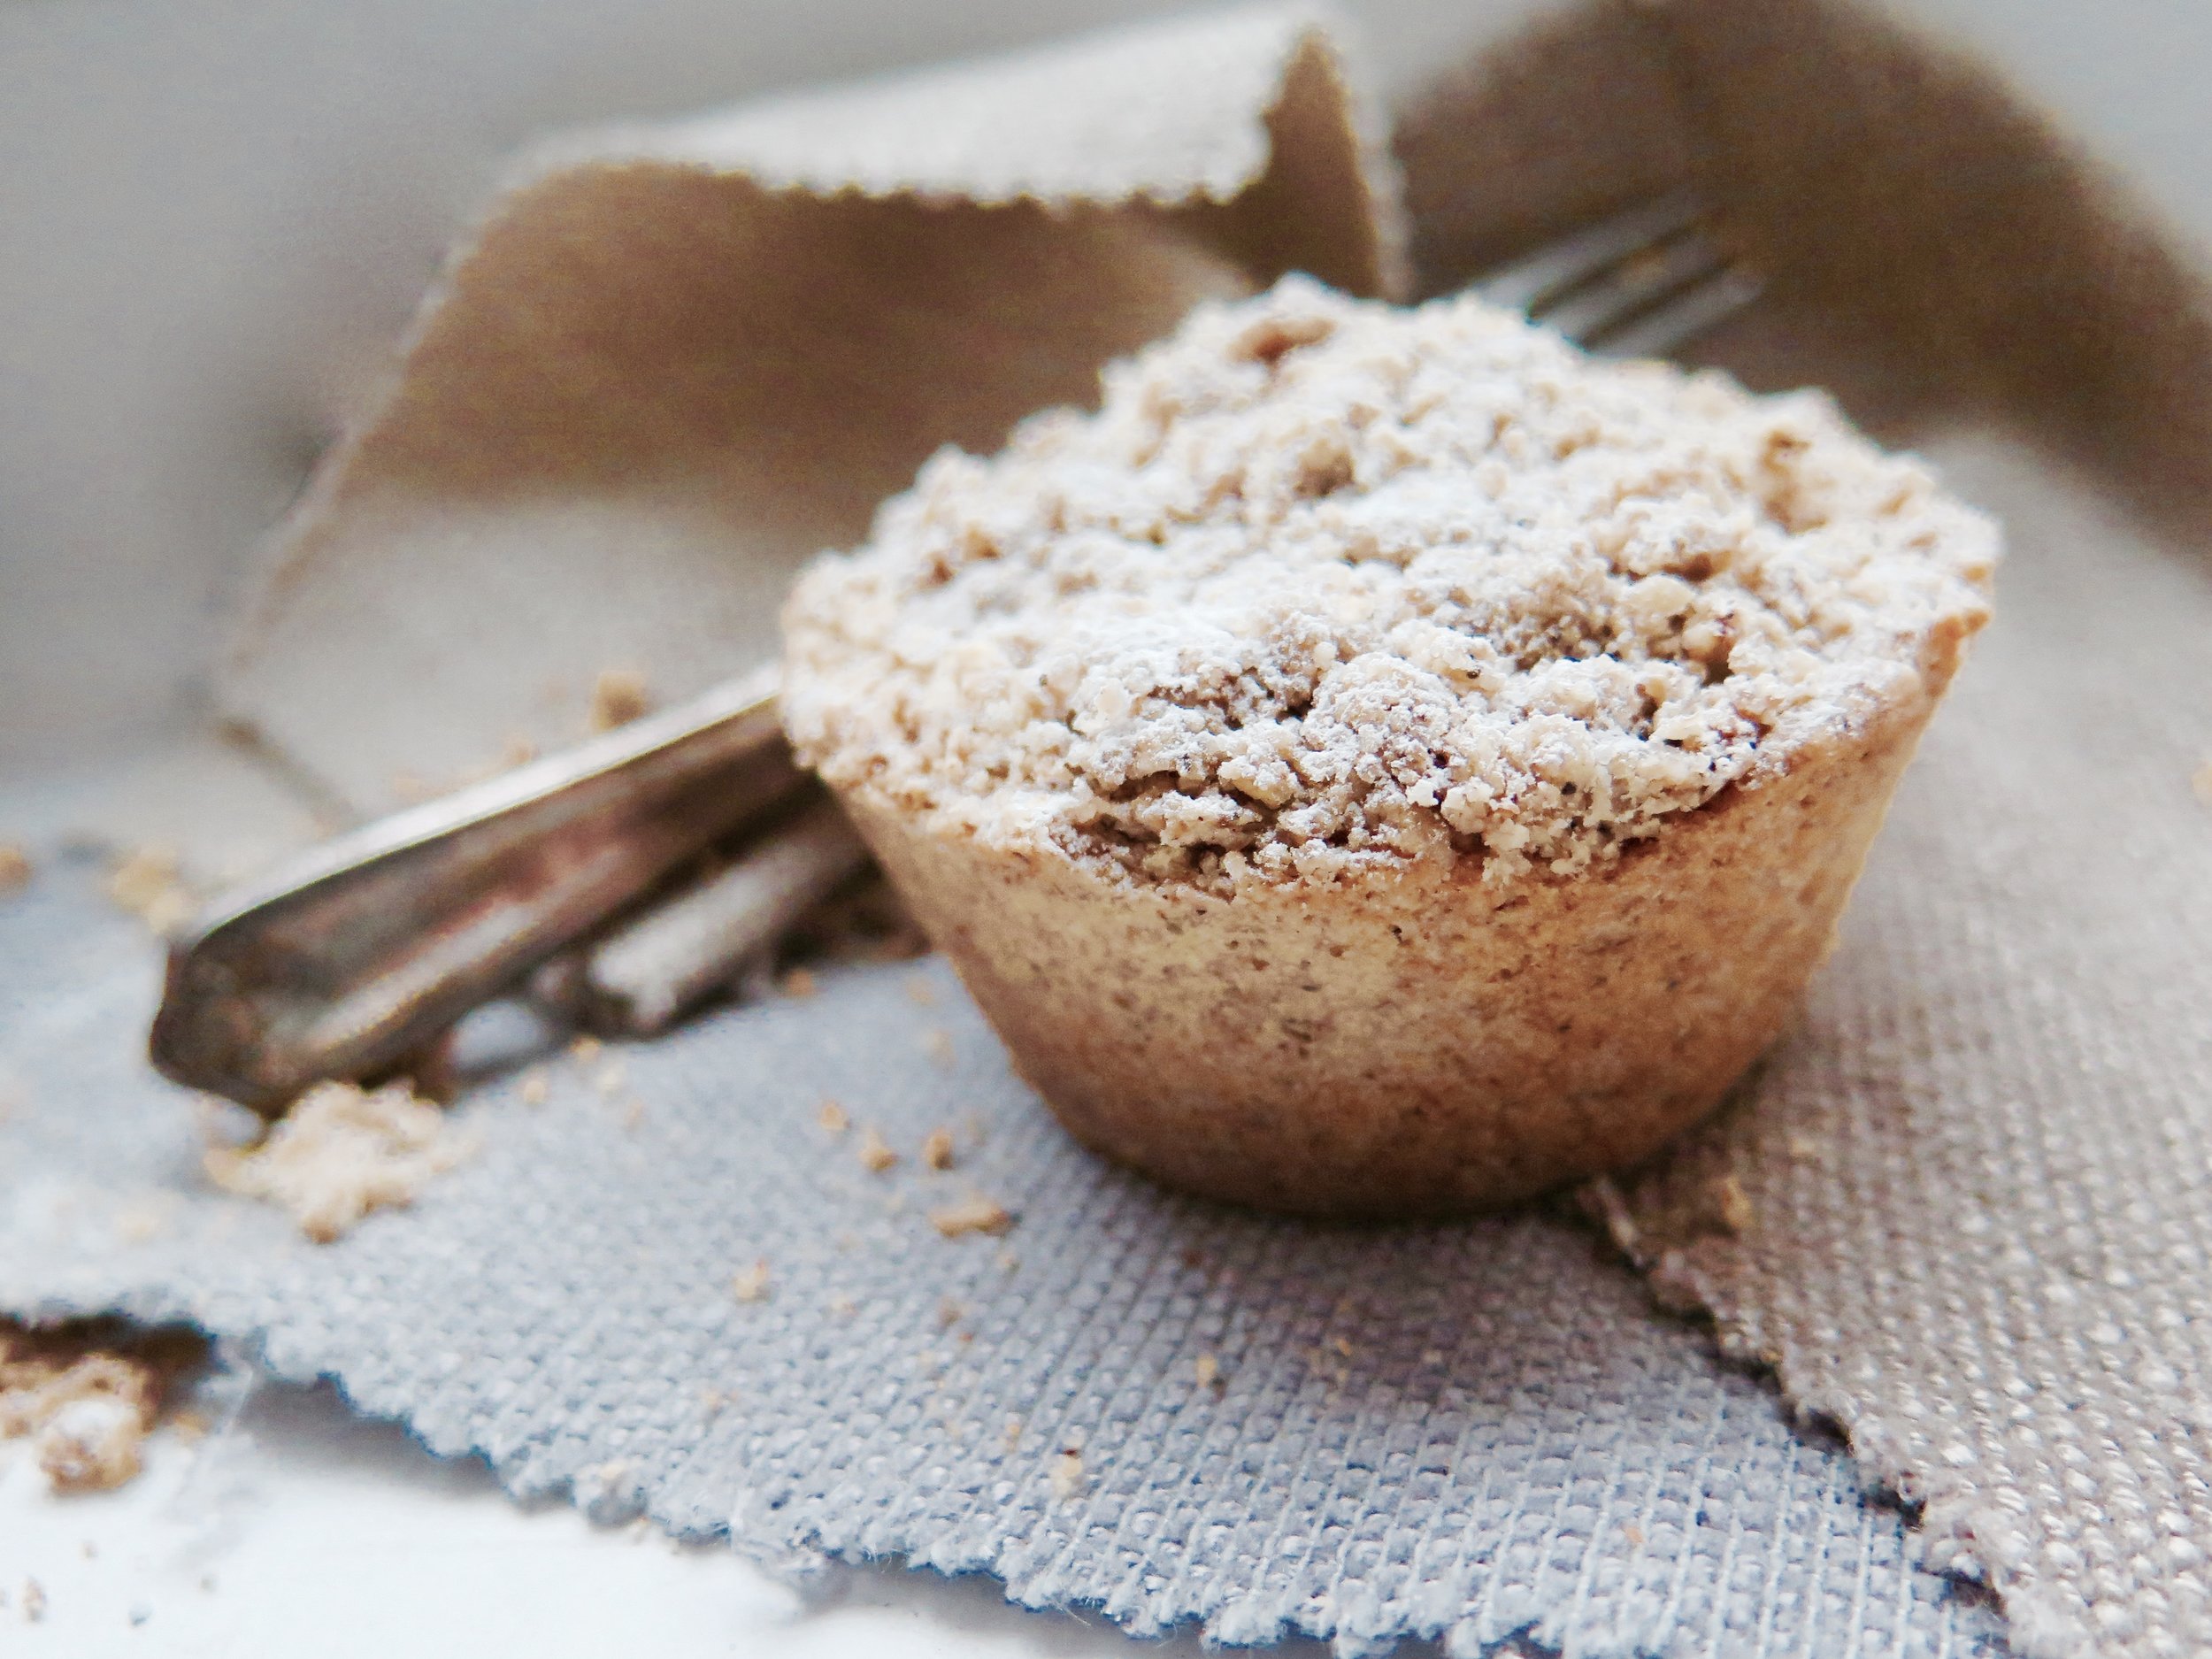
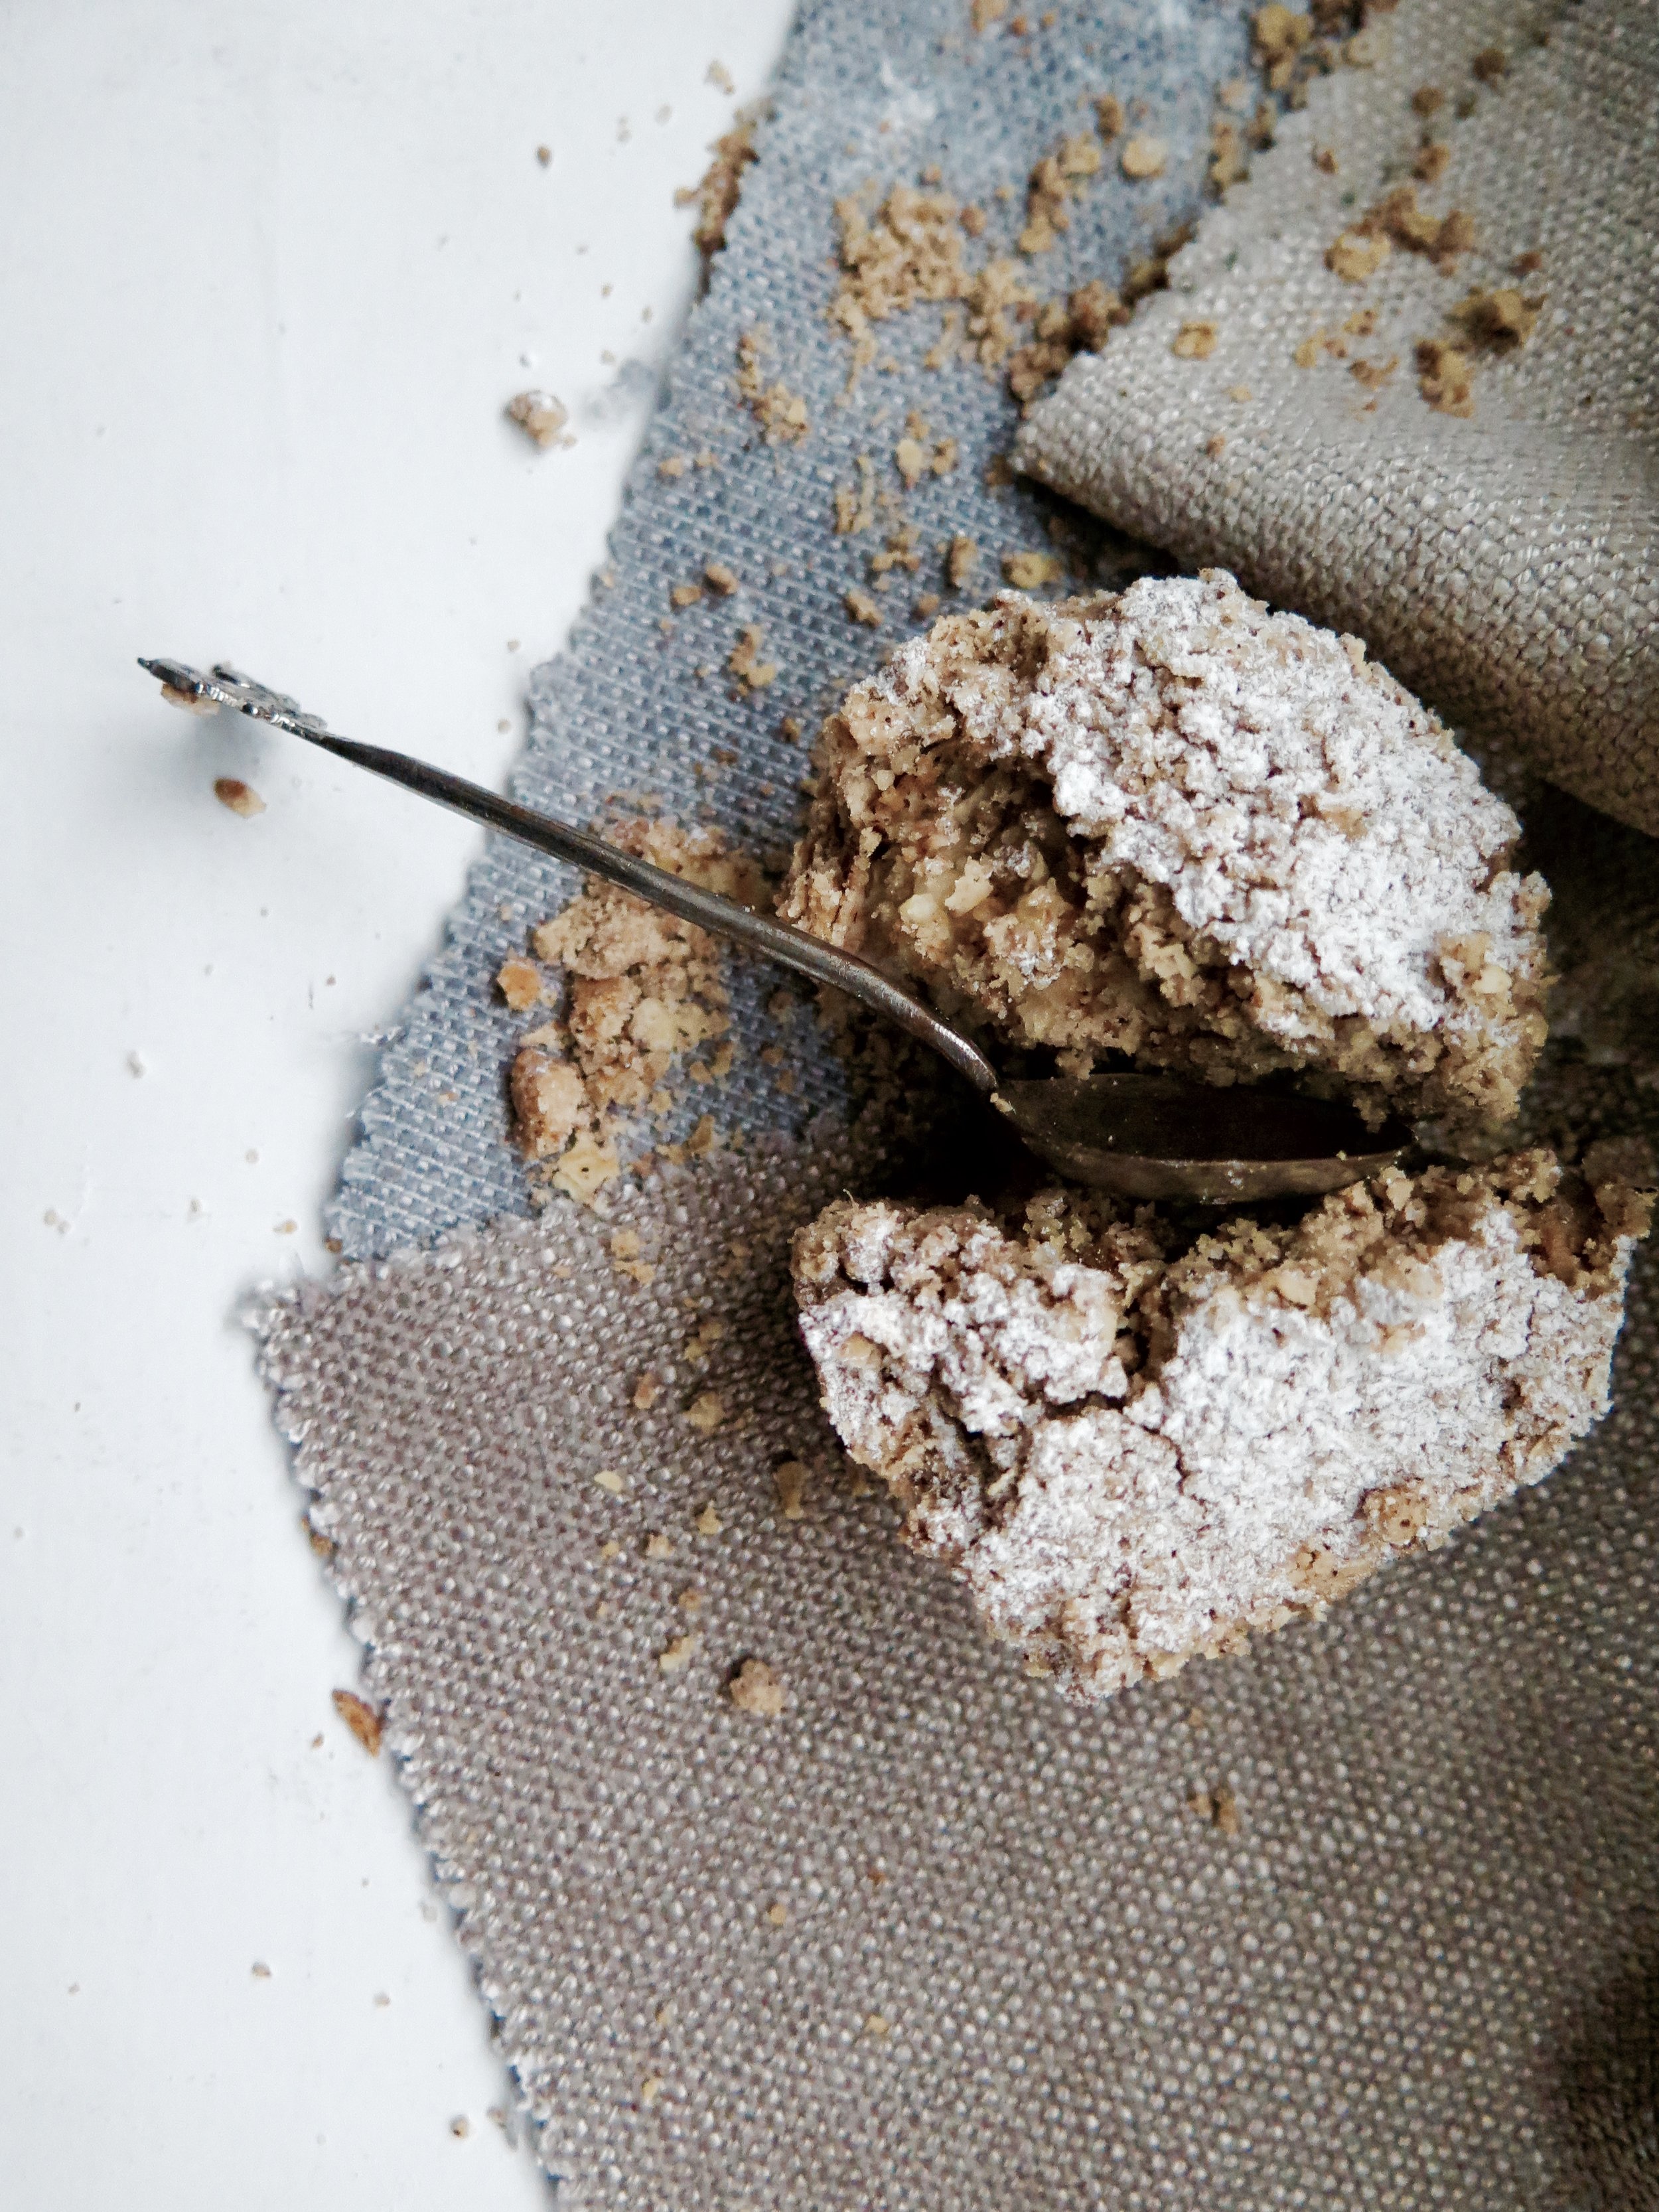
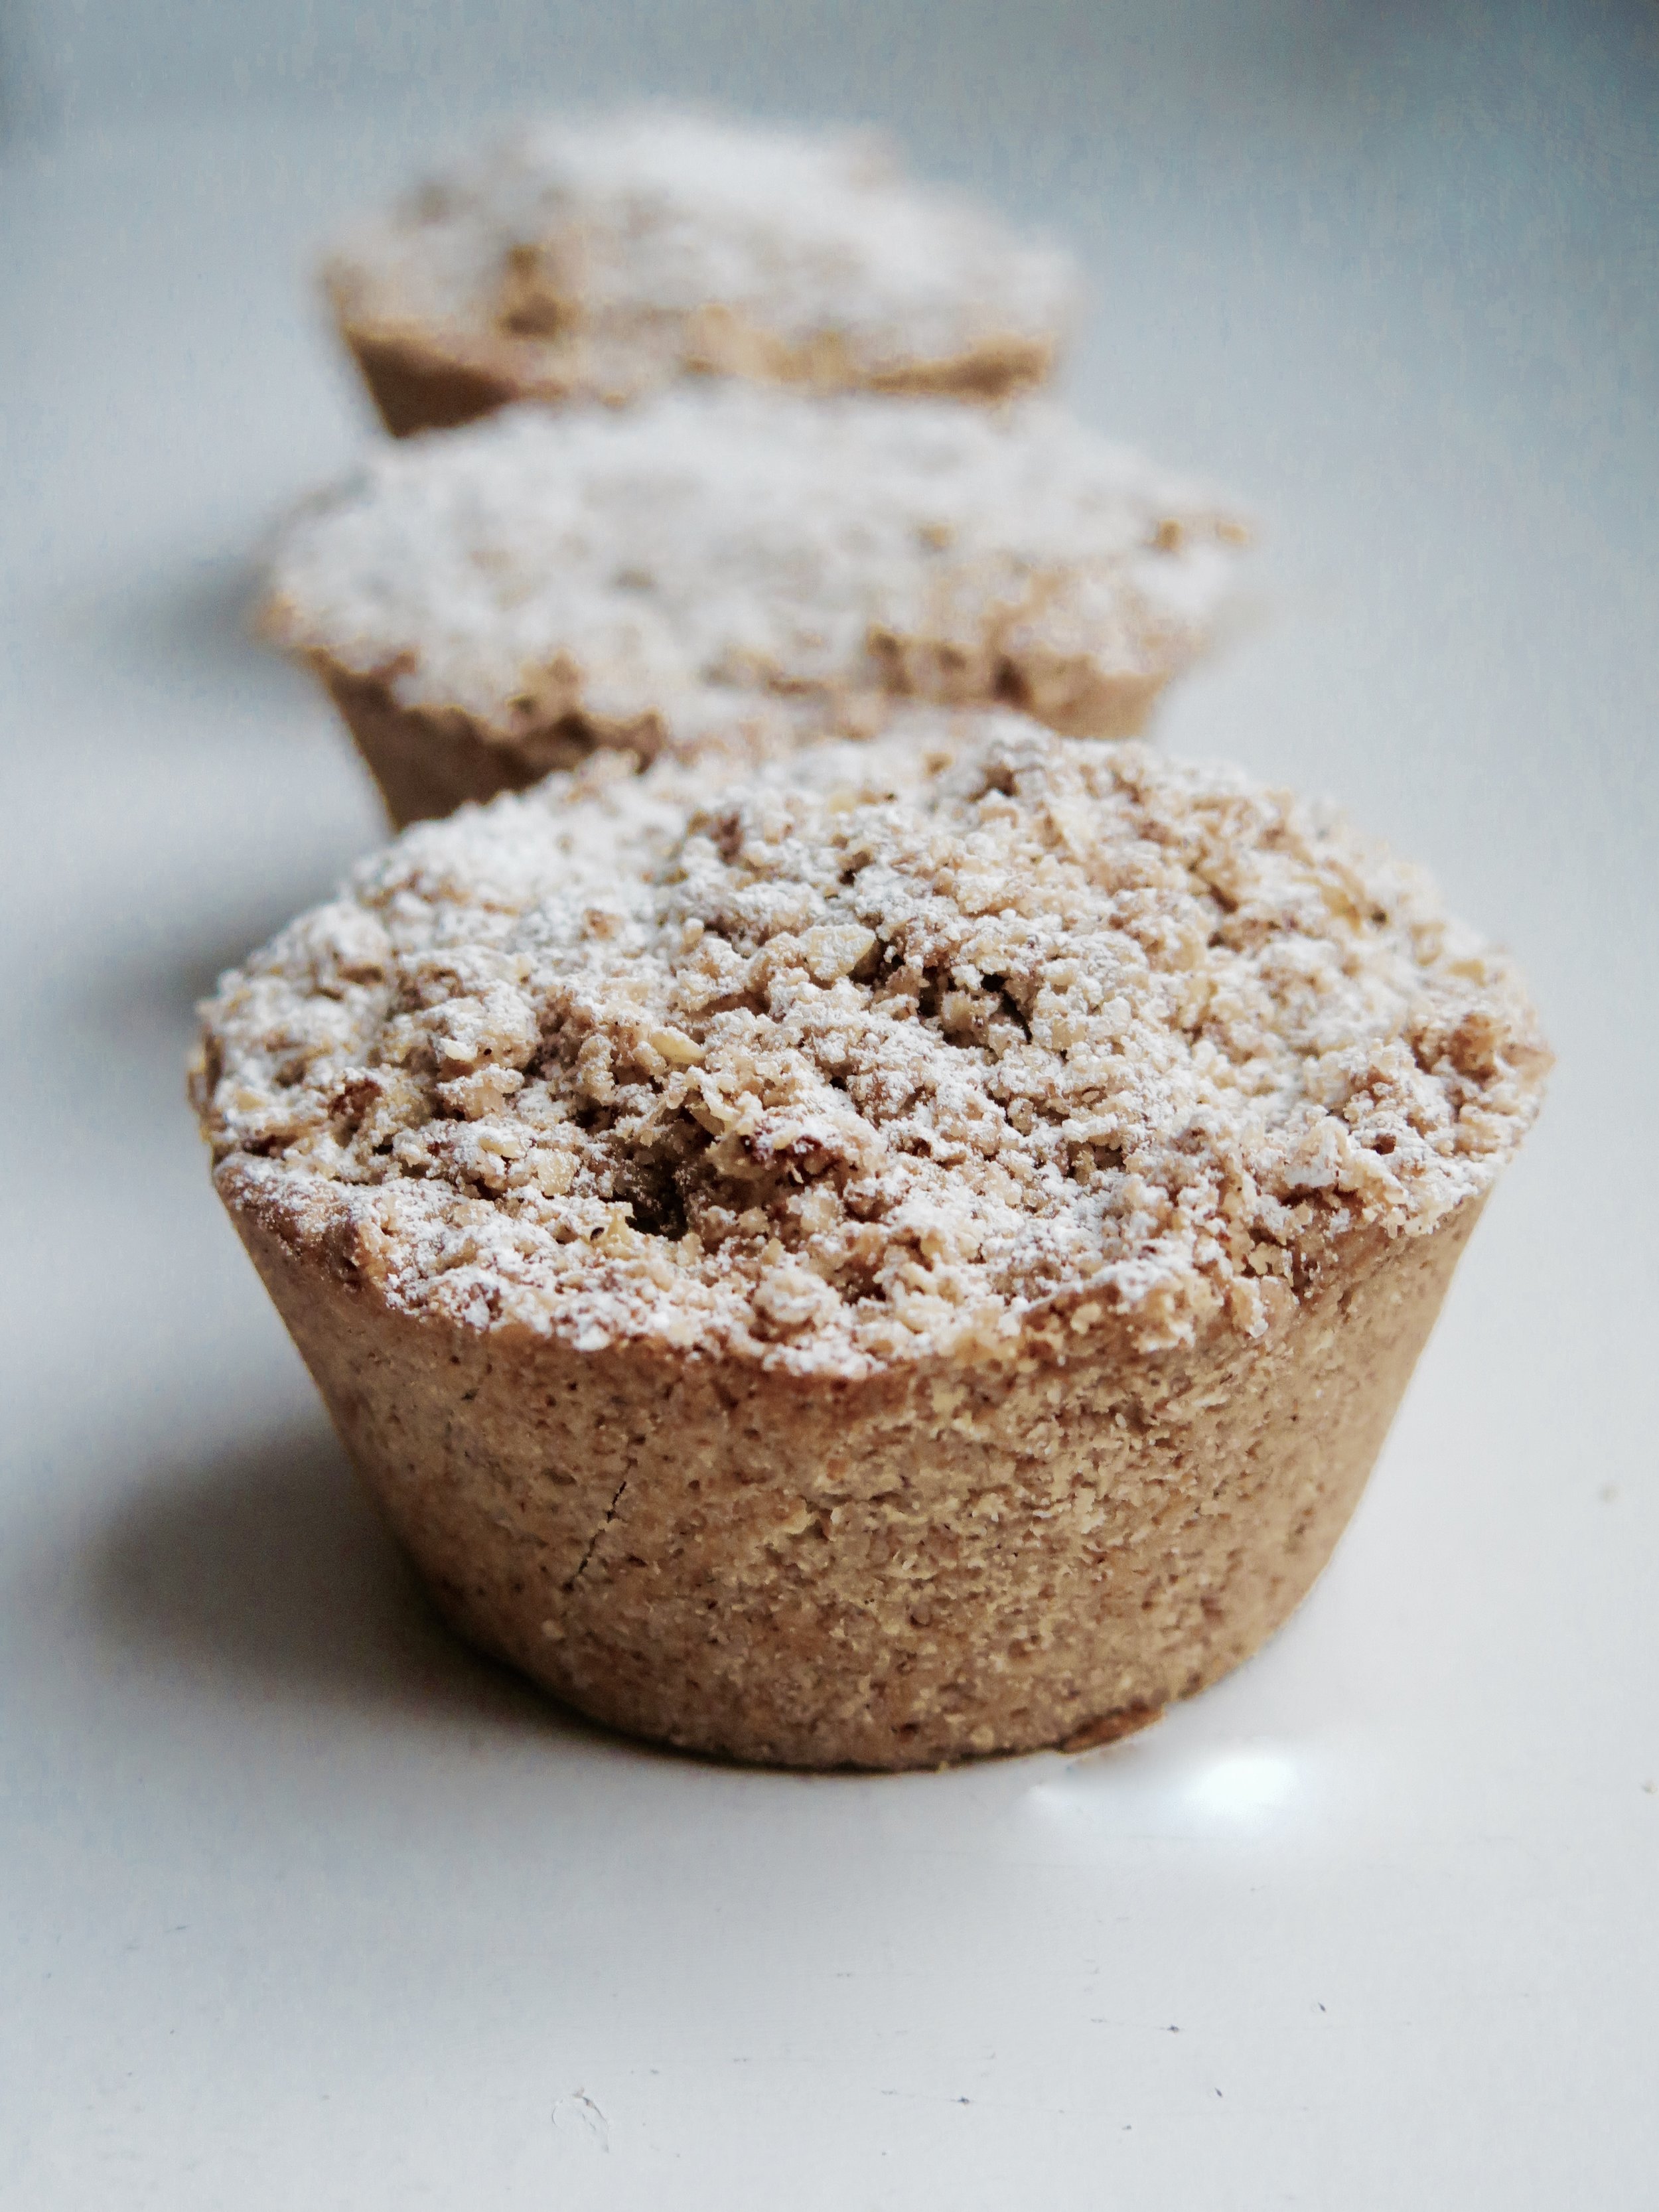
This is the cinnamon apple crumble pie 2.0. Tried, tested, and enhanced...Cinnamon Apple Crumble Pies Soft, crunchy, crumbly, fresh, sweet, and on the cusp of sour – the Gail’s Bakery apple crumble cake is what I crave.  It’s the ultimate winter treat, although I gaze longingly through the bakery window at them year-round.

Cinnamon Apple Crumble Pies


Cinnamon Apple Crumble PiesI bought the Gail’s Artisan Bakery Cookbook a few months ago in the hope that they had divulged the secret of their signature apple crumble cake. They hadn’t.

Cinnamon Apple Crumble PiesCinnamon Apple Crumble Pies

As a result I’ve just had to develop my own recipe – more wholesome, with more cinnamon and less sugar, I’ve heard they may even be superior…

IMG_8388

Cinnamon Apple Crumble Pies

Cinnamon Apple Crumble Pies

Cinnamon Apple Crumble Pies


Ingredients

(Makes 15)

Pastry

320g (11.3 oz) wholegrain spelt flour

110g (3.9oz) icing sugar

2 tsp cinnamon

½ tsp salt

165g (5.8oz) butter, roughly chopped into cubes

1 large egg, beaten

Apple Filling

700 (1lb 5oz) grams of peeled, cored and coarsely grated Bramley apples (about 3 large apples)

70g (2.5oz) caster sugar

Crumble topping

80g (2.8oz) wholegrain spelt flour

45g (1.6oz) oats

45g (1.6oz) caster sugar

50g (1.7oz)  butter

2 tsp cinnamon

¼ tsp salt

15 hole muffin/cupcake tin, greased (usually they come in 12s, in which case you will need 2 x muffin trays


Method

Pastry

  1. In a blender, blitz together dry ingredients. Then add in the butter and pulse until the mixture resembles damp sand. Pour in the egg and continue to pulse until the mixture clumps together into a dough. Avoid mixing it more than necessary.
  2. Flatten the dough roughly into a disc and wrap in cling film or baking parchment. Chill in the freezer while you make the other elements.

Apple Filling

  • Place all ingredients in a pan and stir over a high heat for about 5 minutes until the apple turns soft but some texture still remains.  Strain the mixture using a sieve, pressing down to get rid of excess liquid (about 250ml, which incidentally tastes like a delicious mulled cider).  Set aside to cool.

Crumble

  • Place all ingredients in a blender and pulse until the mixture resembles damp sand.

Assembly

  1. Preheat an oven to 180˚C.
  2. On a floured surface, roll out the chilled pasty to a thickness of 0.5cm. Cut the pastry into circles with an area similar to that of the muffin tin holes (about 8-10cm), and press each circle in the holes. You may need to patchwork the pieces together.
  3. Prick the pastry lining the muffin holes with a fork, and bake in the oven for 8-10 minutes, or cooked through and beginning to golden slightly.
  4. Take the tin out of the oven and spoon 2tbsp of the cooked apple into each pastry shells. Top the cakes by spooning a few tablespoons of the crumb topping over each cake, patting it down and then sprinkling the rest of the mixture over.  I like to clump some of it together before scattering it over in order to add further texture and rustic appeal.
  5. Bake in the oven for 8-10 minutes until the crumble topping is golden and crisp. Serve hot or cold.

Cinnamon Apple Crumble Pies

Comment

Morroccan Spiced Linzer Jam Cookies

Comment

Morroccan Spiced Linzer Jam Cookies

Afternoon tea.  What do you think of when someone says those words? Tiers of fluffy isosceles sandwiches, miniature entremets layered with fruit, caramel, and chocolate, and maybe a scone glistening with strawberries.  Crisp napkins, high ceilings, the tinkling of fine bone china…

Near where I live there is an Austrian tea room.  The window is filled with garish glace cherry- adorned, deflated pastries, crusted squiggles of festering cream, and opera cake melding into a brown sludge. It opened 60 years ago, and the décor and pastries appear not to have been refreshed since.

Morroccan Spiced Linzer Jam Cookies

Inside, it is dark and cramped, and the airless atmosphere is thickened with hot breath and the oversweet smell of fat and sugar.

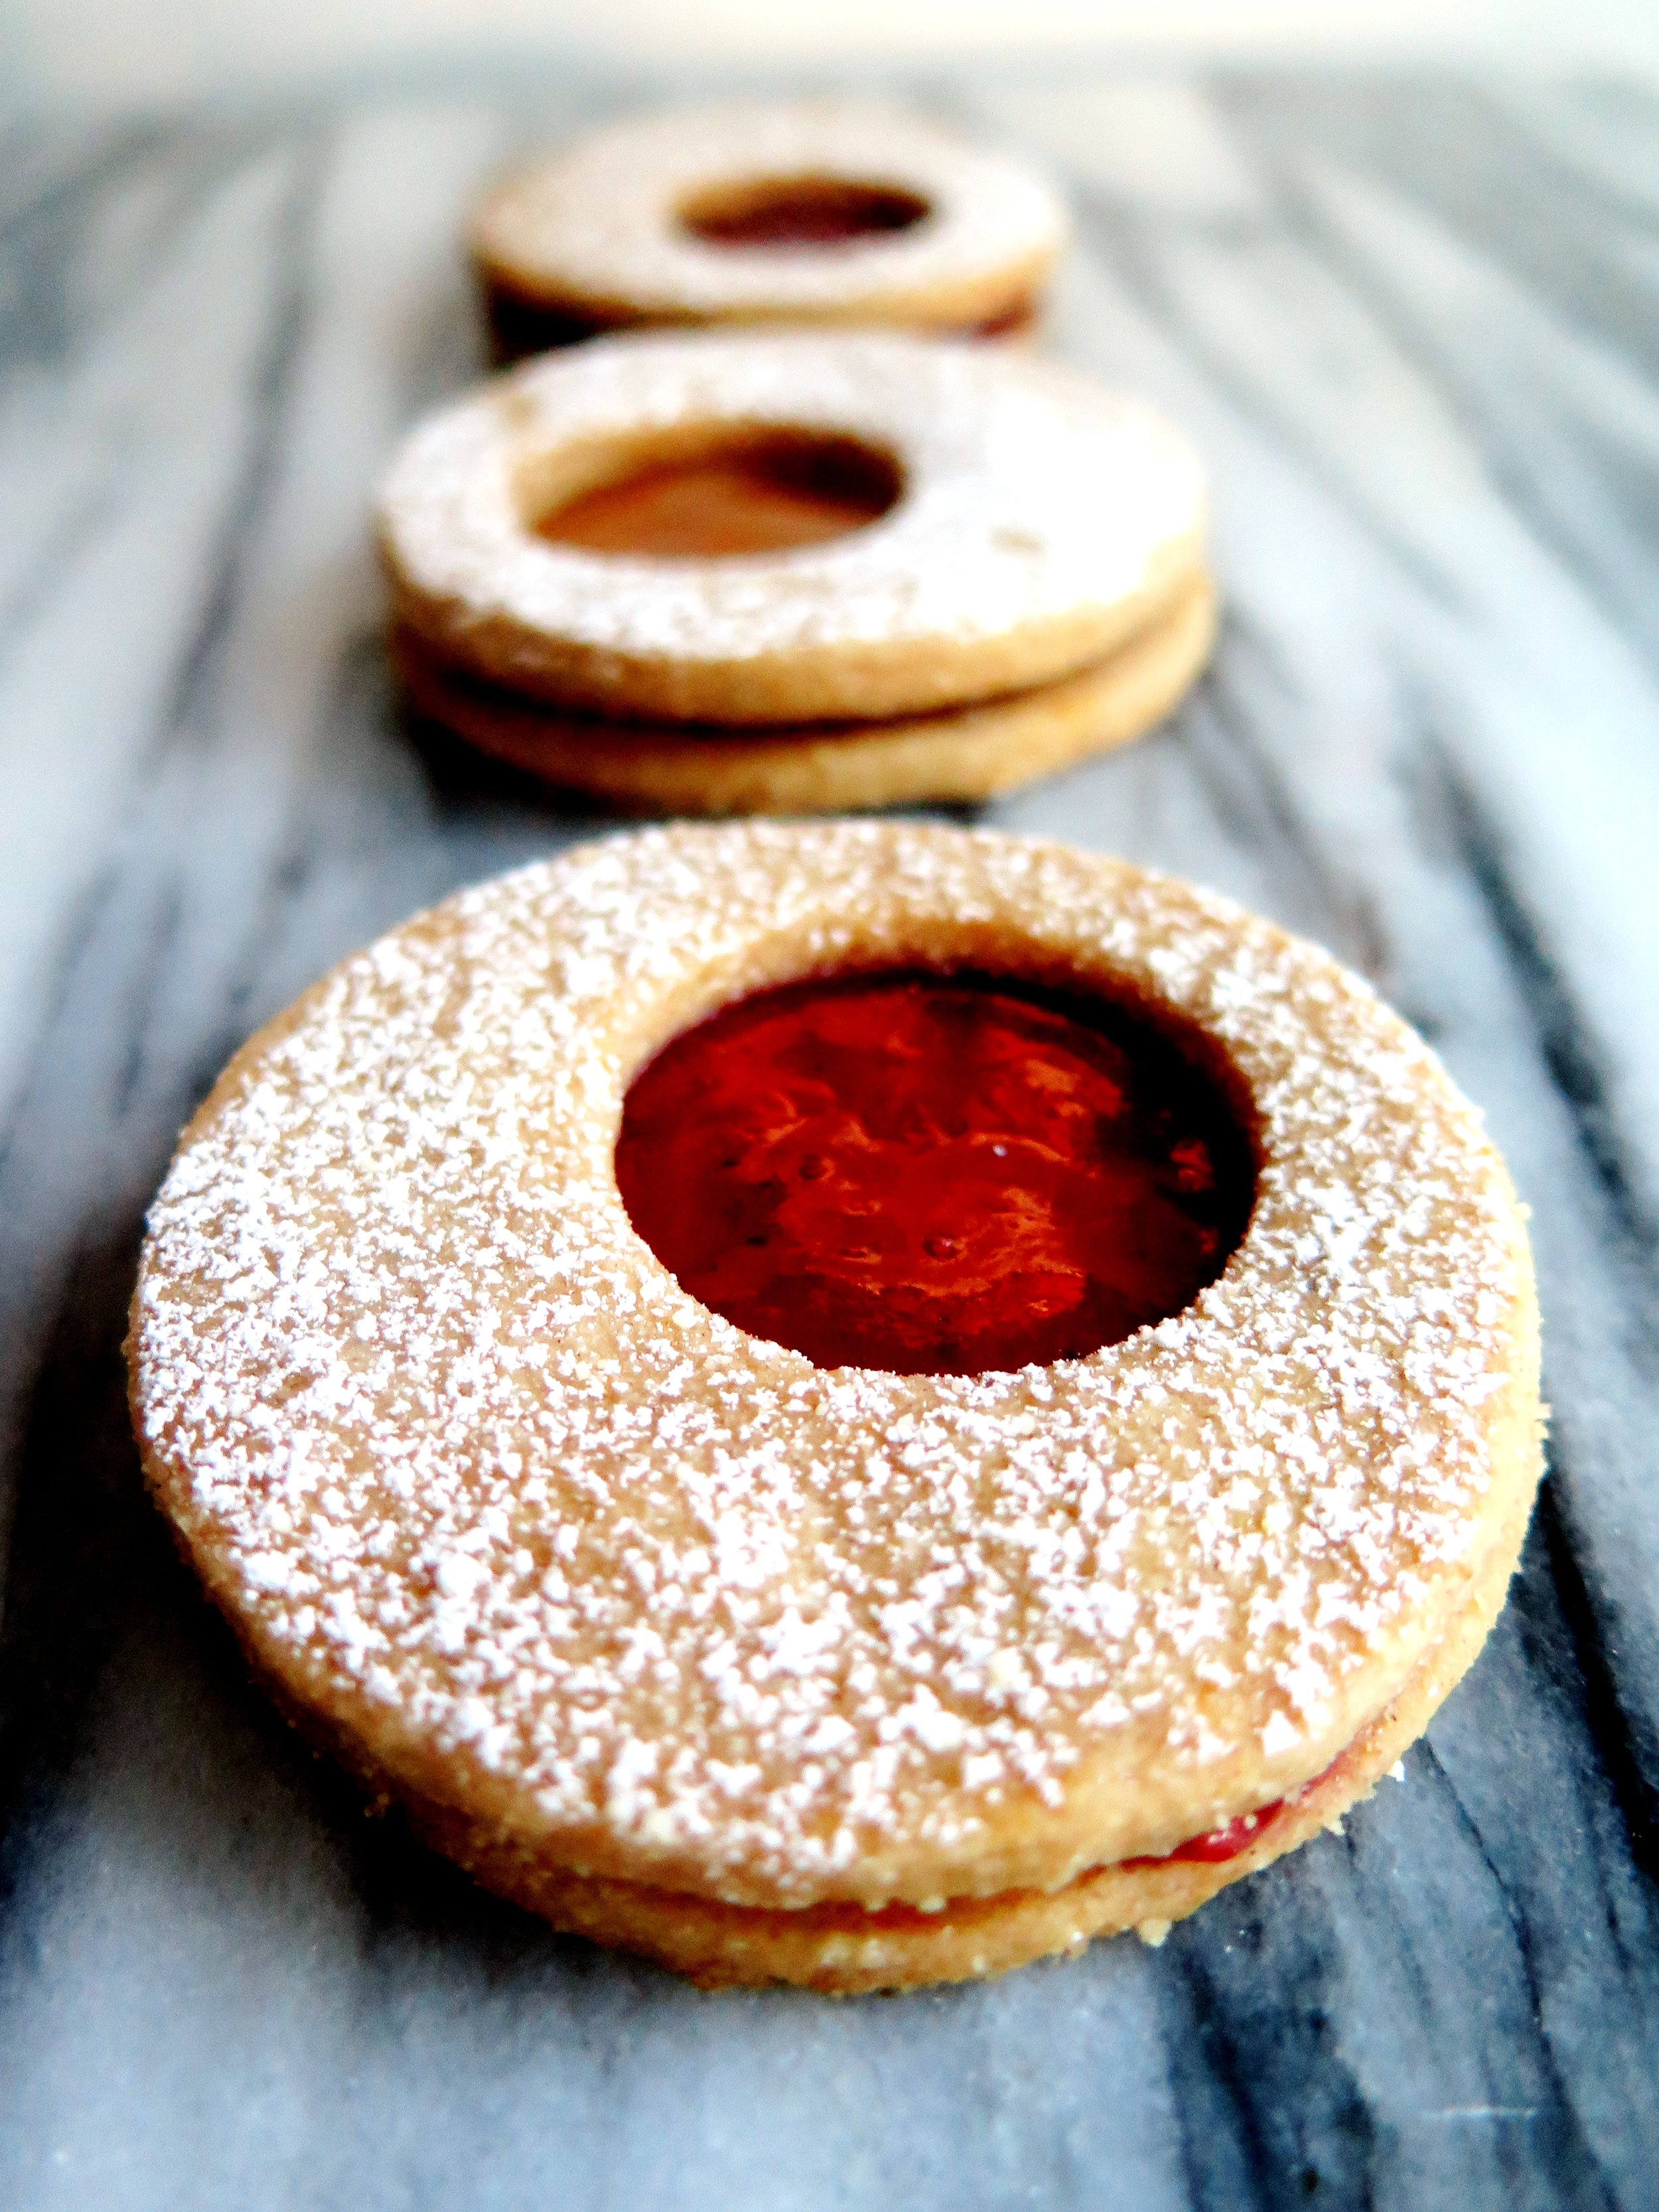
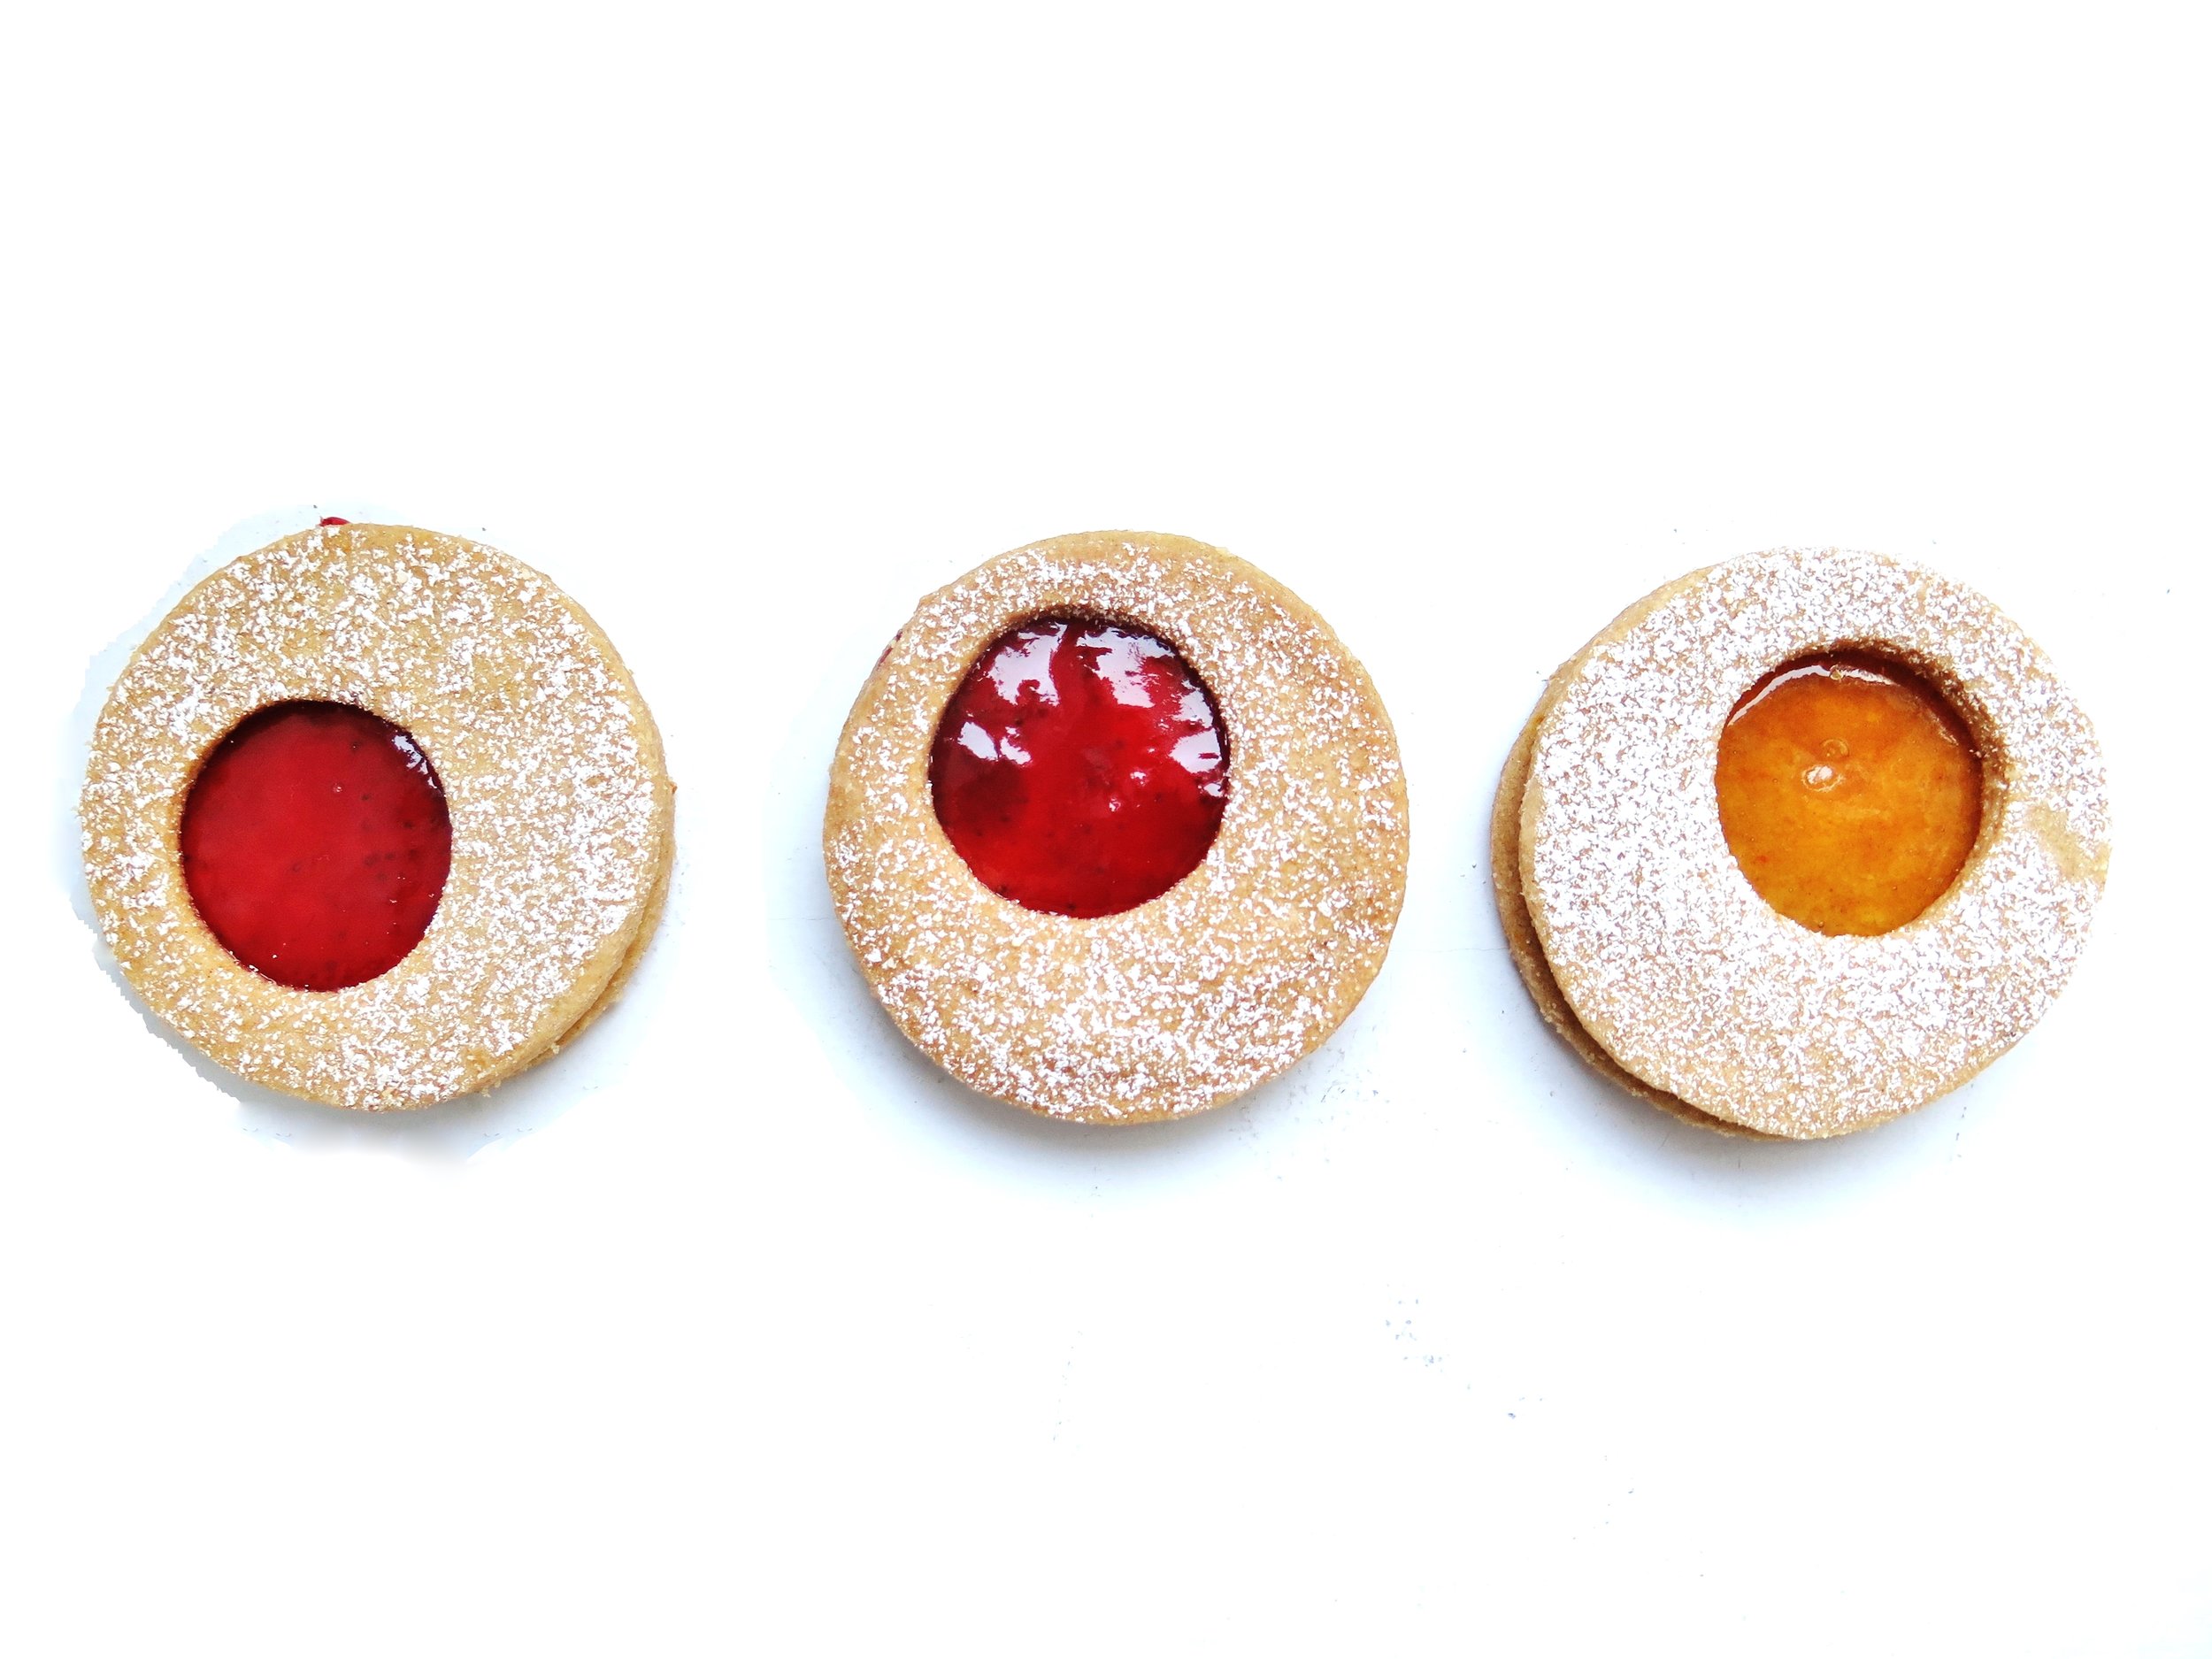
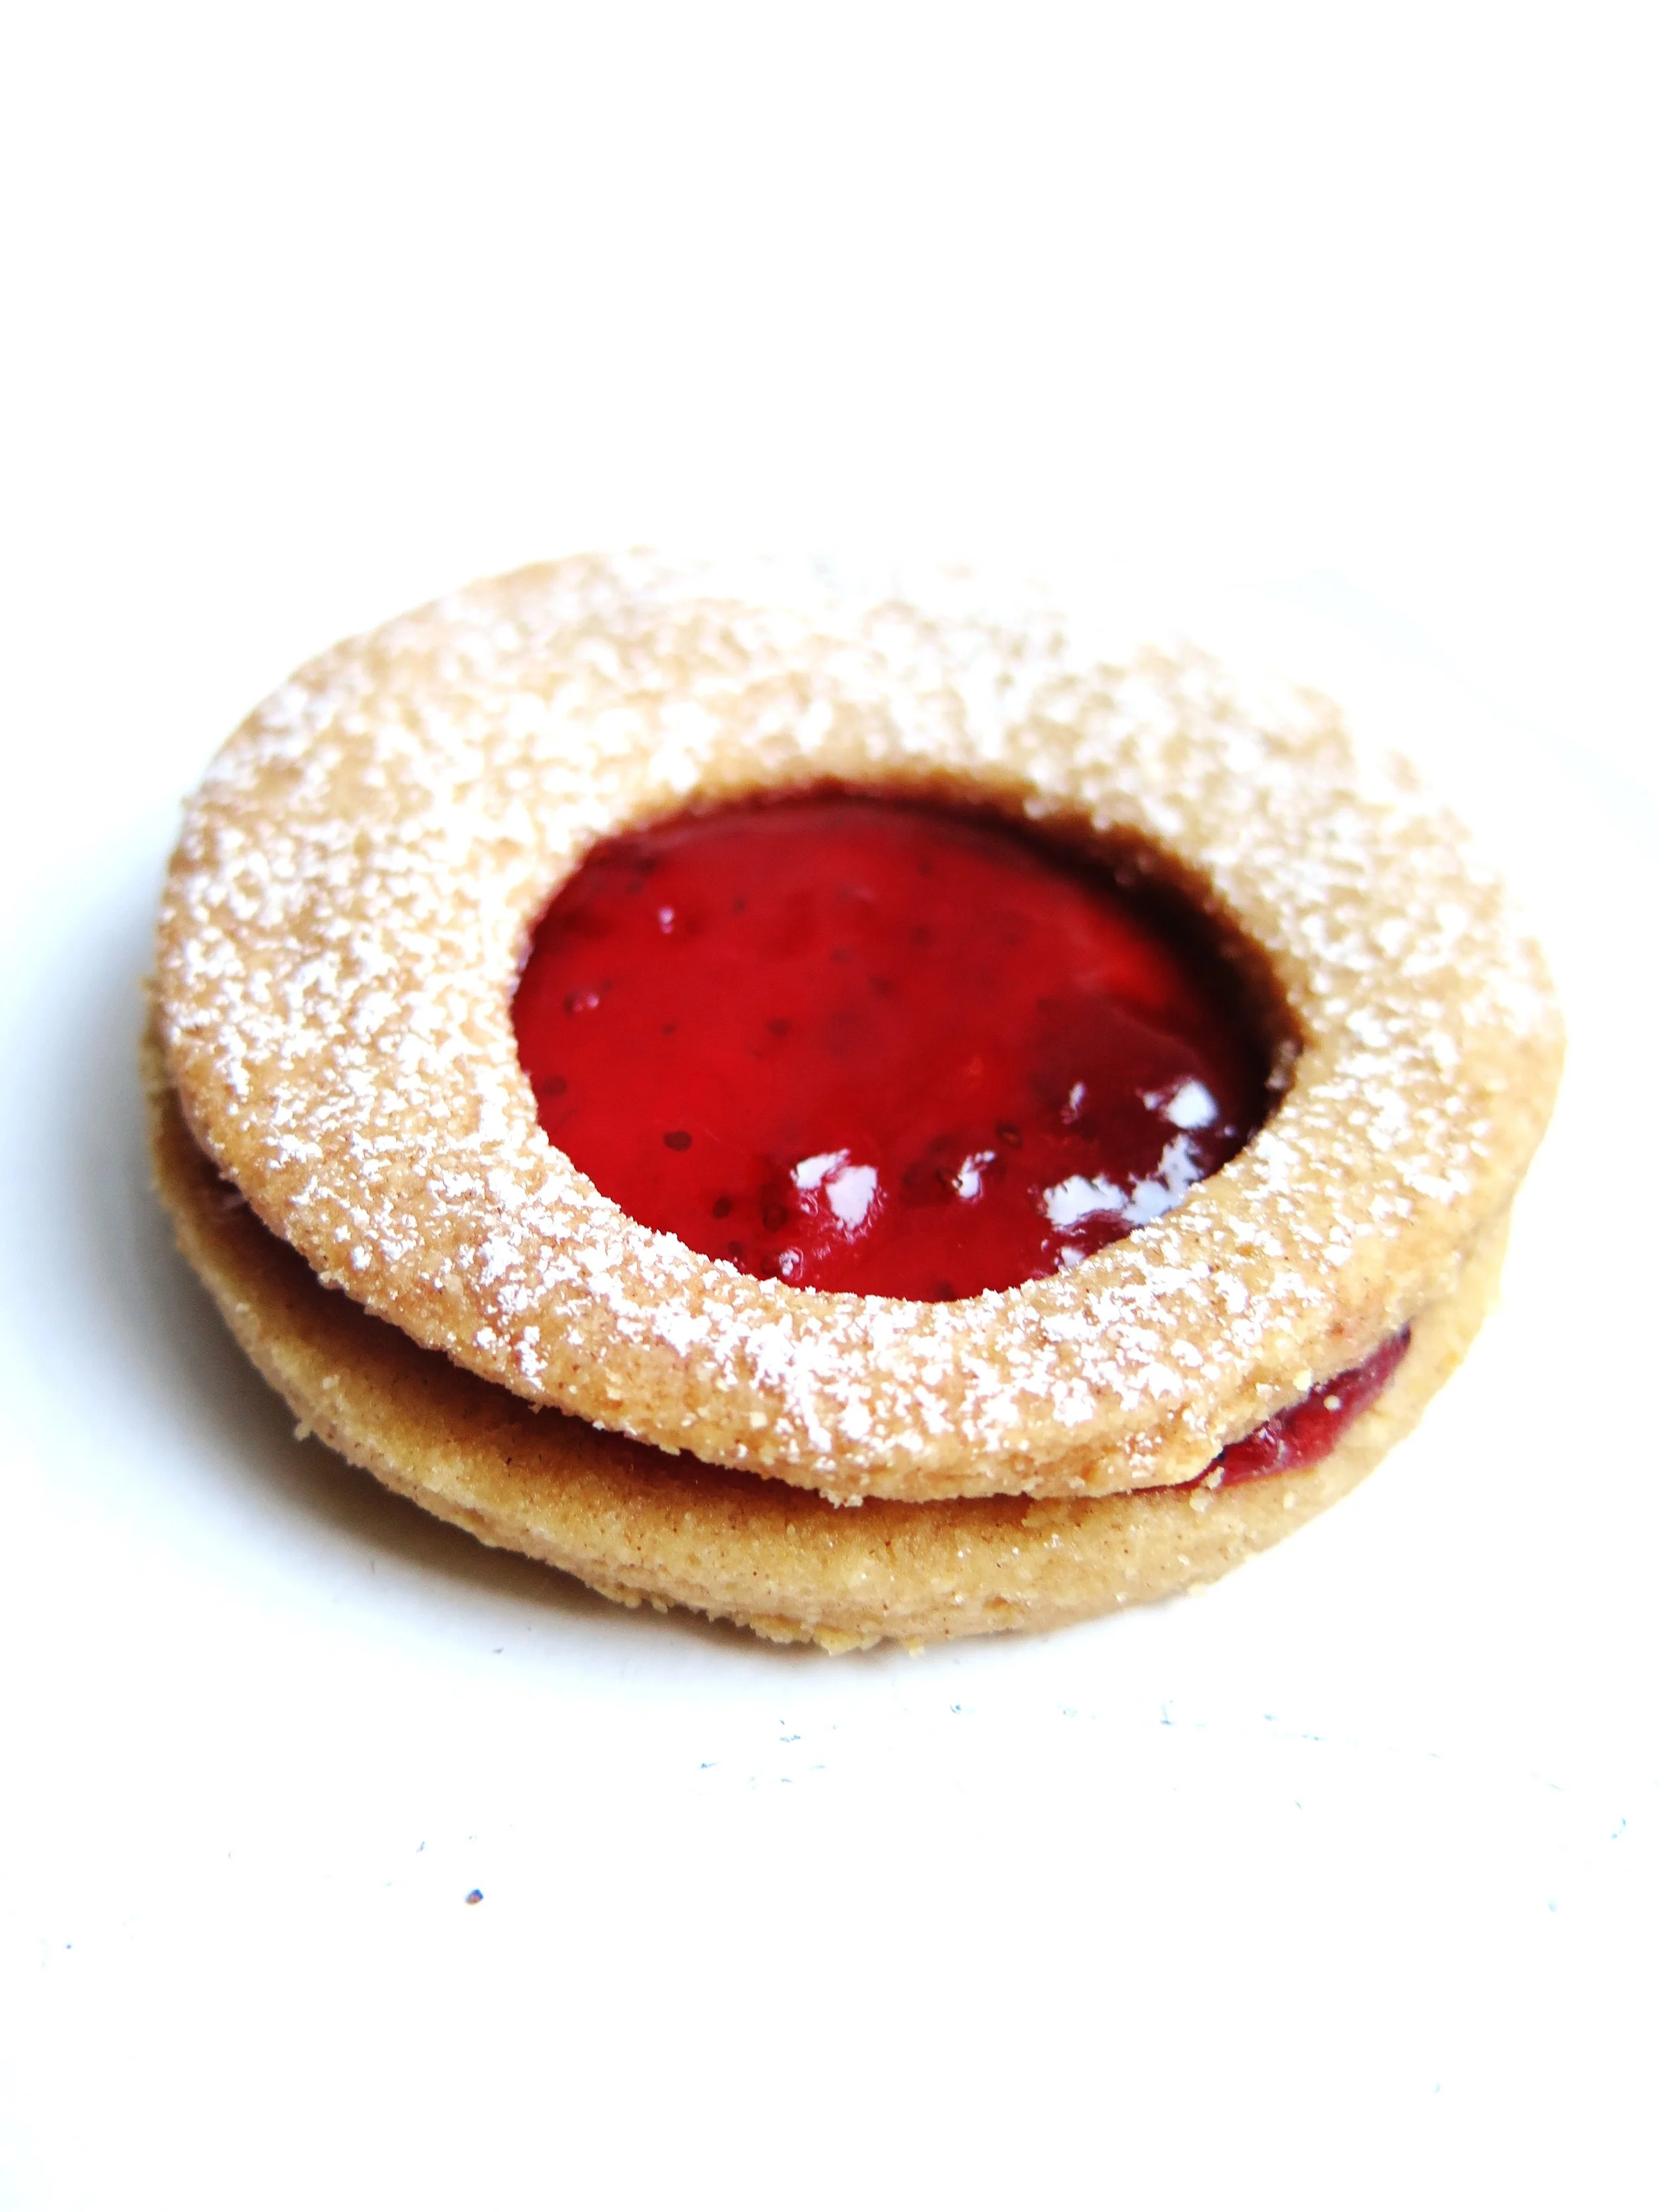
Their Linzer biscuits, however, remind me of Jammie Dodgers – those jam-filled, shortbread biscuits of my childhood that only other people’s mothers allowed – and inspired me to re- interpret them. 

These have a slight Moroccan edge: spiced, delicate with a slight chewiness, filled with the tangy conserve of your choice.

I like marmalade for the tart/bitter contrast against the sweetness of the pastry, but strawberry also works well.  Of course, you can go for any shape, but I am rather taken by the cog-like –quirky take on a Jammie Dodger look.

Ingredients

290g (10.125 ounces) white spelt flour (or plain flour if unavailable)

140g (5 ounces) ground almonds

100g (3.5 ounces) caster sugar

¼ tsp salt

2 ½ tsp cinnamon

¼ tsp ground cloves

¼ tsp almond extract

1 tsp grated lemon zest (about ½ lemon)

1 tsp grated orange zest (about ½ medium orange)

225g (8 ounces) unsalted butter

200g (7 ounces) marmalade or jam of choice (I used marmalade and strawberry)

30g (1 ounce) icing sugar

Large and small cookie cutters (I used 7cm and 3.5cm diameter rings)

2 large baking sheets, lined with baking parhcment

Method

  1. Pour flour, ground almonds, caster sugar, salt cinnoman, cloves,orange and lemons zest, and almond extract into a food processor and pulse until fully combined.  Add in the chopped butter and pulse again until the mixture forms a damp sand-like texture.  Keep pulsing until it clumps tighter to form a dough.
  2. Divide the dough into two rounds and flatten both onto sheets of baking parchment, wrap them and place them in the freezer for about 20 minutes or the fridge for an hour.
  3. Preheat the oven to 160˚C (325˚F). Remove the disks of dough from the freezer/fridge – if they are too firm to roll, let them sit for a few minutes.  Ona thoroughly floured board, roll one disk out to a 3mm (1/8 inch) thickness. Cut out as many cookies as possible and set aside the scraps.  Space the disks out on the baking trays as you go. Repeat with the second disk and use the smaller cutter to cut out small holes from the rounds.  Press together the accumulated scraps and roll out again.  Make sure there are an equal number of whole circles to circles with a cut out circle.  A tip to avoid the cutter sticking in the dough is to dip it in flour first.
  4. Place the trays in the oven and bake for 12- 15 minutes until the cookies are golden but still soft to the touch – they will continue to cook as they cool. When cool, for aesthetic effect, sieve the icing sugar onto the rounds with the circles cut out of them. Then spread a teaspoon of the jam/marmalade onto the complete circles, and lightly press the cut-out layer on top.  Devour, delicately, of course…
Morroccan Spiced Linzer Jam Cookies

Comment

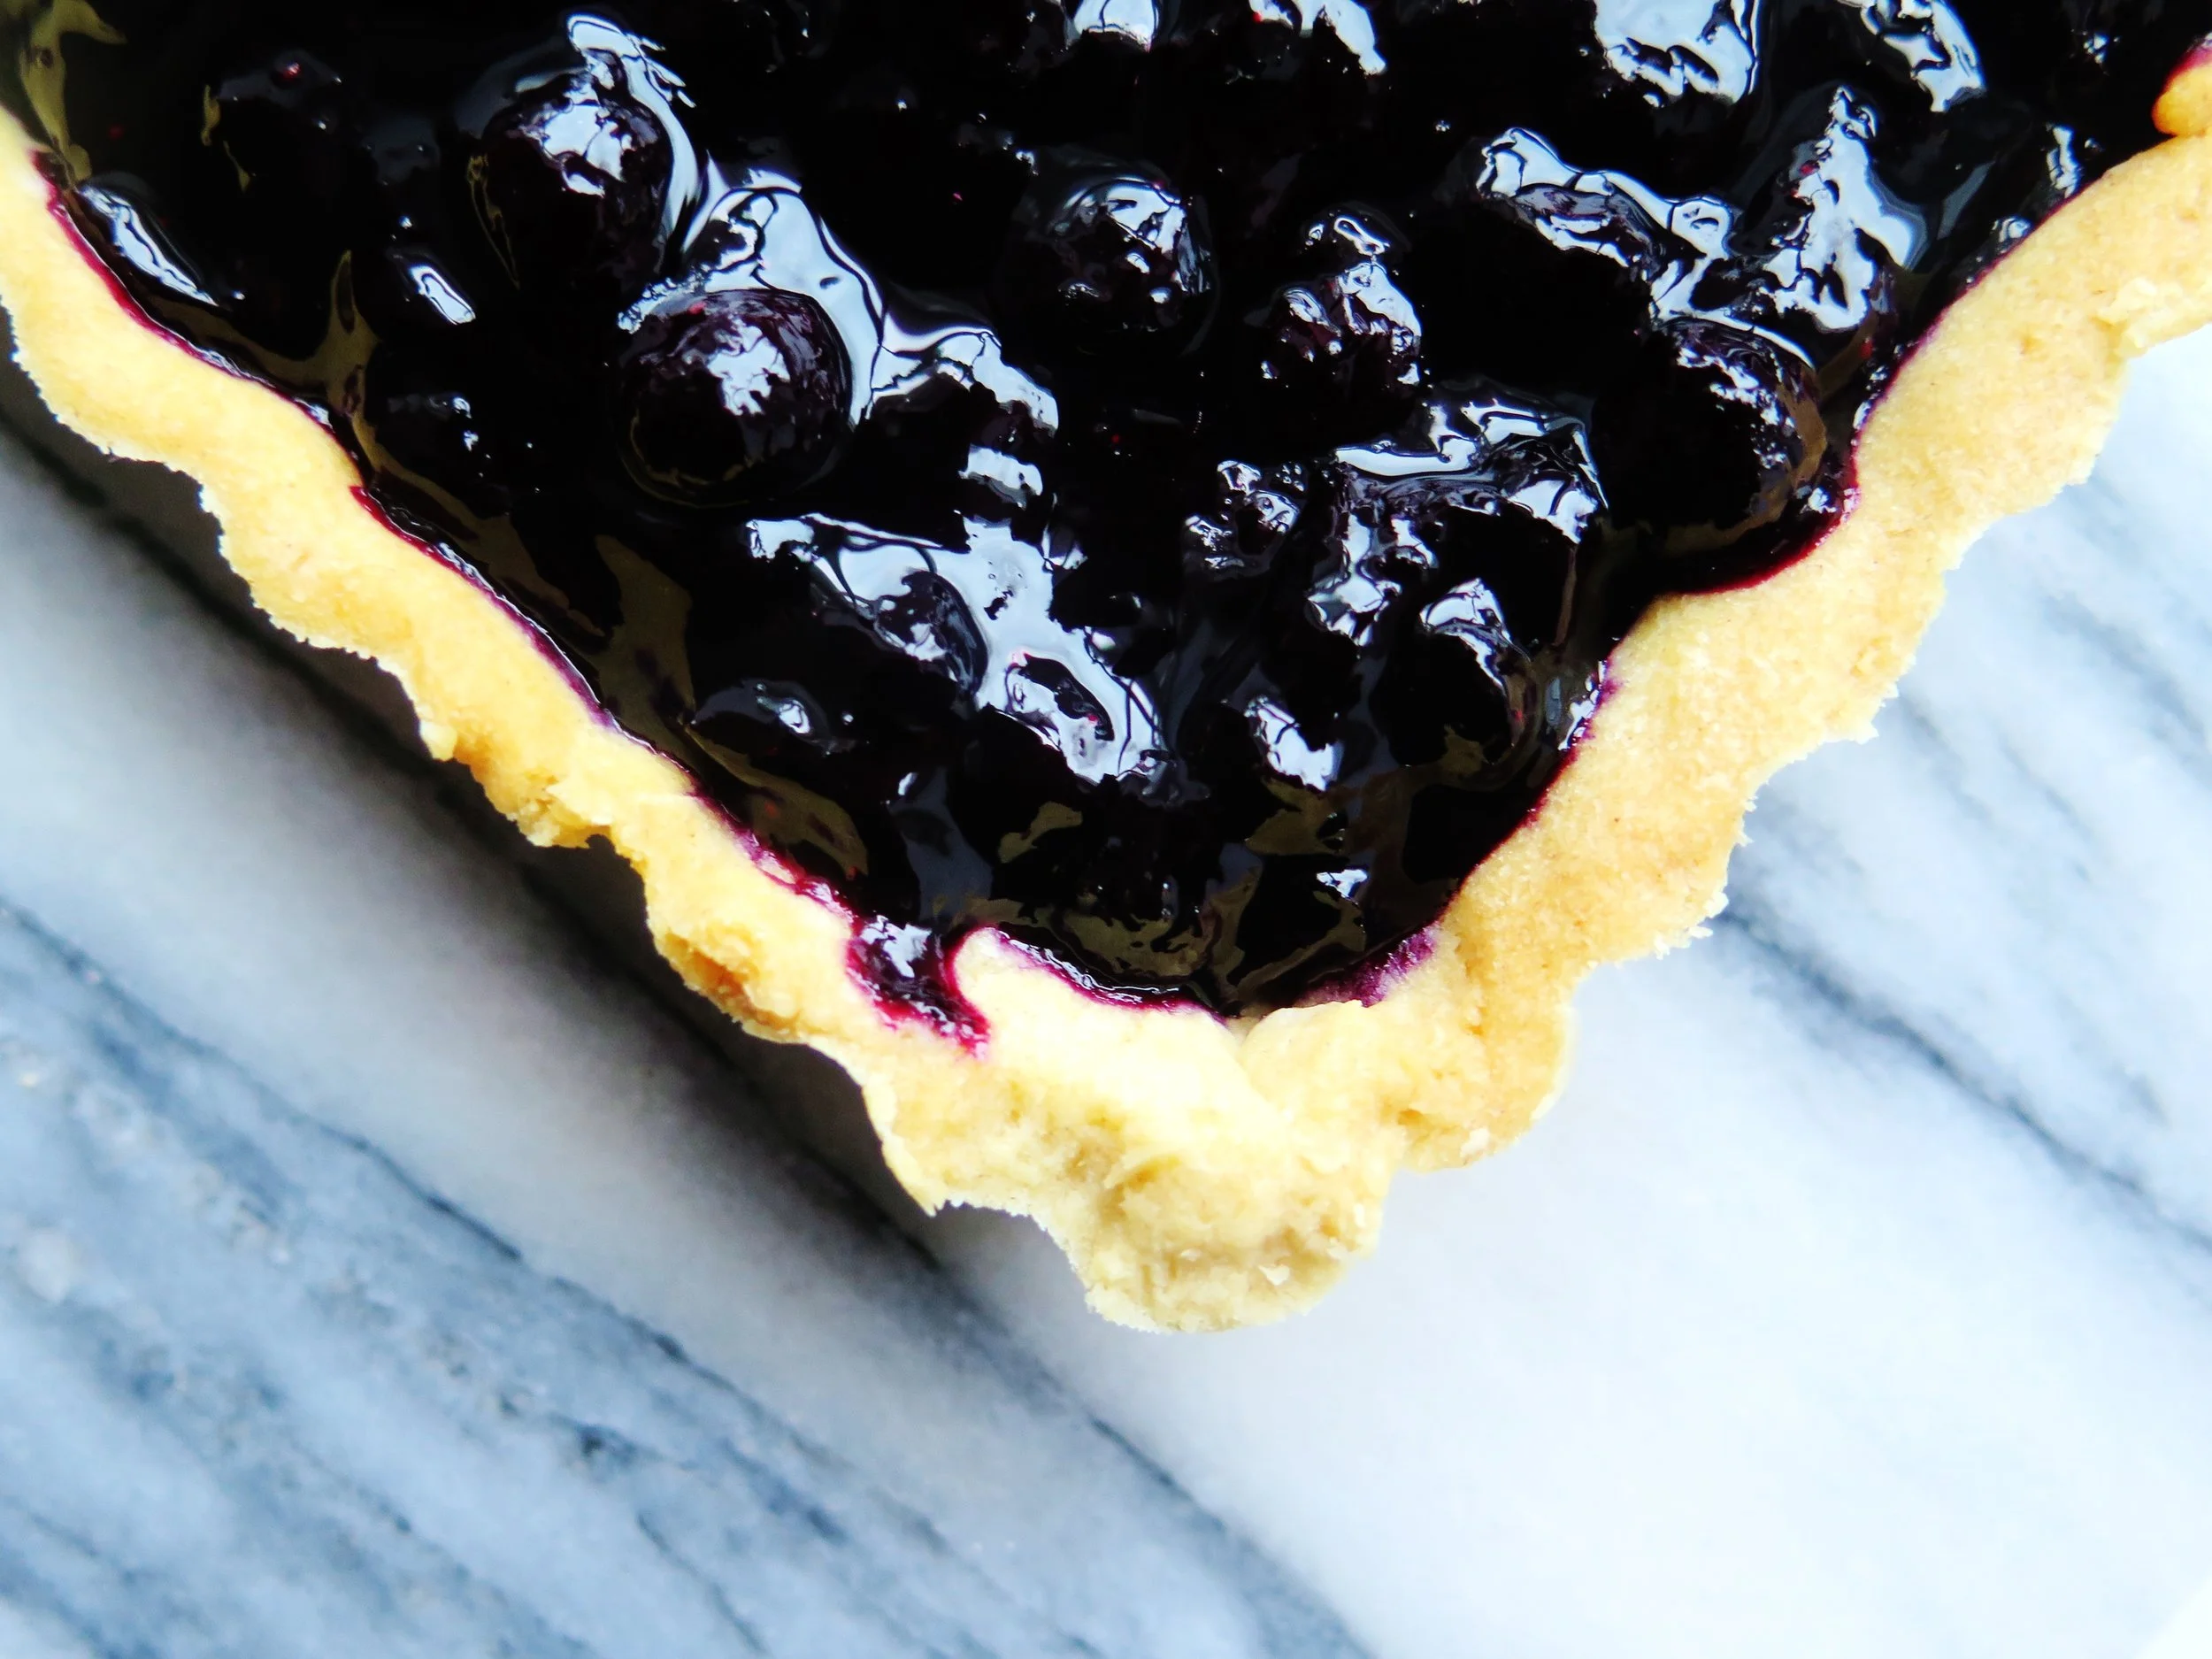
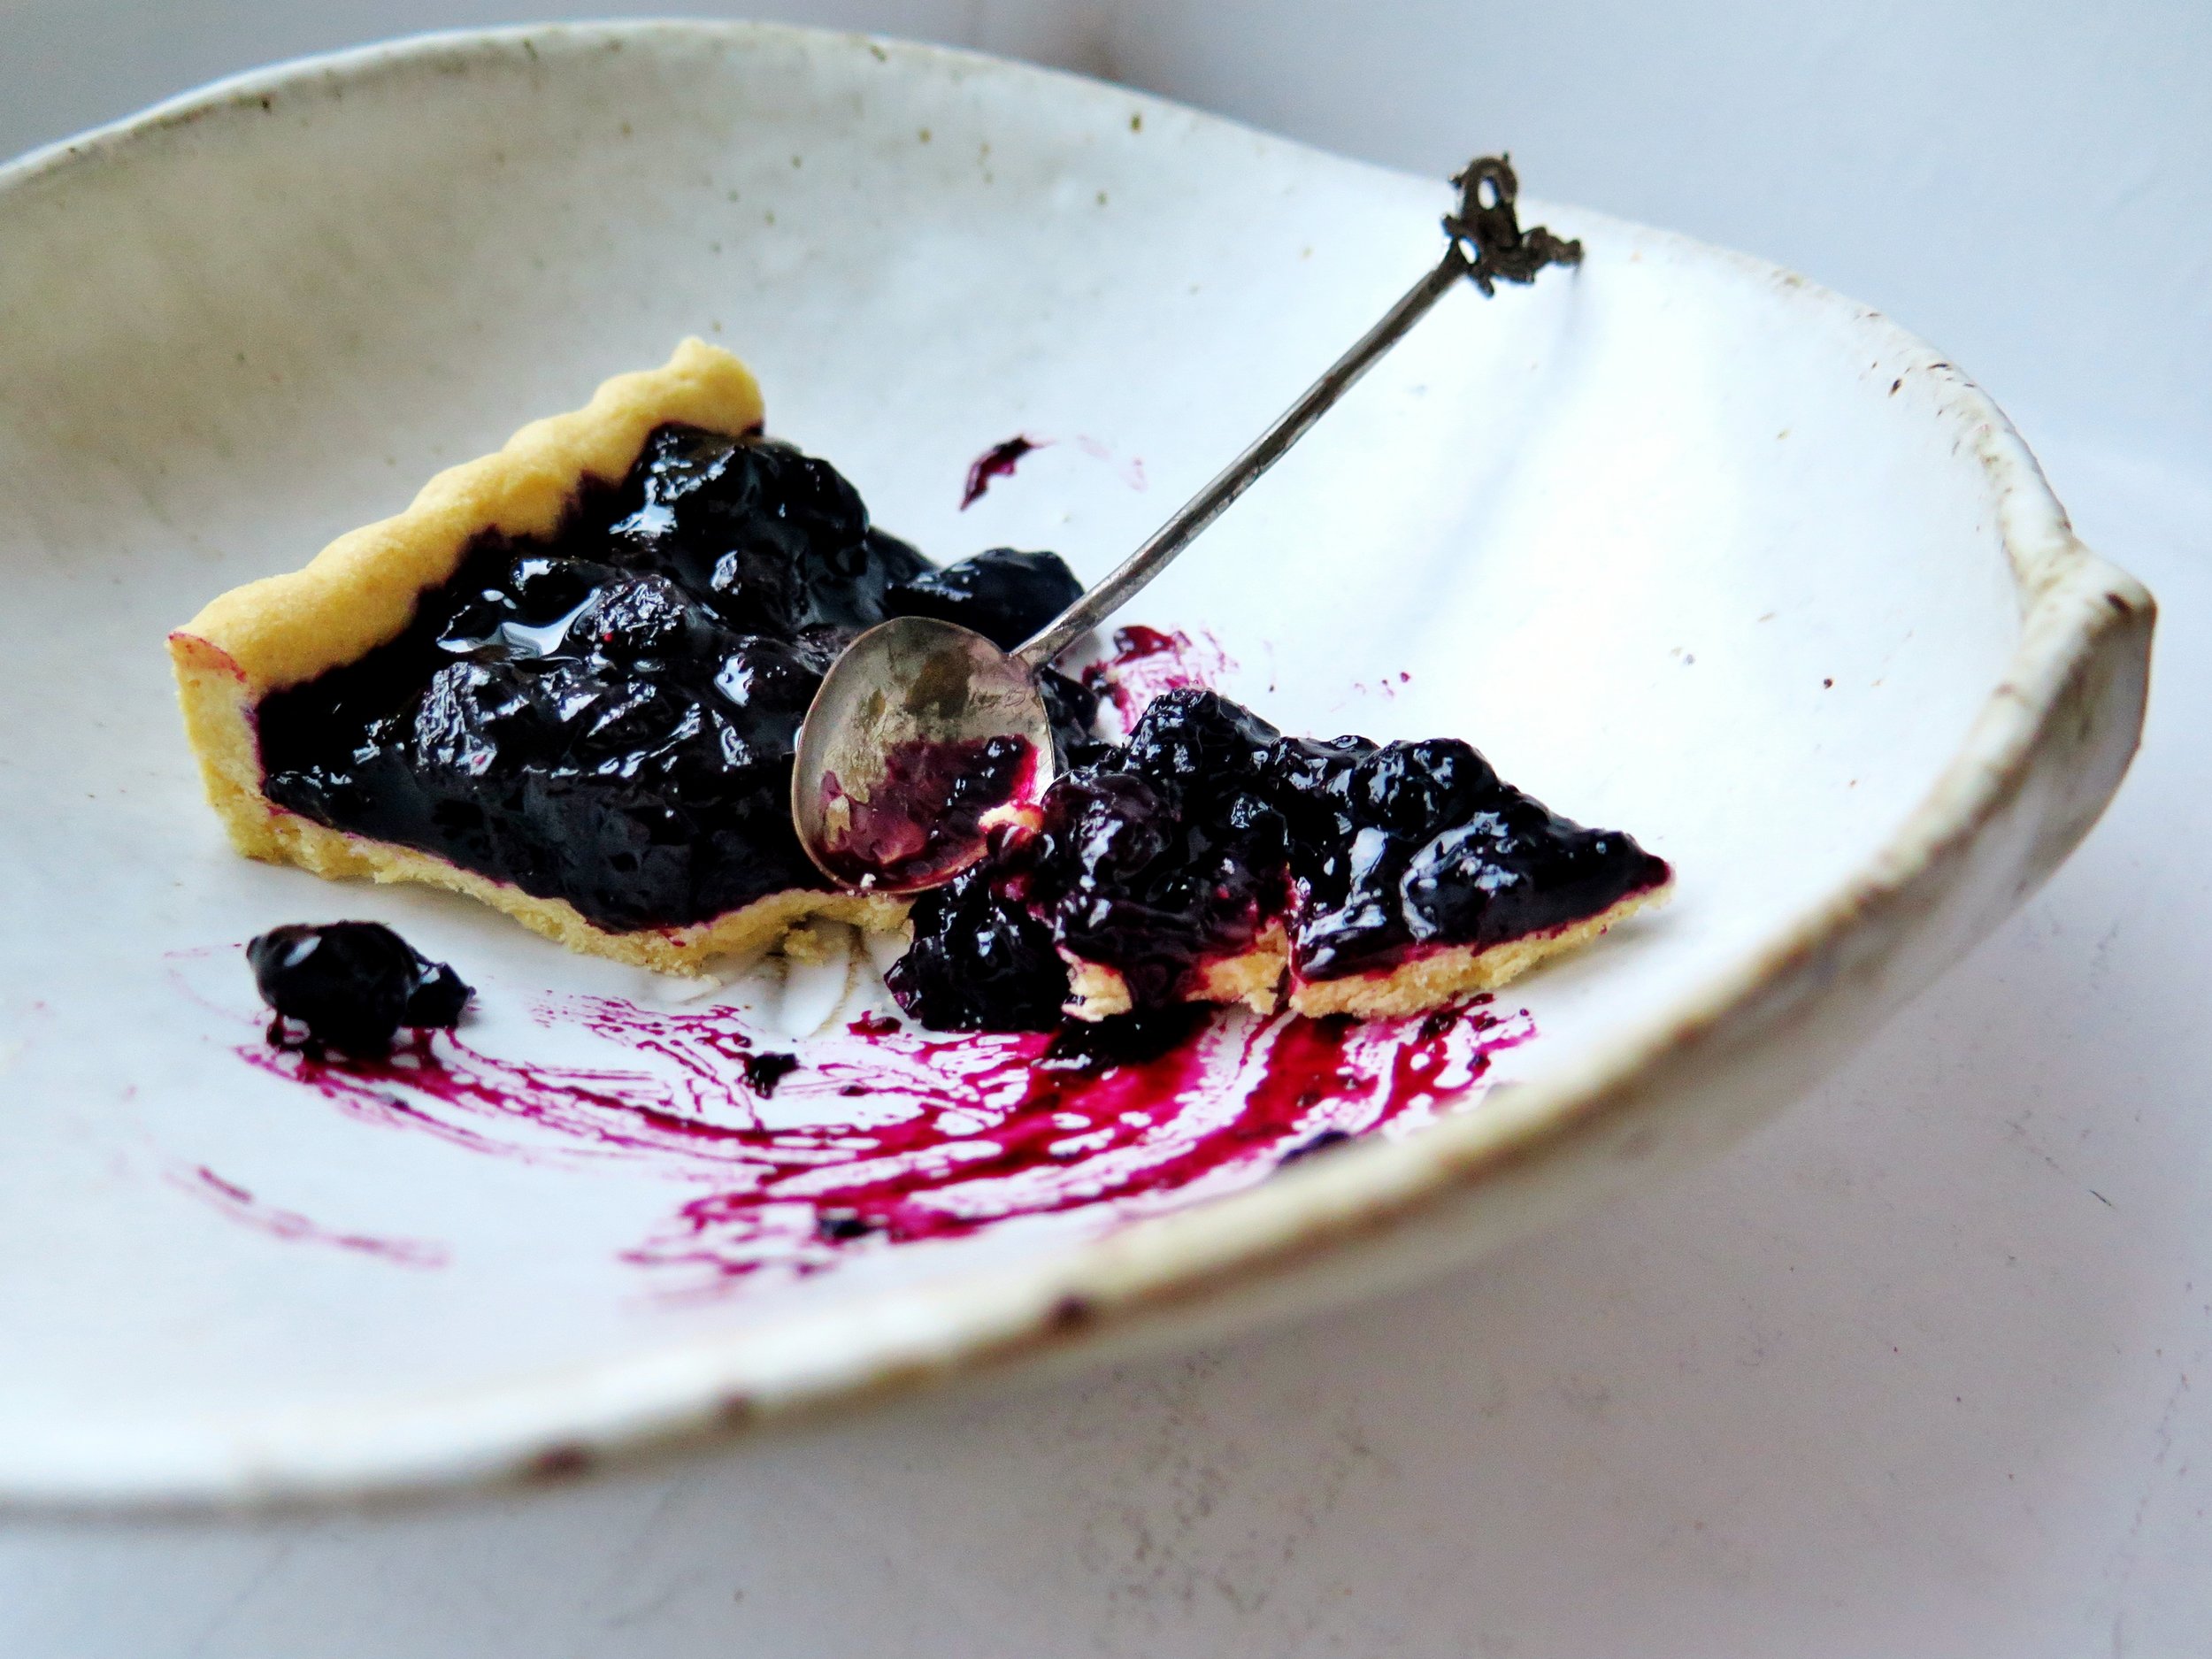
Spiced Blueberry Tart

1 Comment

Spiced Blueberry Tart

IMG_4374i.jpg

Is it just me, or is anyone else sick of logging on to Facebook, innocently hoping to drain away half an hour of one’s day (minimum) by looking at pictures of people one may or may not have half met once trying to prove how much fun they are having by posting pictures of themselves with friends/family, strained smiles stretched across their faces, and who are clearly not that immersed in the fun as they have had to spend half an hour trying to get one decent picture out of the hundred they’ve taken to emblazon it across their Facebook wall and maybe, just maybe, turn it into a cover photo?

And then – BAM - your gaze is diverted,

and you are staring down into the depths of a garishly coloured plastic bowl filled with some unidentifiable artificial gunk, pink fleshy hands massaging some other substance into it to form some putty-like emulsion which is then mushed and squeezed and squidged into a plastic mould, whizzed up, and extruded through a bag and…… oh look, it’s that Gooey Oreo, Jellied Eel and Green Marshmallow Mini Coffee Cup that “you’ve always wanted to make for your slumber party with the gals”.

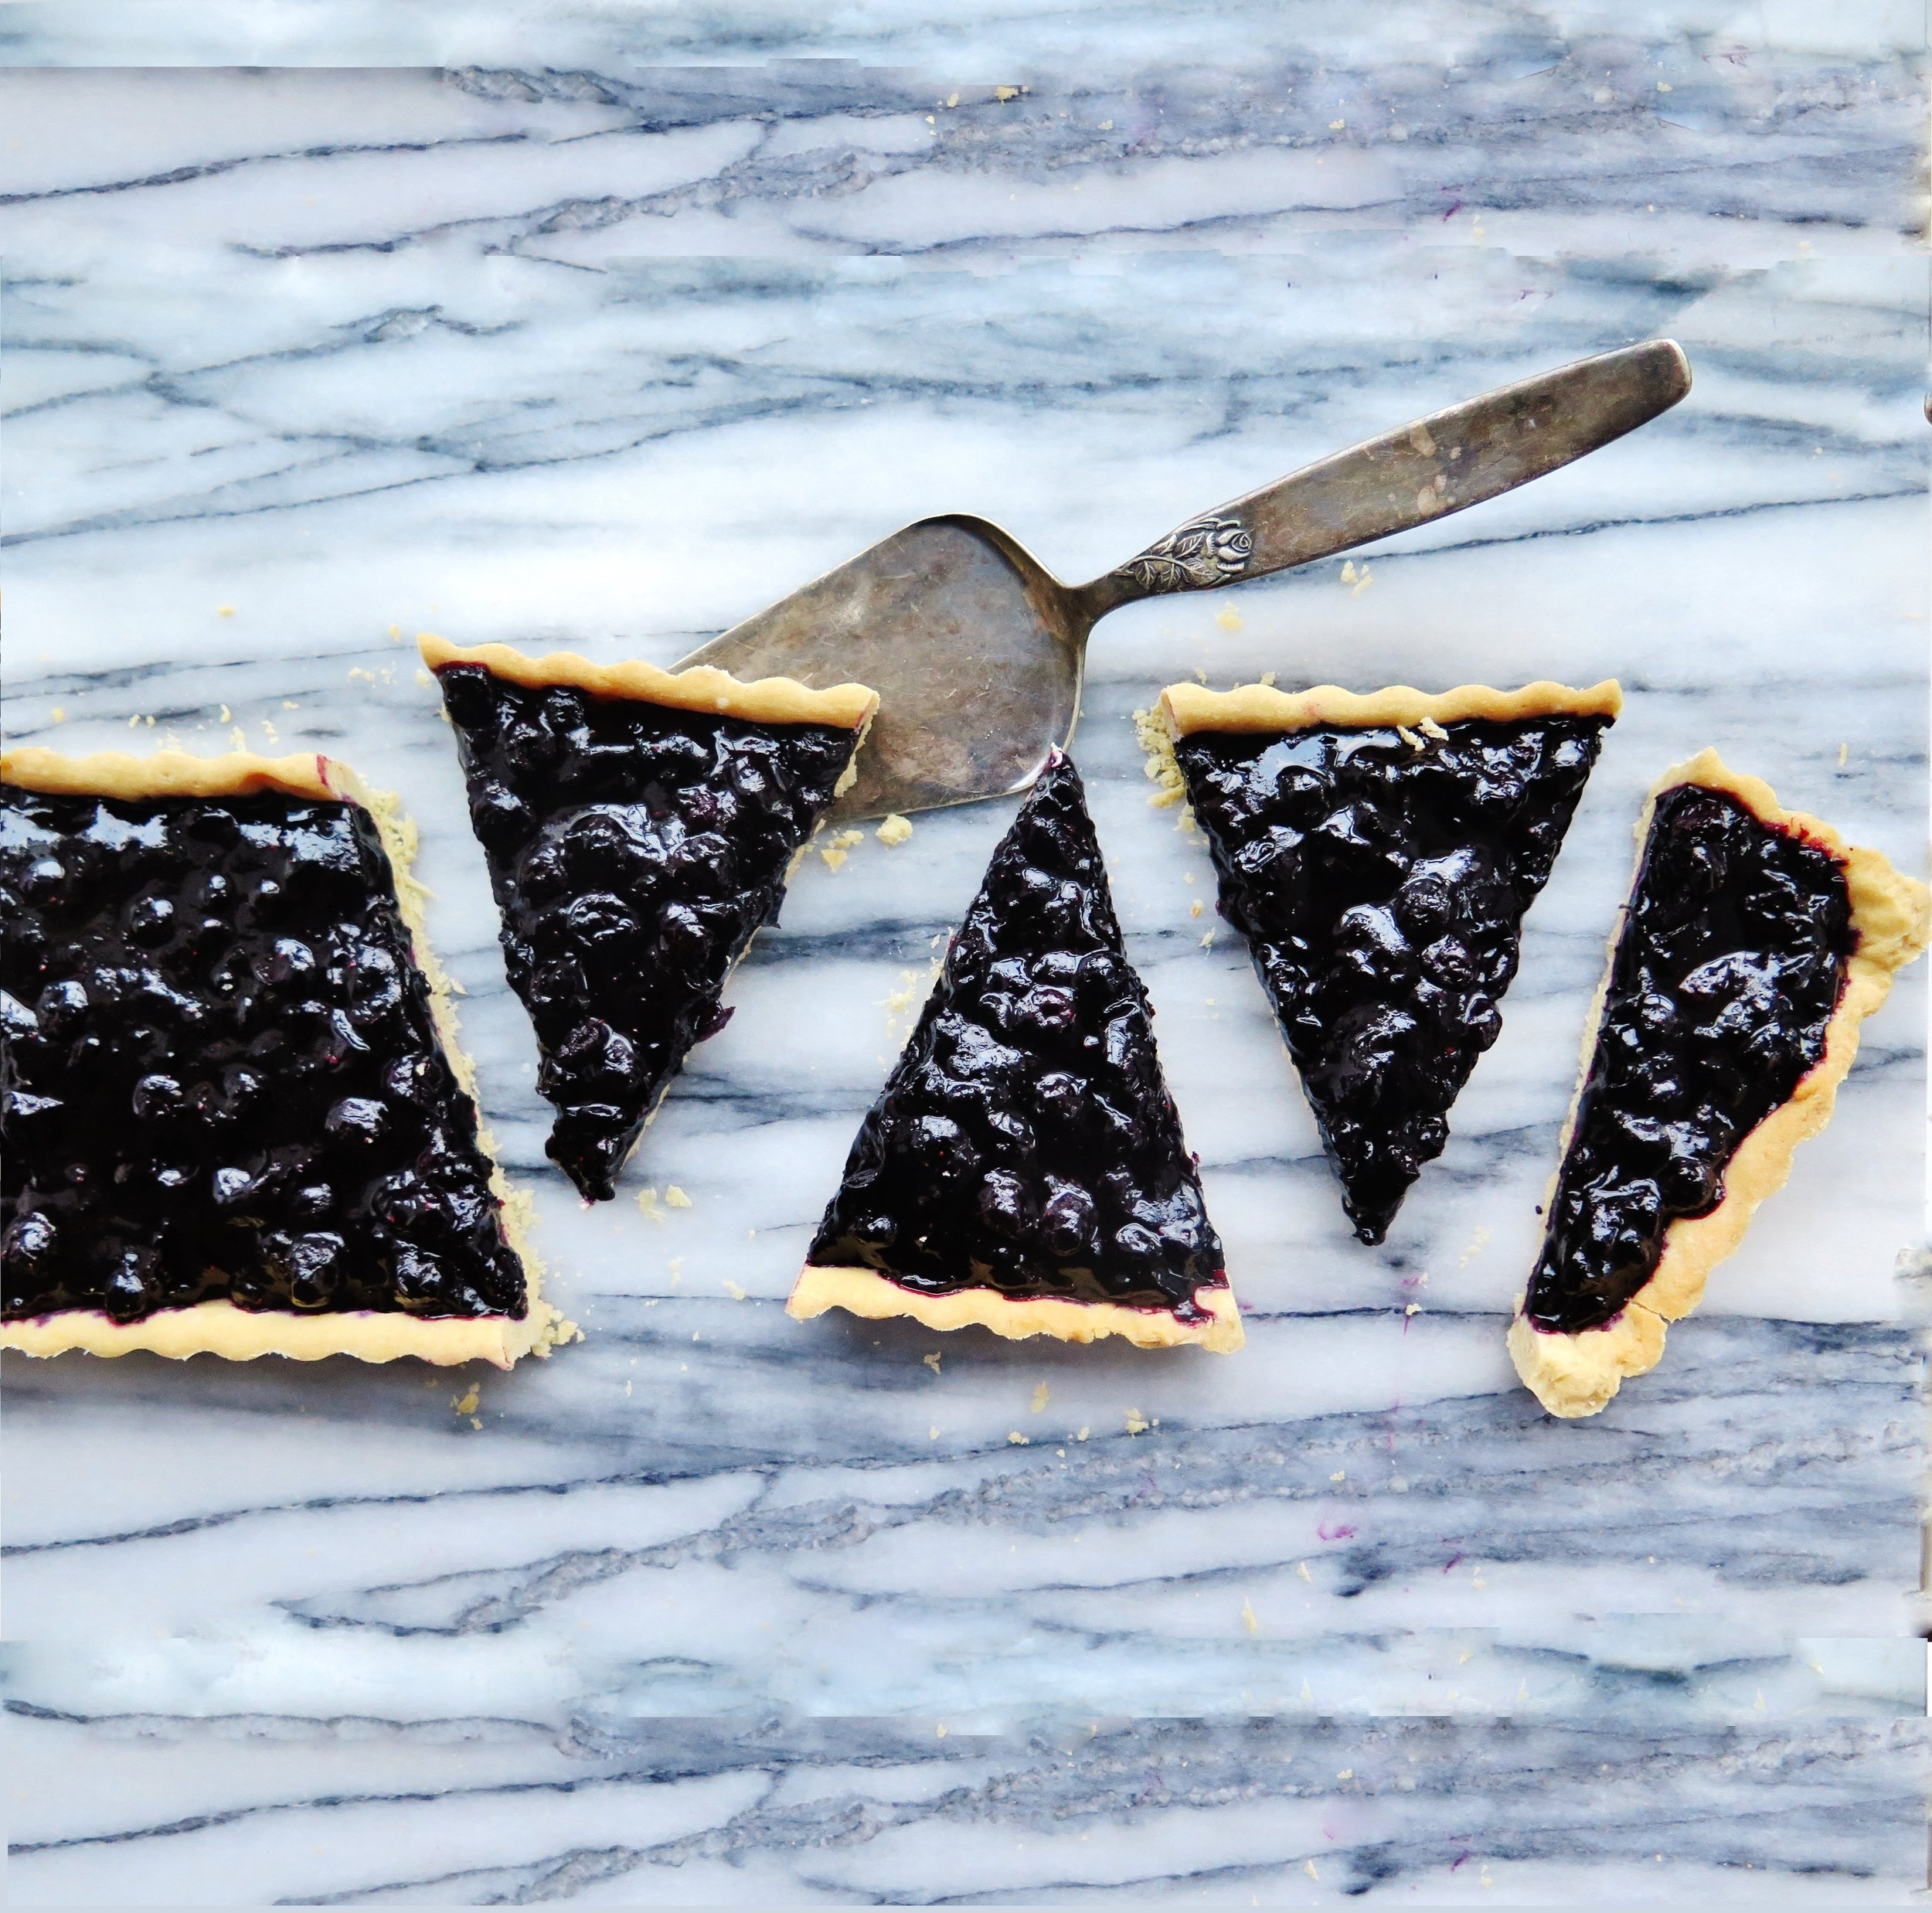
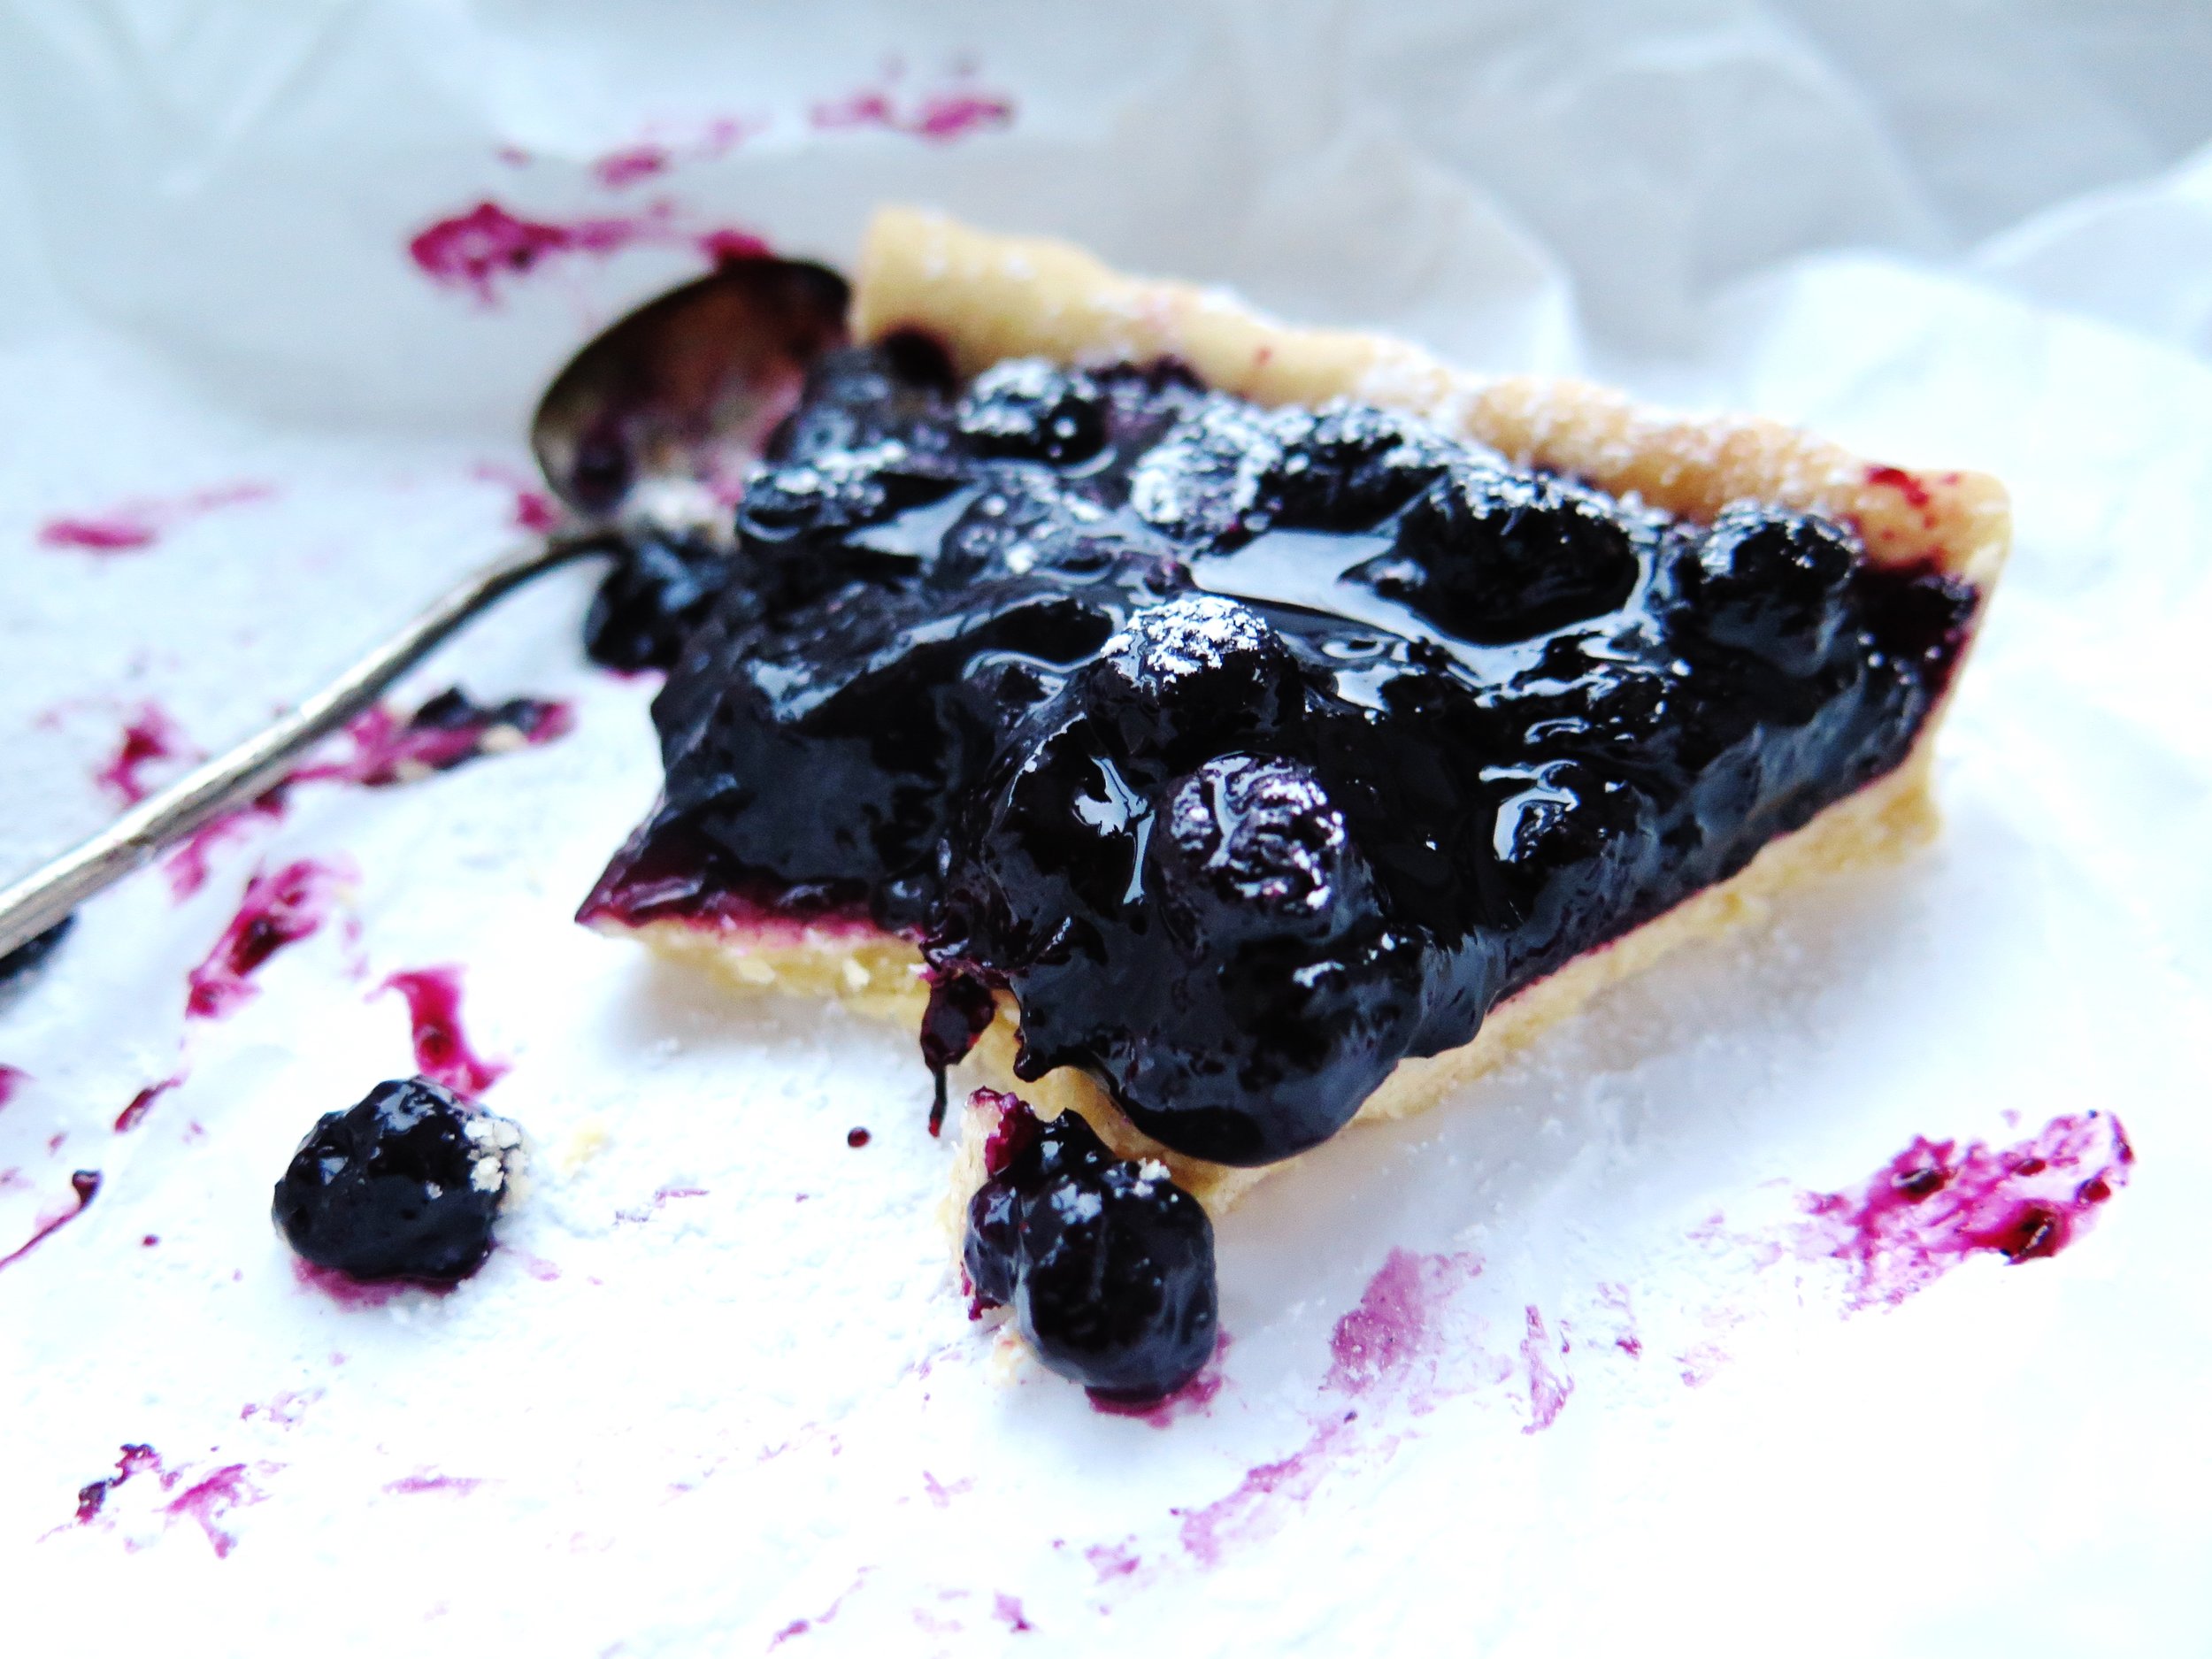
Here’s an antidote.  It is simple yet sophisticated, humble yet sumptuous, tangy but not cloyingly sweet, and light yet not so light when you’ve had 4+ pieces….

Ingredients

Pastry

200g white spelt flour (can be substituted with plain flour)

100g butter, roughly cubed

2 tbsp icing sugar

¼ tsp salt

1 small egg, beaten

12 x 36cm tart tin, greased and dusted with flour

Blueberry filling

800g frozen blueberries

250g caster sugar

1 tsp cinnamon

½ tsp nutmeg

2 tbsp cornflour

Zest of ½ medium sized orange

Method

  1. Place flour, butter, icing sugar and salt in a food processor, and blitz until it resembles damp sand. Pour in the beaten egg, and pulse until the mixture combines to form a soft dough.  Remove from the processor, wrap in baking parchment and place in the fridge for half an hour (or freezer for 10-15 minutes) – this will prevent the dough from shrinking when it bakes.
  2. Preheat the oven to 180˚C. Lightly dust a surface with flour and roll out the dough in a rough rectangle to 0.5cm thickness. Roll the pastry around a rolling pin and transfer to the tin, pressing it into the fluting (if, indeed, your tin is fluted). Run a knife along the top edge of the tin to remove excess pastry. Prick the base of the pastry a few times with a fork, and place back in the fridge for 30 minutes (or freezer for 10 minutes).
  3. Prepare the pastry for blind baking by lining the inside with a sheet of tin foil and filling it with baking beads to weigh it down while it bakes and to prevent it from shrinking. Place in the oven for 15-20 minutes until the pastry is dry and beginning to turn golden.  If it is cooking too slowly, you can remove the beads and tin foil after 15 minutes and continue to bake.  Remove from oven and set aside to cool.
  4. To make the spiced blueberry filling, place a large pan over a high heat and pour in all the ingredients. Stir continuously until the sugar is dissolved in the juice that runs off the blueberries. When the mixture begins to boil, reduce the heat to medium-high and allow to simmer for 20-30 minutes, stirring occasionally to prevent it from catching, until the liquid is almost completely reduced and with the viscosity somewhere between a syrup and a jam. Allow to cool to room temperature, then pour into the pre-baked pastry case.
Spiced Blueberry Tart

1 Comment

Double Chocolate Salted Caramel Tart

5 Comments

Double Chocolate Salted Caramel Tart

IMG_3775.jpg

I never caught on to the Disney hype – I endured a few of the films when I was younger but was never enthralled by its saccharine princesses and unrealistic princes. I rejected the dressing up stage of childhood, and have none of the nostalgia that is awakened in many when hearing or singing the songs.  My only knowledge of Lion King is from Cindies (arguably the stickiest night club in Cambridge) which is played for 30 seconds without fail every Wednesday evening to excite the Disney addicts and to jolt inebriated students out of their drunken kisses.

What I did love was the sugar-glazed brutality of the original Charlie and the Chocolate Factory film.

I adored the Chocolate Room, and my six year old self spent a lot of time fantasising about edible wallpaper and edible TV adverts. However, the first scene, where Augustus Gloop falls into the ‘chocolate’ river, is almost too painful to watch.

It was concocted using 150,000 gallons of water, real chocolate and real ice cream, yet despite its authenticity, its watery thinness is more the stuff of sewers than of dreams.

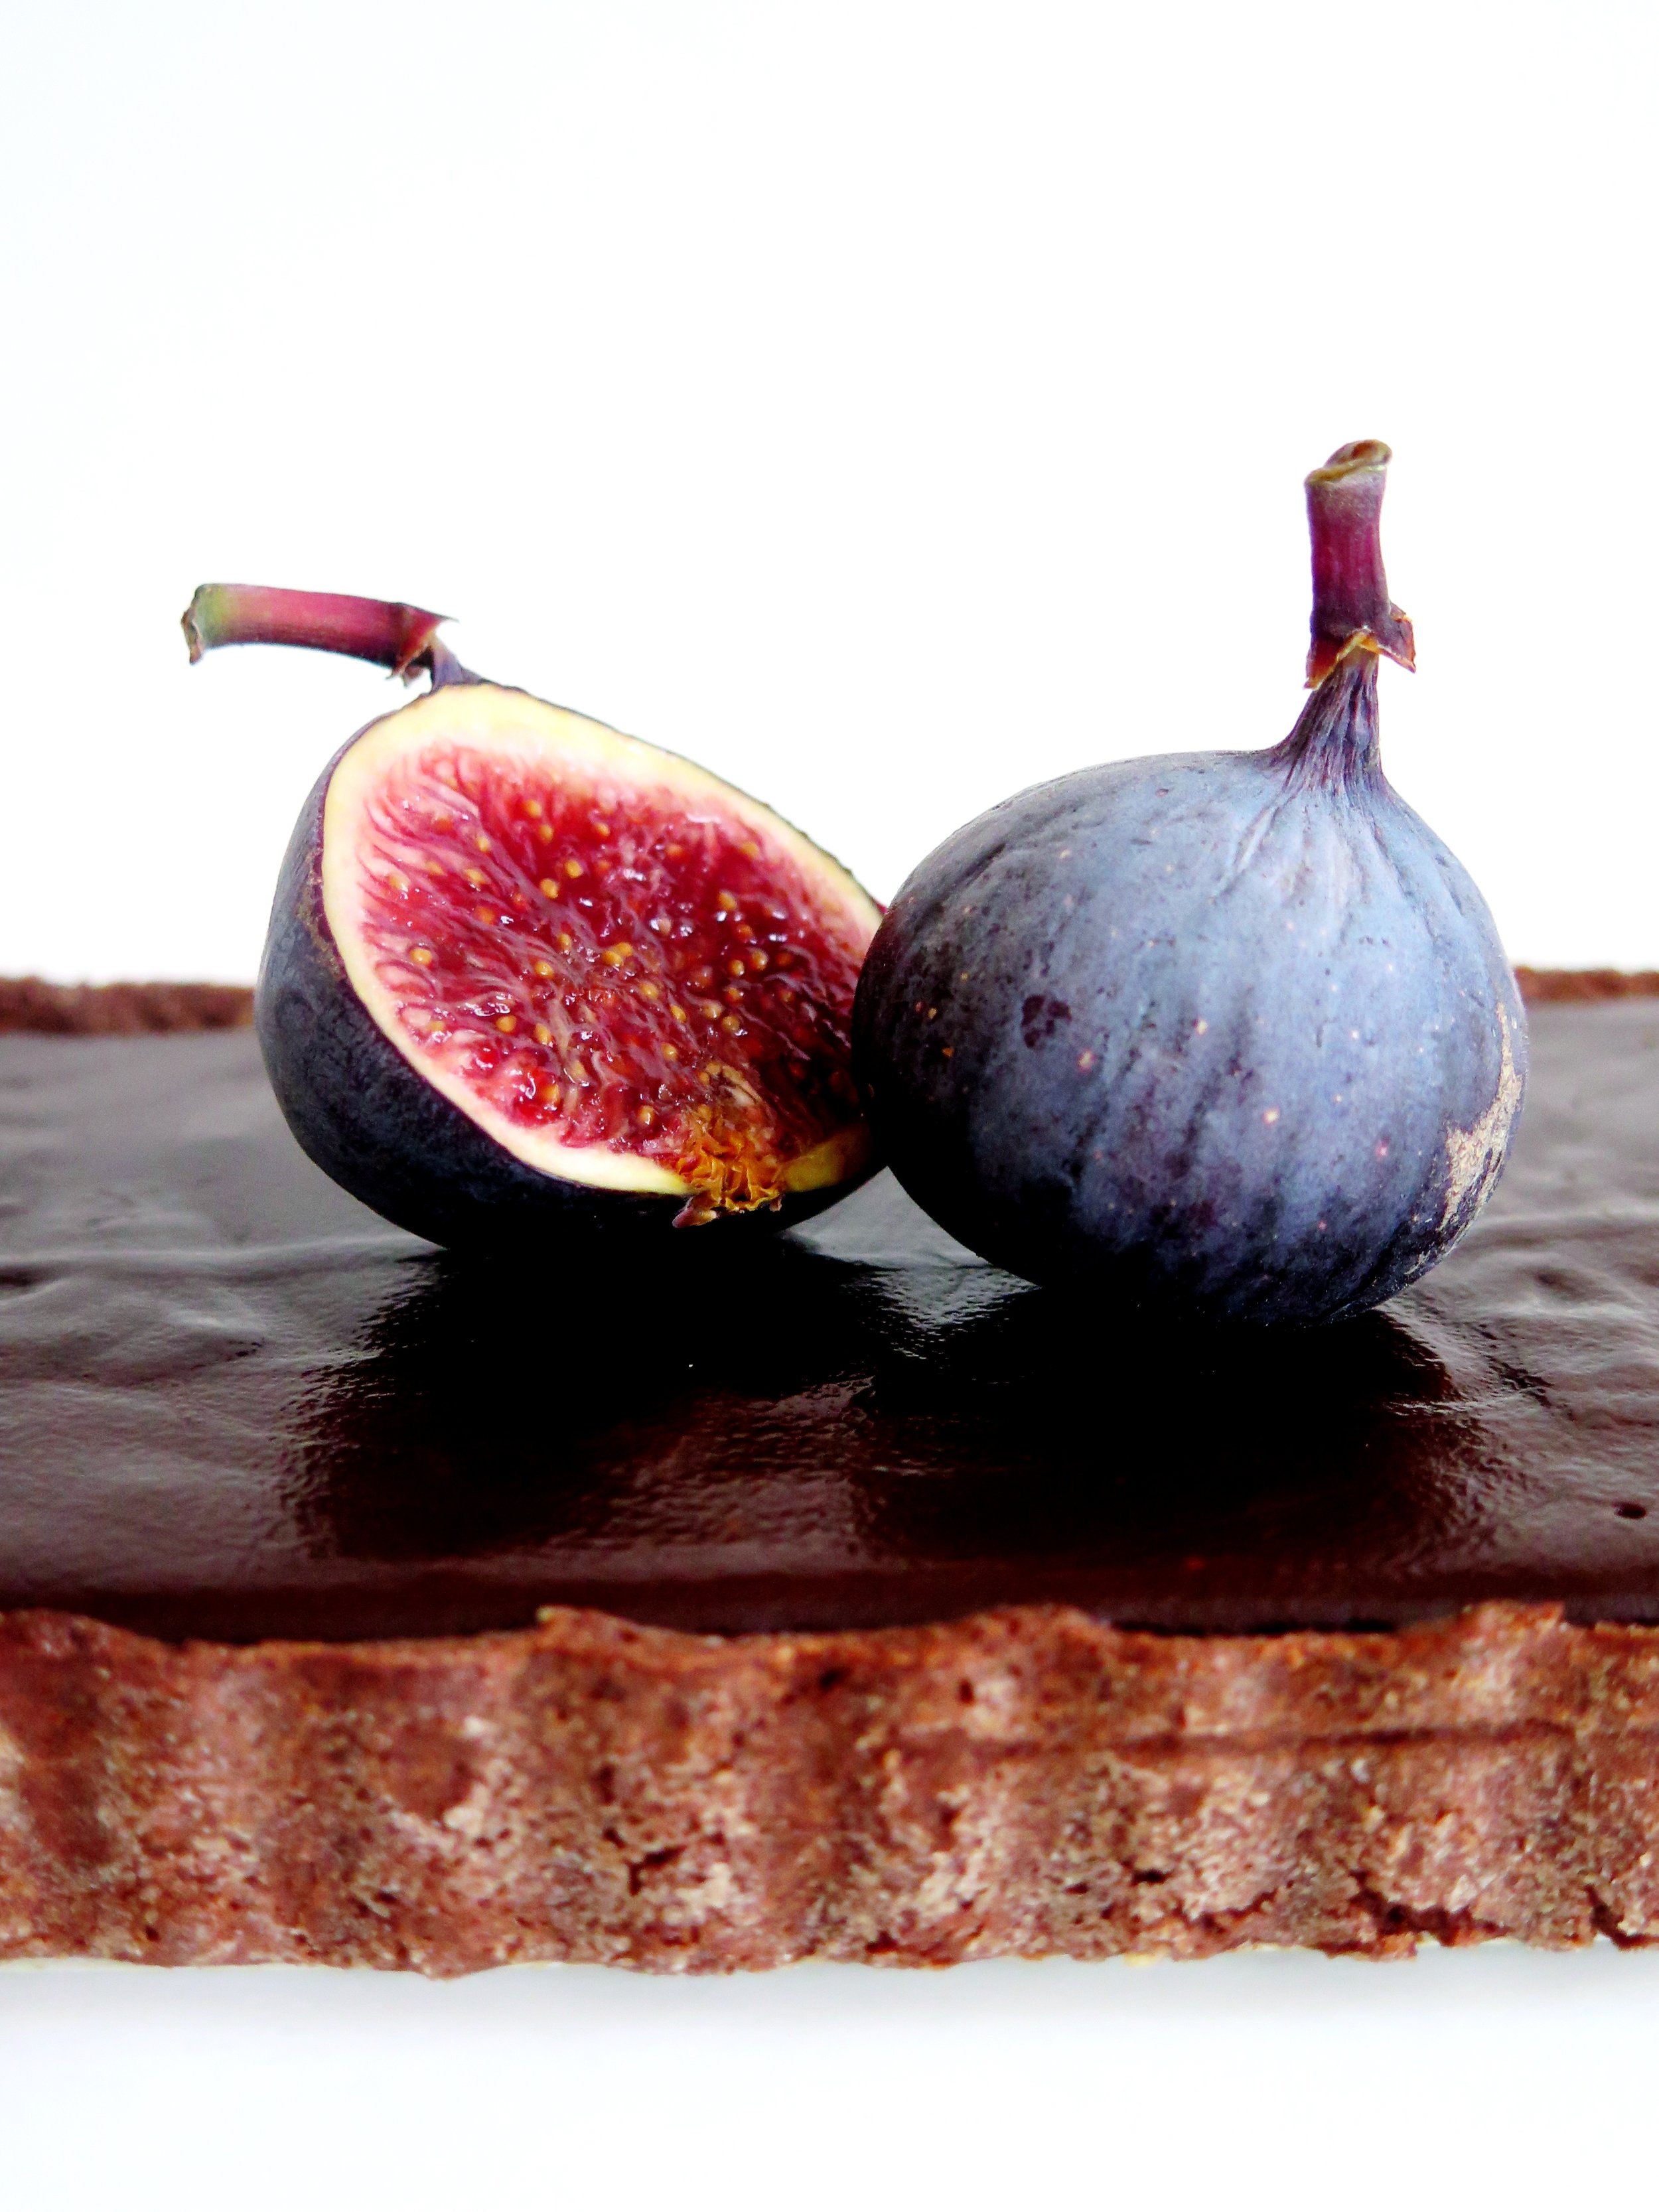
If I were going to bathe in chocolate it would need to be velvety, glossy and thick… and after 15 years of dwelling on this I’ve come to terms with the fact that this tart is probably the closest I will get to doing that.

Double Chocolate Salted Caramel Tart

Ingredients

Chocolate pastry

225g plain flour

30g cocoa

150g unsalted butter, chopped into cubes

110g white caster sugar

3 egg yolks

¼ tsp salt

1 tsp vanilla extract

1 tbsp ice water

baking beads/uncooked rice/dry beans

4 fresh figs, halved (optional)

12 x 36cm tart tin, greased and dusted with flour

Salted caramel chocolate ganache

300g 70% good quality dark chocolate

300g white caster sugar

300ml double cream

20g light brown muscovado sugar

20g butter

1tsp vanilla extract

1 tsp salt

Pastry Method

  1. Preheat the oven to 200˚C
  2. Blitz all the ingredients in a blender. Pulse until into turns into a damp sand texture. Tip out on to a surface and press it so that it clumps together into dough.   Wrap the dough in baking parchment and put it in the fridge for an hour, or in the freezer for 15 minutes.
  3. Dust a surface with flour and roll the pastry out in a rectangle to a thickness of 0.5cm. Any excess can be frozen and used within 2 months. Transfer the pastry to the greased and floured tin to line it. Don’t panic if it crumbles in the transition, just patchwork it together in the tin. Place a sheet of baking parchment or tin foil over the pastry, and fill it with the baking beads to weigh it down to prevent the pastry from shrinking as it cooks.
  4. Place it in the oven to bake for 10 minutes. Remove from the oven and remove the baking parchment and baking beads. Reduce the oven temperature to 150˚C, and place the pastry back in to bake for a further 10-15 minutes until it is fully cooked. Set aside to cool.

Salted Caramel Chocolate Ganache Method

  1. Chop the dark chocolate roughly, and set it aside in a heatproof mixing bowl.
  2. Place the caster sugar in a saucepan over medium high heat and, when it starts to melt, stir gently with a rubber spatula to avoid it burning around the edges. Push any unmelted sugar into the already caramelised sugar to aid the caramelising process.
  3. Once the sugar has turned a rich, dark gold colour, while still on the heat, pour in the cream whisking all the time. If clumps form, don’t panic: keep whisking over medium low heat, and they will eventually melt.
  4. Once the lumps have dissolved, whisk in the muscovado sugar, butter, vanilla and salt, and stir the bubbling mixture on a medium heat for another 2 minutes.
  5. Pour the mixture into the bowl of chopped dark chocolate and stir immediately until all the chocolate has melted and the caramel and chocolate are fully combined.
  6. Pour into the tart shell, smooth the surface over with a palate knife, and place this in the fridge for an hour (or freezer for half an hour) to set. Decorate with sliced figs to serve.
Double Chocolate Salted Caramel Tart

5 Comments

Tarta de Santiago

3 Comments

Tarta de Santiago

IMG_2892.jpg

When life gives you … quinces Tarta de Santiago


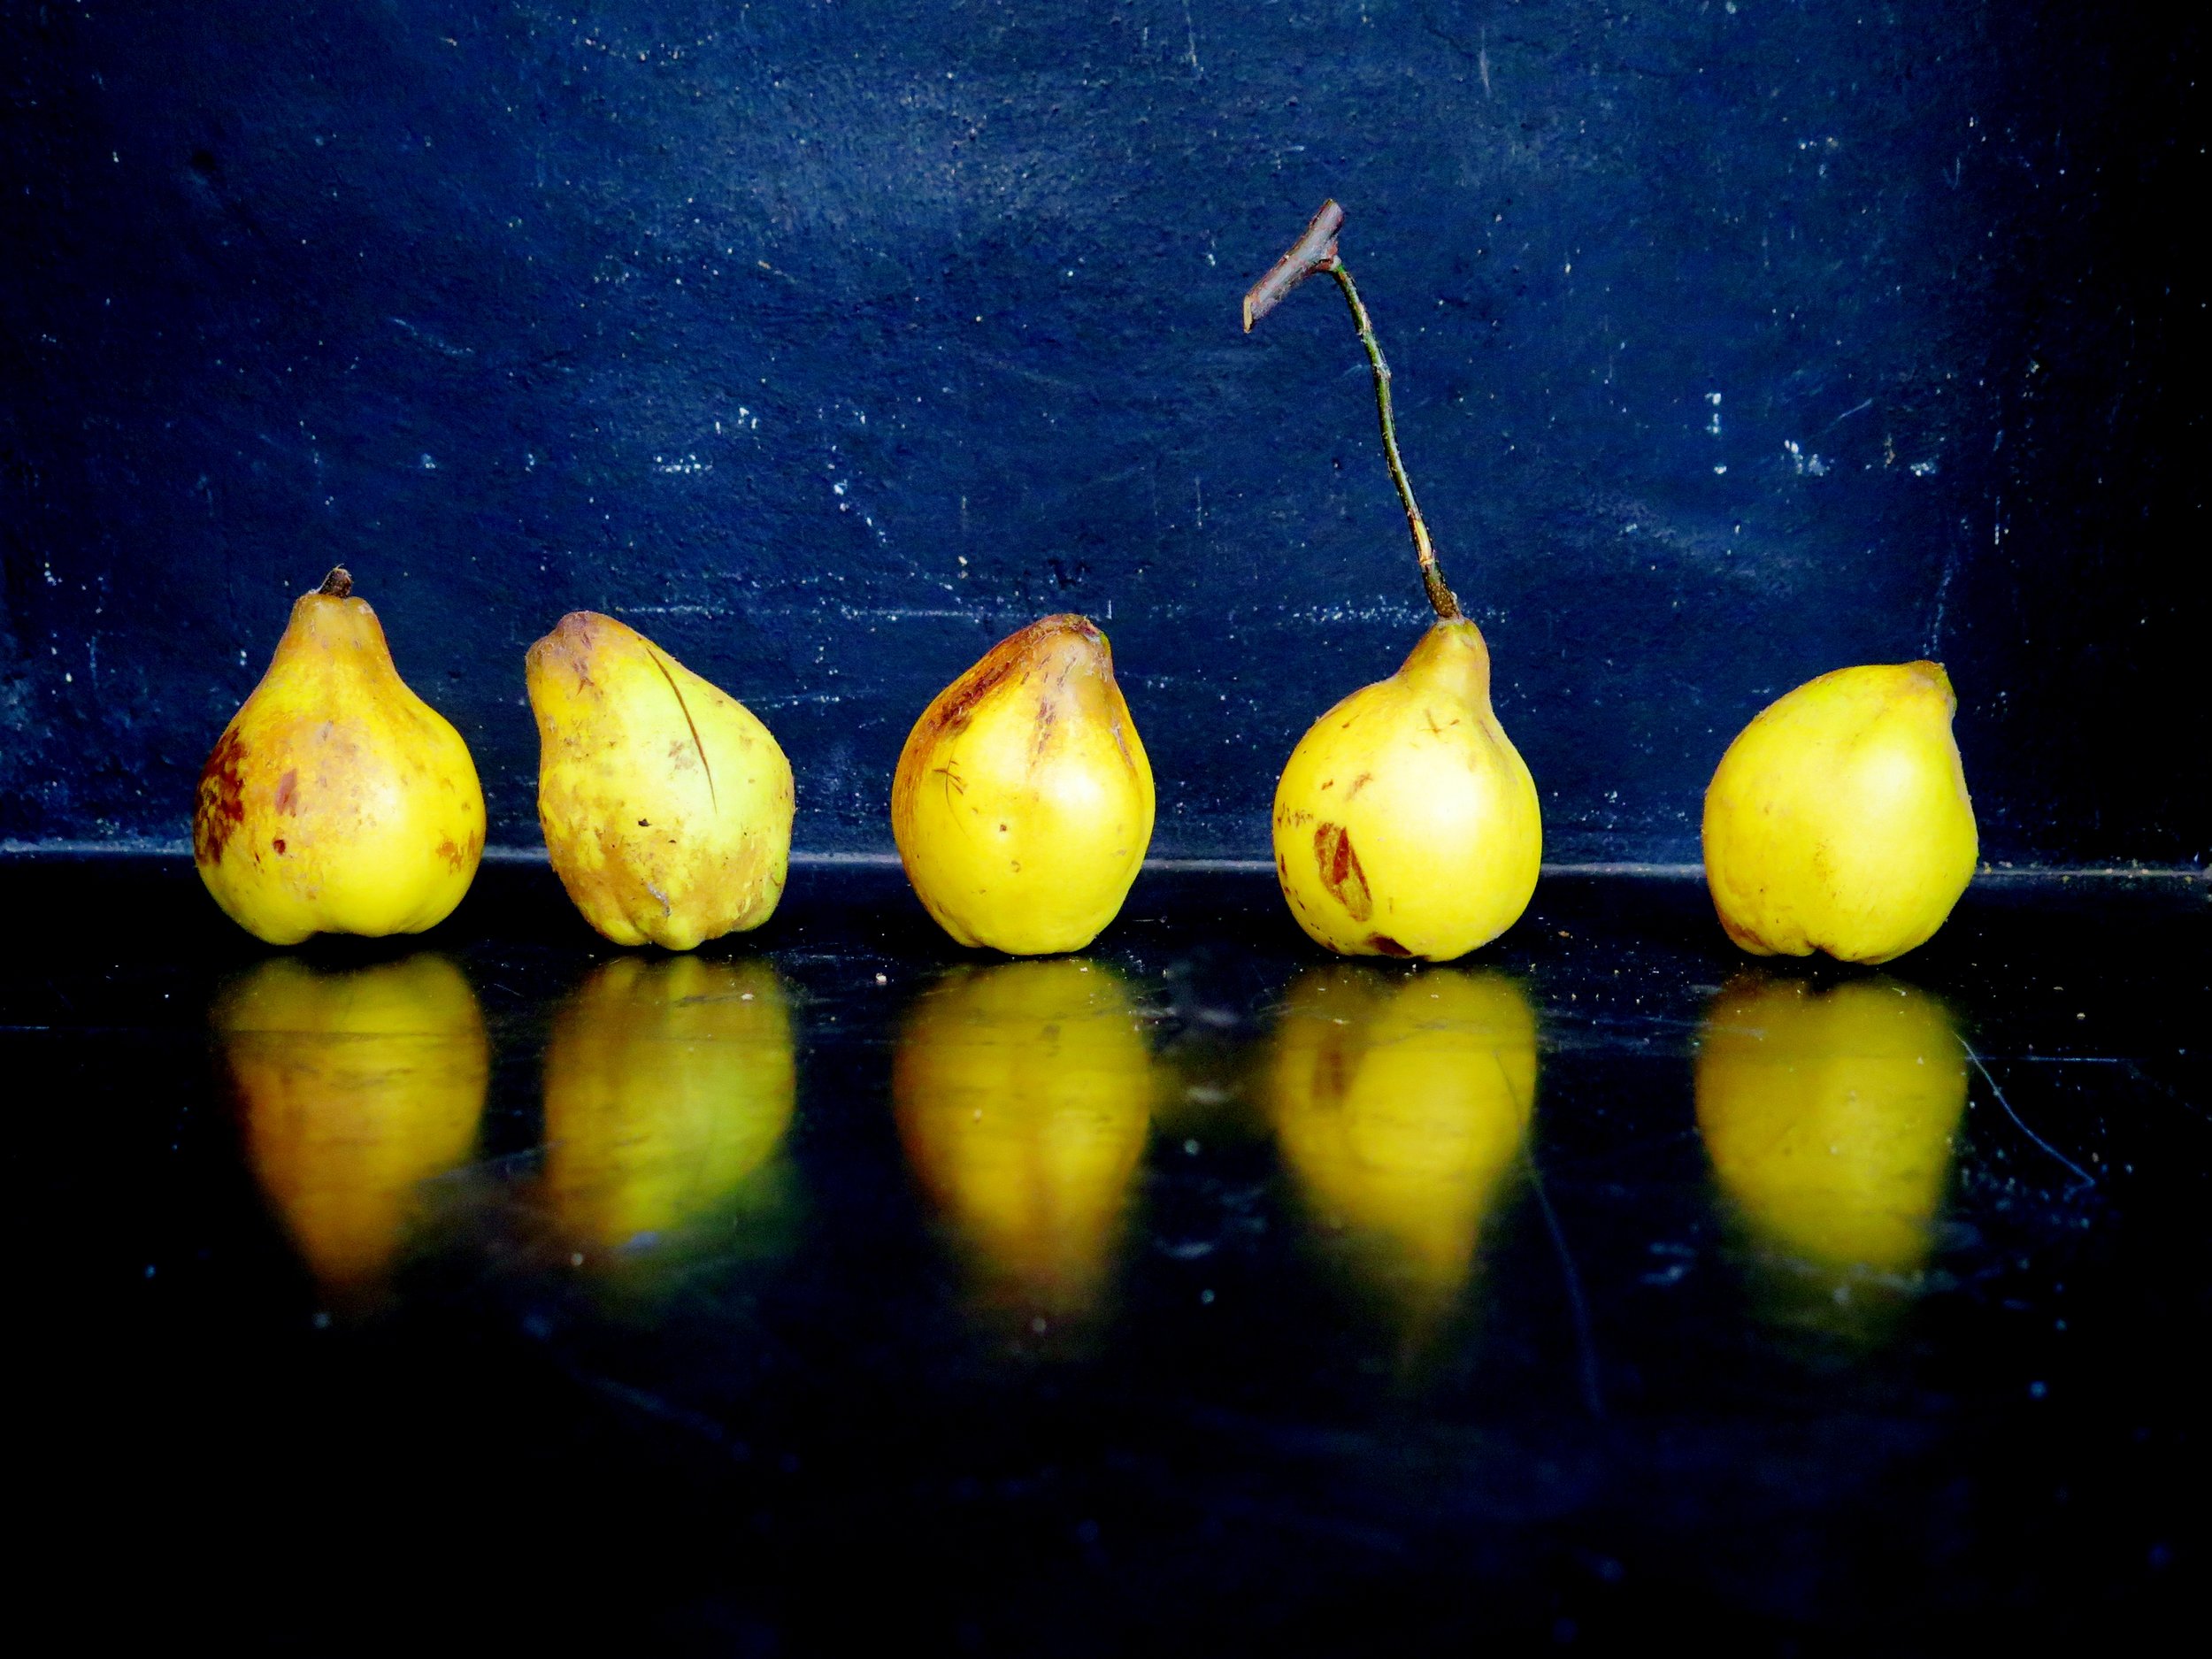
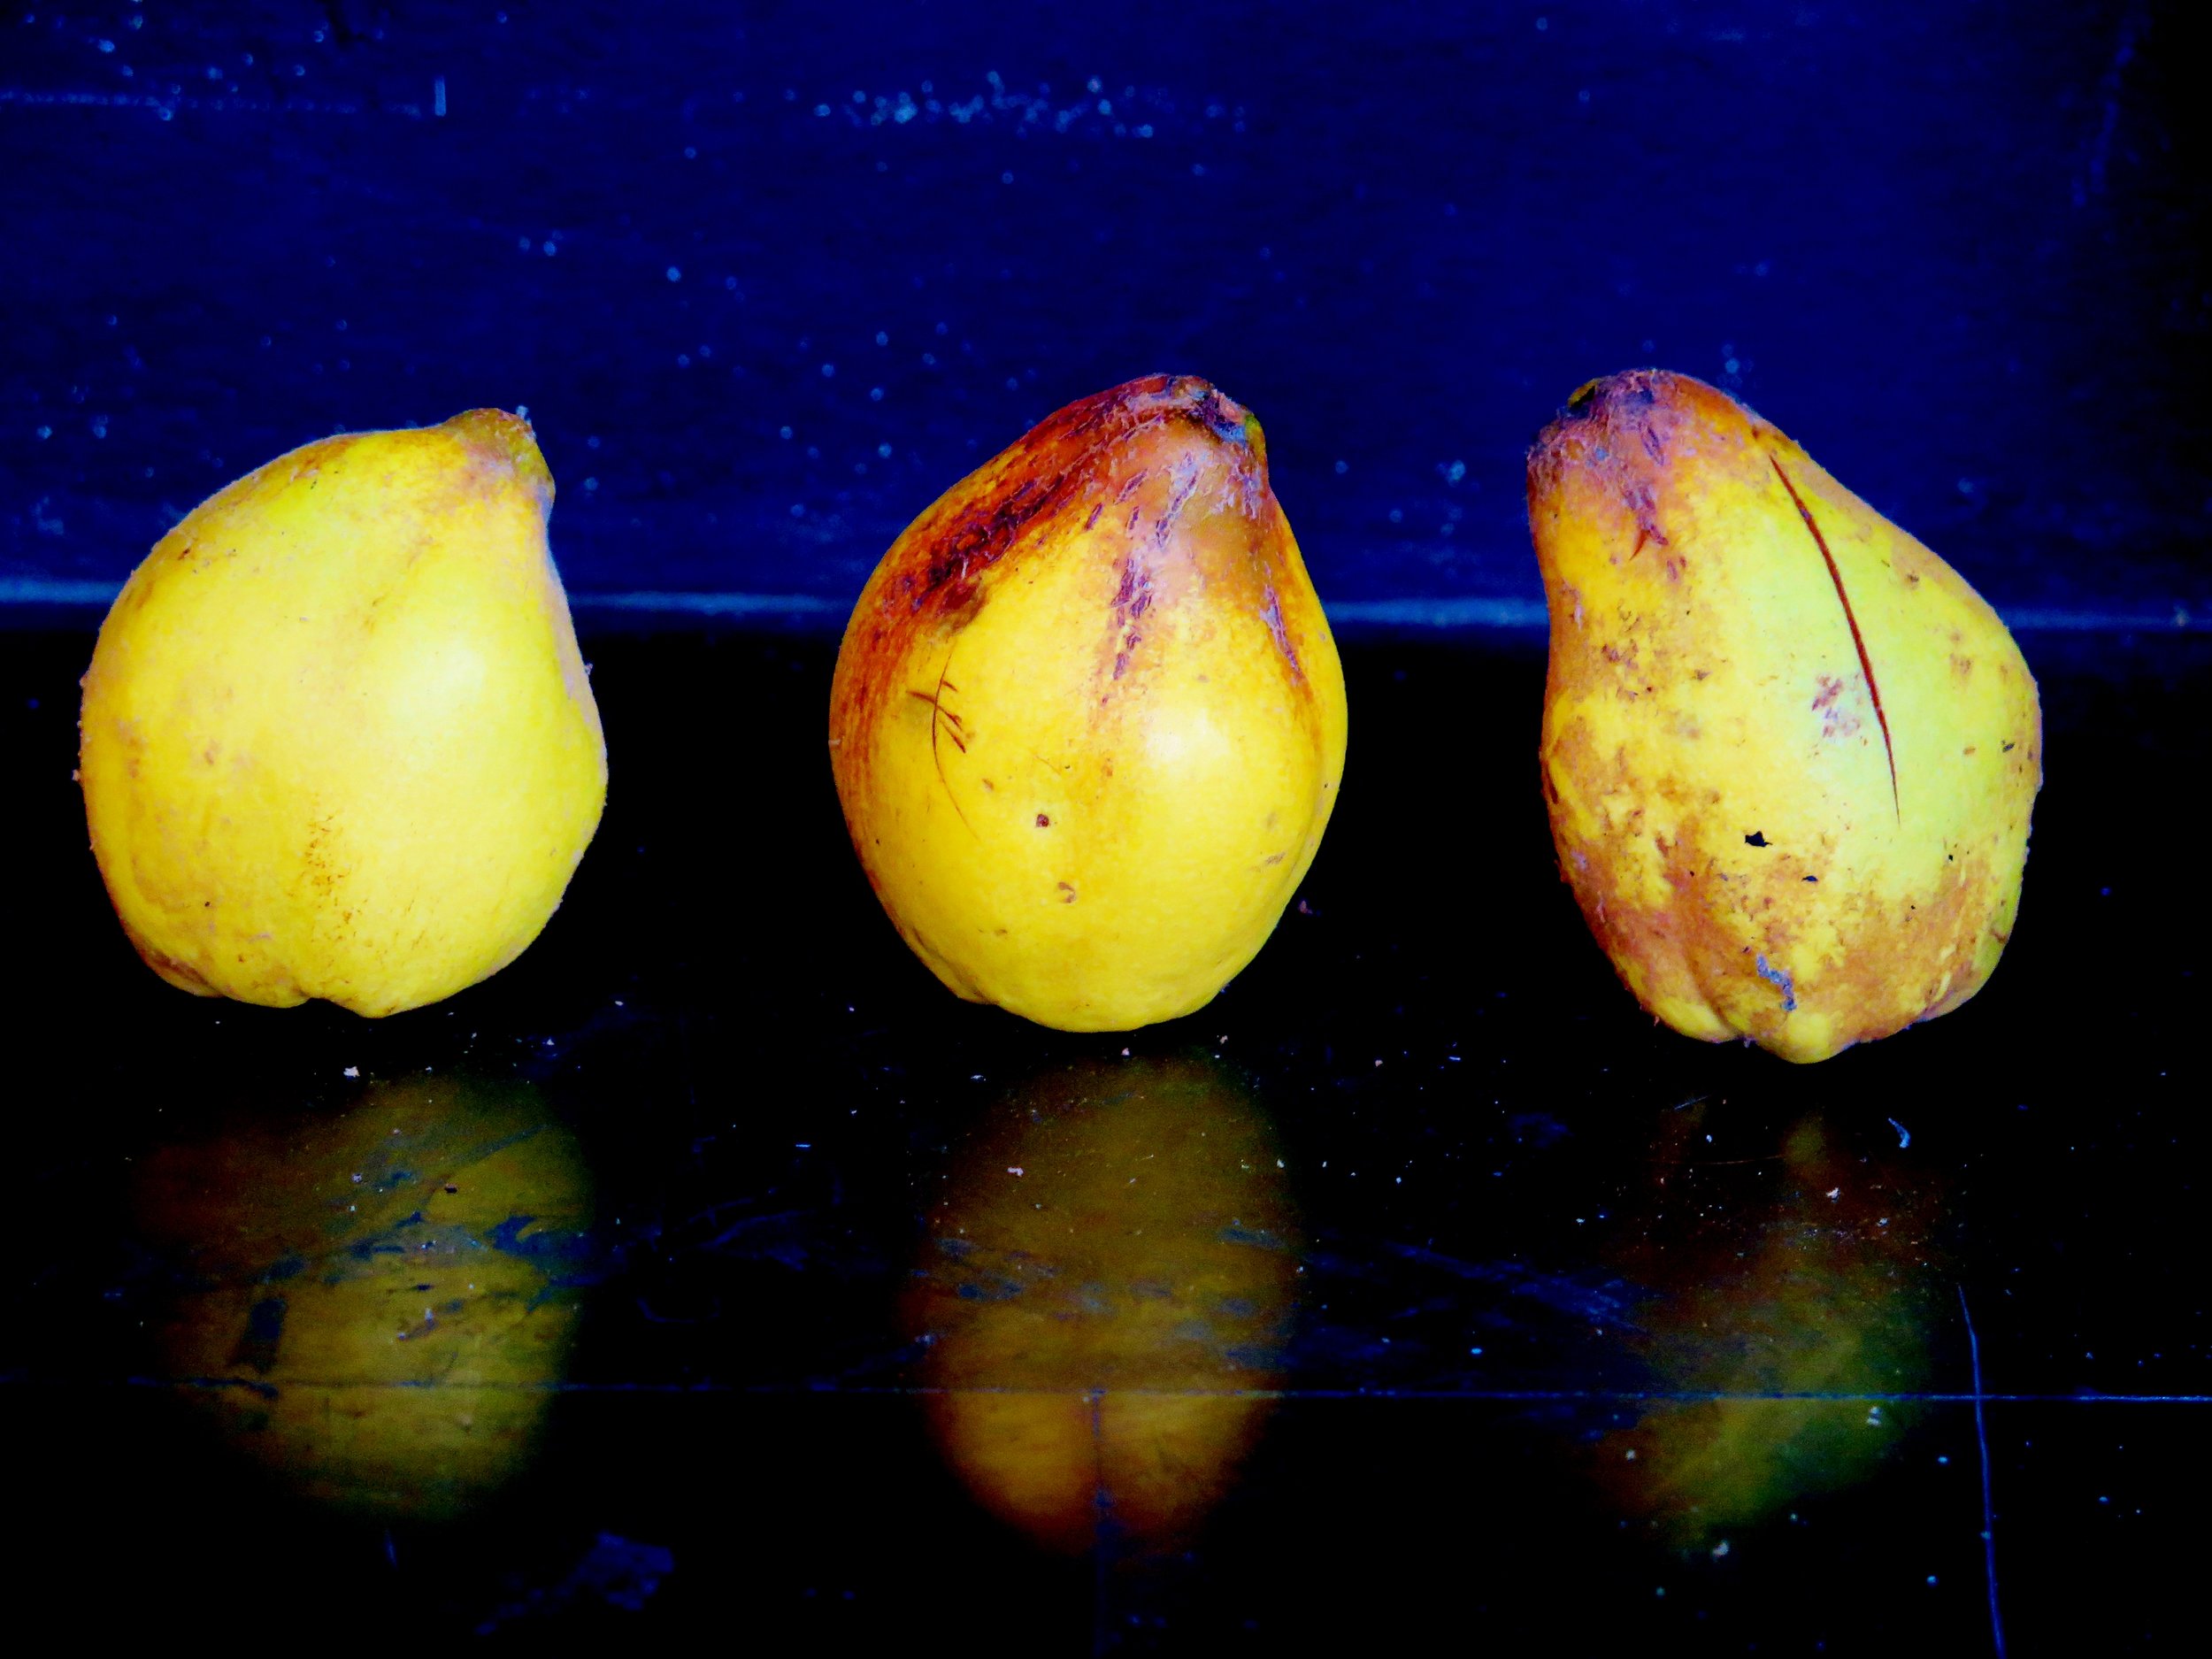
The scent coming from the paper bag was soft and sweet, and old fashioned rose-like, and when I turned out its contents, eight yellow, somewhat misshapen apple-pears tumbled out.
Tarta de Santiago     These quinces were the unwanted fruit of an unappreciated tree in someone else’s garden.  Beguilingly biblical in appearance, their uncompromising hardness metamorphoses into something utterly different after cooking.

Tarta de Santiago

Tarta de Santiago Originally referred to as the Kydonian melon, and mentioned in 6th Century BCE Greek poetry, the quinces we recognise today are believed to have been indigenous to Kydonia on the island of Crete. The Ancient Greeks dedicated the quince to Aphrodite, goddess of love and beauty, who was often represented with the golden apple of Hesperides in her right hand – that apple, in all likelihood, a quince.  Indeed, quinces symbolised love and fertility, and Plutarch refers to the ancient wedding ritual whereby a bride would take a bite from a quince before retiring to the bridal chamber with her husband – possibly to freshen her breath, too.

Tarta de Santiago The path of the wedding procession of Helen and Menelaus was said to have been strewn with quinces, myrtle leaves and crowns woven from violets and roses. The fruit was also said by Pliny to have warded off the malign influence of the evil eye, and its medicinal value as an aid to digestion was also noted.

Tarta de Santiago

The Byzantines made wine from quinces as well as kydonaton, a thick quince jelly, probably the ancestor of French cotignac or condoignac, a delicacy made with honey, wine and spices that was considered a worthy gift for kings.
Tarta de SantiagoApicius, the first extant Roman cookbook writer, of the first century CE, preserved quinces whole in honey diluted with a spiced wine reduction, and also combined them with leeks, honey, and broth in hot oil in a dish known as Patina de Cydoniis. In the 4th Century CE, Palladius, an agriculturist and writer, composed a recipe for baked quince strips, possibly the first stirrings of membrillo, the Spanish quince gel that we know today.

Tarta de Santiago

During the 16th and 17th centuries, cooks in England prepared many variations of quince preserves which they called quidoniac, quiddony or paste of Genoa.  Often the preserve paste was thick enough to be moulded into animal or flower shapes. Nowadays, many cultures use quinces in their cuisine: in India, a quince sambal is made by making a puree out of quinces, onions, chillies, orange juice and salt. In Iran, quinces are sometimes cored and stuffed with minced meat, and Moroccan tagines often include quince along with dried fruit and spices.

Tarta de Santiago

Despite its pertinence in history and mythology the quince has rather fallen out of fashion.  Now the prized aphrodisiac and breath-freshener has been reduced to an unloved (except by the cognoscenti), knobbly peculiarity.  I hereby am starting a quince appreciation campaign and when life gives you quinces, make membrillo, and with the membrillo make Tarta de Santiago.

Tarta de Santiago

Membrillo is the rose-tinted translucent and slightly grainy gel that miraculously results from boiling quinces with water, sugar and citrus.  Its perfumed exoticness makes one think of orange groves and balmy breezes, and when combined with the citrus infused almond cake and pastry layers, one is transported right to the Alhambra.

Tarta de Santiago


Recipe

Ingredients

Pastry

150g white spelt flour (substitutable with any flour of your choice including gluten-free to create a gluten-free dessert)

40g caster sugar

1 ½ tsp ground cinnamon

½ tsp salt

Grated zest of ½ unwaxed orange

100g butter, roughly chopped into small cubes

1 egg yolk

25cm x 25cm square tin (or round tin with similar dimensions) at least 8cm deep, lined with greaseproof paper

Filling

250g quince paste (membrillo)

2 tbsp lemon juice

Grated zest of ½ unwaxed orange

Grated zest of ½ unwaxed lemon

65g ground almonds

Cake layer

150 ground almonds

100g caster sugar

1 tsp ground cinnamon

½ tsp salt

Grated zest of 1 unwaxed orange

Grated zest of 1 unwaxed lemon

150g butter, melted and allowed to cool slightly

100ml triple sec

3 eggs

Optional candied orange decoration

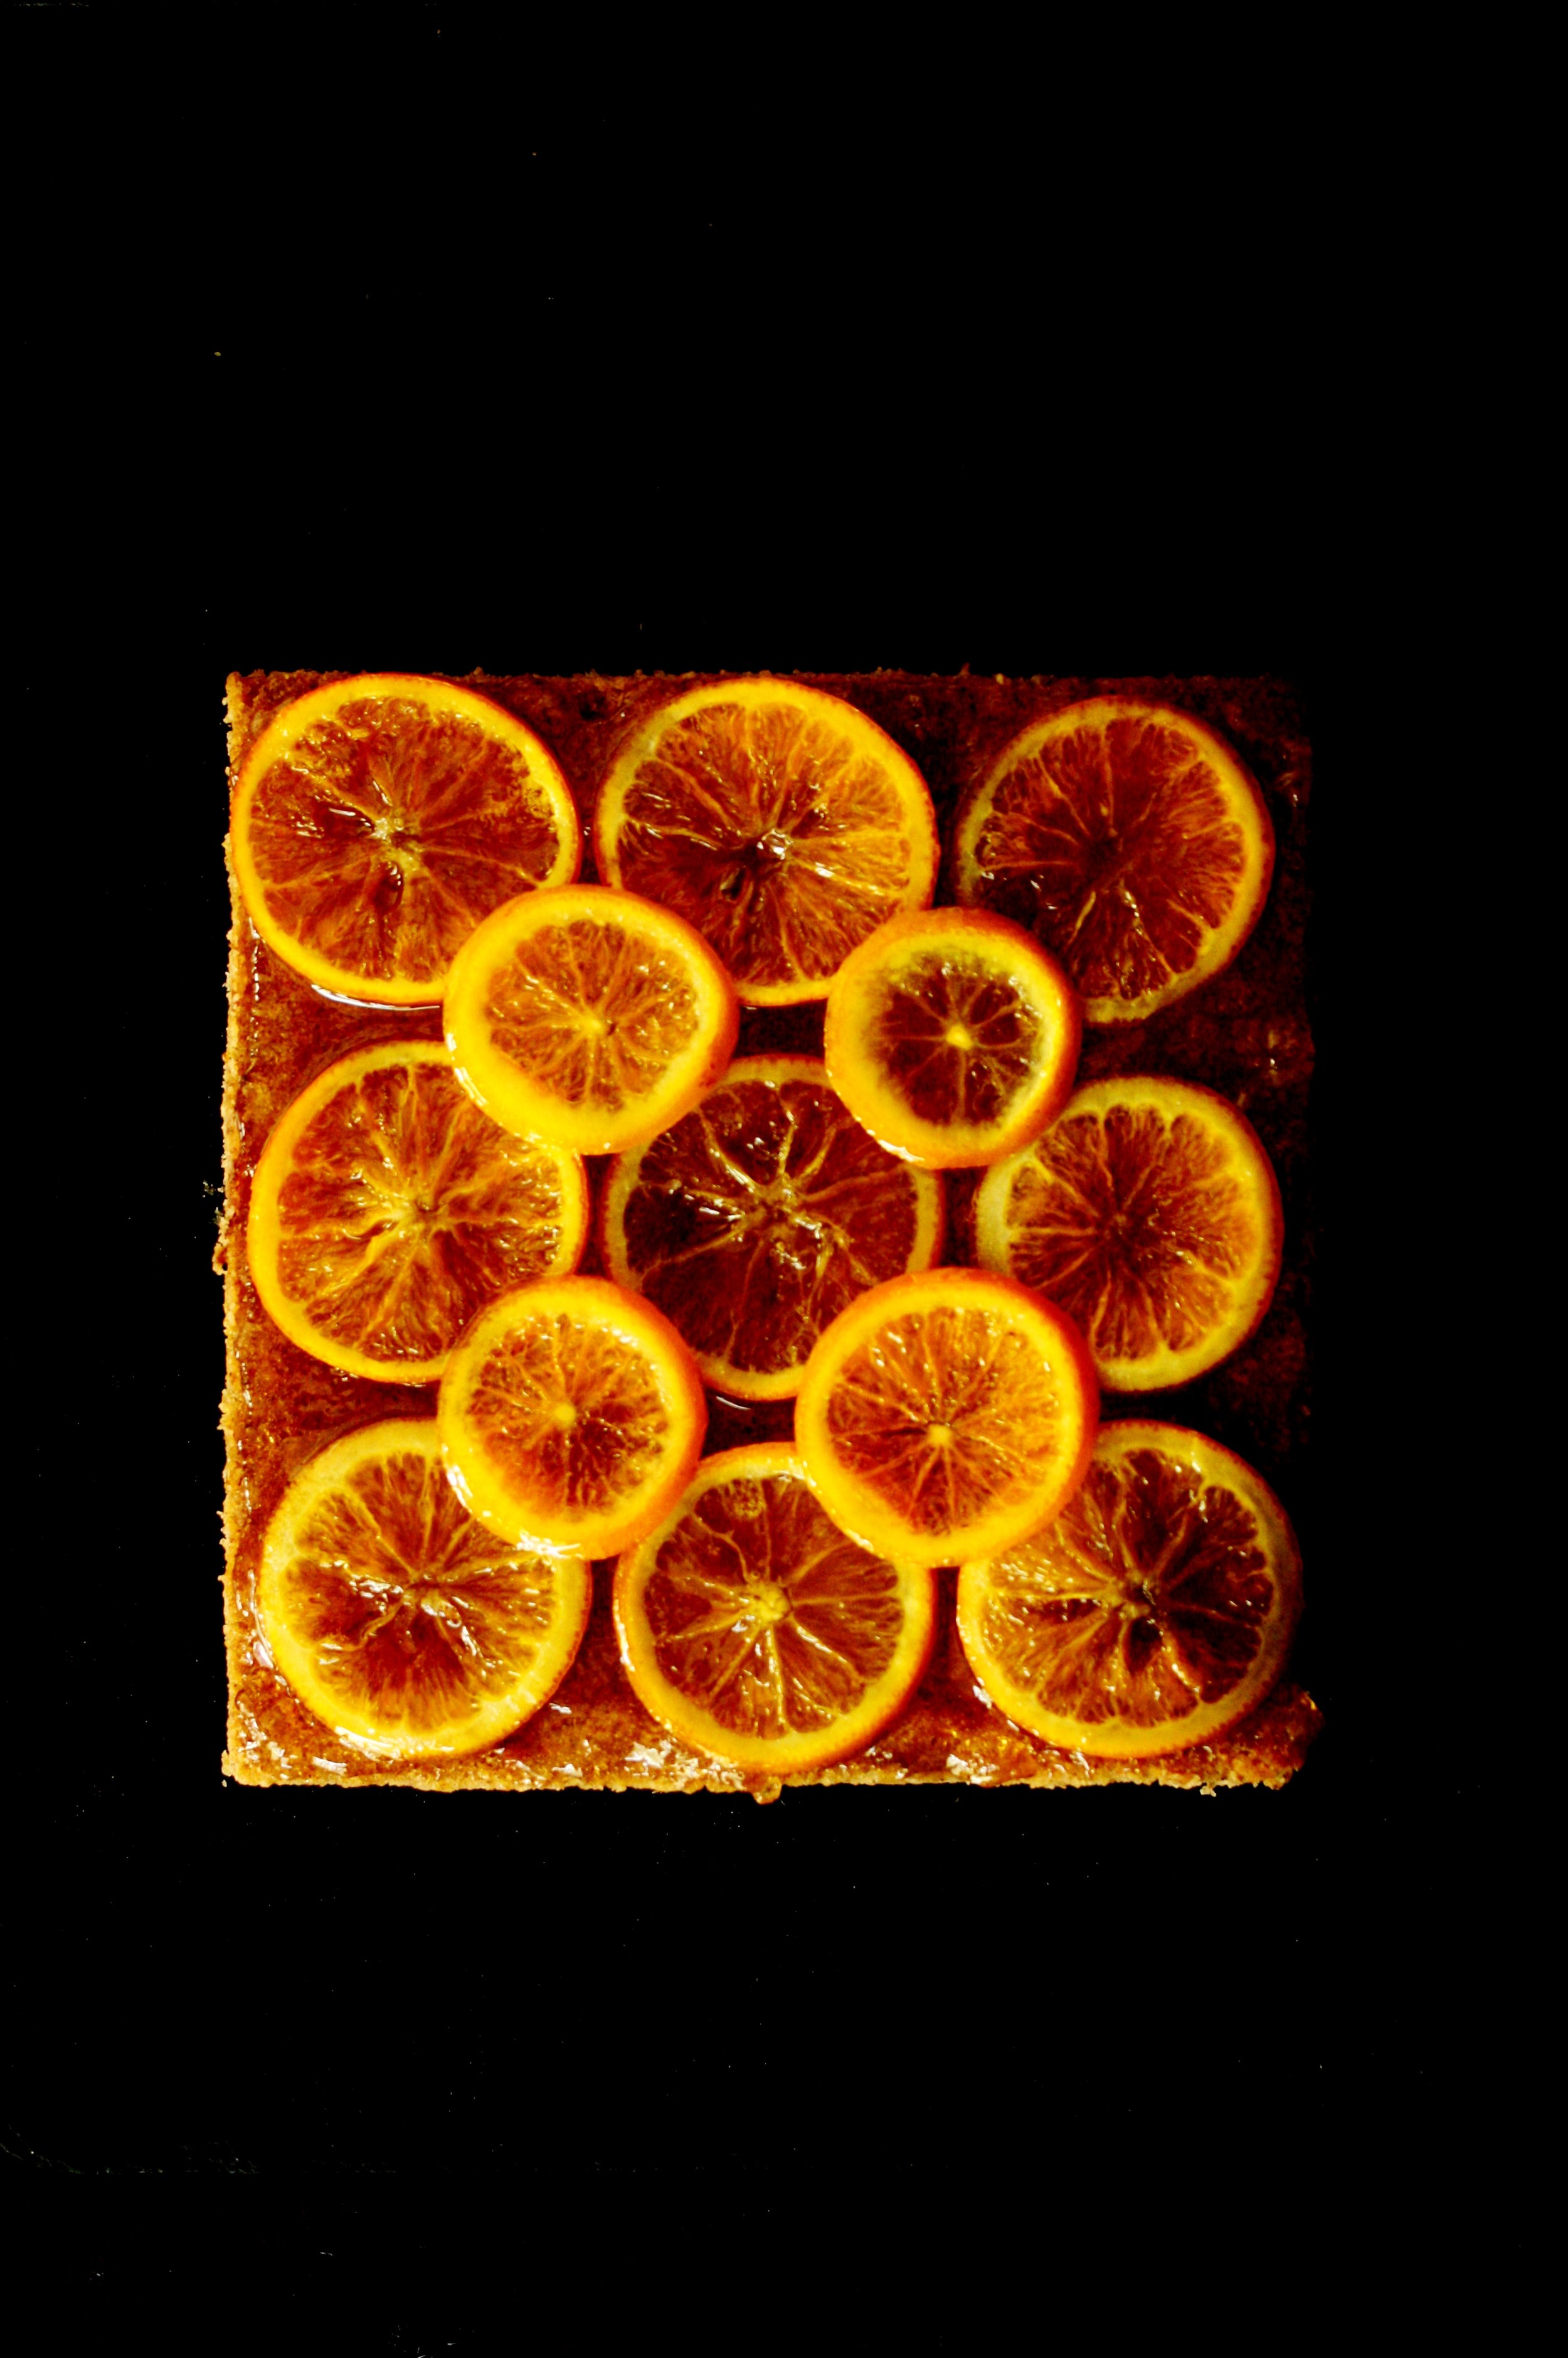
Follow instructions from my recipe for Citrus Syrup-Soaked Cake

Method

  1. In a blender, blitz together sugar, cinnamon, flour, salt and butter until the mixture resembles damp sand. Add in the egg yolk and blitz until the mixture comes together into dough.  Flatten into a disc, wrap in greaseproof paper and chill in a freezer for 15 minutes or refrigerate for ½ hour.
  2. On a well-floured surface, roll the dough out to a 3mm thickness and transfer to the tin to line the base. Refrigerate while you prepare the filling.
  3. Preheat oven to 180°C. To make the filling, place the quince paste (membrillo), lemon juice and zest in a small pan over a medium heat and stir until smooth and fully combined.  Remove from the heat and stir in the ground almonds.  Remove the tin from the fridge and spread the quince mixture evenly over the pastry.  Refrigerate once more.
  4. To make the cake layer, whisk together ground almonds, sugar, cinnamon, salt and zest in a bowl. In a separate bowl, whisk together melted butter, triple sec and eggs.  Pour the wet ingredients into the dry and whisk until combined in a loose paste.
  5. Remove the tin from the fridge and pour the cake layer mixture over the quince layer. Bake in the preheated oven for 35-40 minutes until golden brown, springy to touch and a skewer comes out clean.  Allow to cool before serving.

Tarta de Santiago


3 Comments

Quick Asparagus & Parmesan Pizza

2 Comments

Quick Asparagus & Parmesan Pizza

IMG_2242.jpg

Quick Asparagus & Parmesan Pizza Pizza is in his DNA.  Five generations of golden, thin, crispiness. One recipe.

Quick Asparagus & Parmesan Pizza

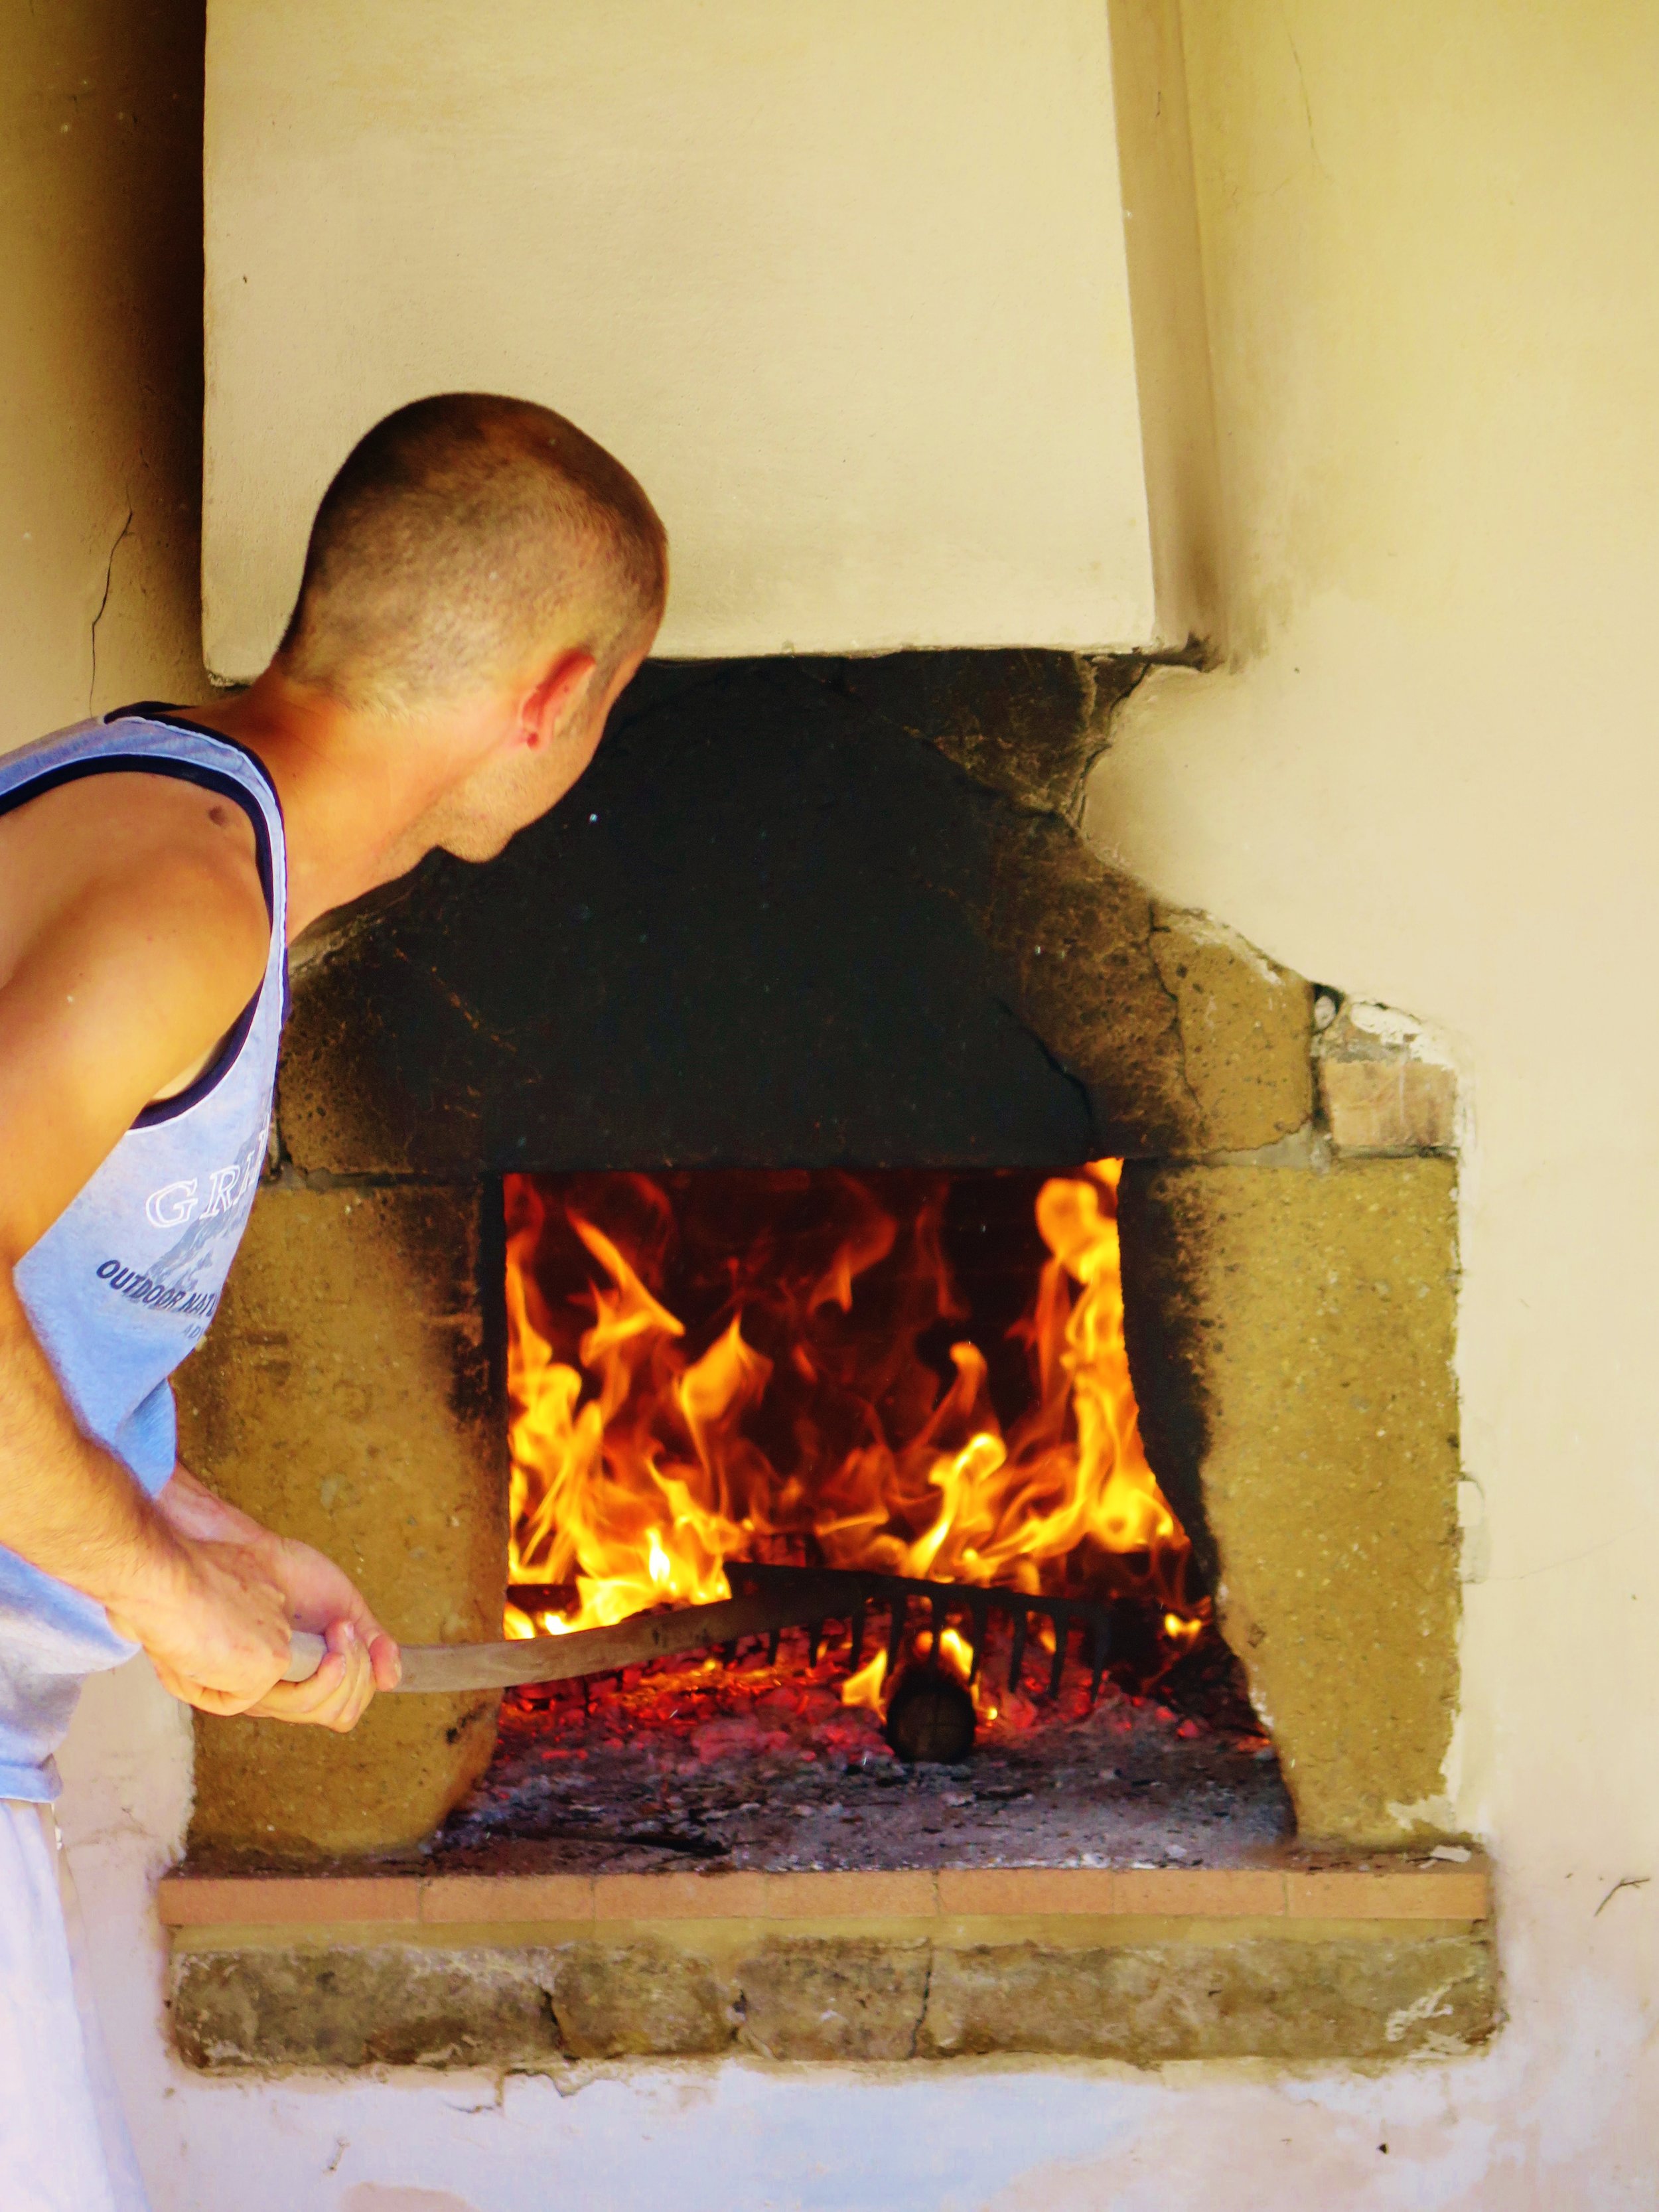
The pizza oven is raging, rapidly devouring its feed of dry wood and spitting out sweet nutty smoke.

Quick Asparagus & Parmesan Pizza


He comes every summer in his Ape brimming with plump mushrooms of dough.

Quick Asparagus & Parmesan Pizza

A light sprinkle of flour on a wooden board, and he gets to work.

Quick Asparagus & Parmesan Pizza

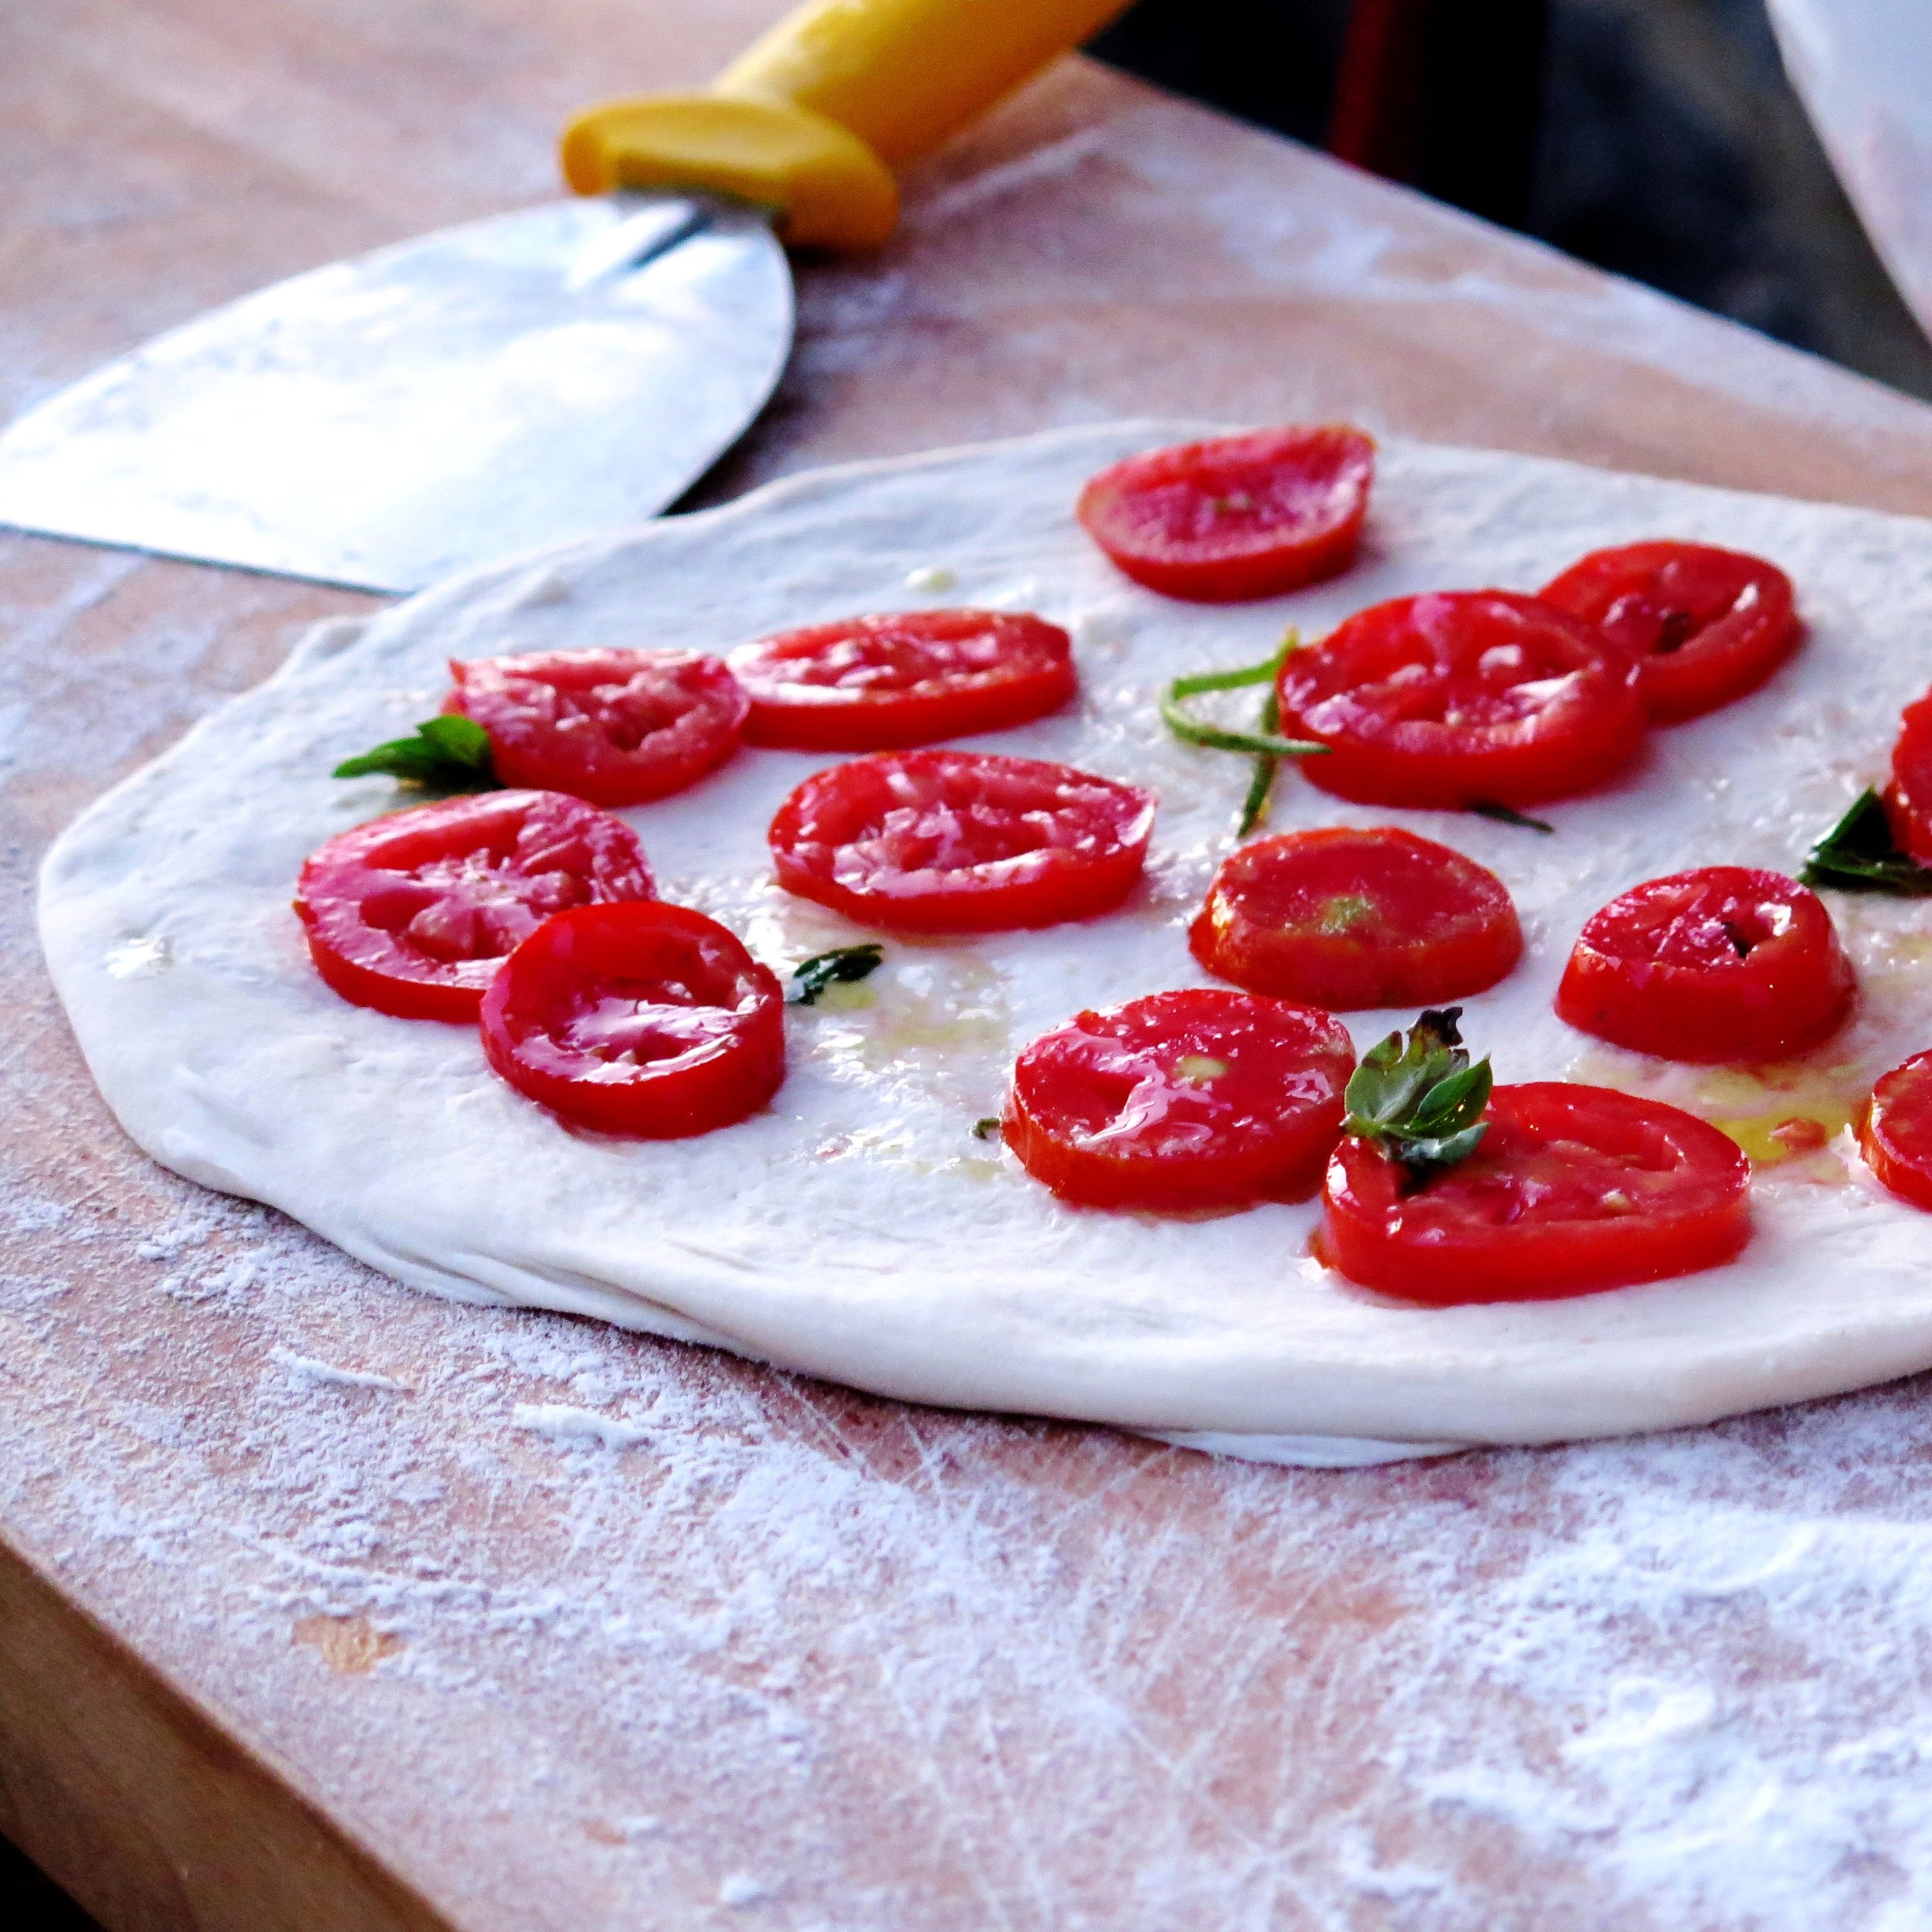
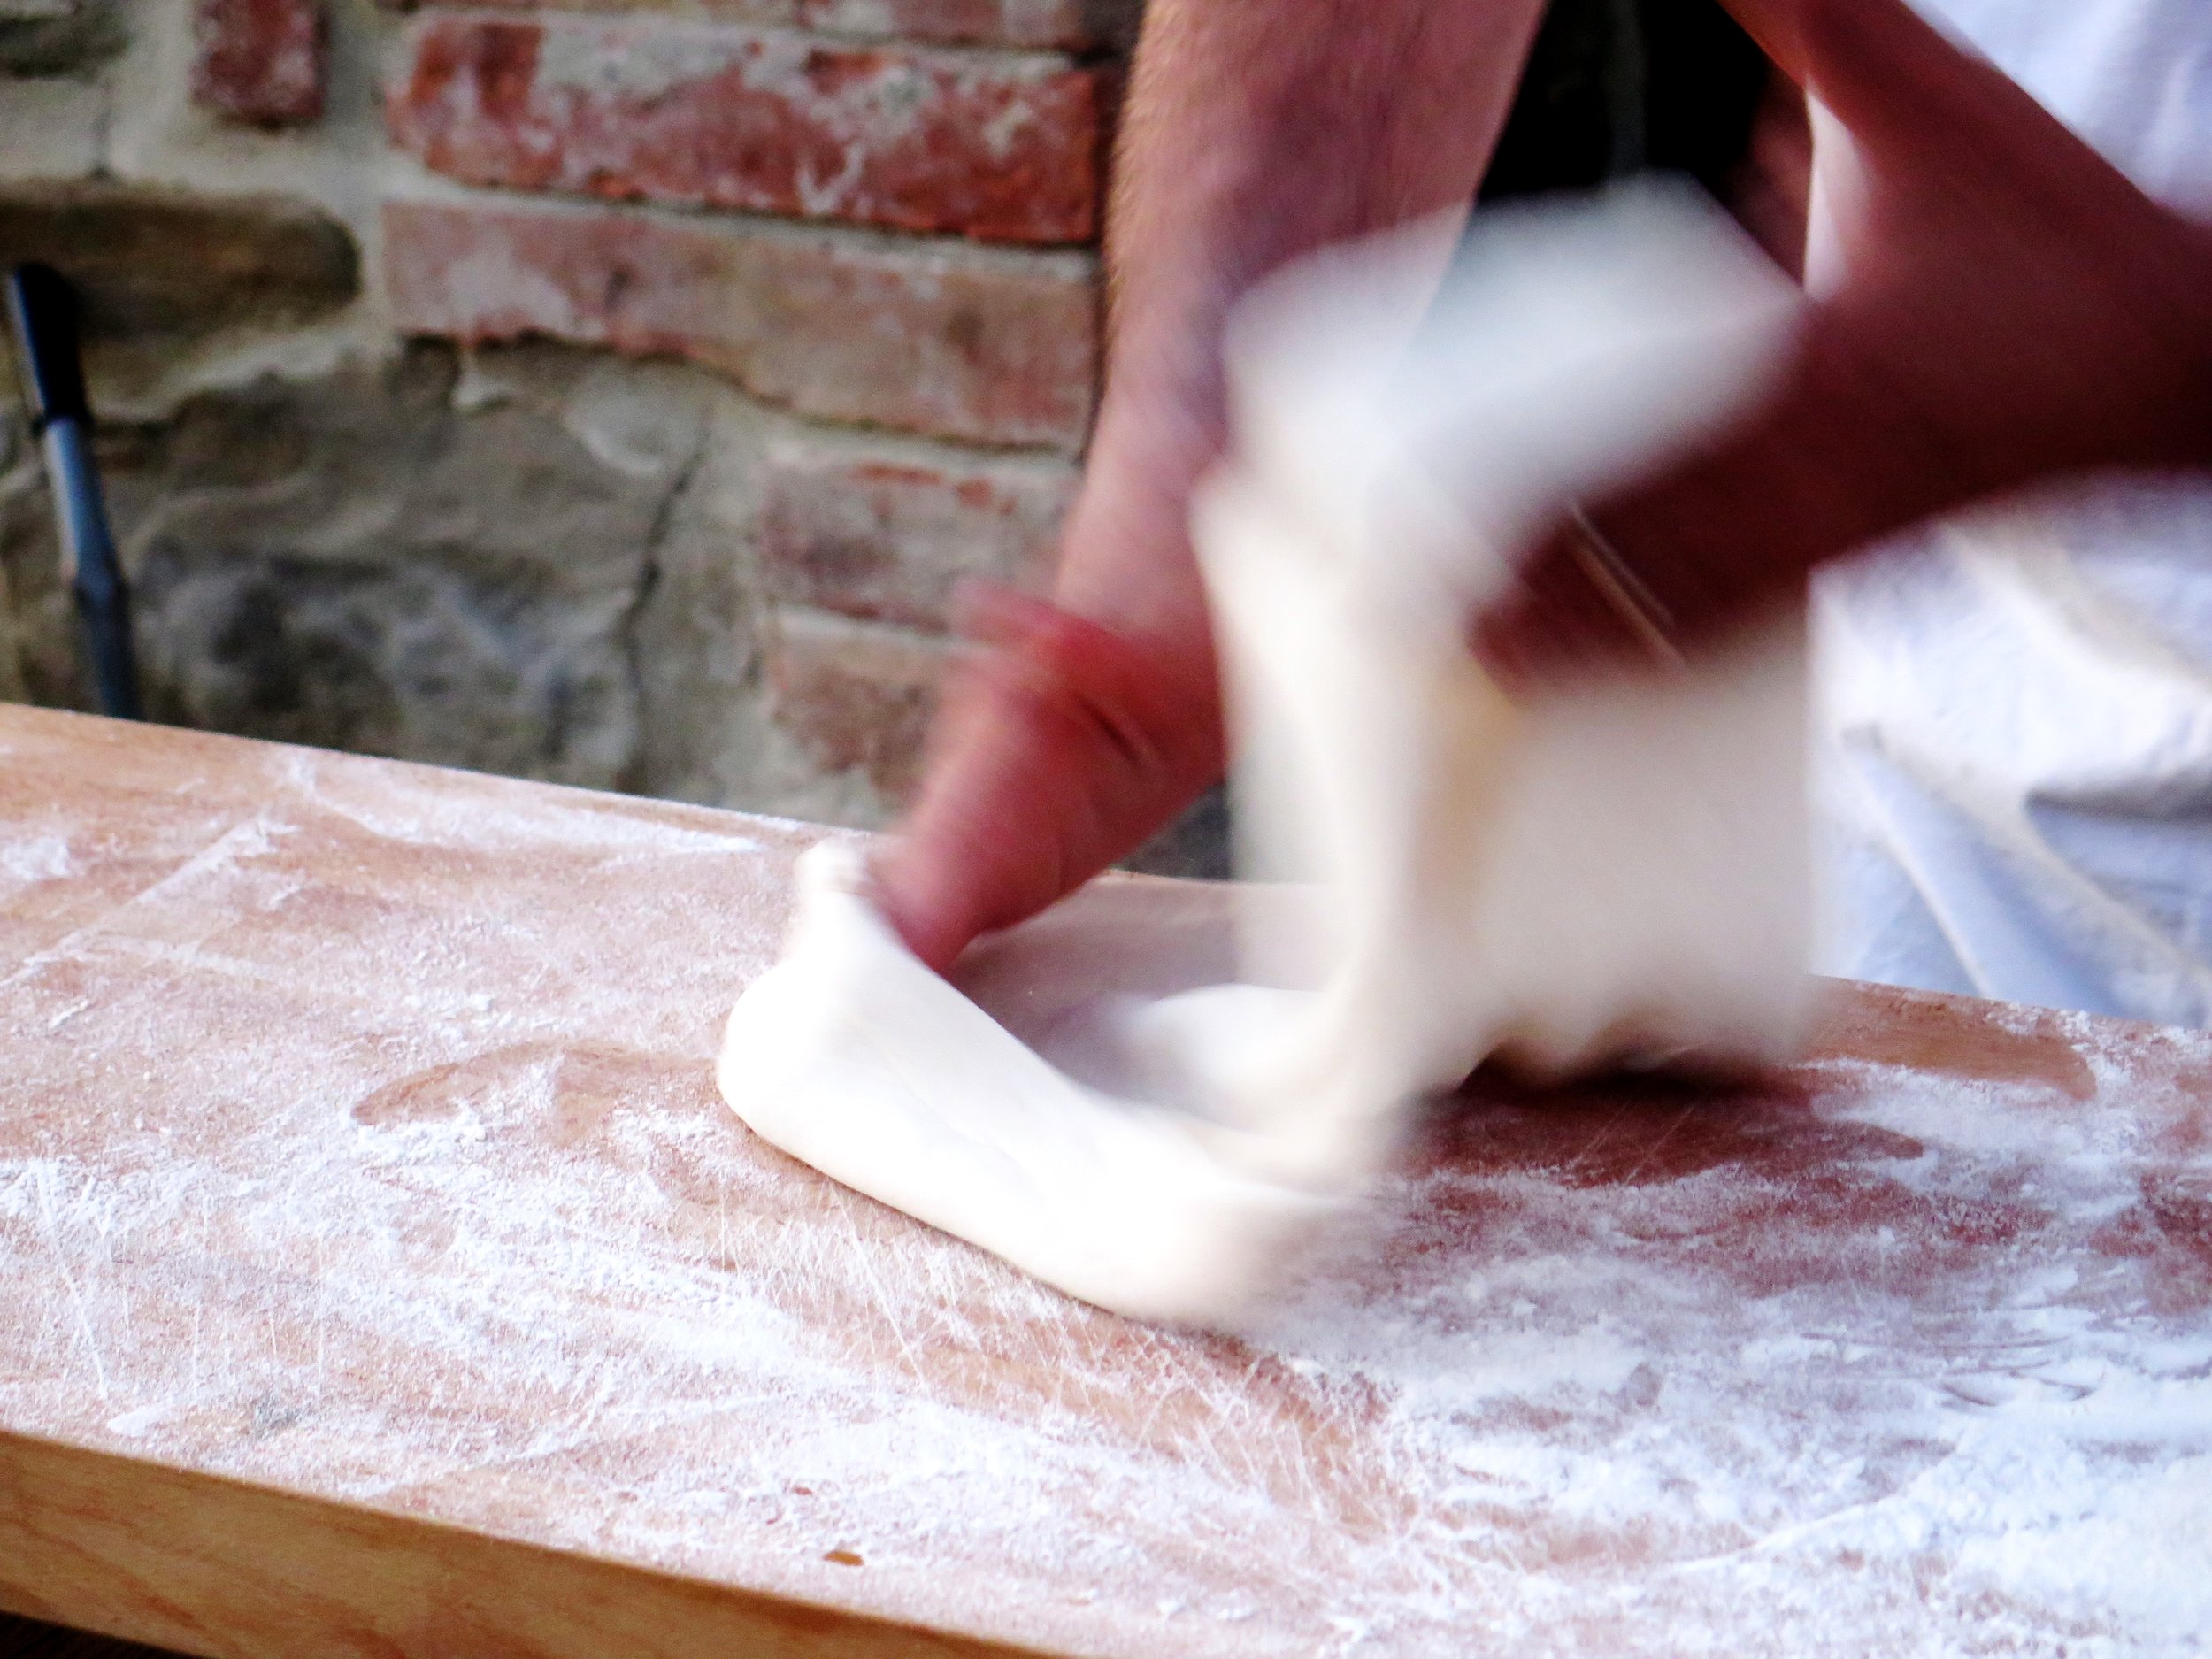
With wrist flicks and little rotations the round becomes a disc, airborne momentarily to ensure evenness.

Quick Asparagus & Parmesan Pizza

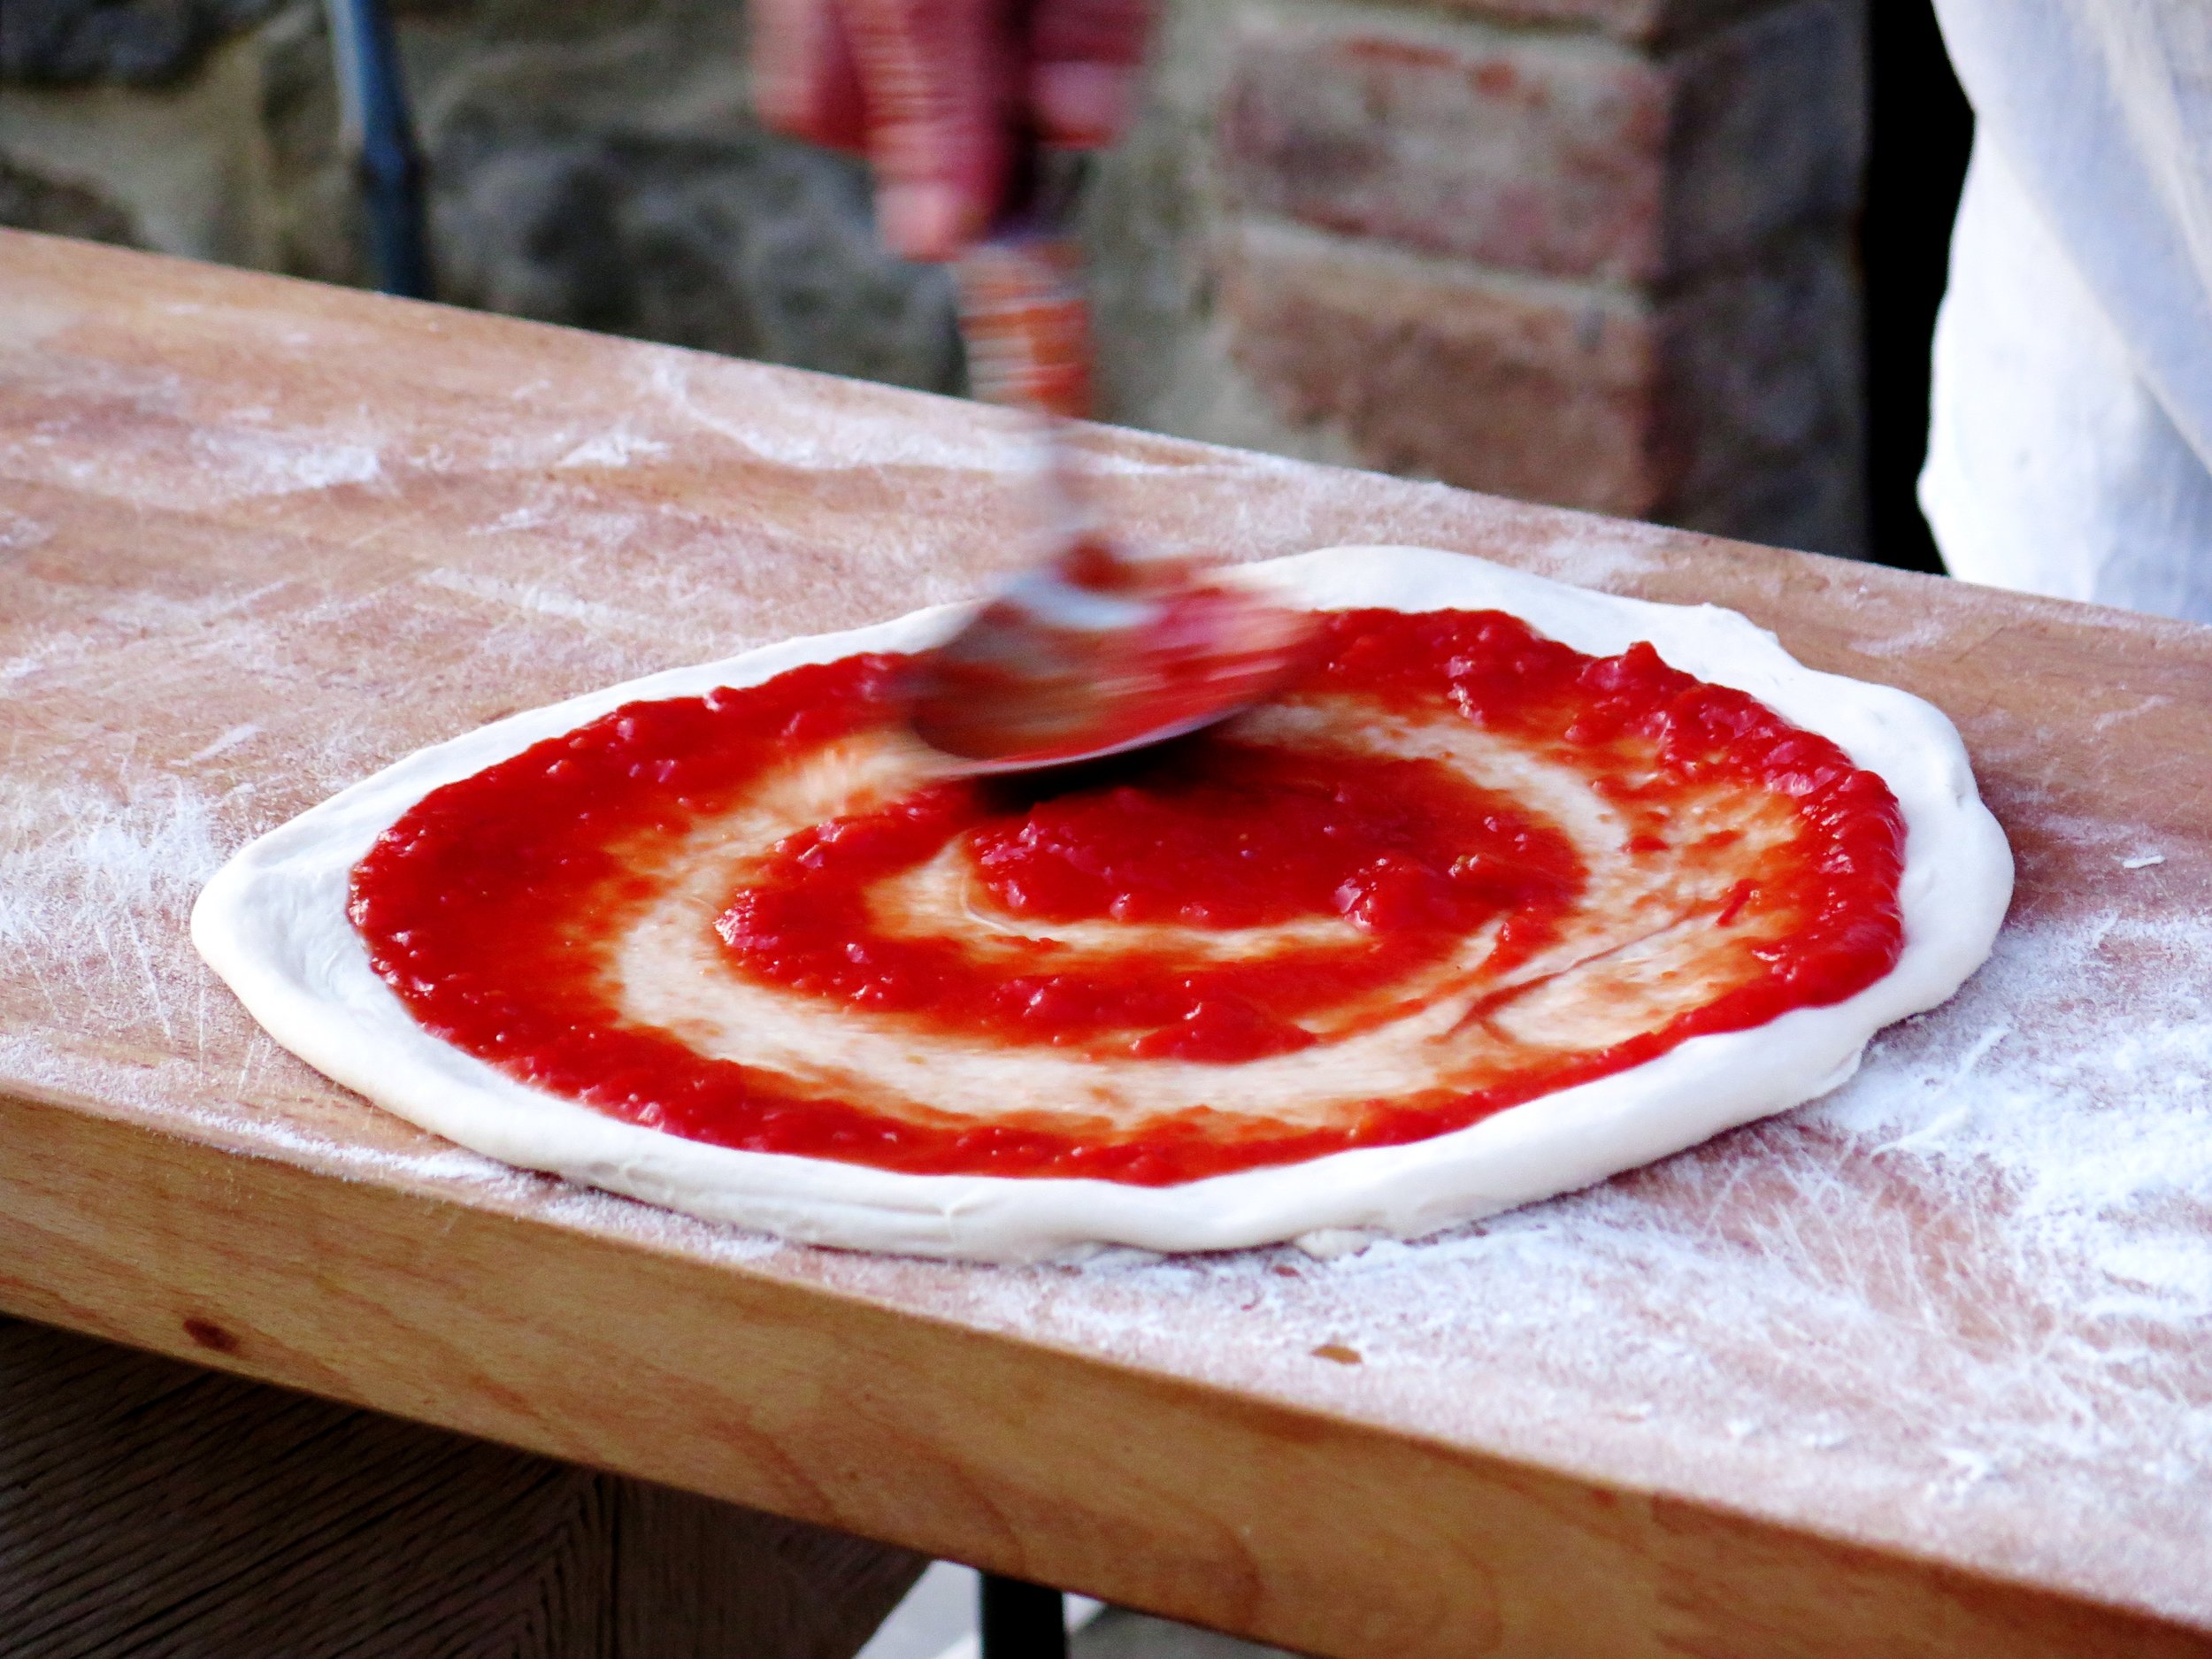
A careful spiral of passata with the back of a spoon,

Quick Asparagus & Parmesan Pizza

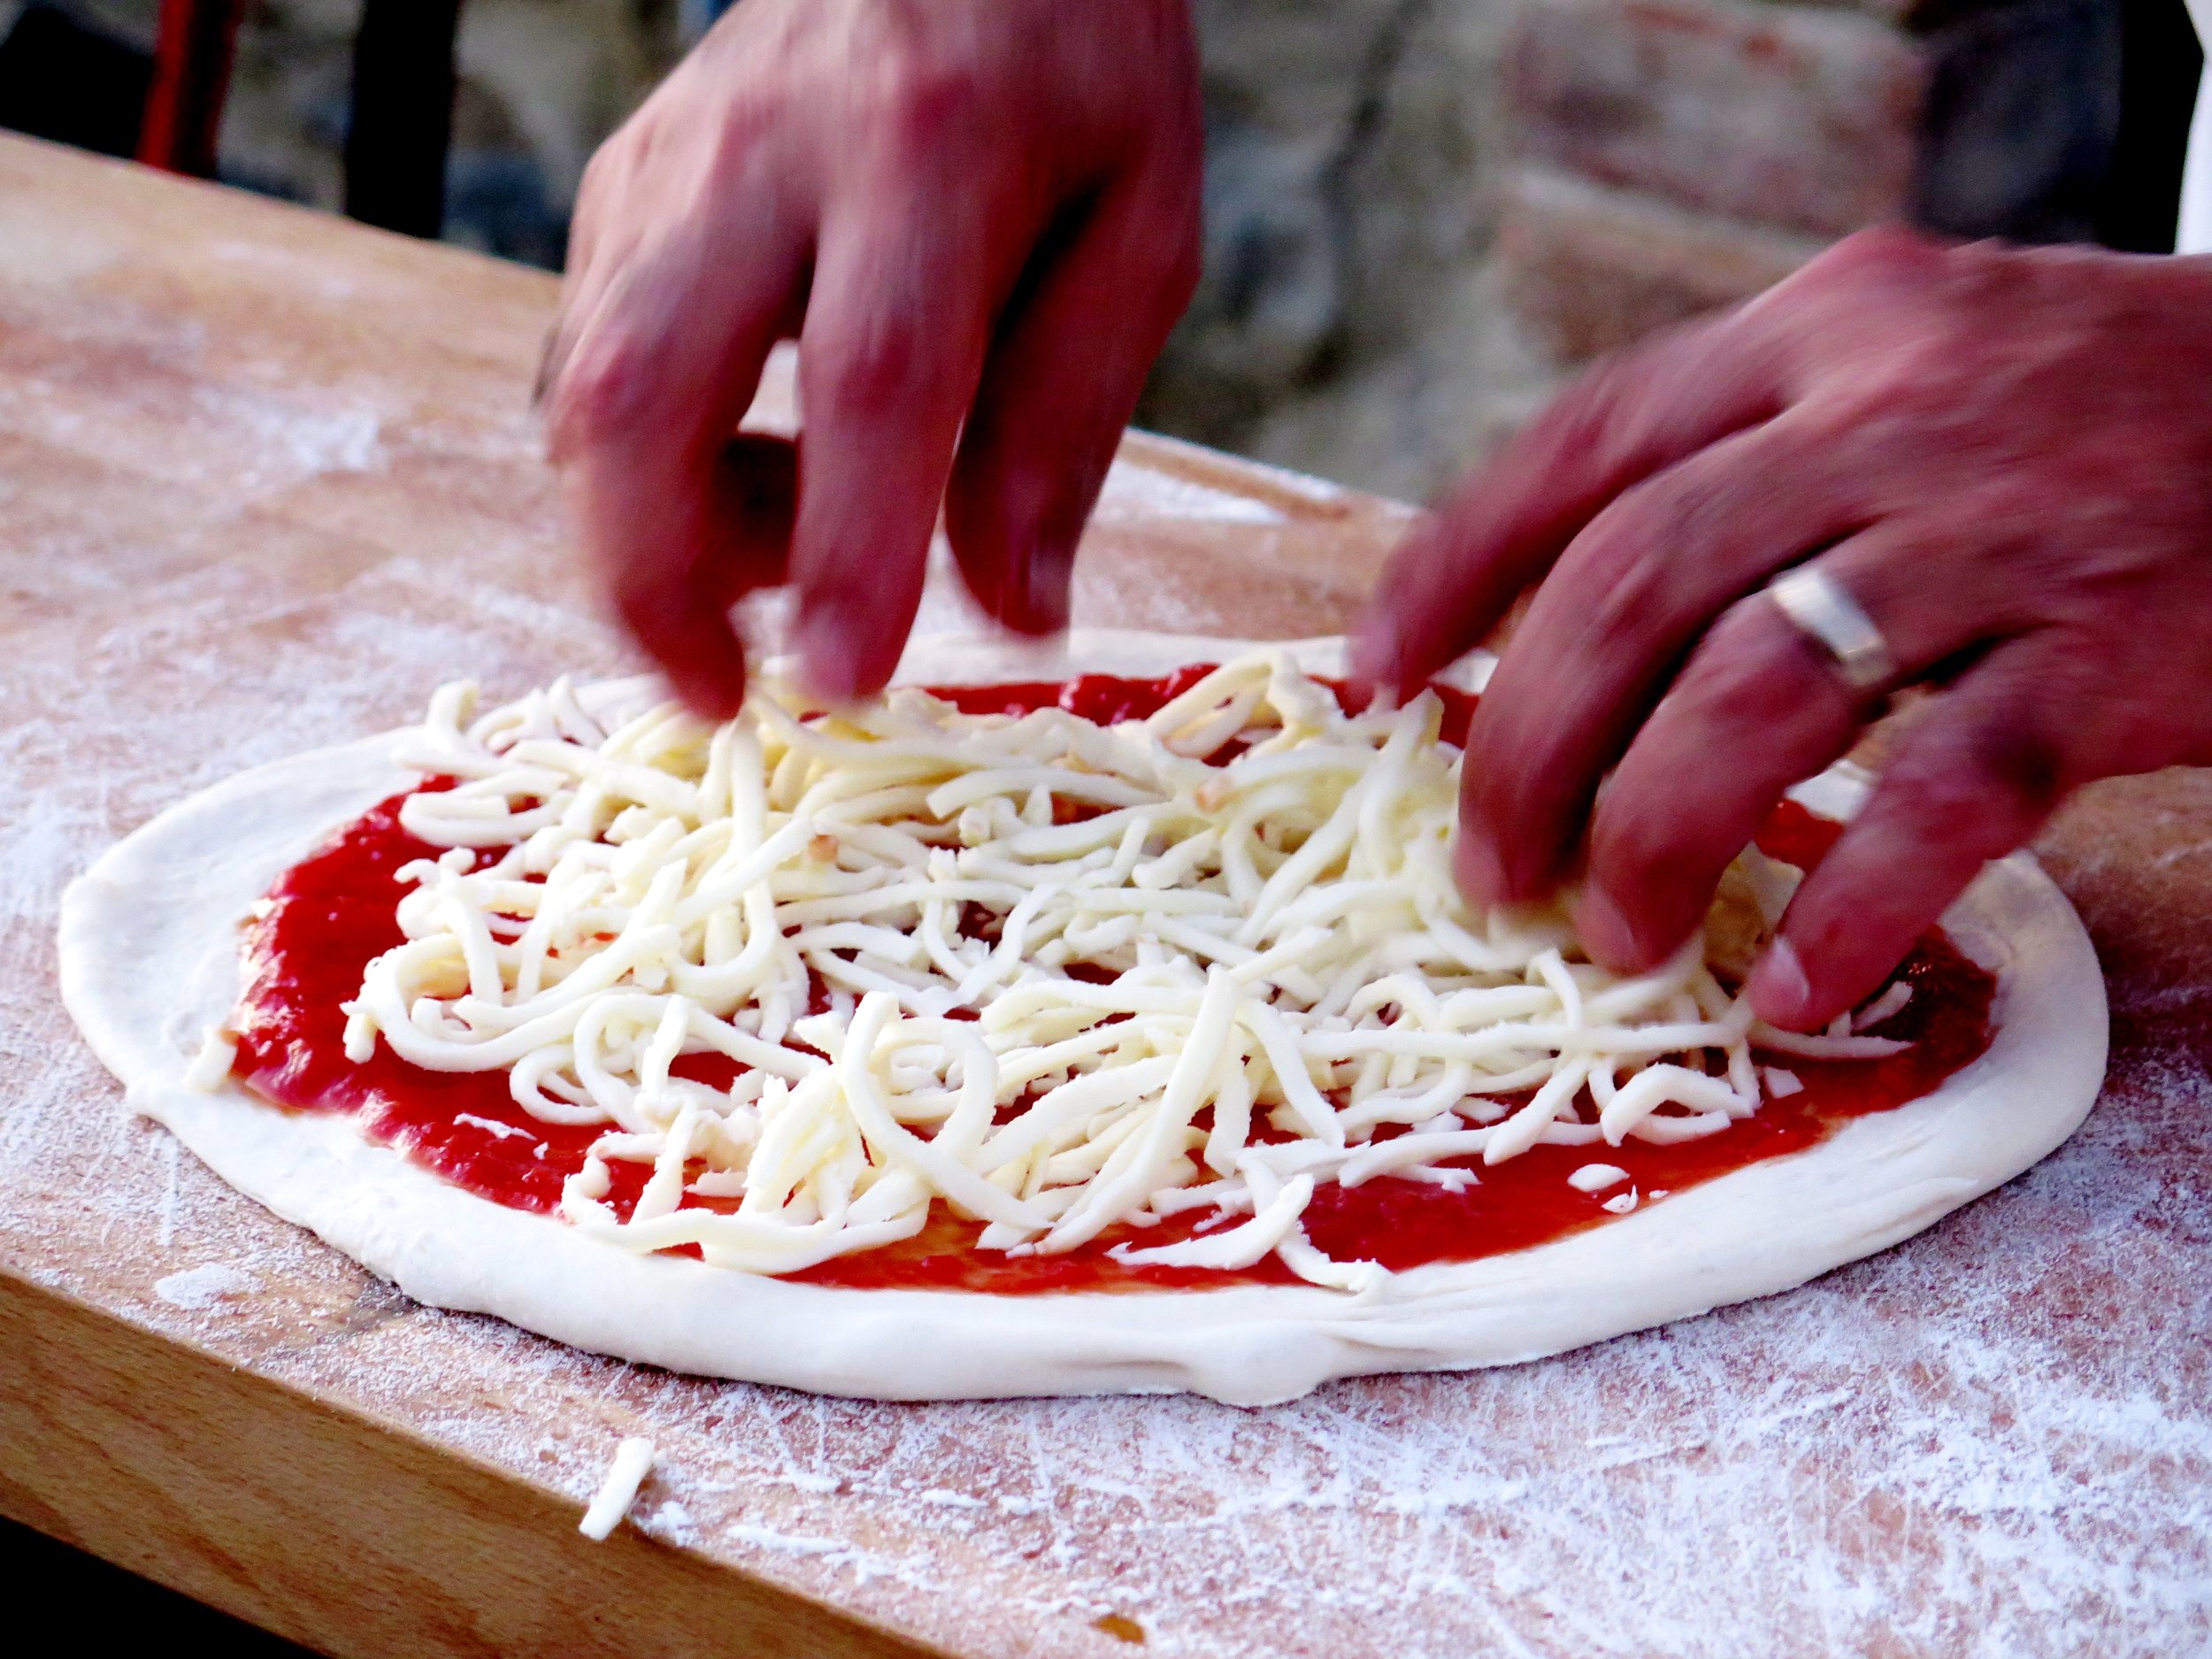
a shower of mozzarella,

Quick Asparagus & Parmesan Pizza

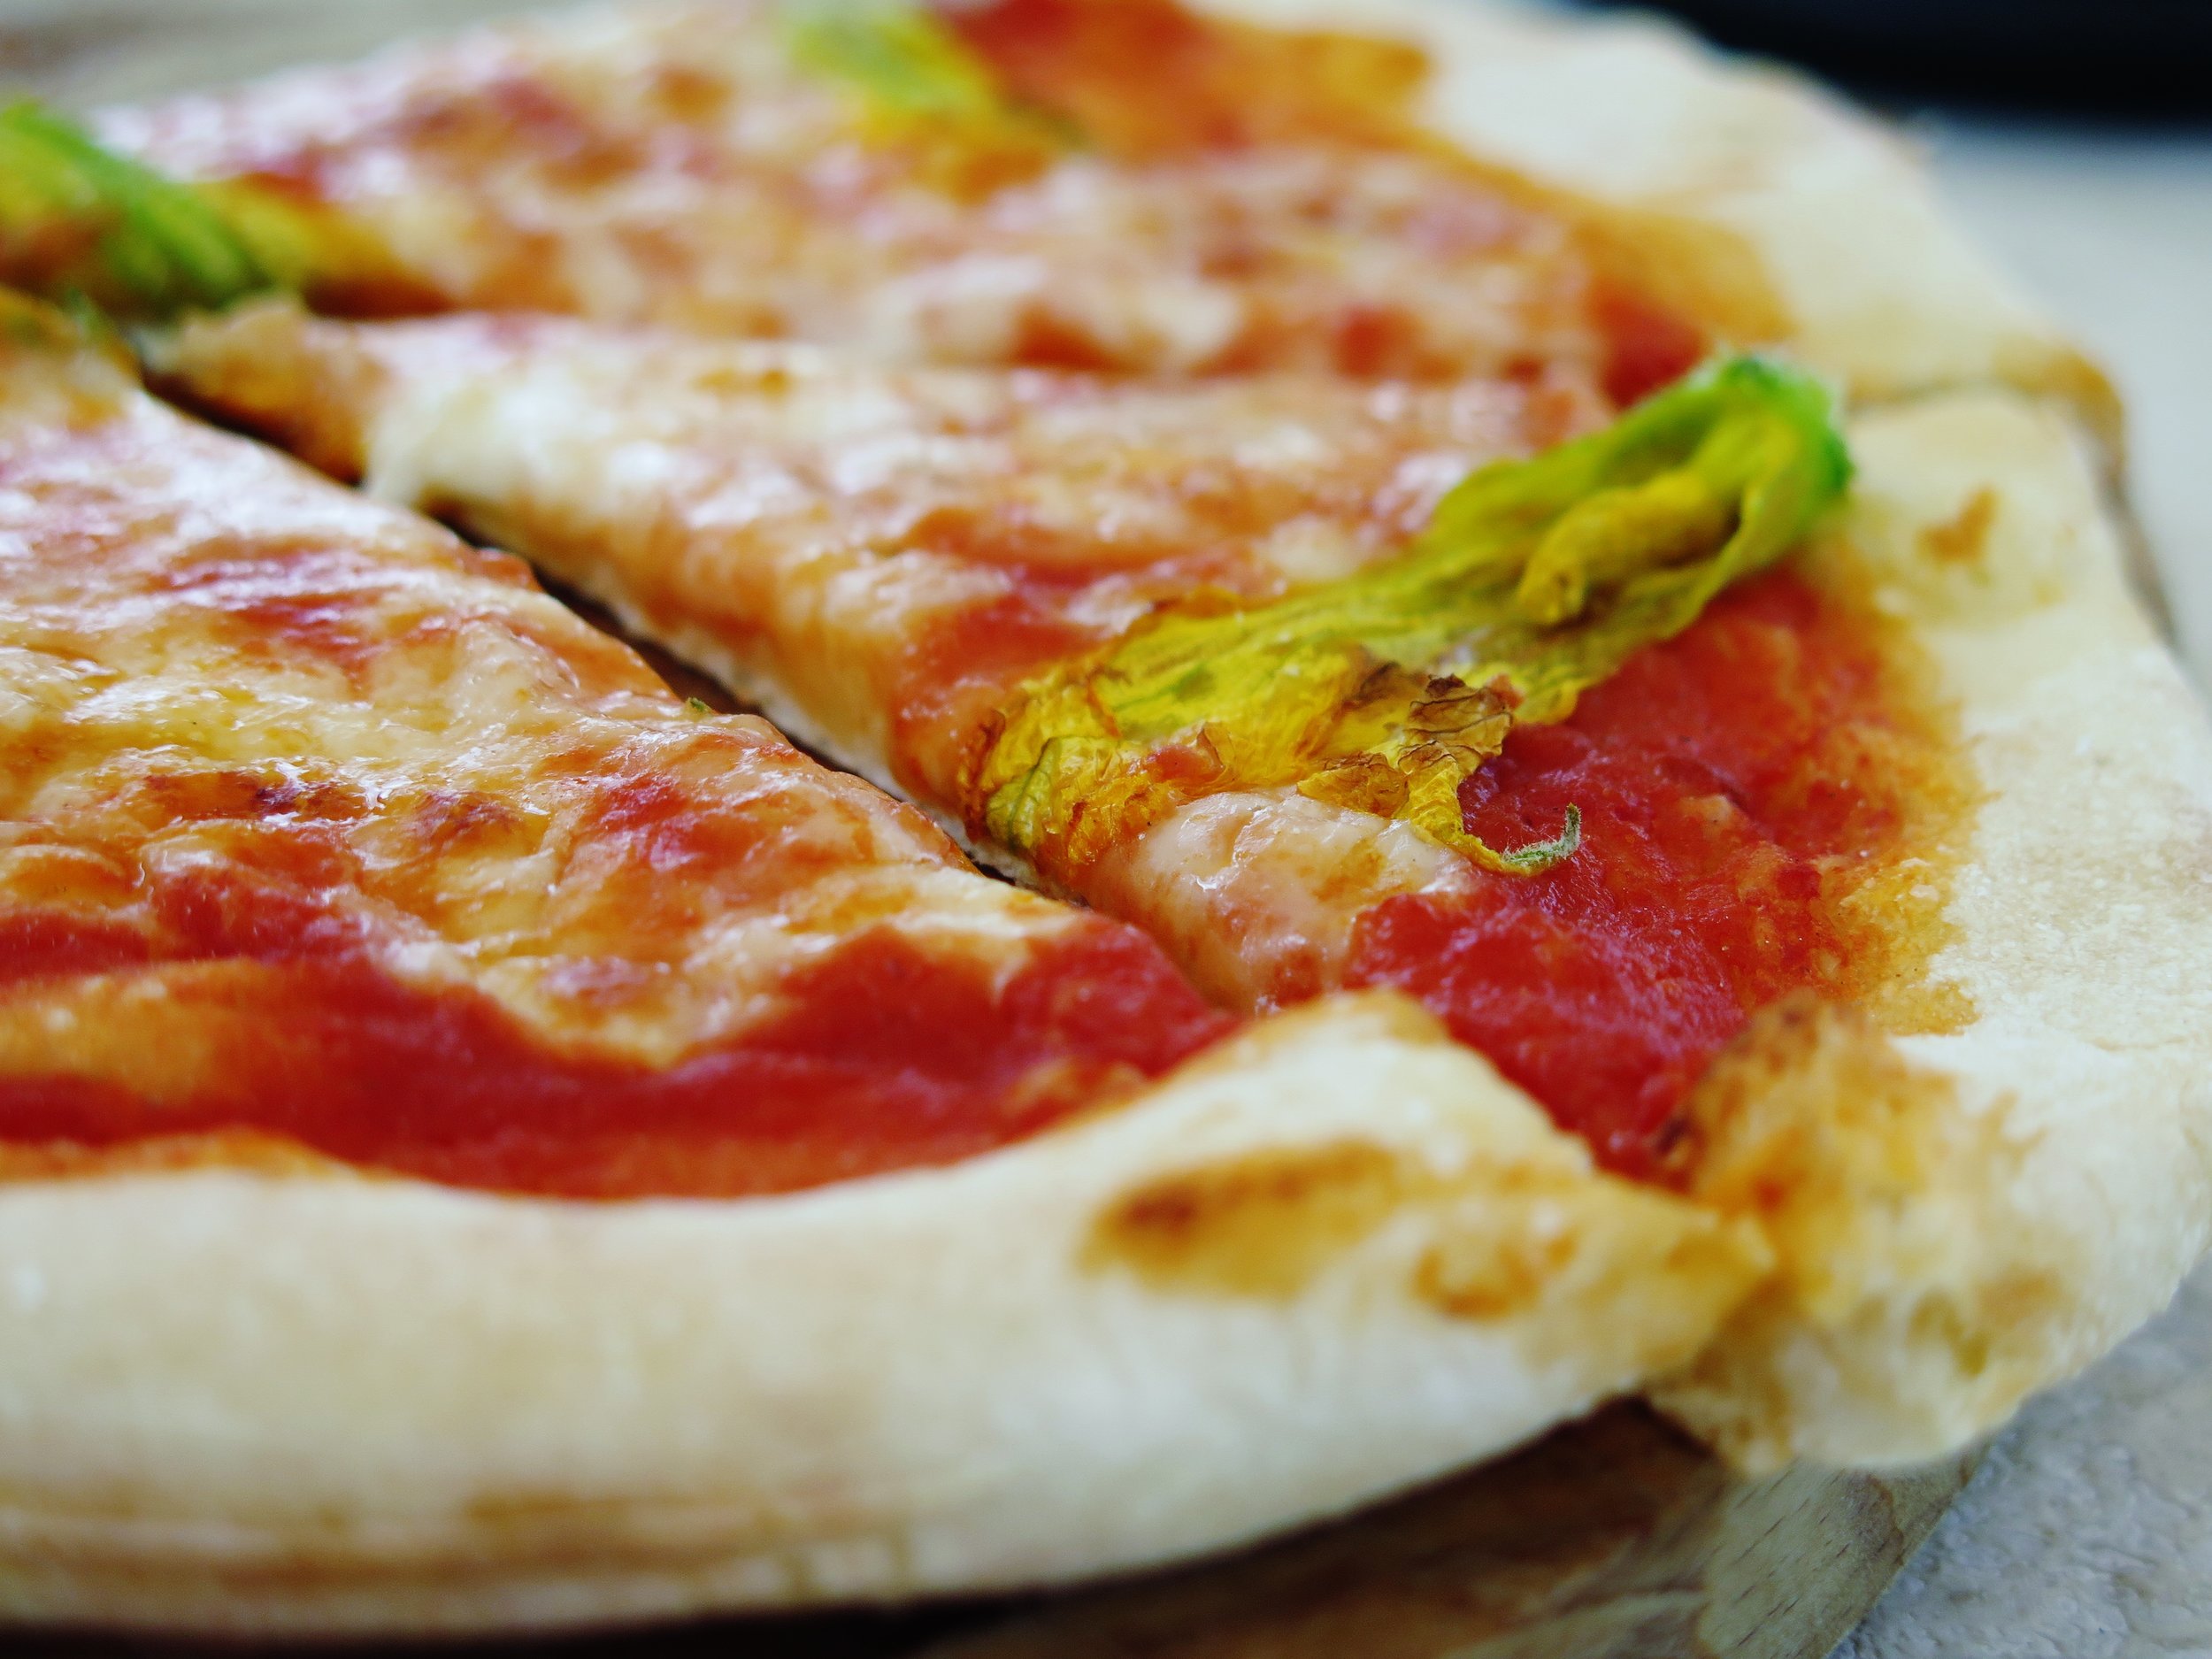
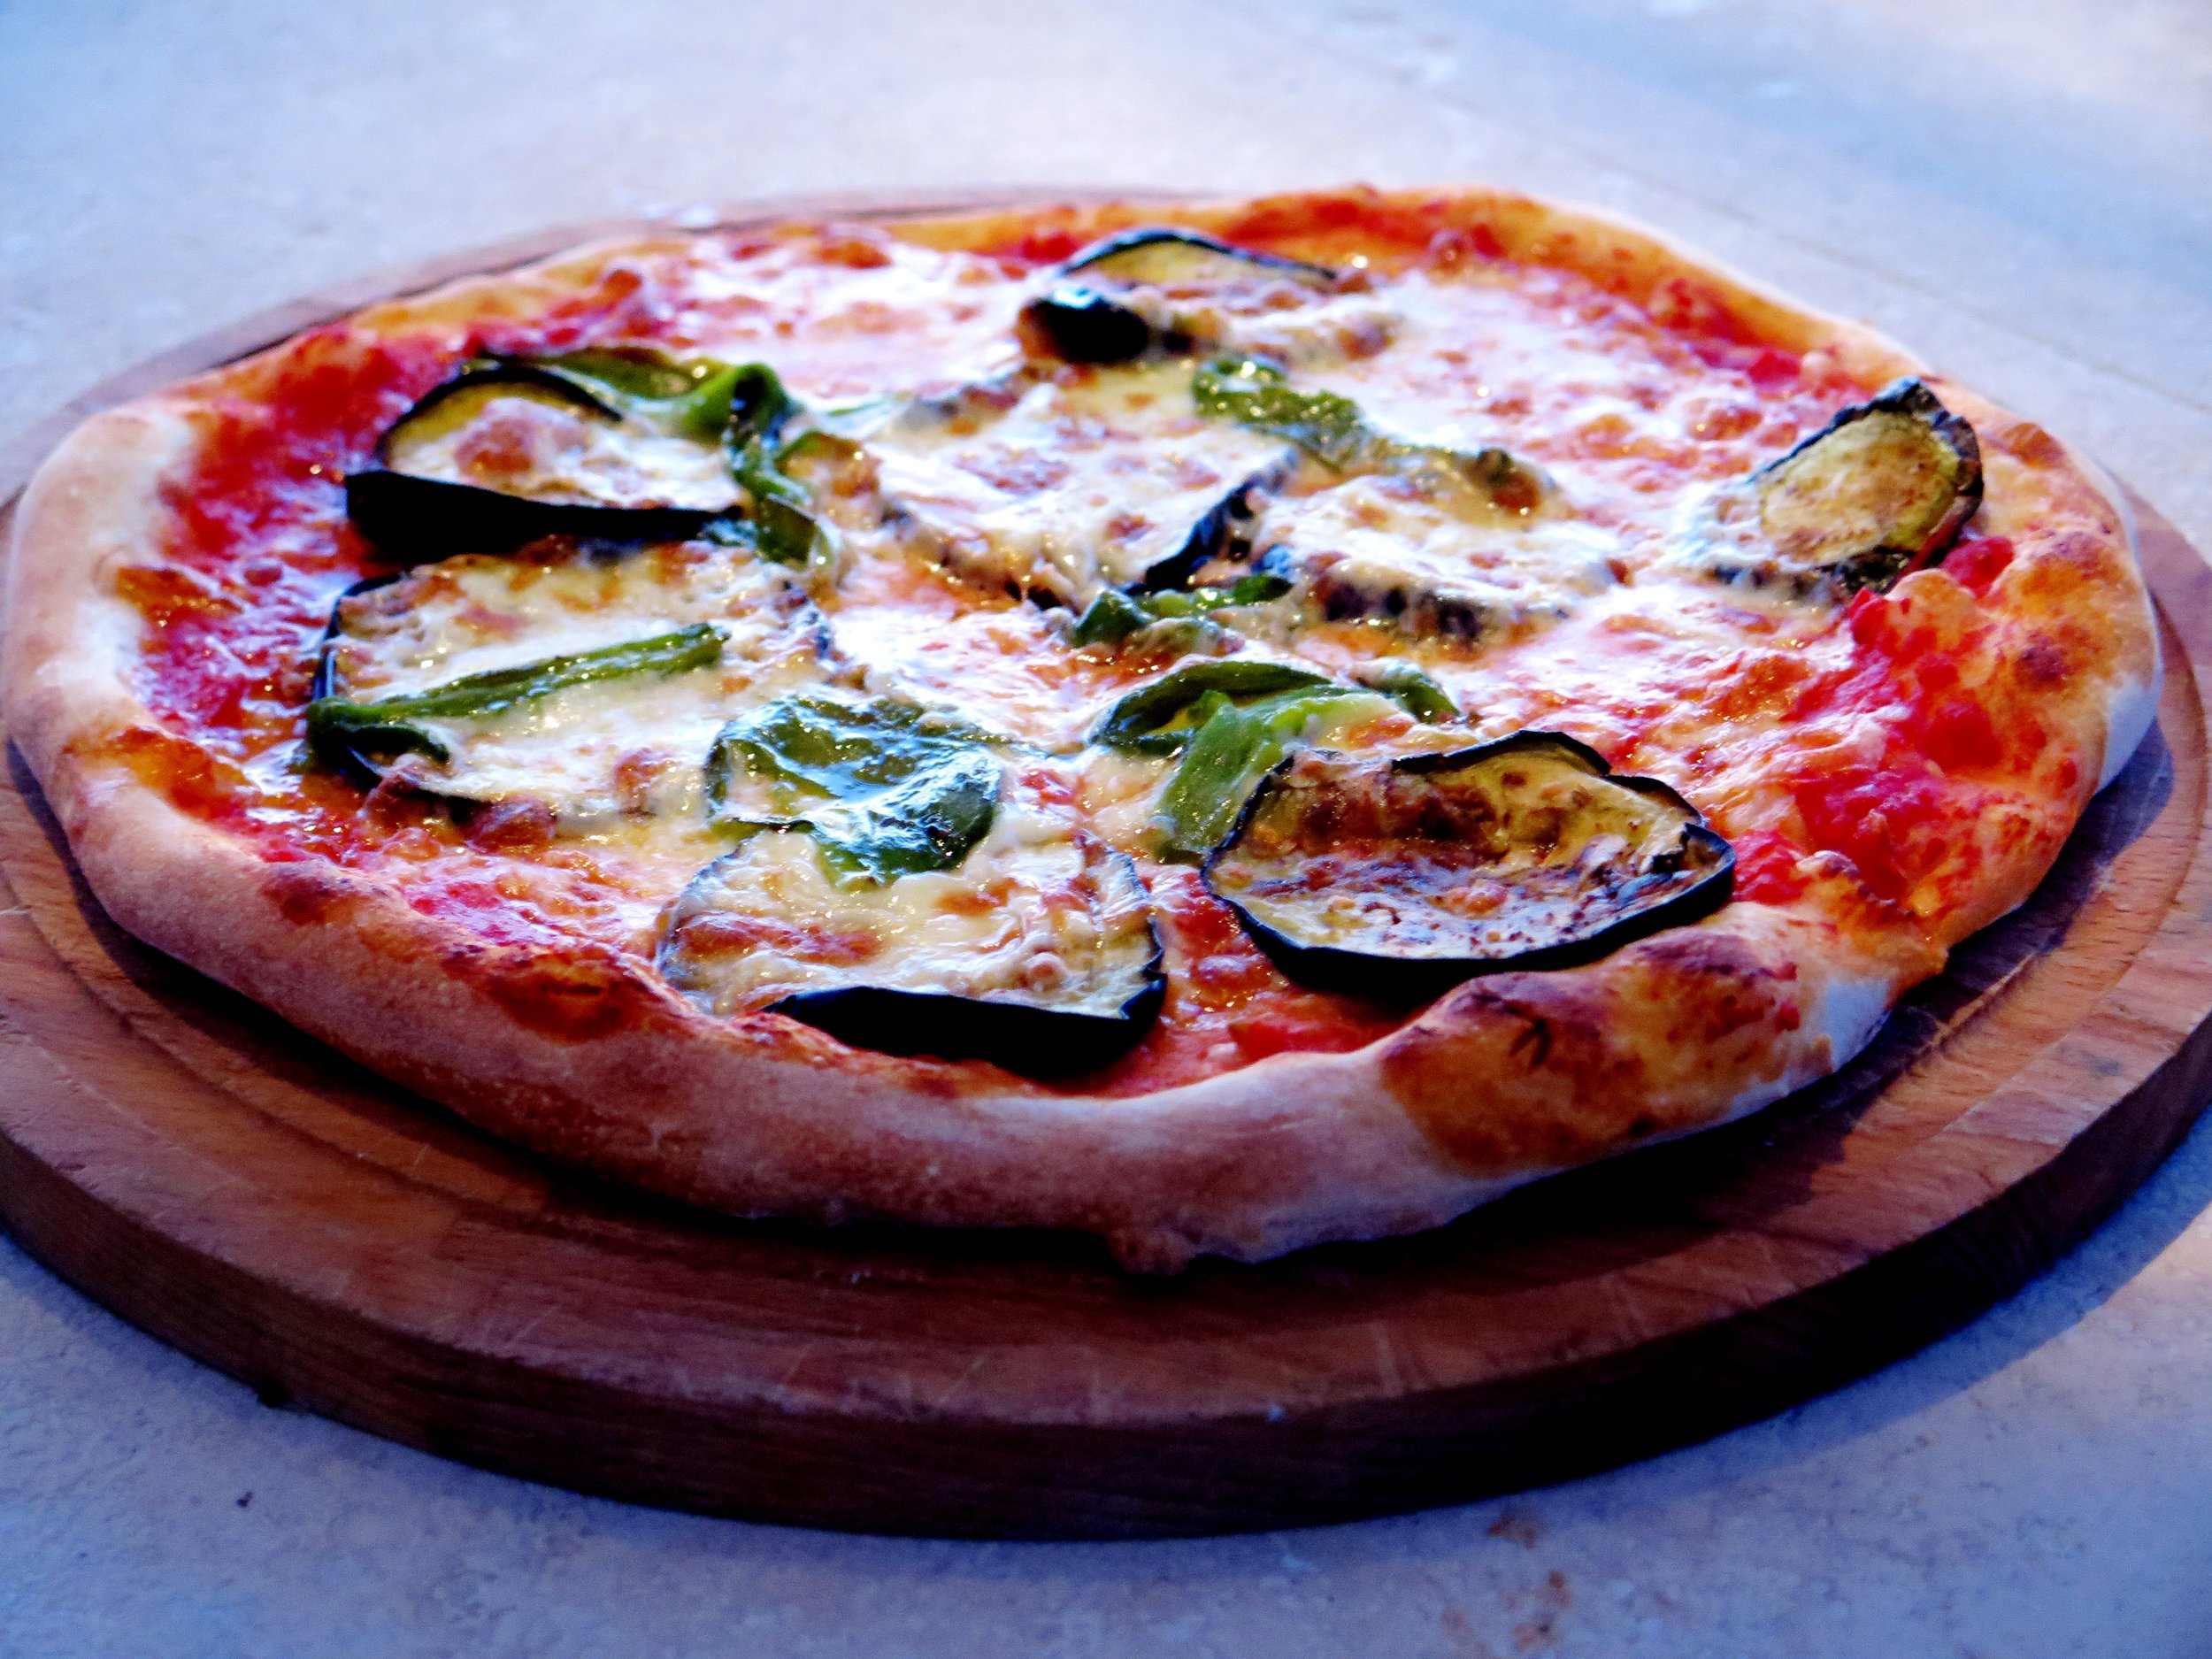
and a scattering of whatever’s in the garden: fiori di zucchini, melanzane, pepperoncini…

Quick Asparagus & Parmesan Pizza

The flurry of flour continues into the night.

Quick Asparagus & Parmesan Pizza

The dinner table is a moderation-free zone.

Quick Asparagus & Parmesan Pizza

He only stops when even the strictest of eaters has lost count of the number of pizzas (not slices) he/she has consumed, and physical incapacity is the only limitation.

Quick Asparagus & Parmesan Pizza

He doesn’t even really stop there: a couple more are sent to the table per domani.

Quick Asparagus & Parmesan Pizza

A pizza “hangover” ensues along with the inevitable promises of “never again” “not for another year”.

Quick Asparagus & Parmesan Pizza

But as soon as I hit London soil again I want to relieve that pizza-lover’s fantasy and so I make these.

Quick Asparagus & Parmesan Pizza

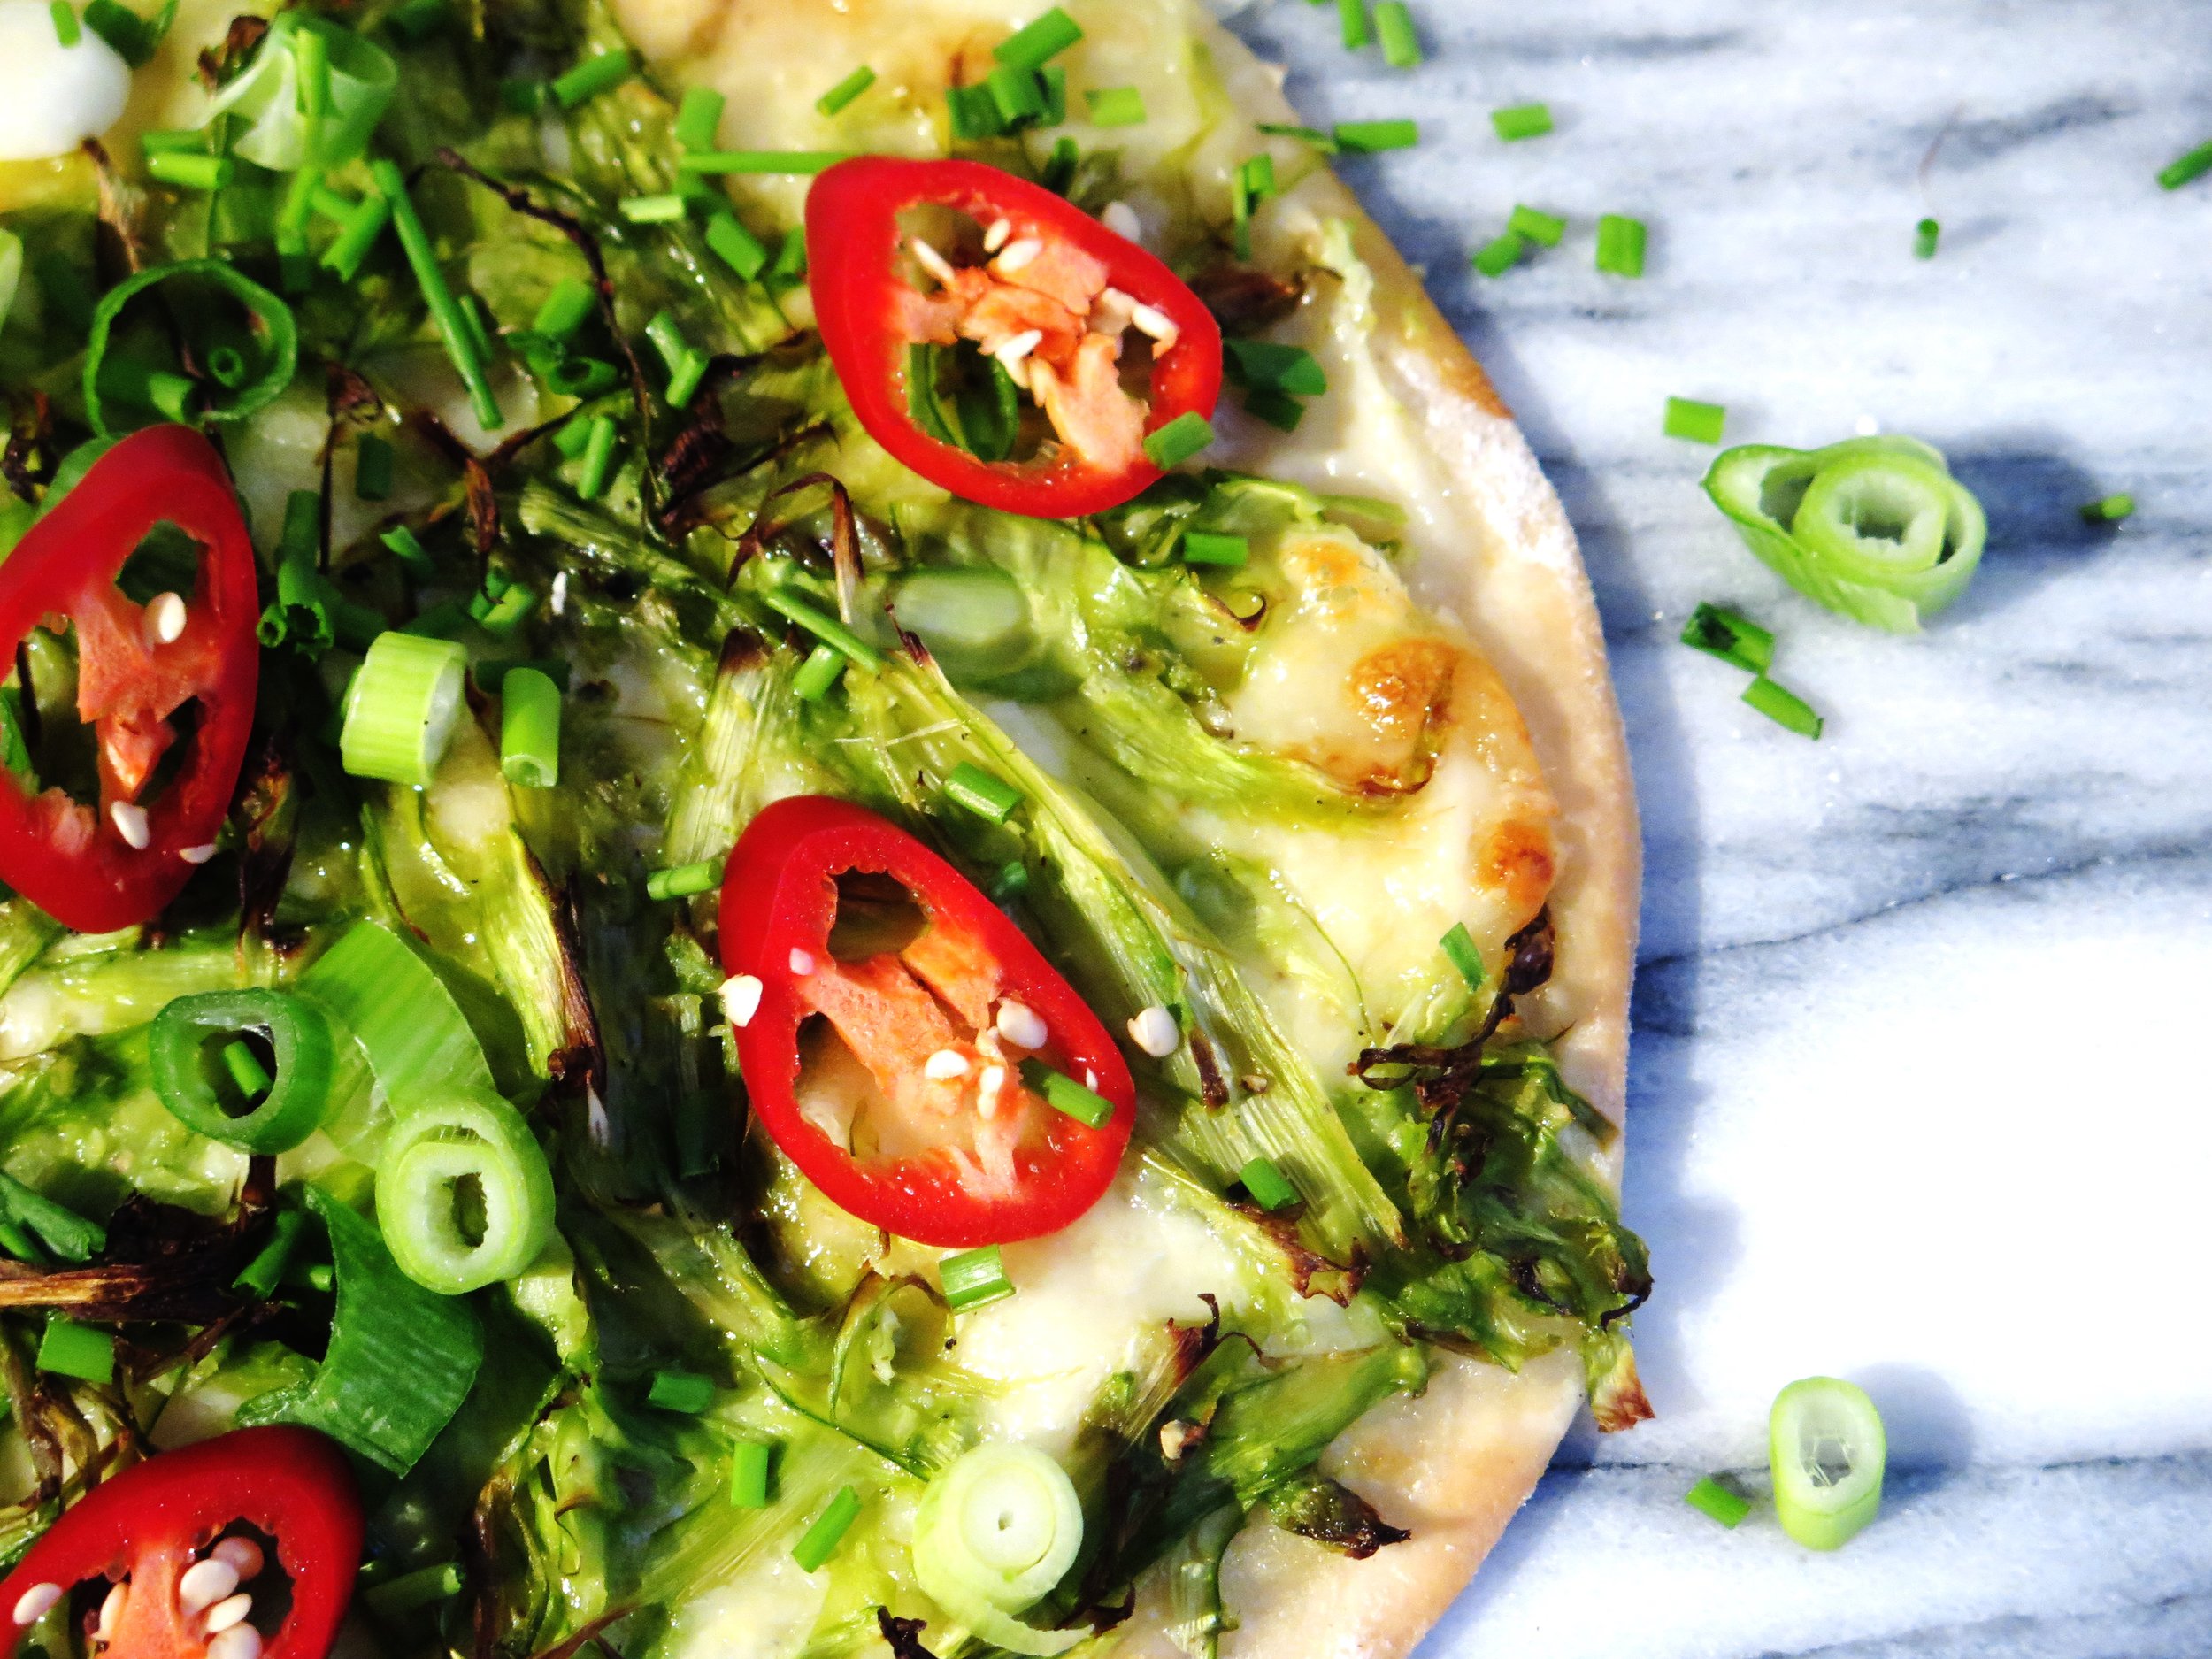
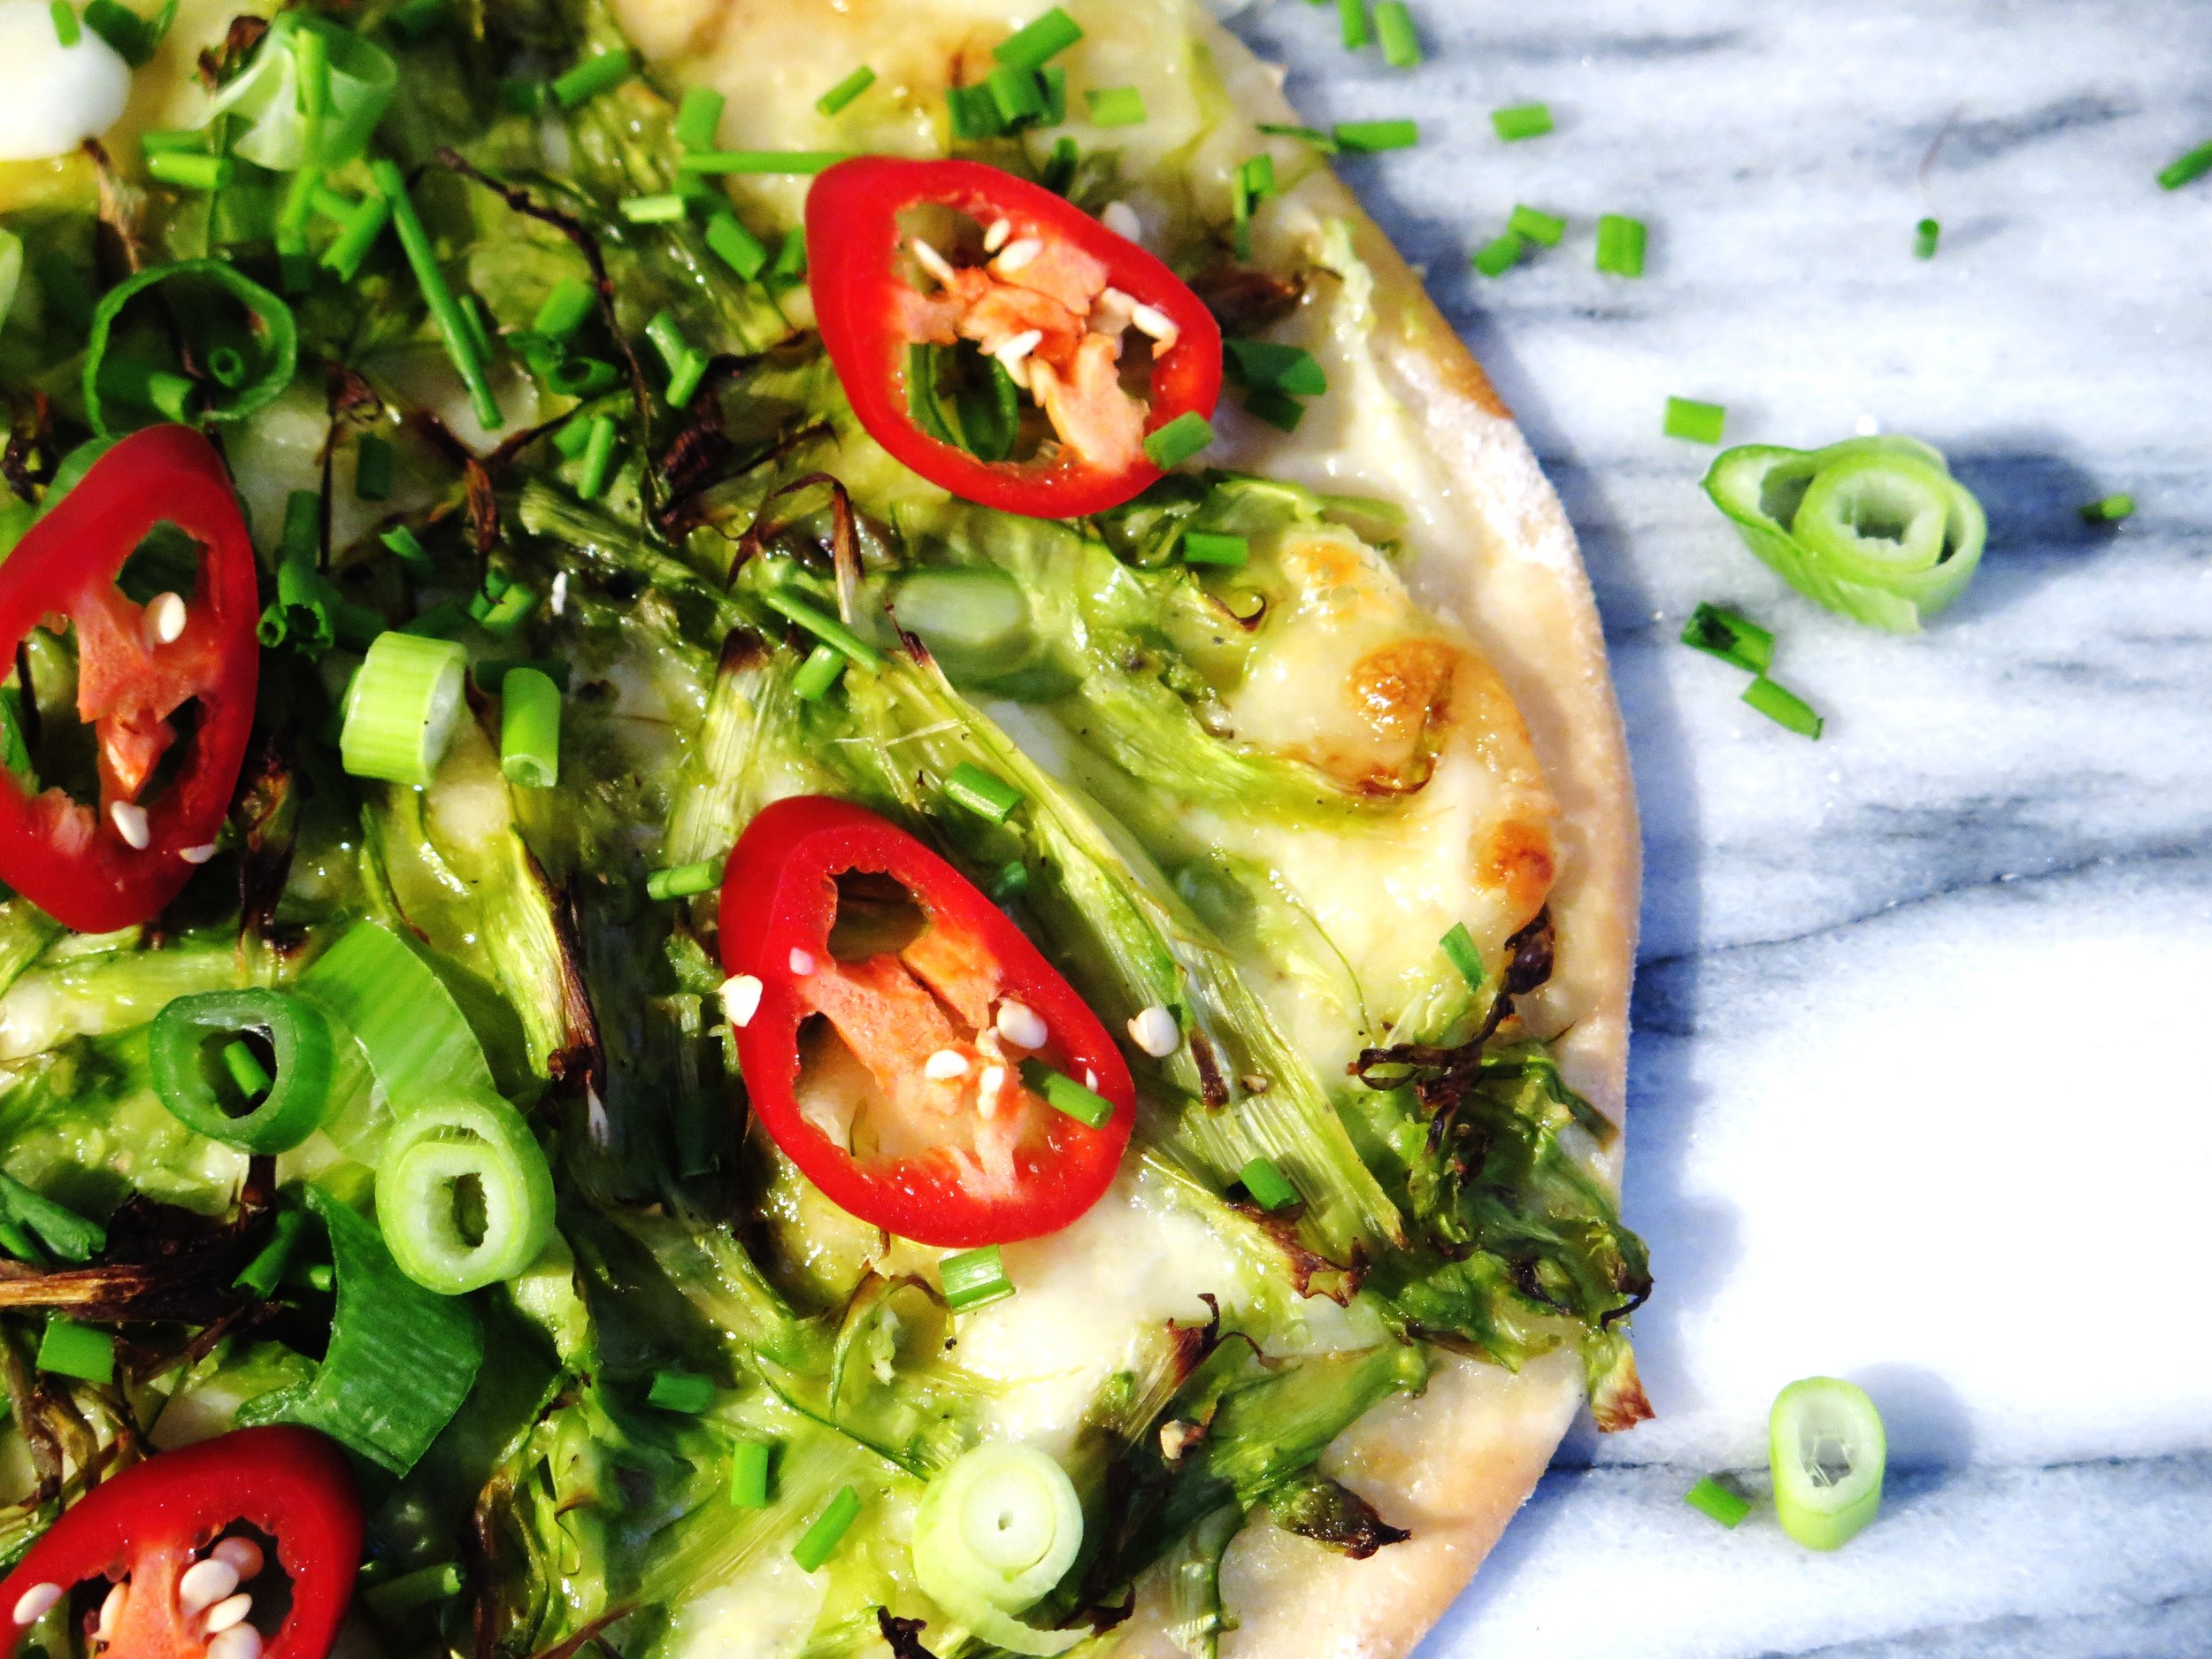
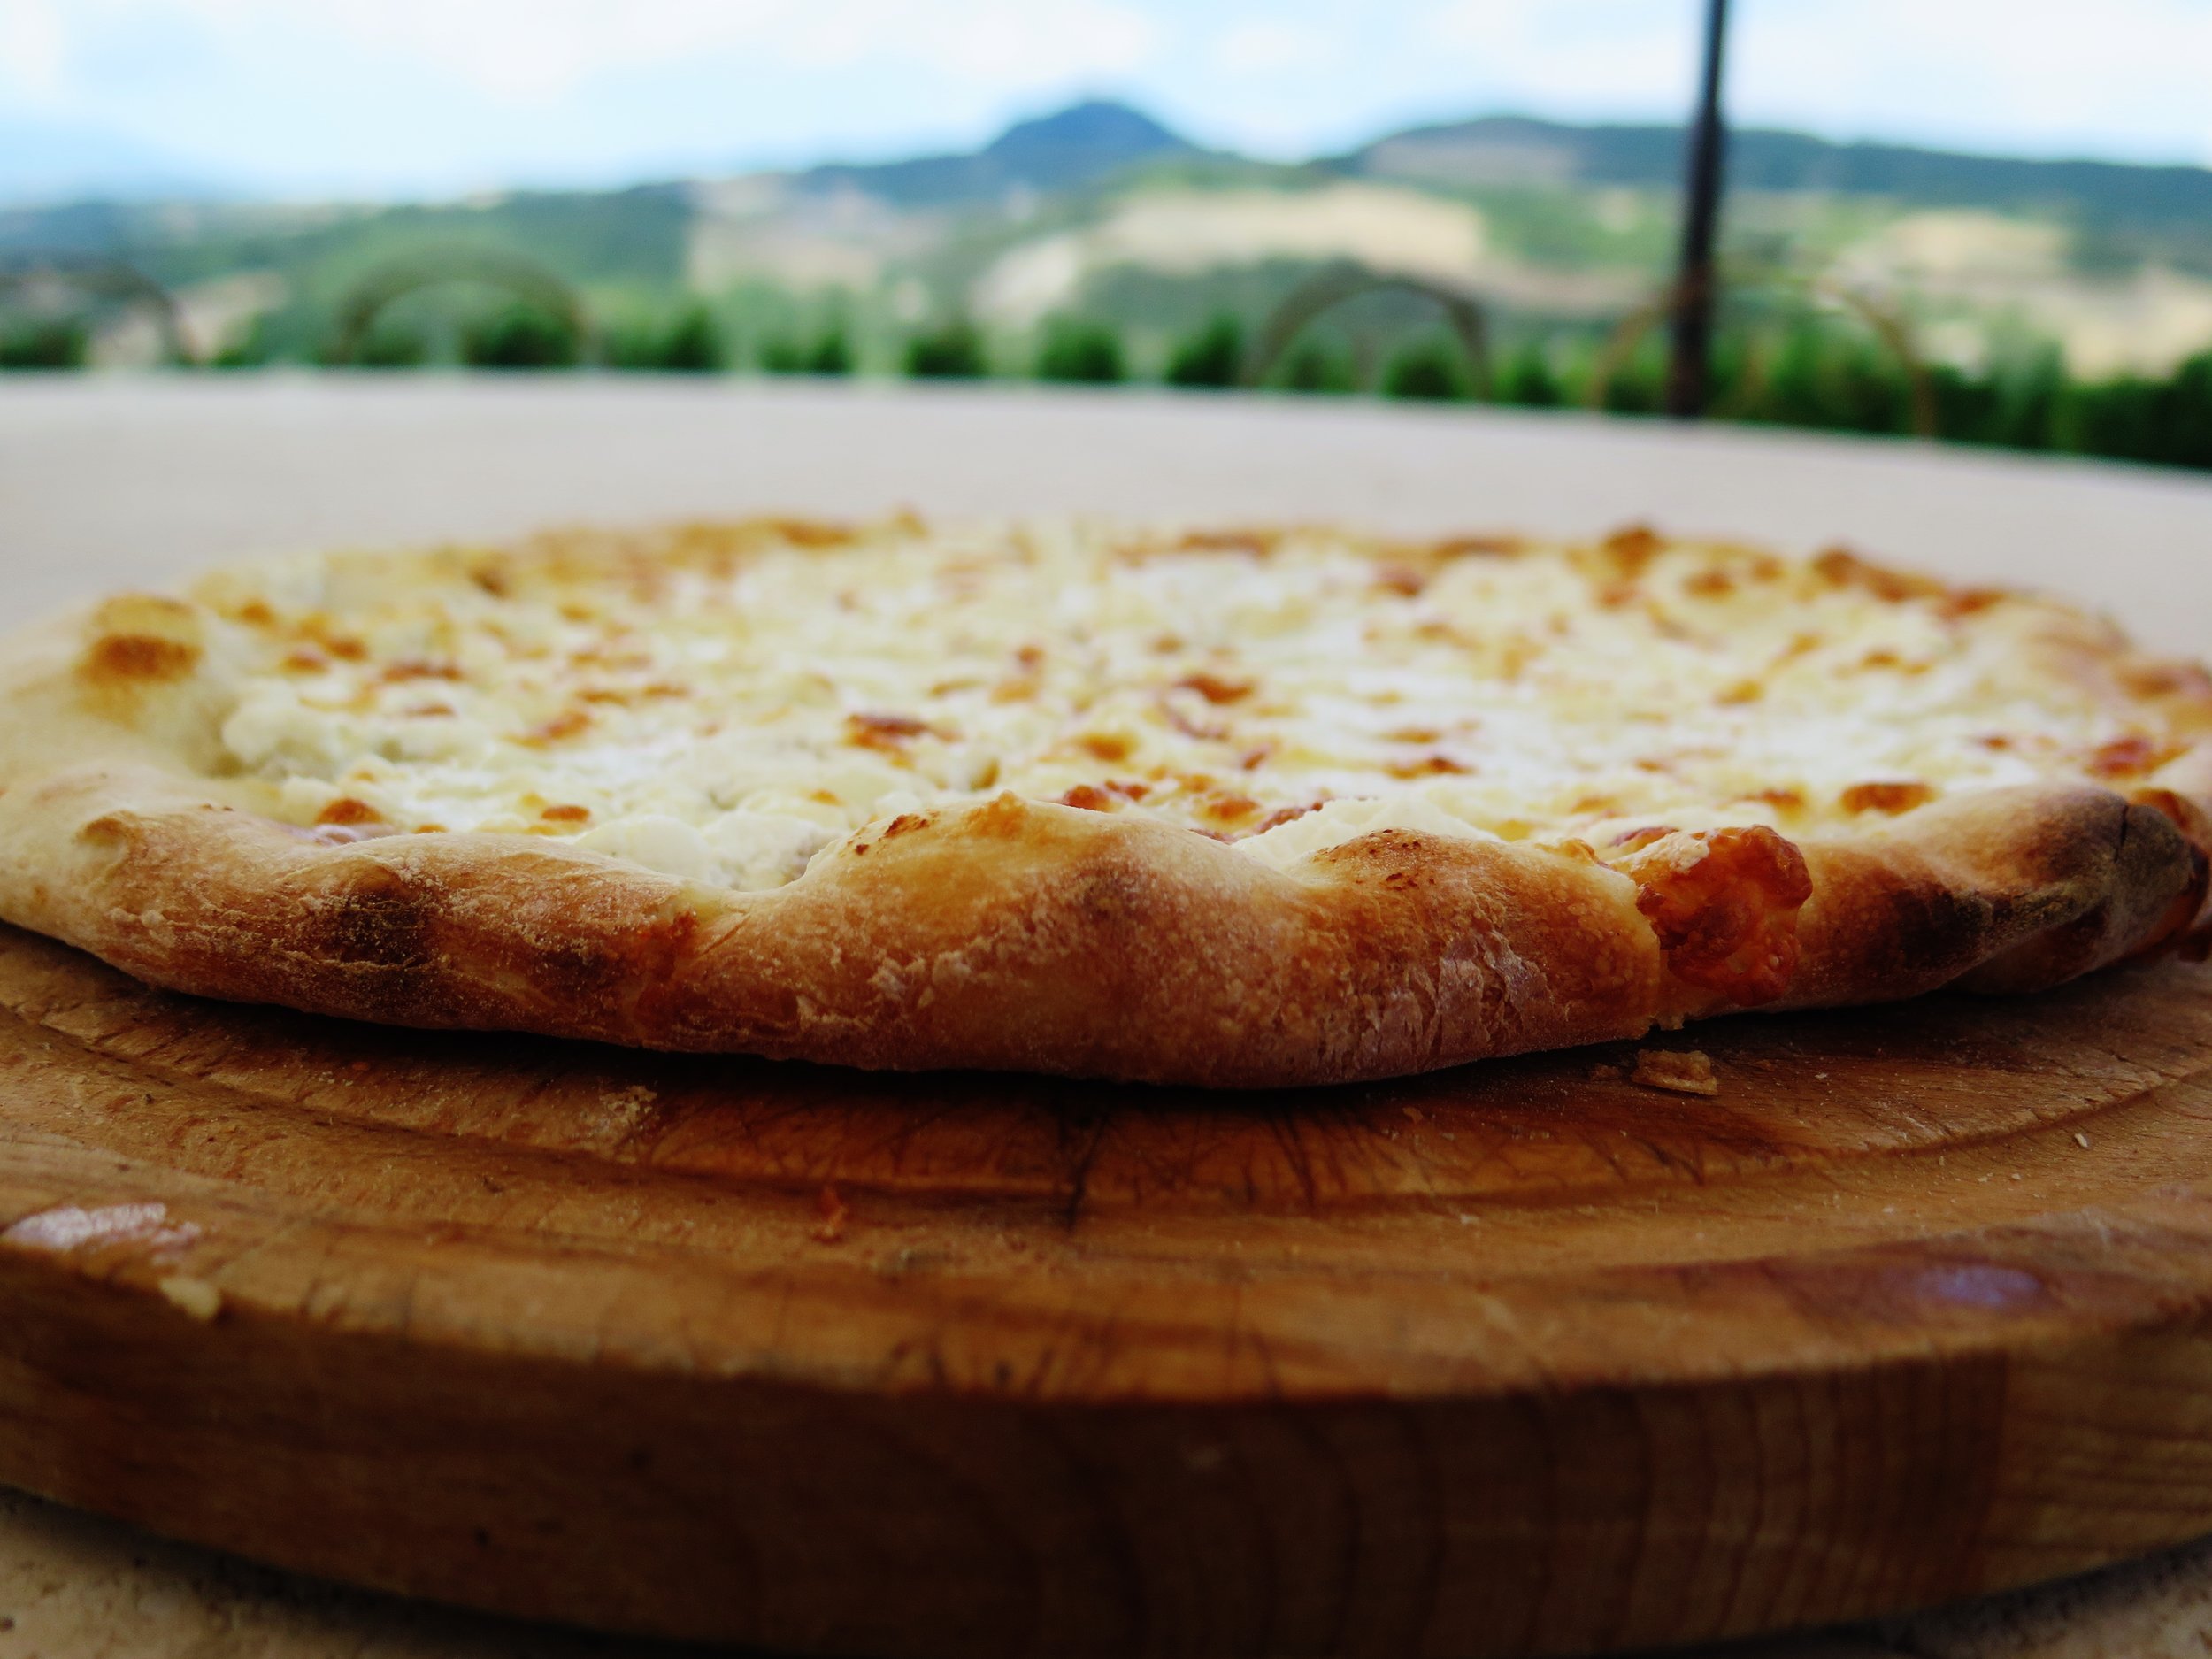
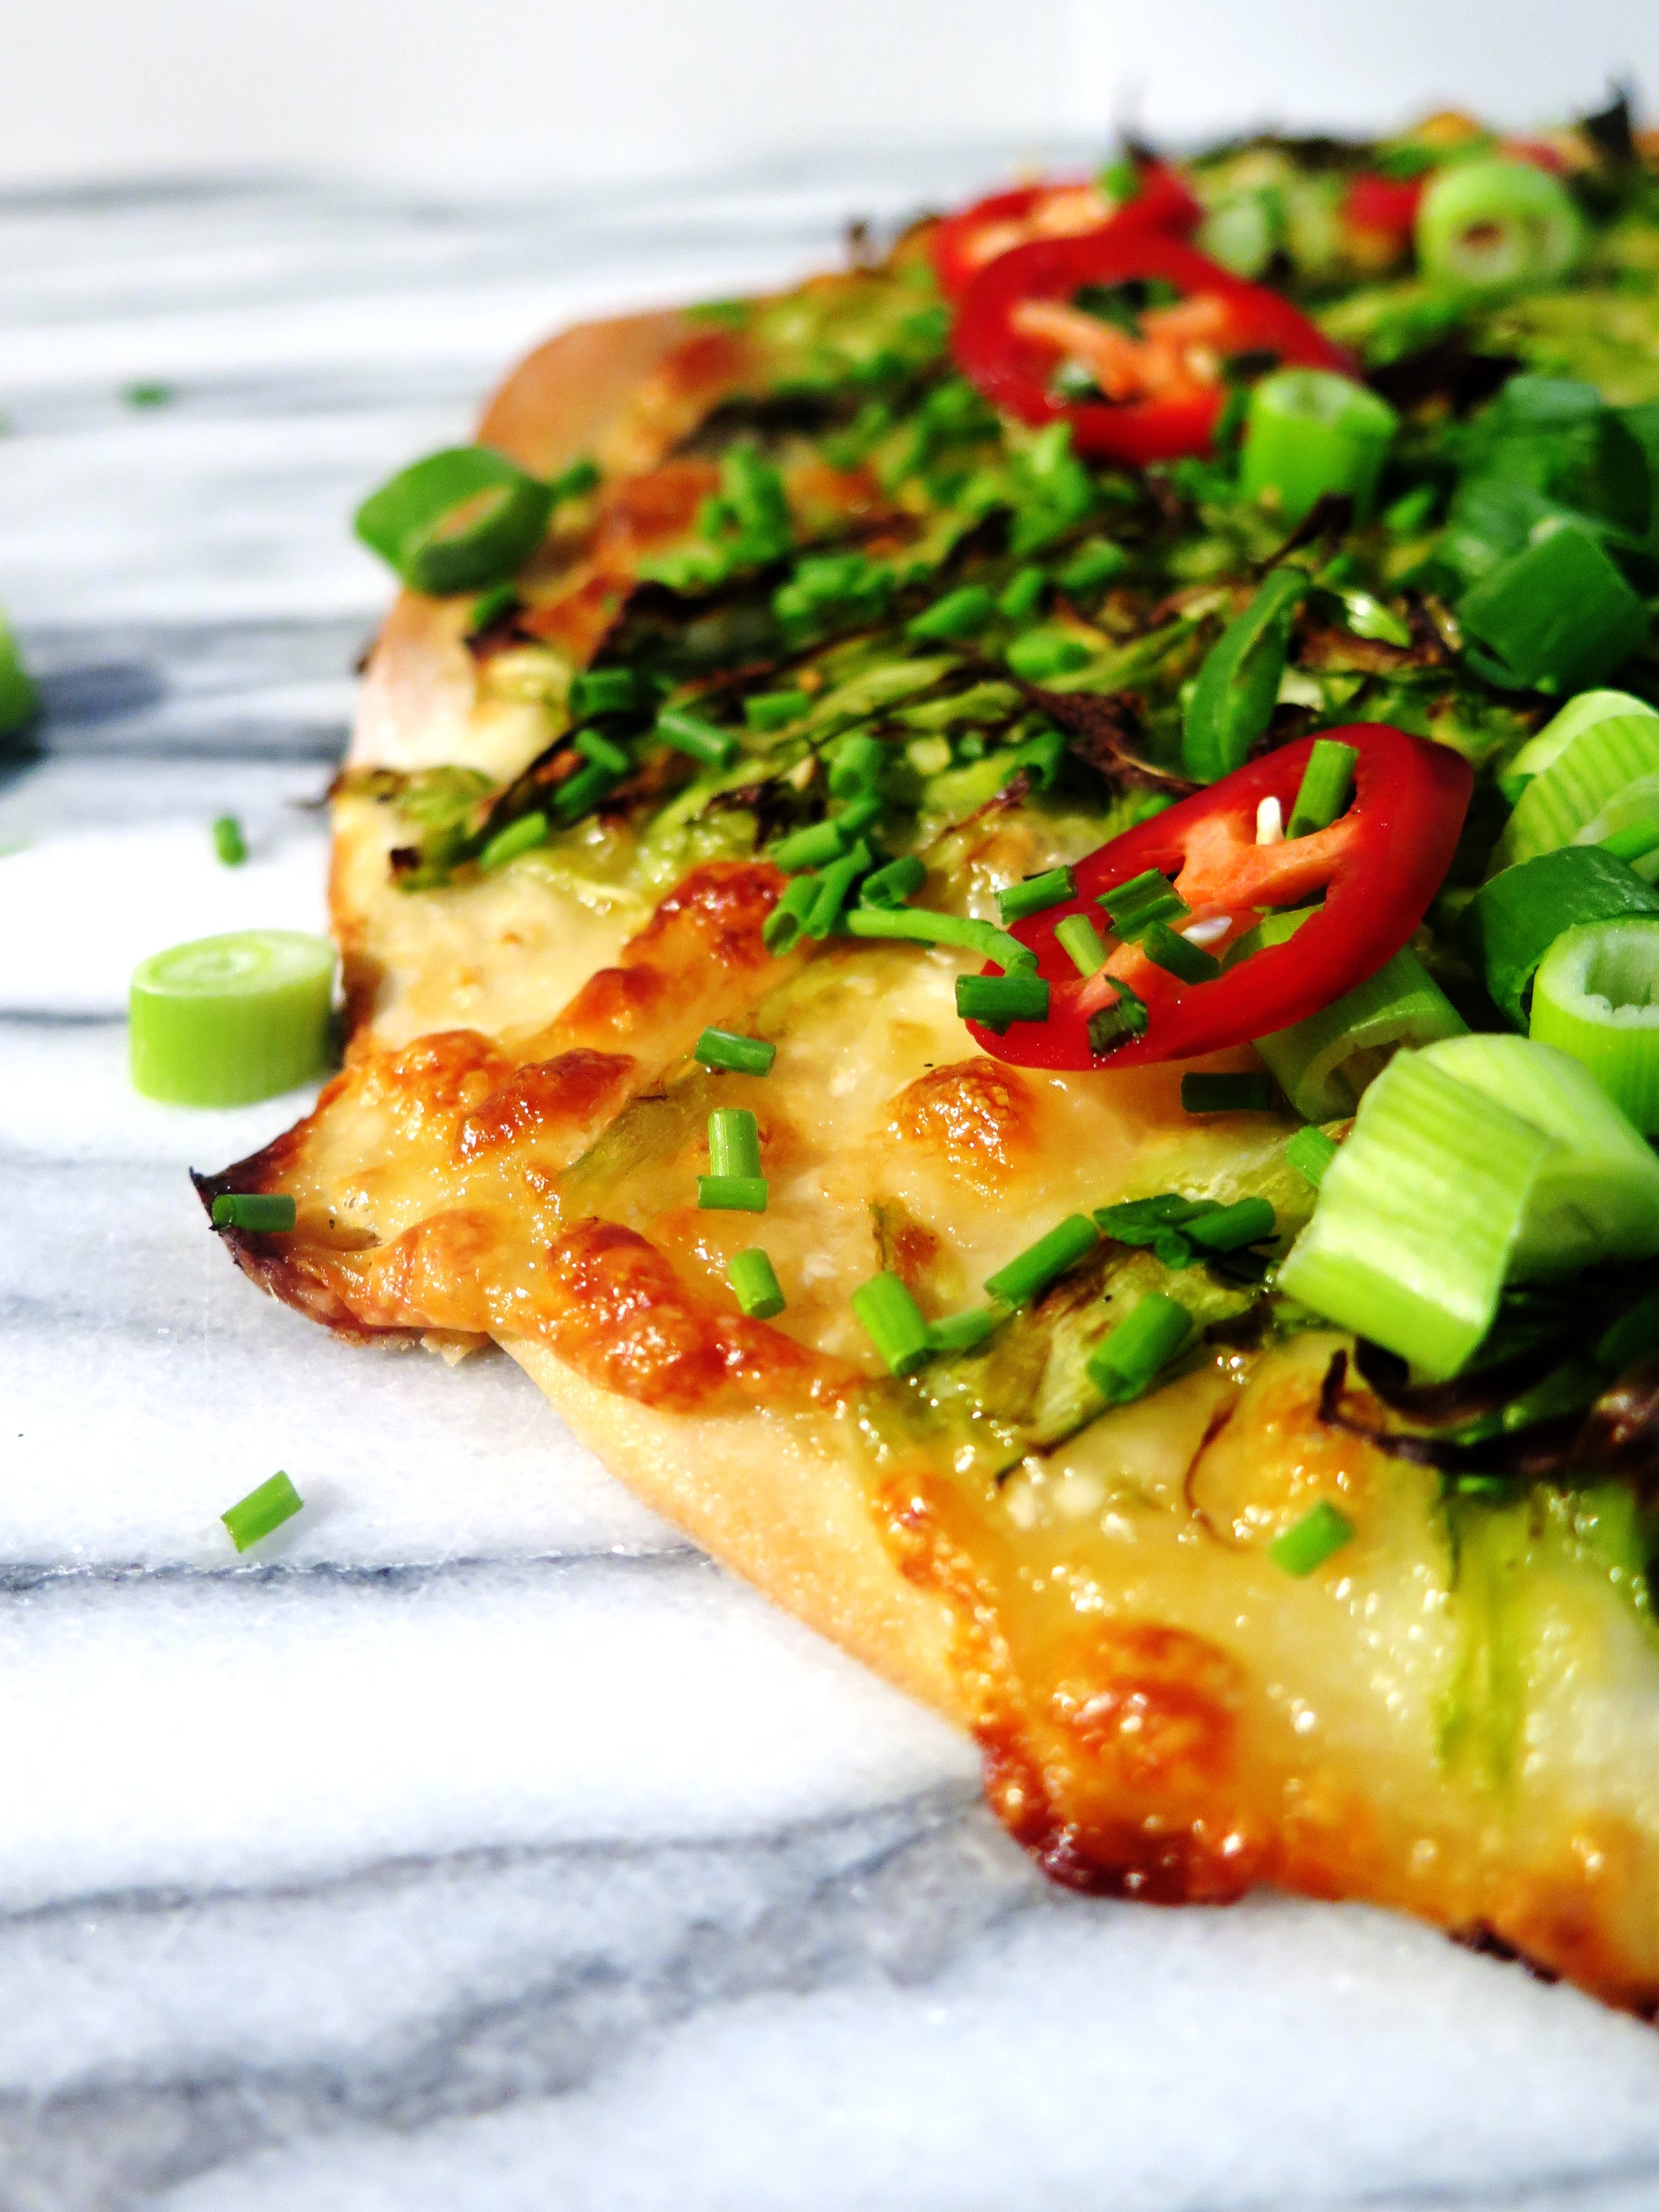
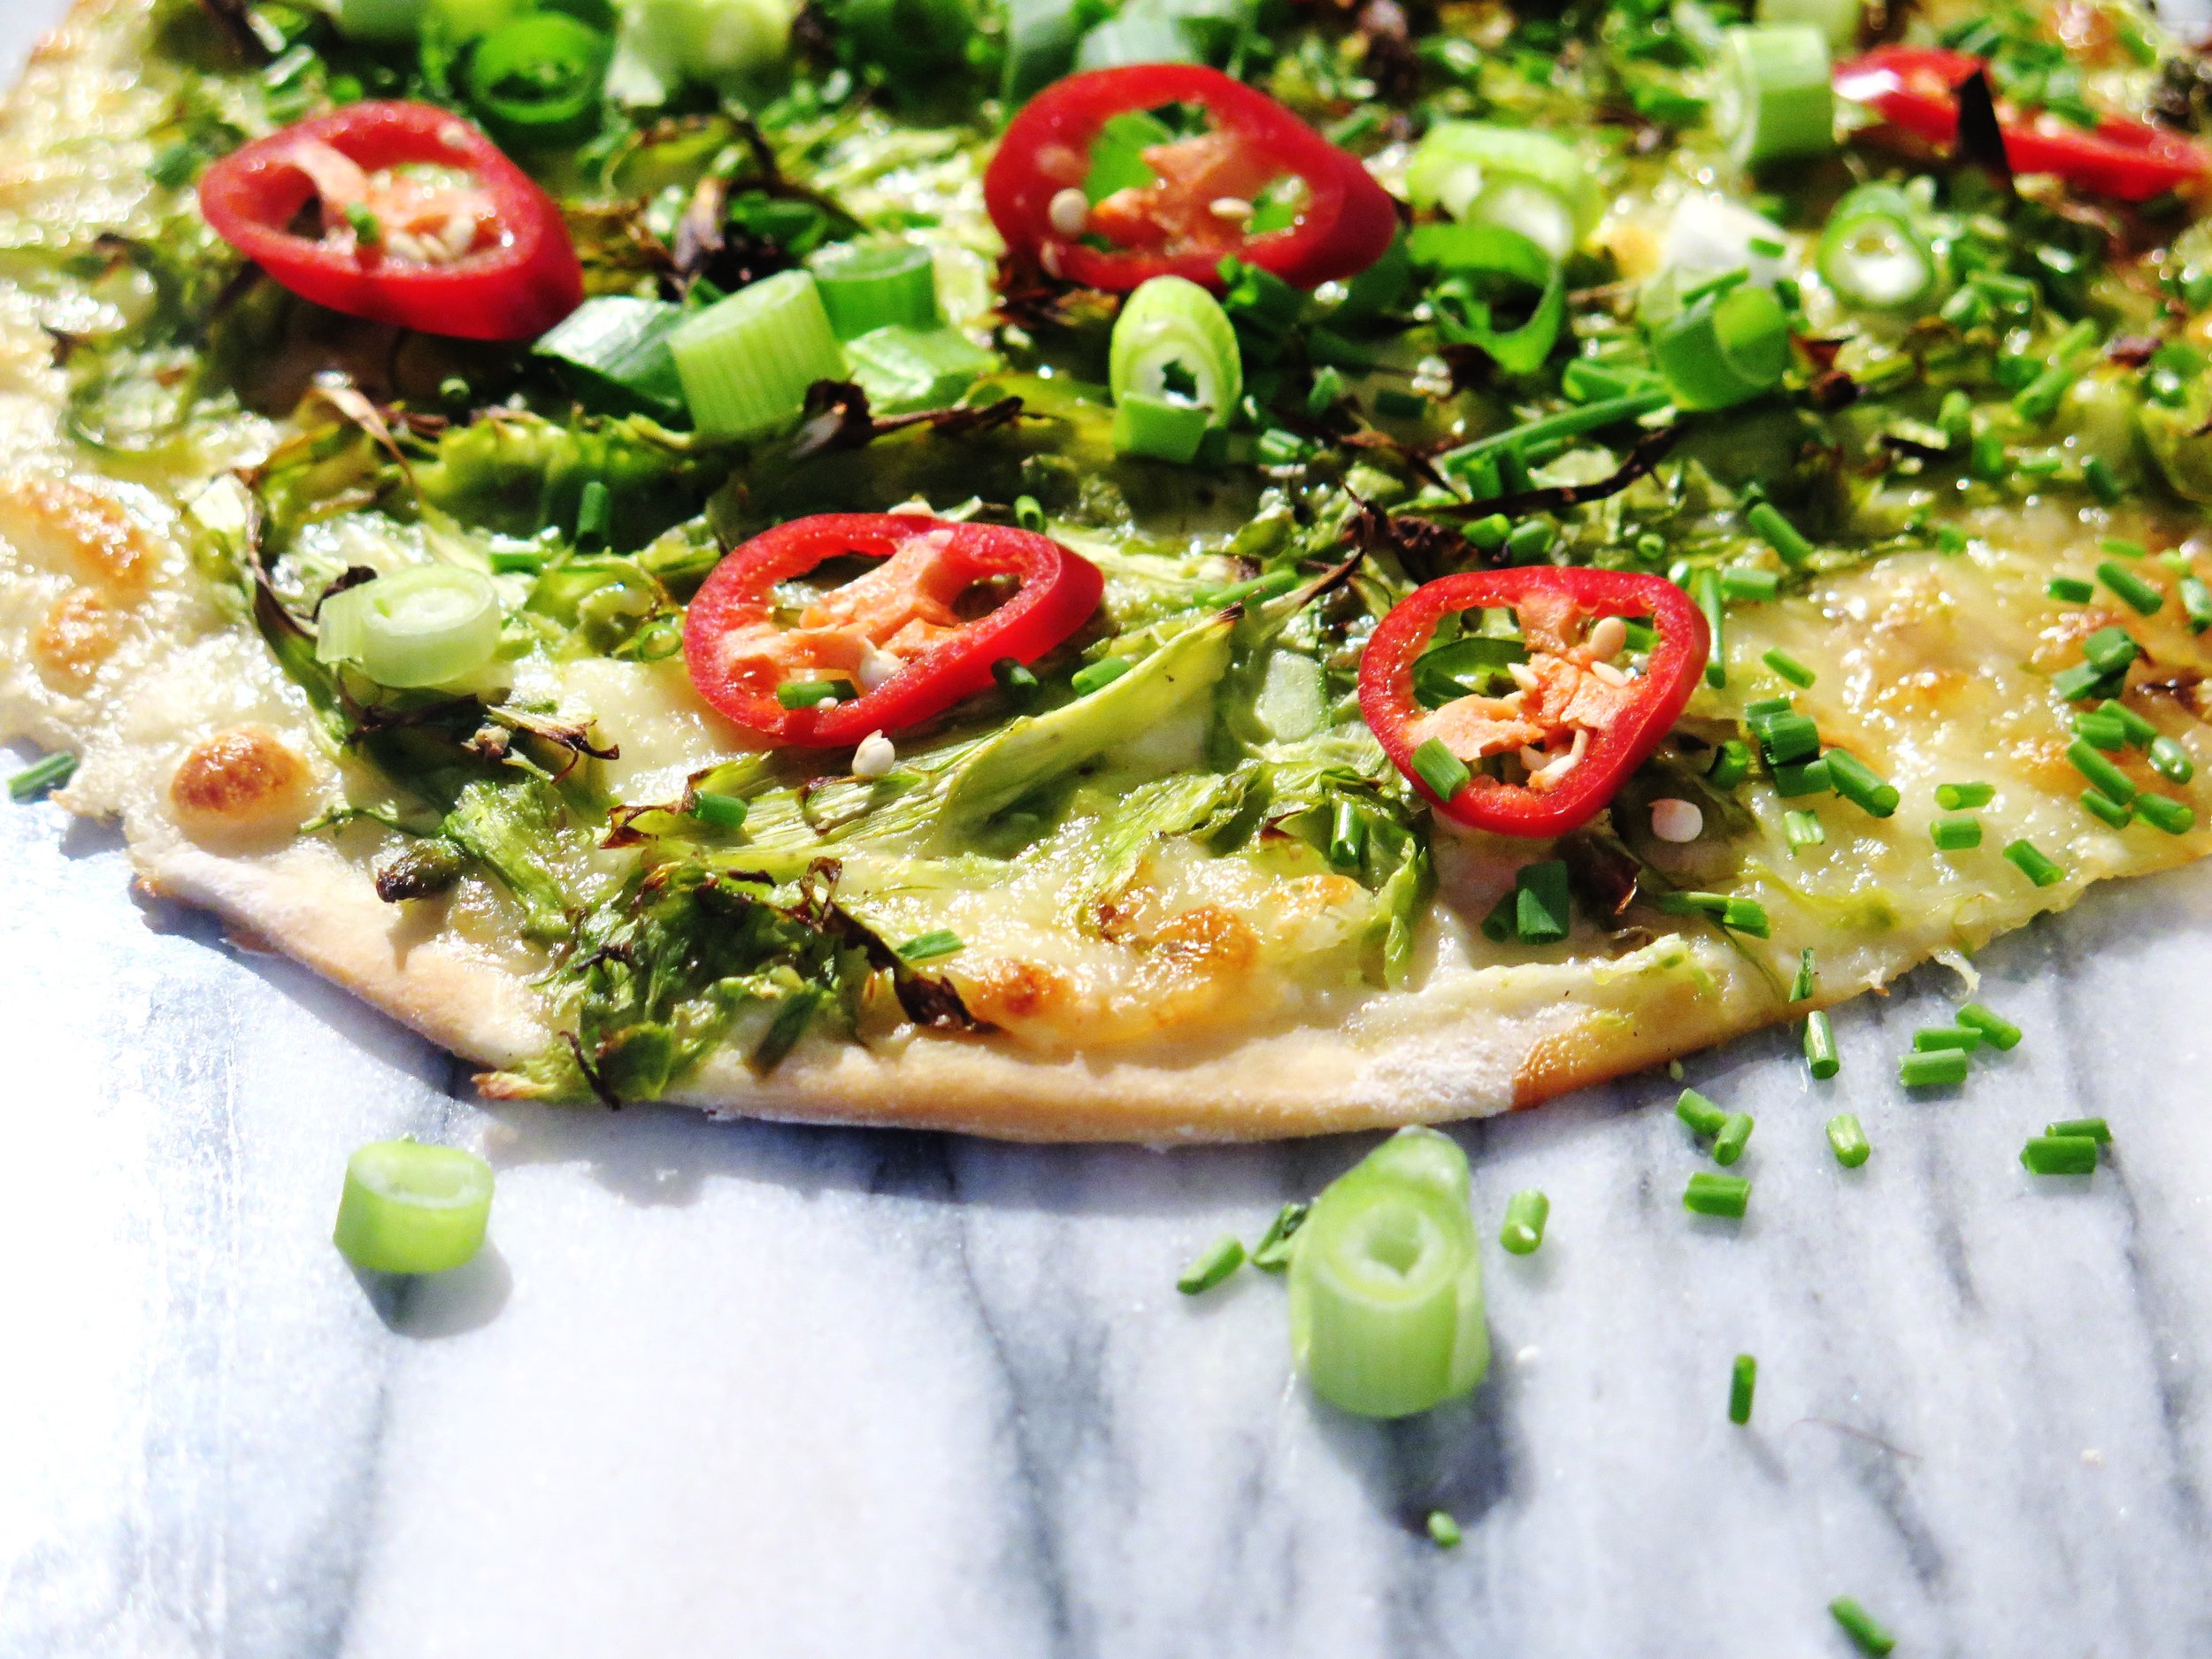
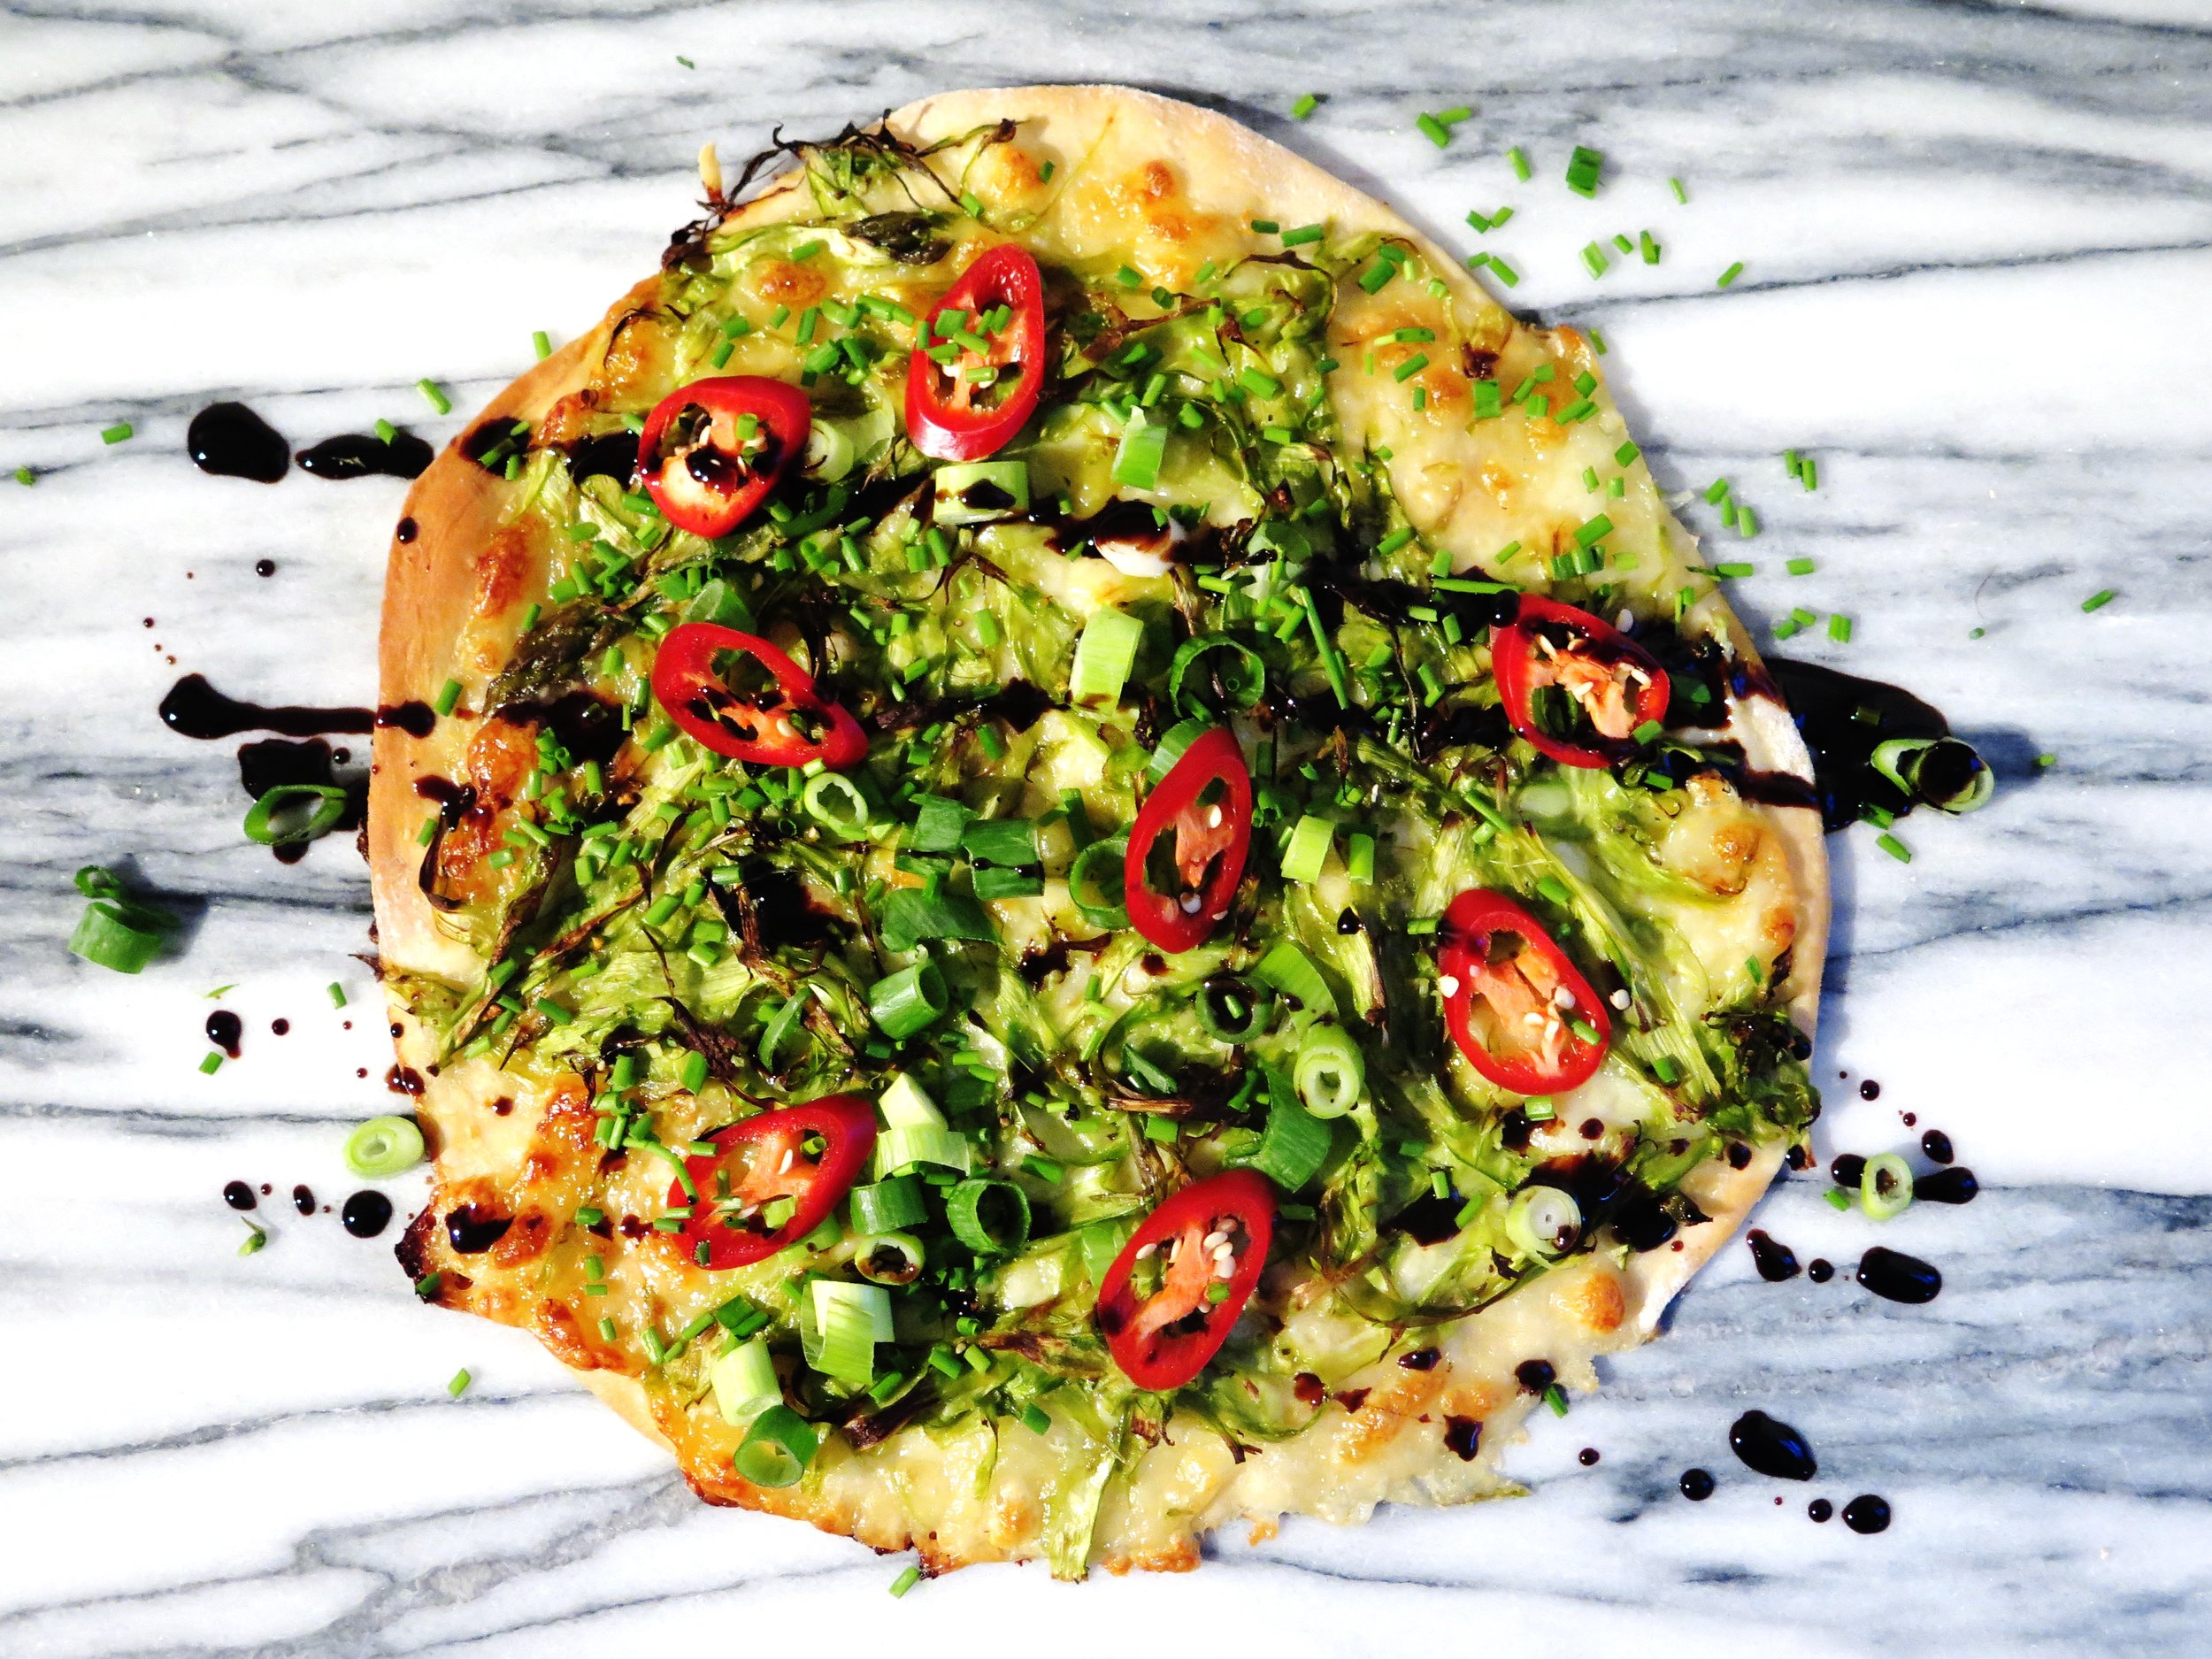
They’re crisp, thin, verdant, and fresh.

Quick Asparagus & Parmesan Pizza

I don’t believe in barren crusts or meanness so the ingredients are abundant and go right up to and beyond the edge of the base.

Quick Asparagus & Parmesan Pizza

I use spelt instead of plain flour (as usual) to reduce the GI level and add a nuttier more complex flavour to the dough.

Quick Asparagus & Parmesan Pizza

The added bonus of this recipe is that it is ridiculously quick.  Kneading is kept to a minimum (5 minutes) and the rising time is the shortest you’ll ever find for pizza dough – ½ hour.

Quick Asparagus & Parmesan Pizza

The balsamic-maple reduction is optional but I include it to add extra caramelised sweetness, extra tang and a touch of drama.

Quick Asparagus & Parmesan Pizza

Quick Asparagus & Parmesan Pizza

Quick Asparagus & Parmesan Pizza


Ingredients – makes 4 pizzas

Base

250ml warm water

3 tsp dried yeast (fast active yeast)

500g white spelt flour

1 ½ tsp salt

1 tbsp olive oil


Topping

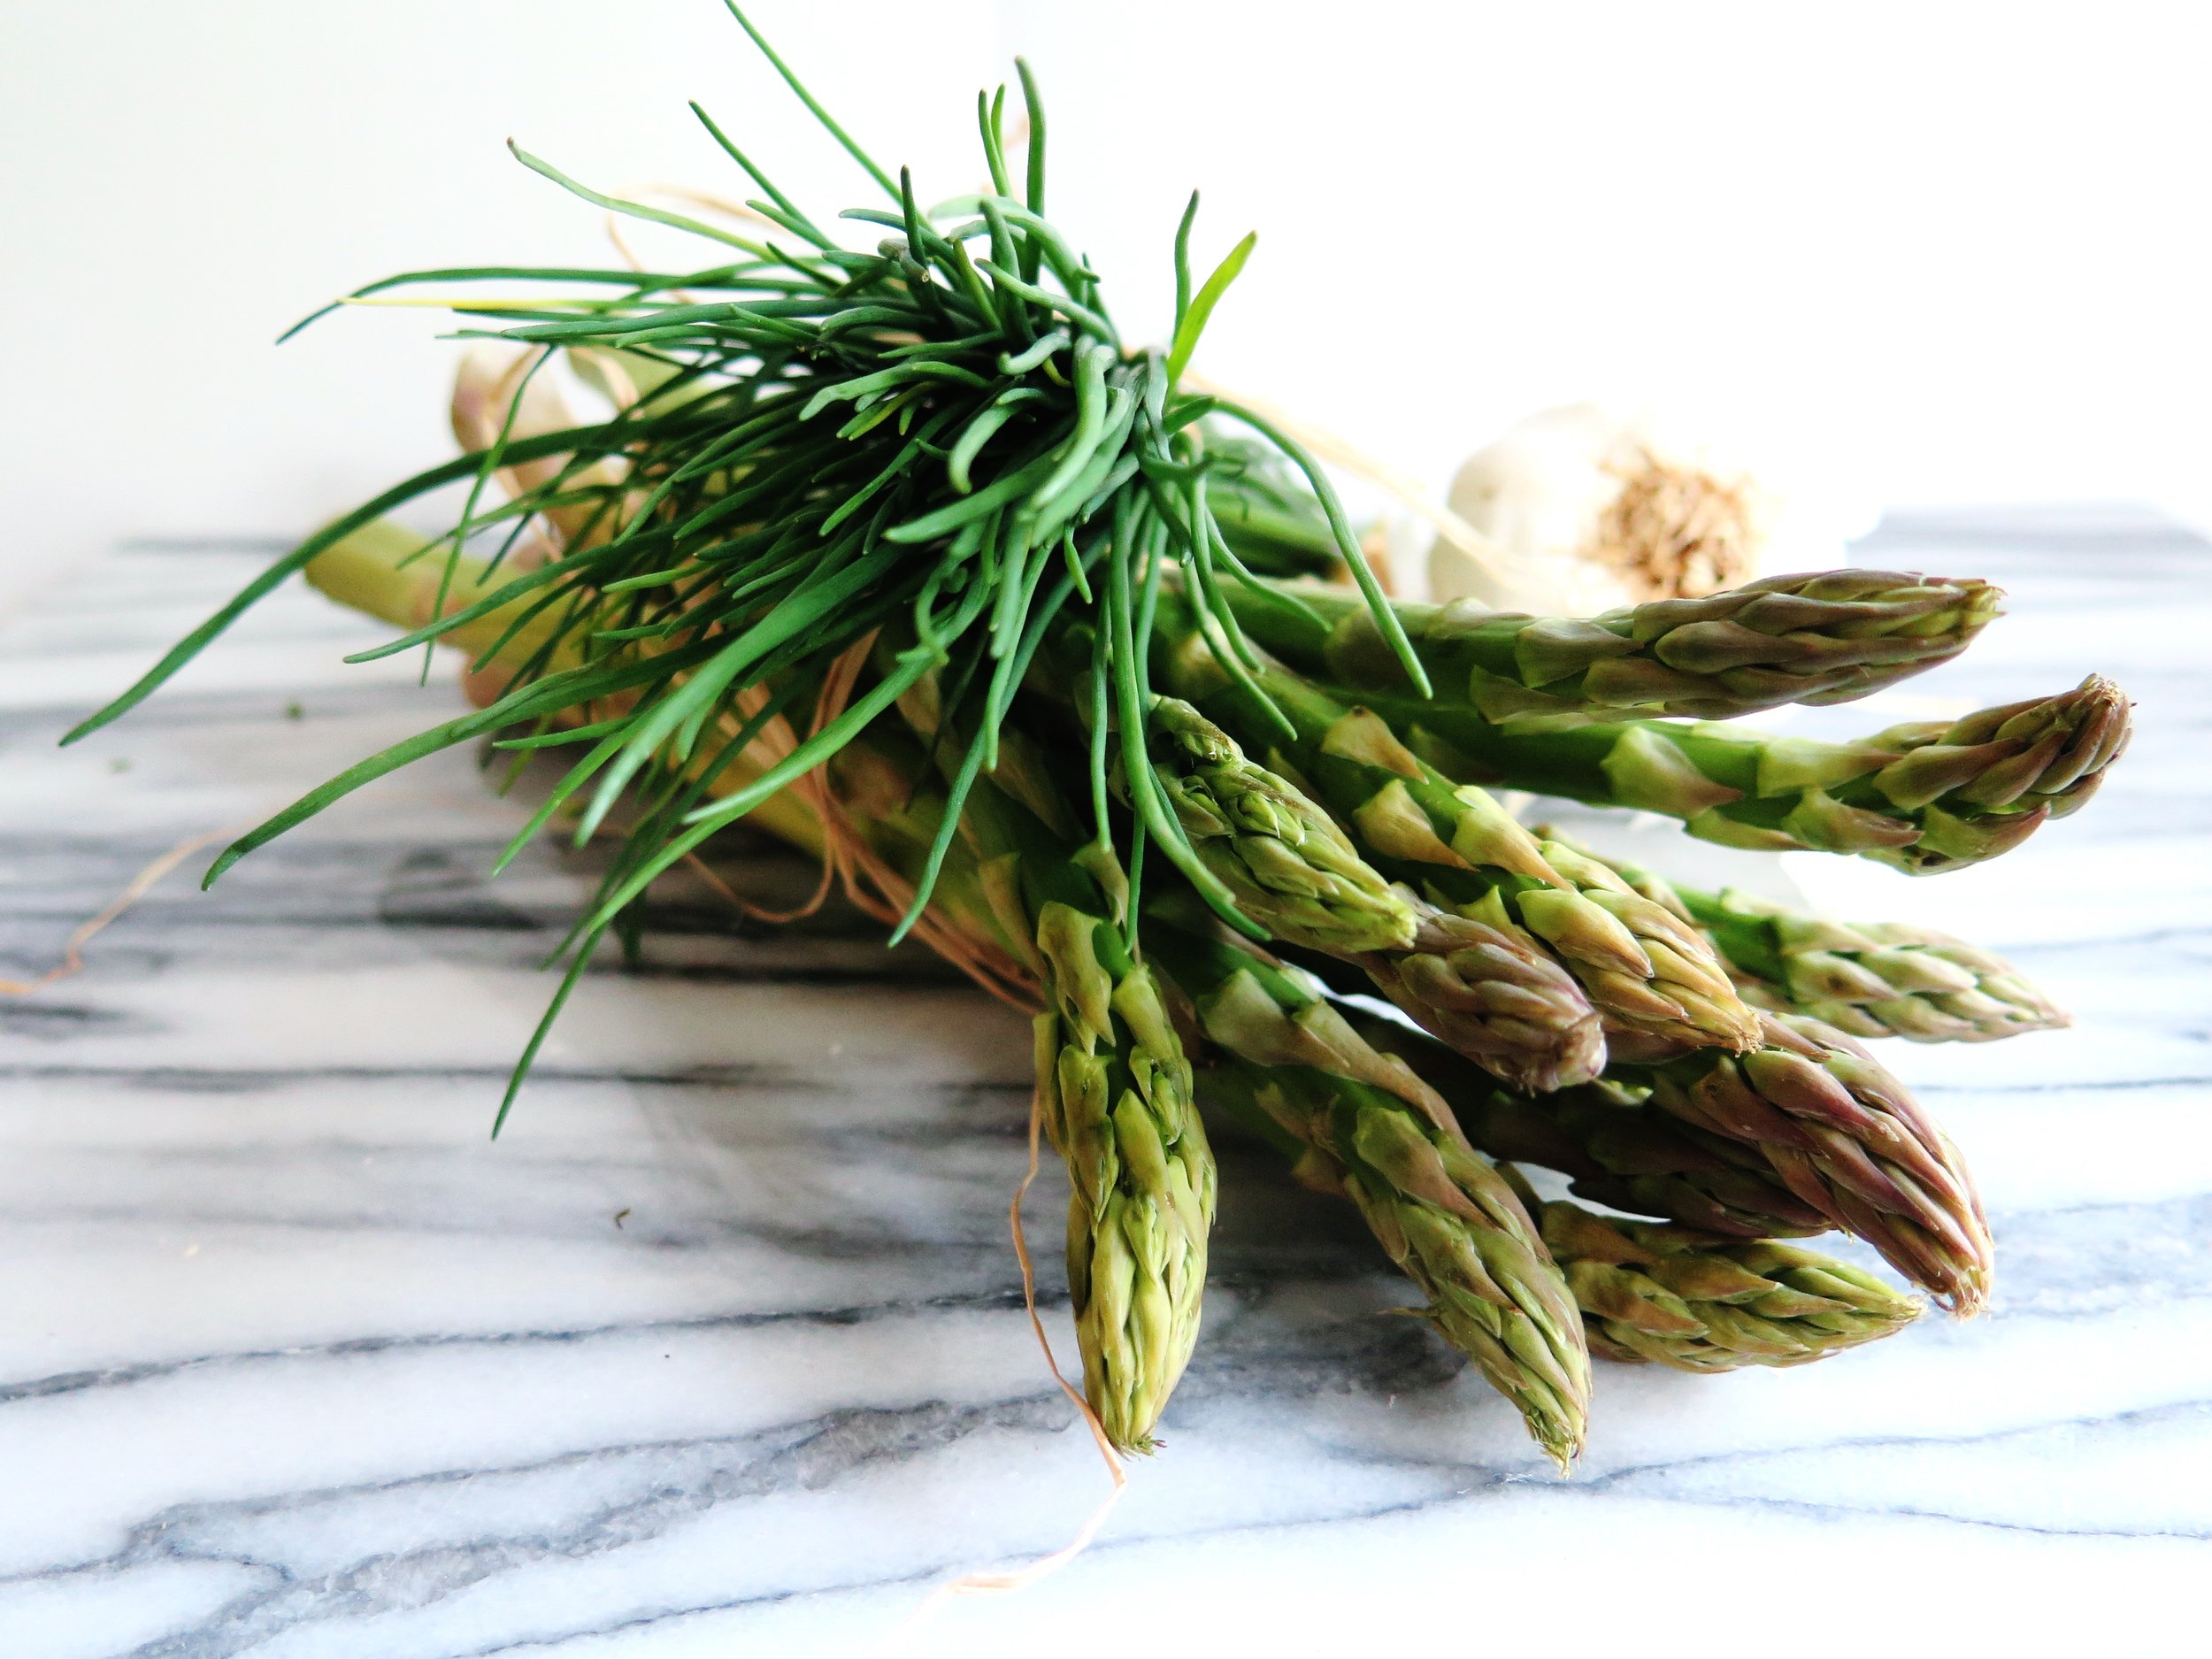
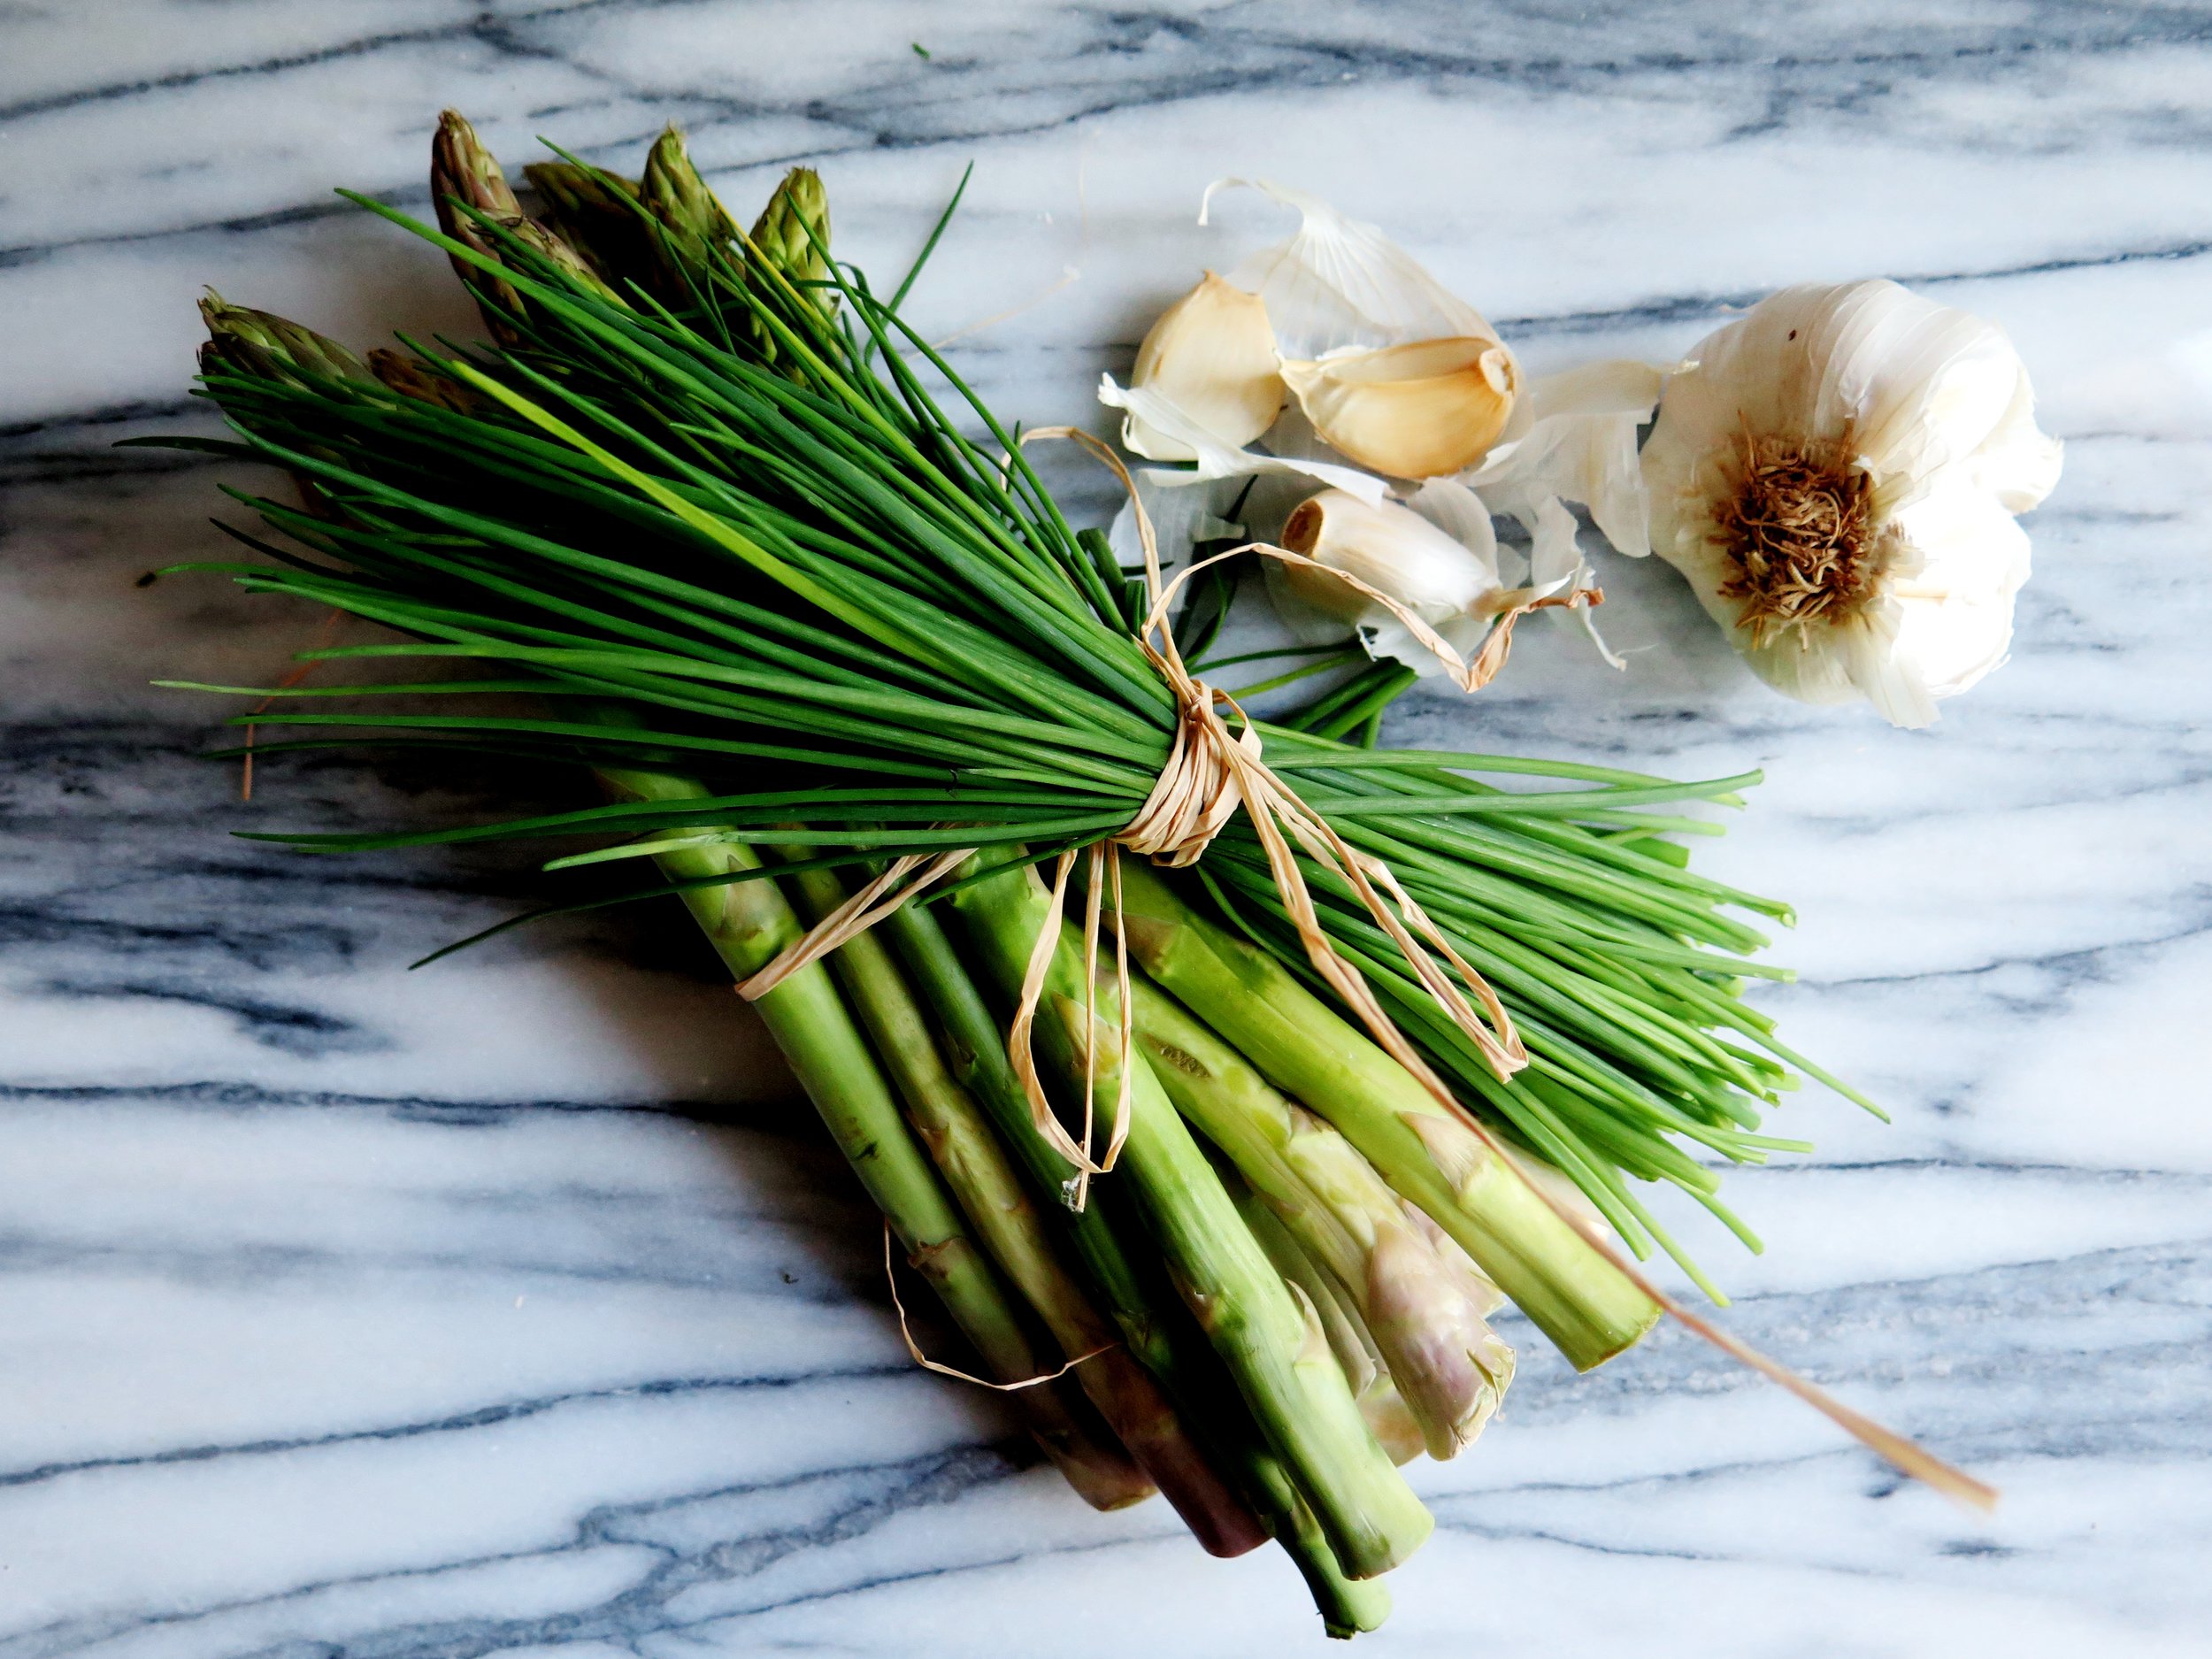
750g asparagus

30g garlic cloves, peeled and crushed

1 tbsp olive oil

1 1/4 tsp salt

Grated zest of ½ lemon

A few grinds of Pepper

400g mozzarella (4 balls), chopped finely into cubes

100g parmesan, grated

3 spring onions, thinly sliced

Small bunch of chives, finely chopped

2 red chillies (optional), finely sliced


2 large baking trays or 4 medium baking trays, greased and dusted with flour


Maple Balsamic Reduction (optional)

120ml balsamic vinegar

2 tsp maple syrup


Method

  1. Heat oven to 120˚C for 5 minutes then switch it off.
  2. In the bowl of a mixer (or large bowl if making by hand) pour in warm water and sprinkle yeast over it. Allow to stand for 5 minutes for the yeast to activate.
  3. Stir in flour, salt and oil. Knead by hand for 5 minutes on a lightly floured surface, or in a machine fitted with a dough hook for 5 minutes until the dough is smooth and when you press your thumb into it, it bounces back up.
  4. Divide dough into two and place each half in a lightly oiled bowl. Cover with cling film and place in warmed oven.  Allow to rise for 30 minutes or until doubled, then remove from oven and preheat it to its highest temperature, usually 250˚C.
  5. While the dough is rising, use a vegetable peeler to shave the asparagus: place the asparagus flat on a surface, and holding it at the woody end, shave it from above the woody end to the top of the spear. I sometimes use the ends to make a stock for asparagus risotto.
  6. Place the ribbons in a bowl and mix with garlic, oil, salt, lemon zest and pepper.
  7. Once risen, divide each half into two and roll out each quarter into a 0.5cm thick disc. Place on tray and scatter each disc with mozzarella, parmesan, and shaved asparagus.  Bake in oven for 15-20 minutes until golden and bubbling.
  8. Once baked, scatter with spring onions, chives, and chillies, if using. Drizzle with balsamic reduction, if desired, and serve immediately.


Maple Balsamic reduction

  1. Boil balsamic and maple syrup together over a high heat for about 5 minutes until it thickens slightly to consistency more like that of pure maple syrup. Allow to cool for 1 minute, and drizzle over pizzas.

Quick Asparagus & Parmesan Pizza

Adapted from The Smitten Kitchen Cookbook

2 Comments

Summer Berry Lemon Curd Tarts

8 Comments

Summer Berry Lemon Curd Tarts

IMG_1078.jpg

Summer Berry Lemon Curd Tarts I endured school lunches for four years and then abandoned them. Waking up twenty minutes early to throw together a packed lunch seemed worth it at the time.  My school lunches weren’t even bad.  In fact, they were probably rather good – good enough to avoid having Jamie Oliver sniff his way into our school kitchen in pursuit of good TV.

IMG_1007

What turned me (and my stomach) resided in the stainless steel vats adjacent to the desserts:  pools of lurid yellow purulence (custard).

Summer Berry Lemon Curd Tarts


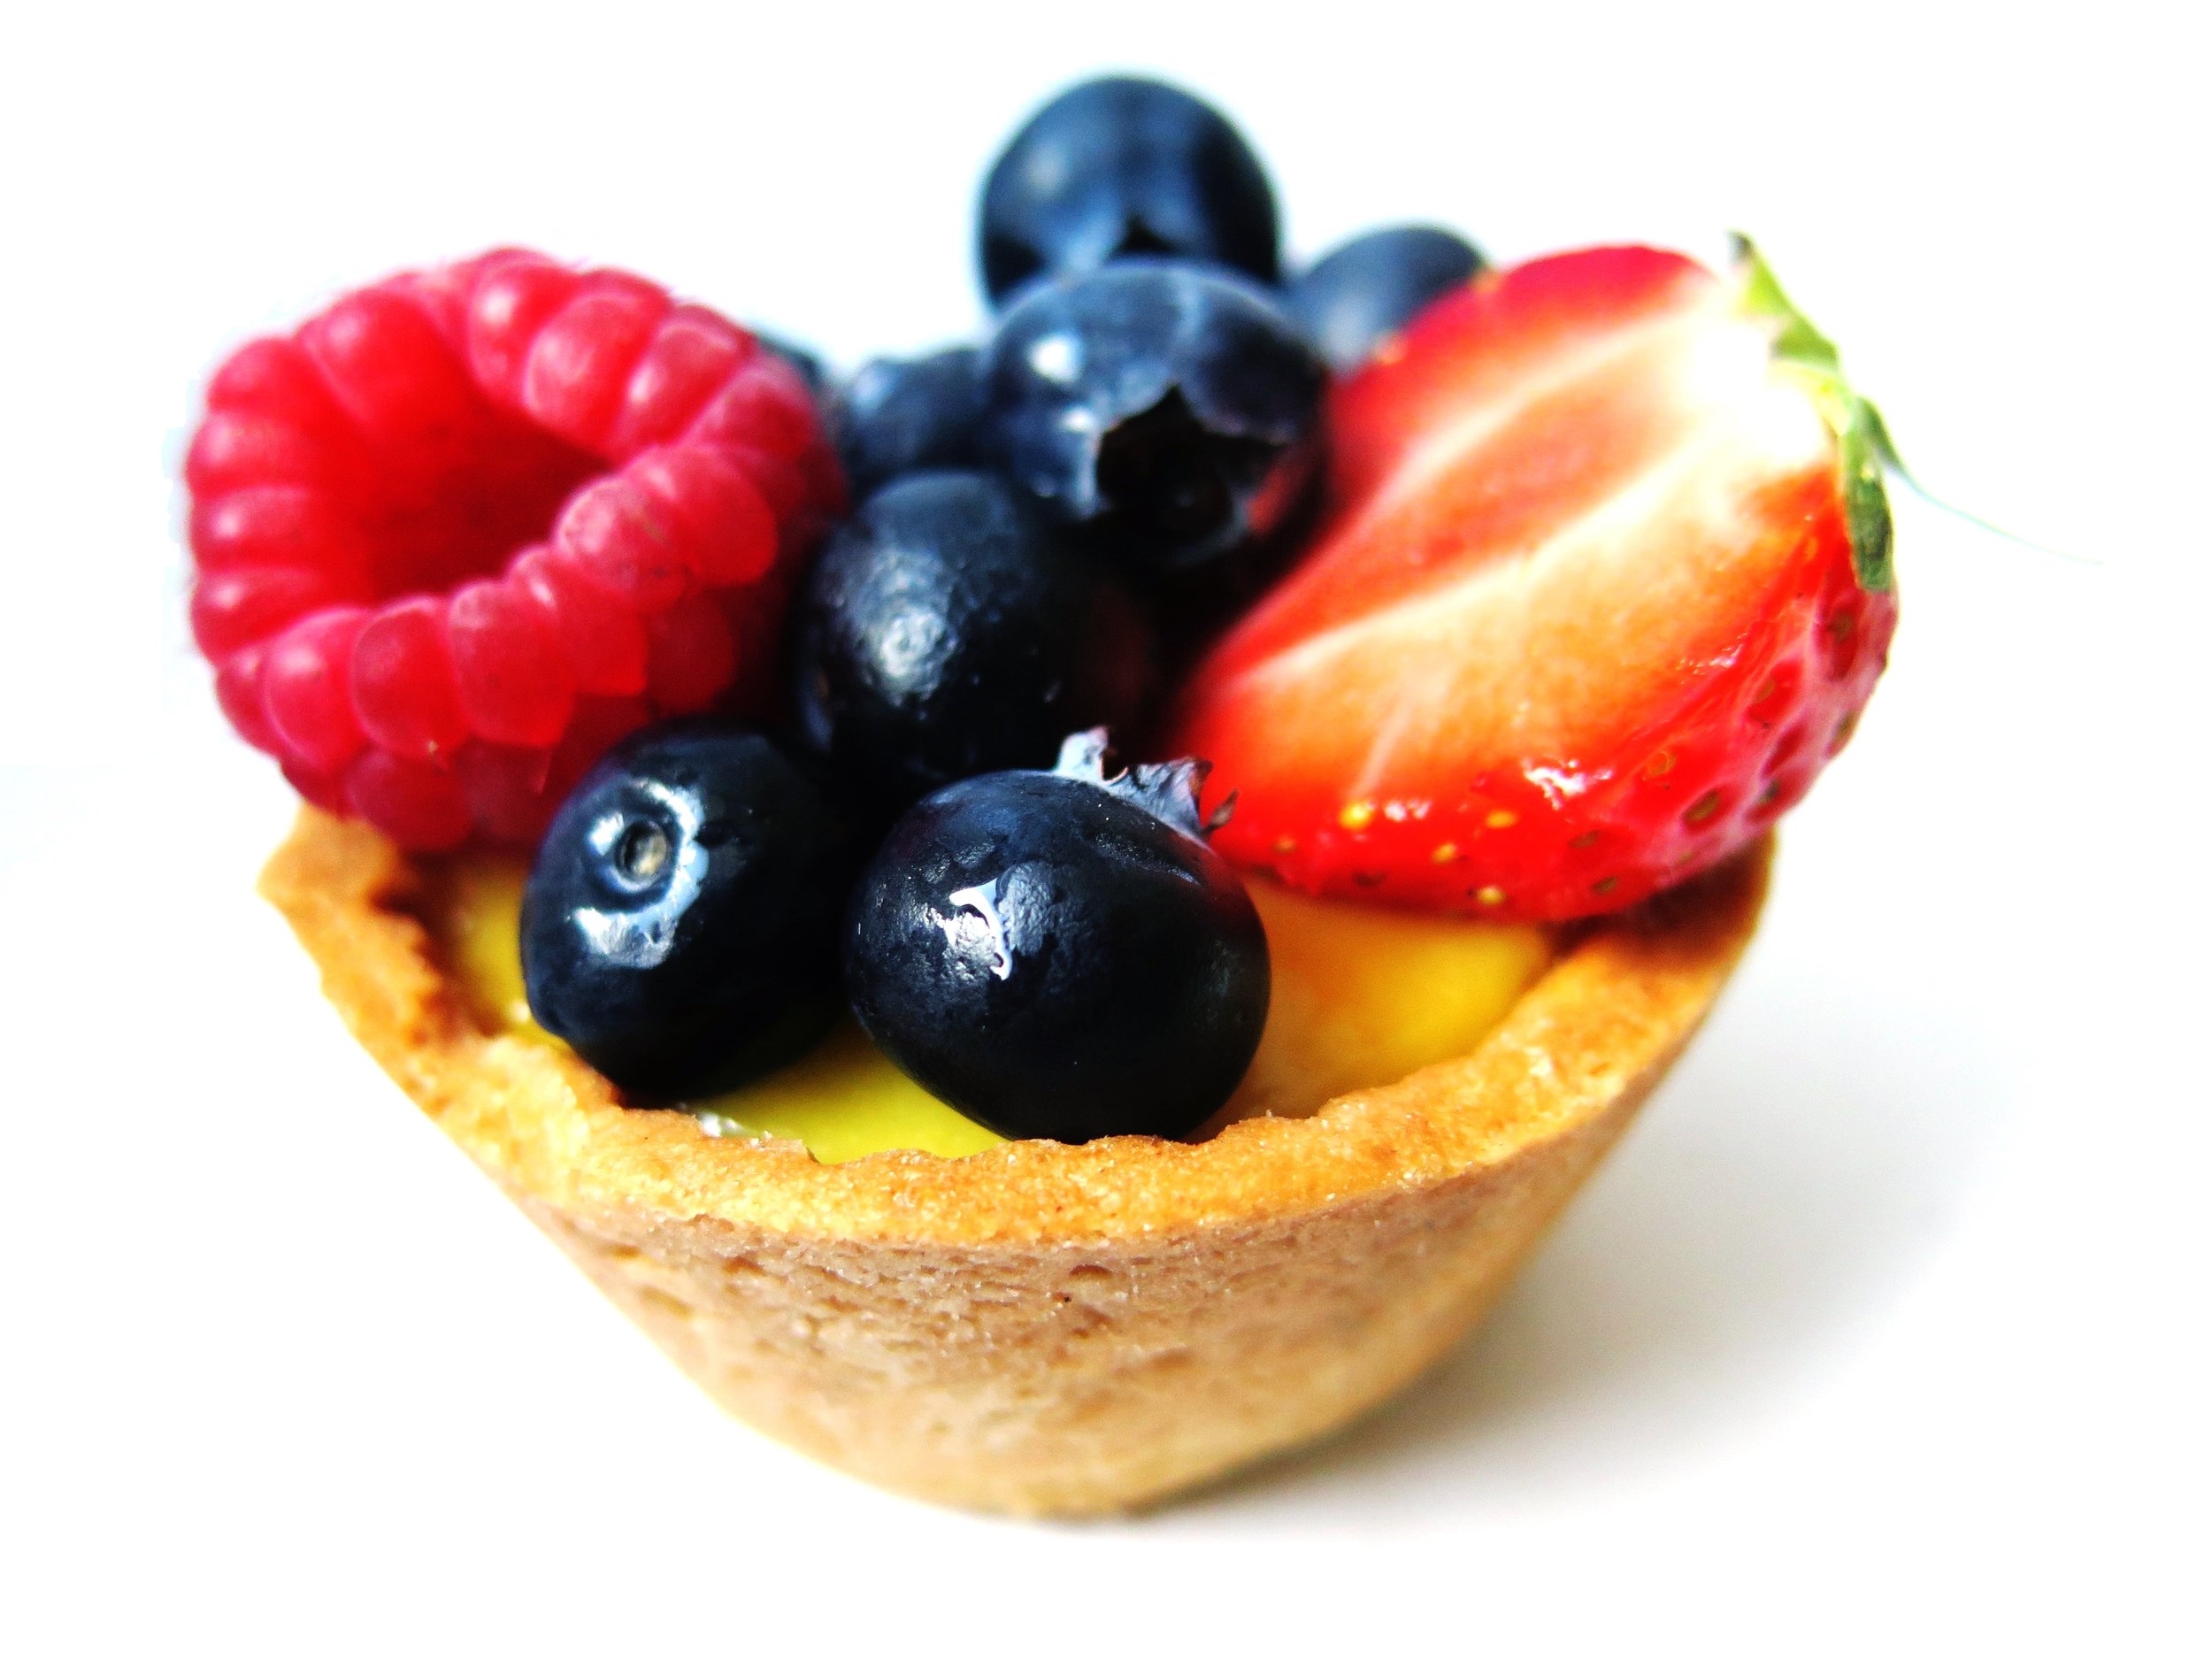
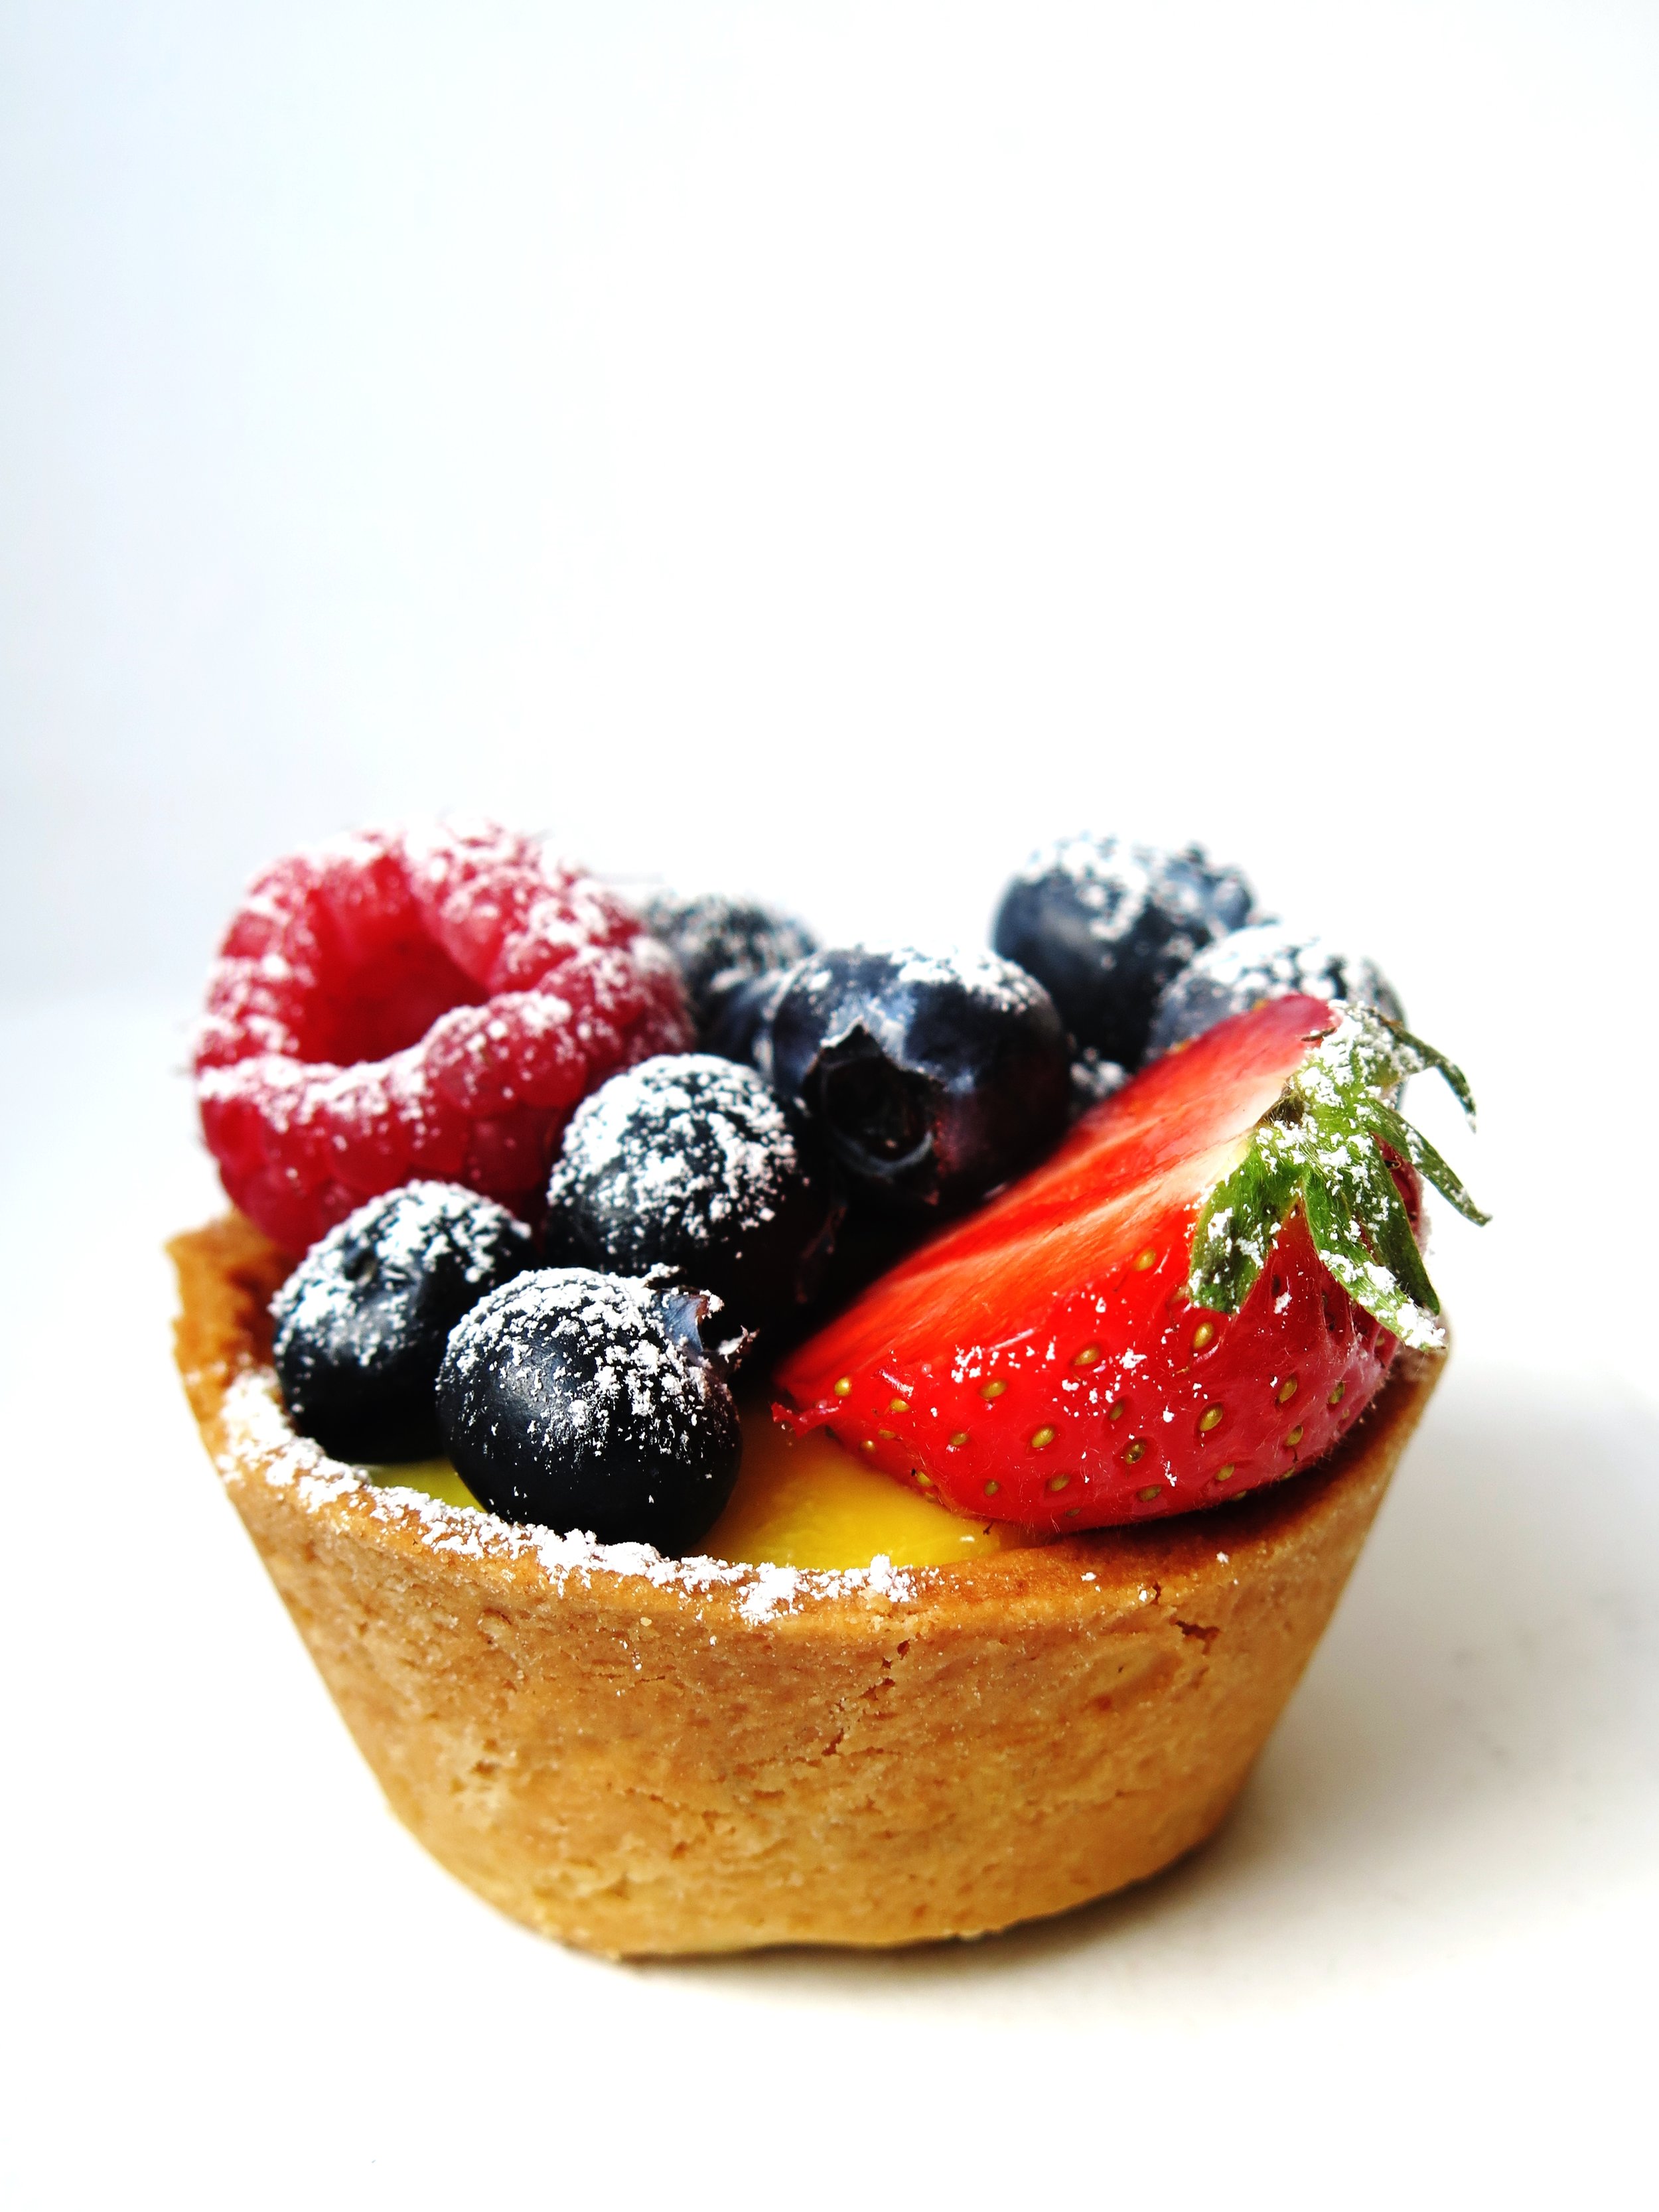
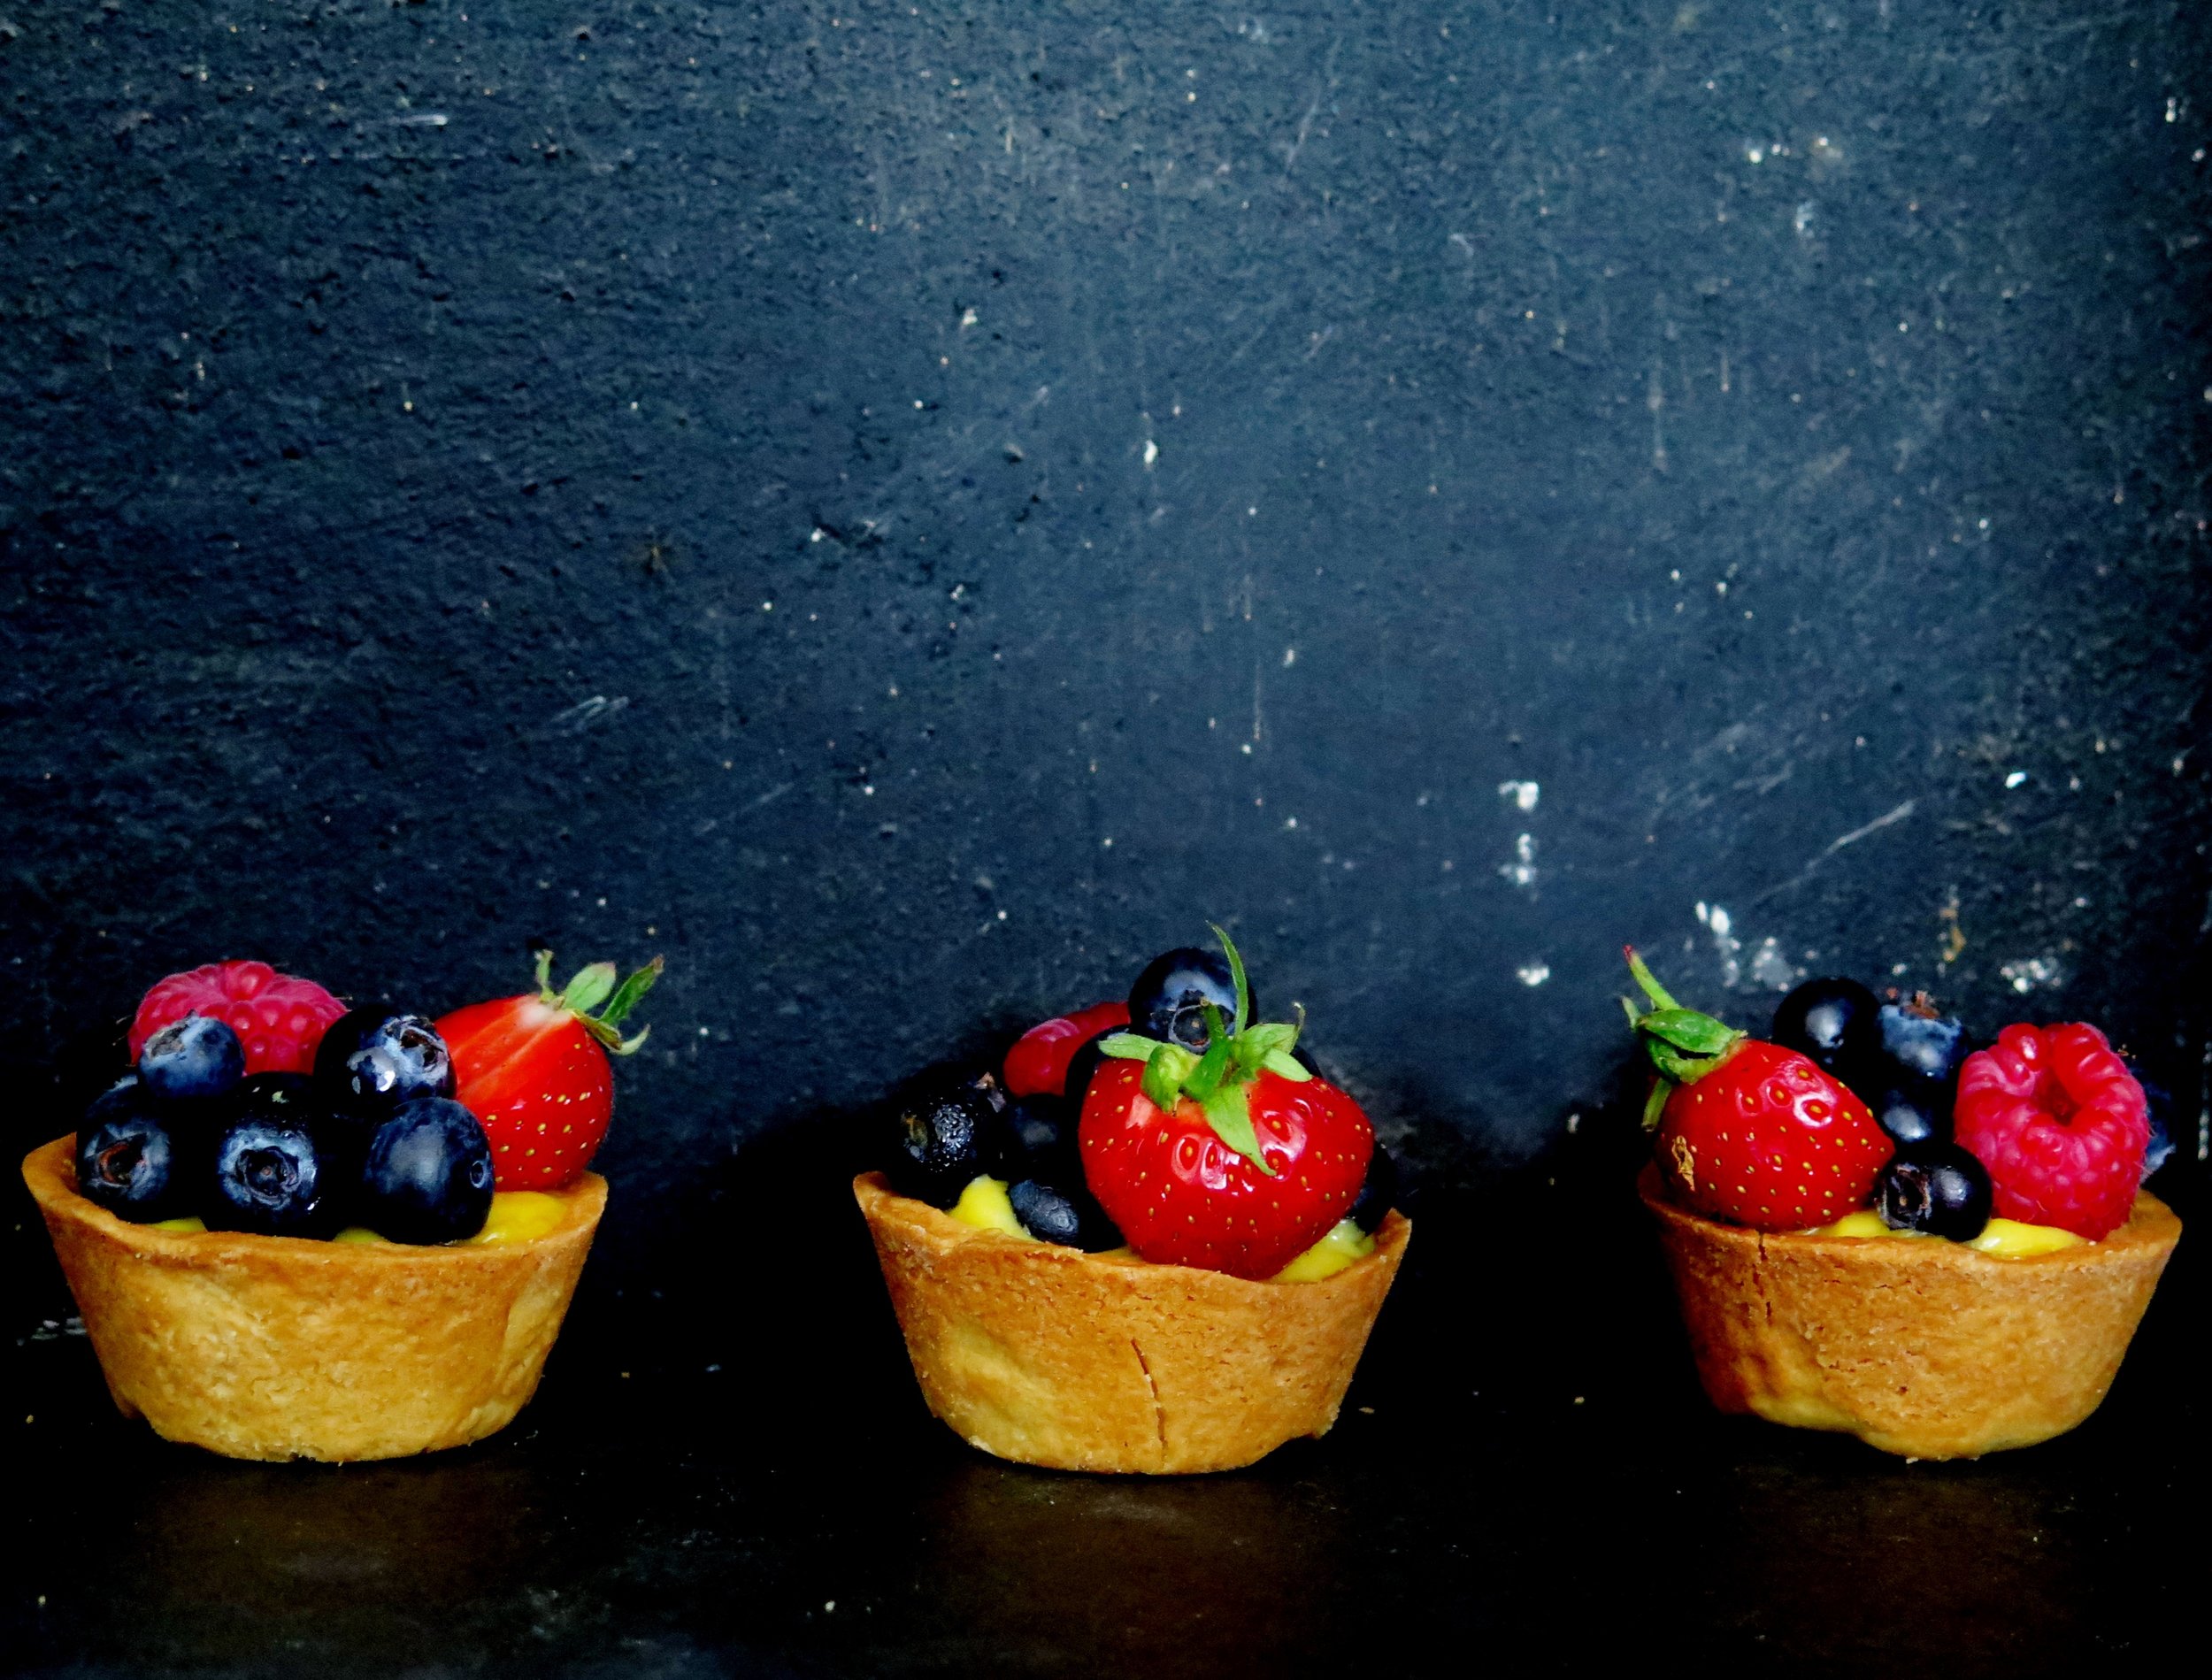
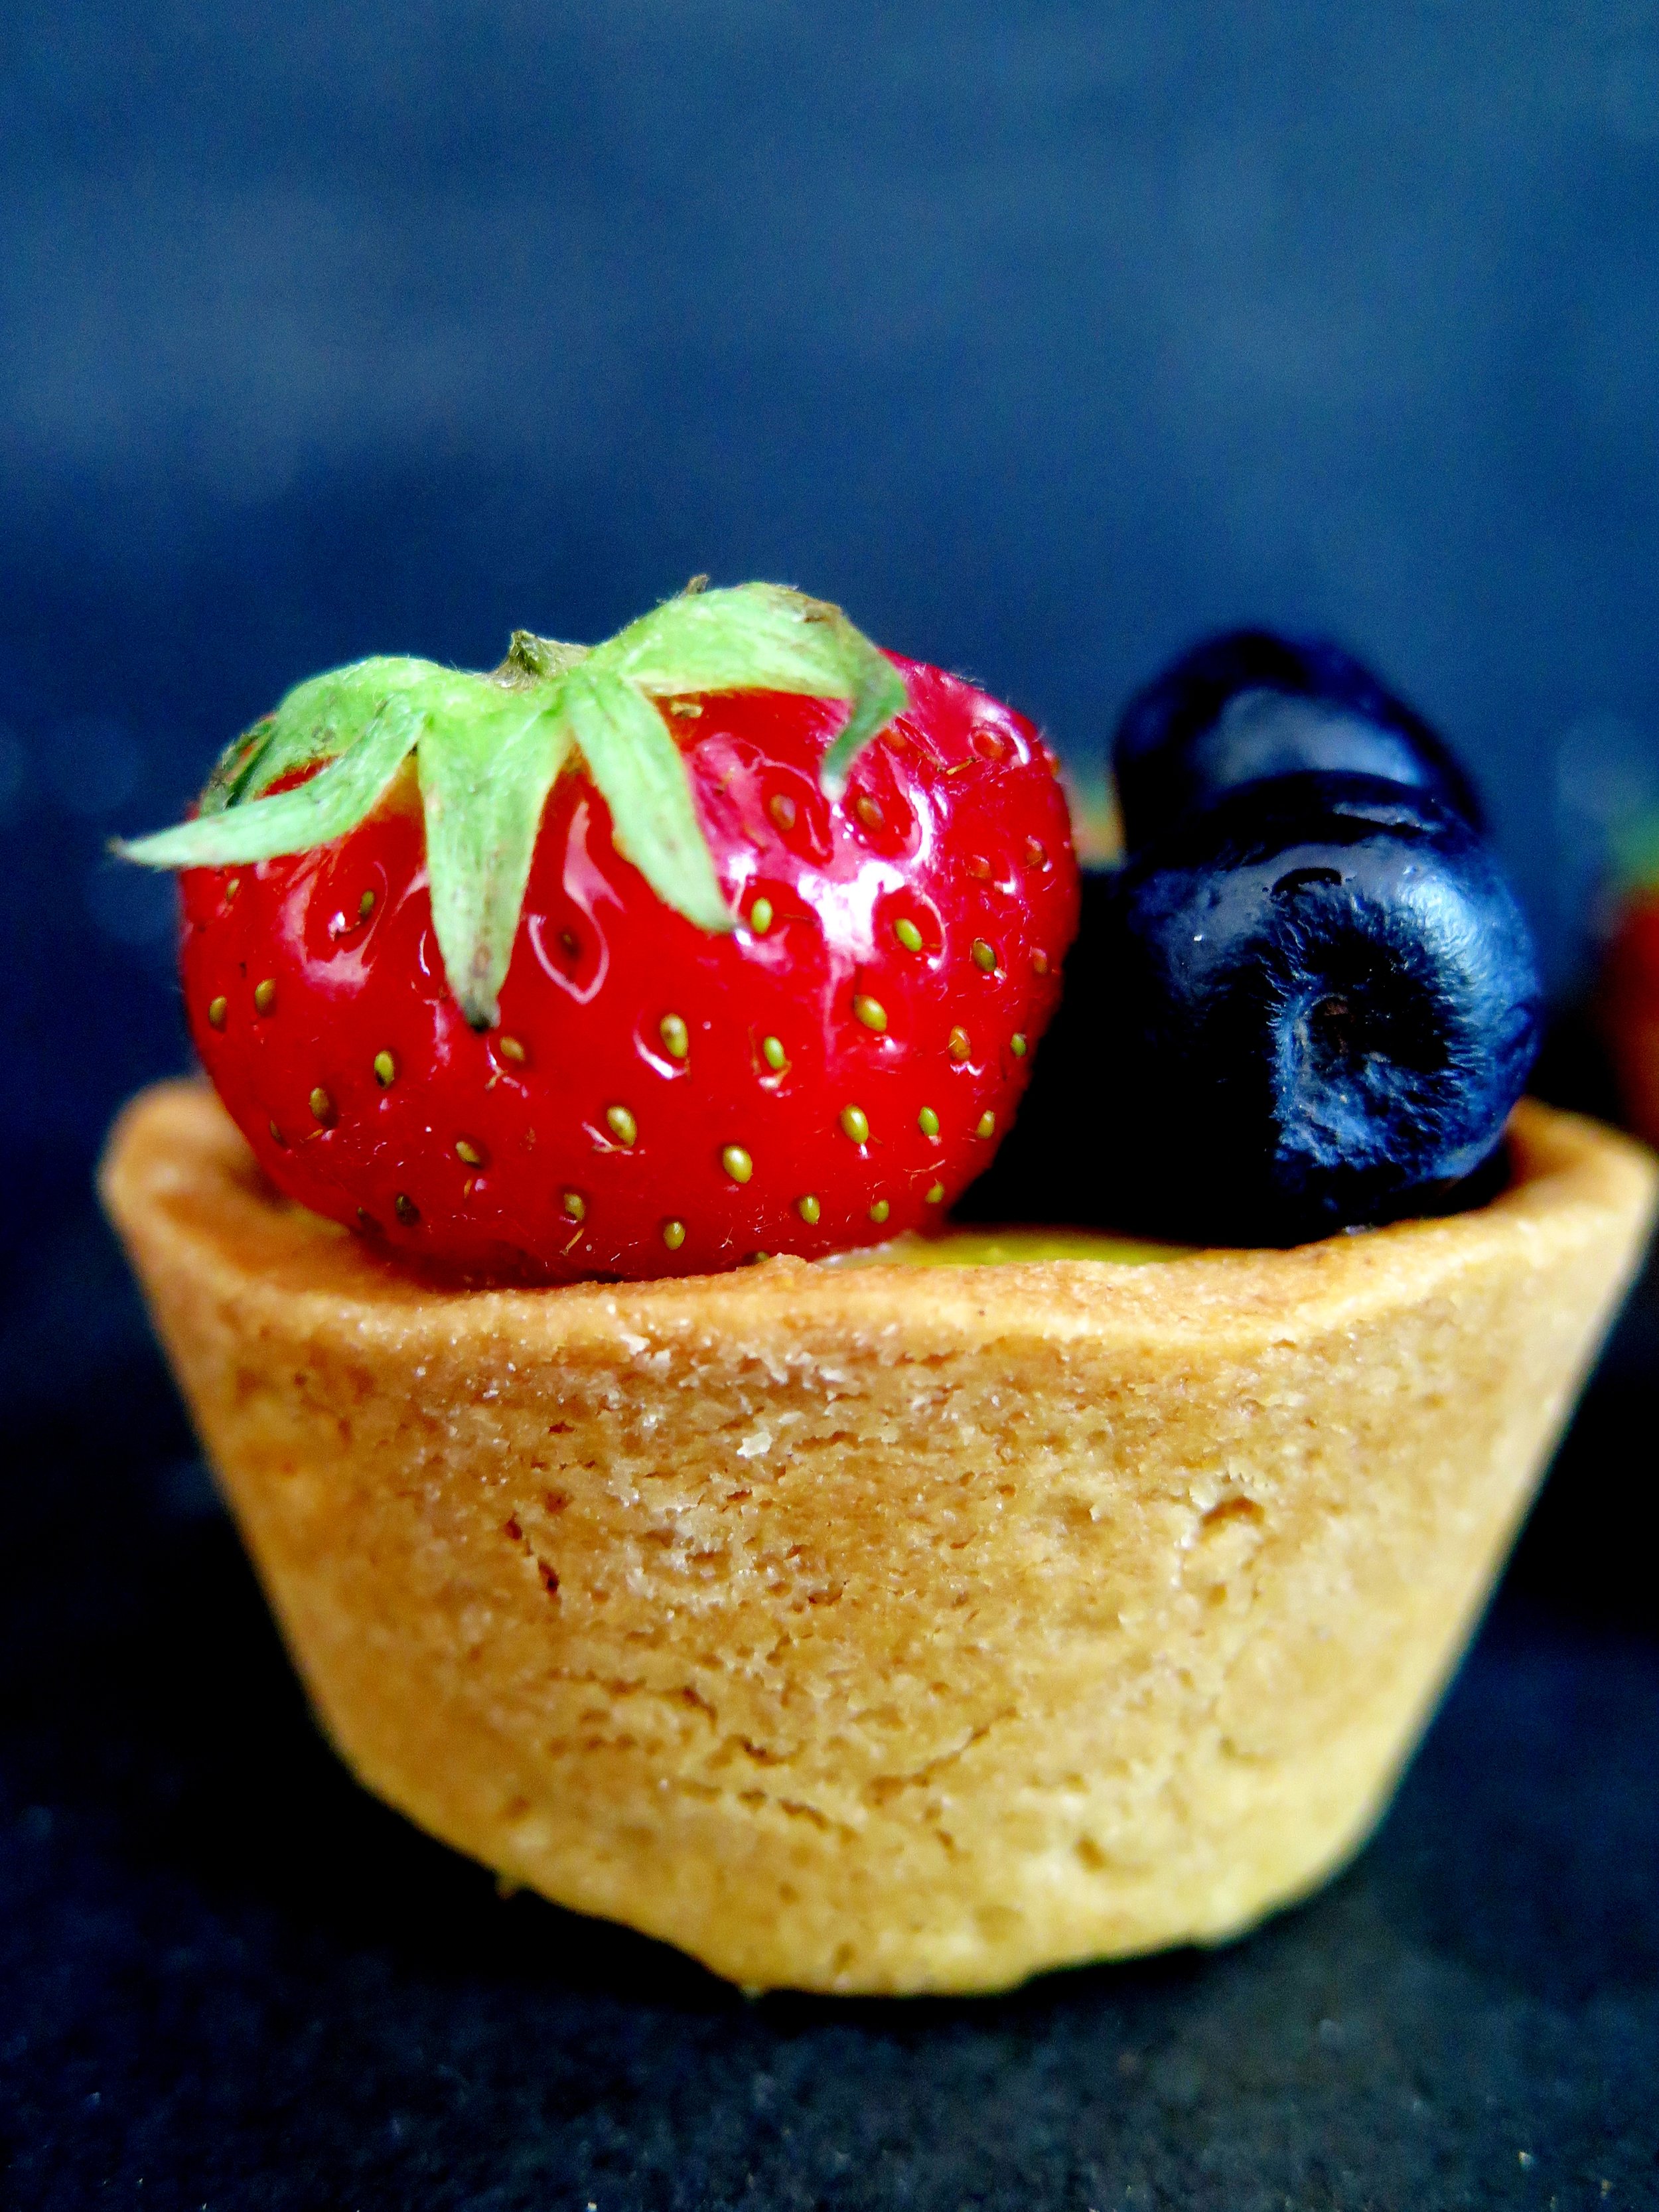
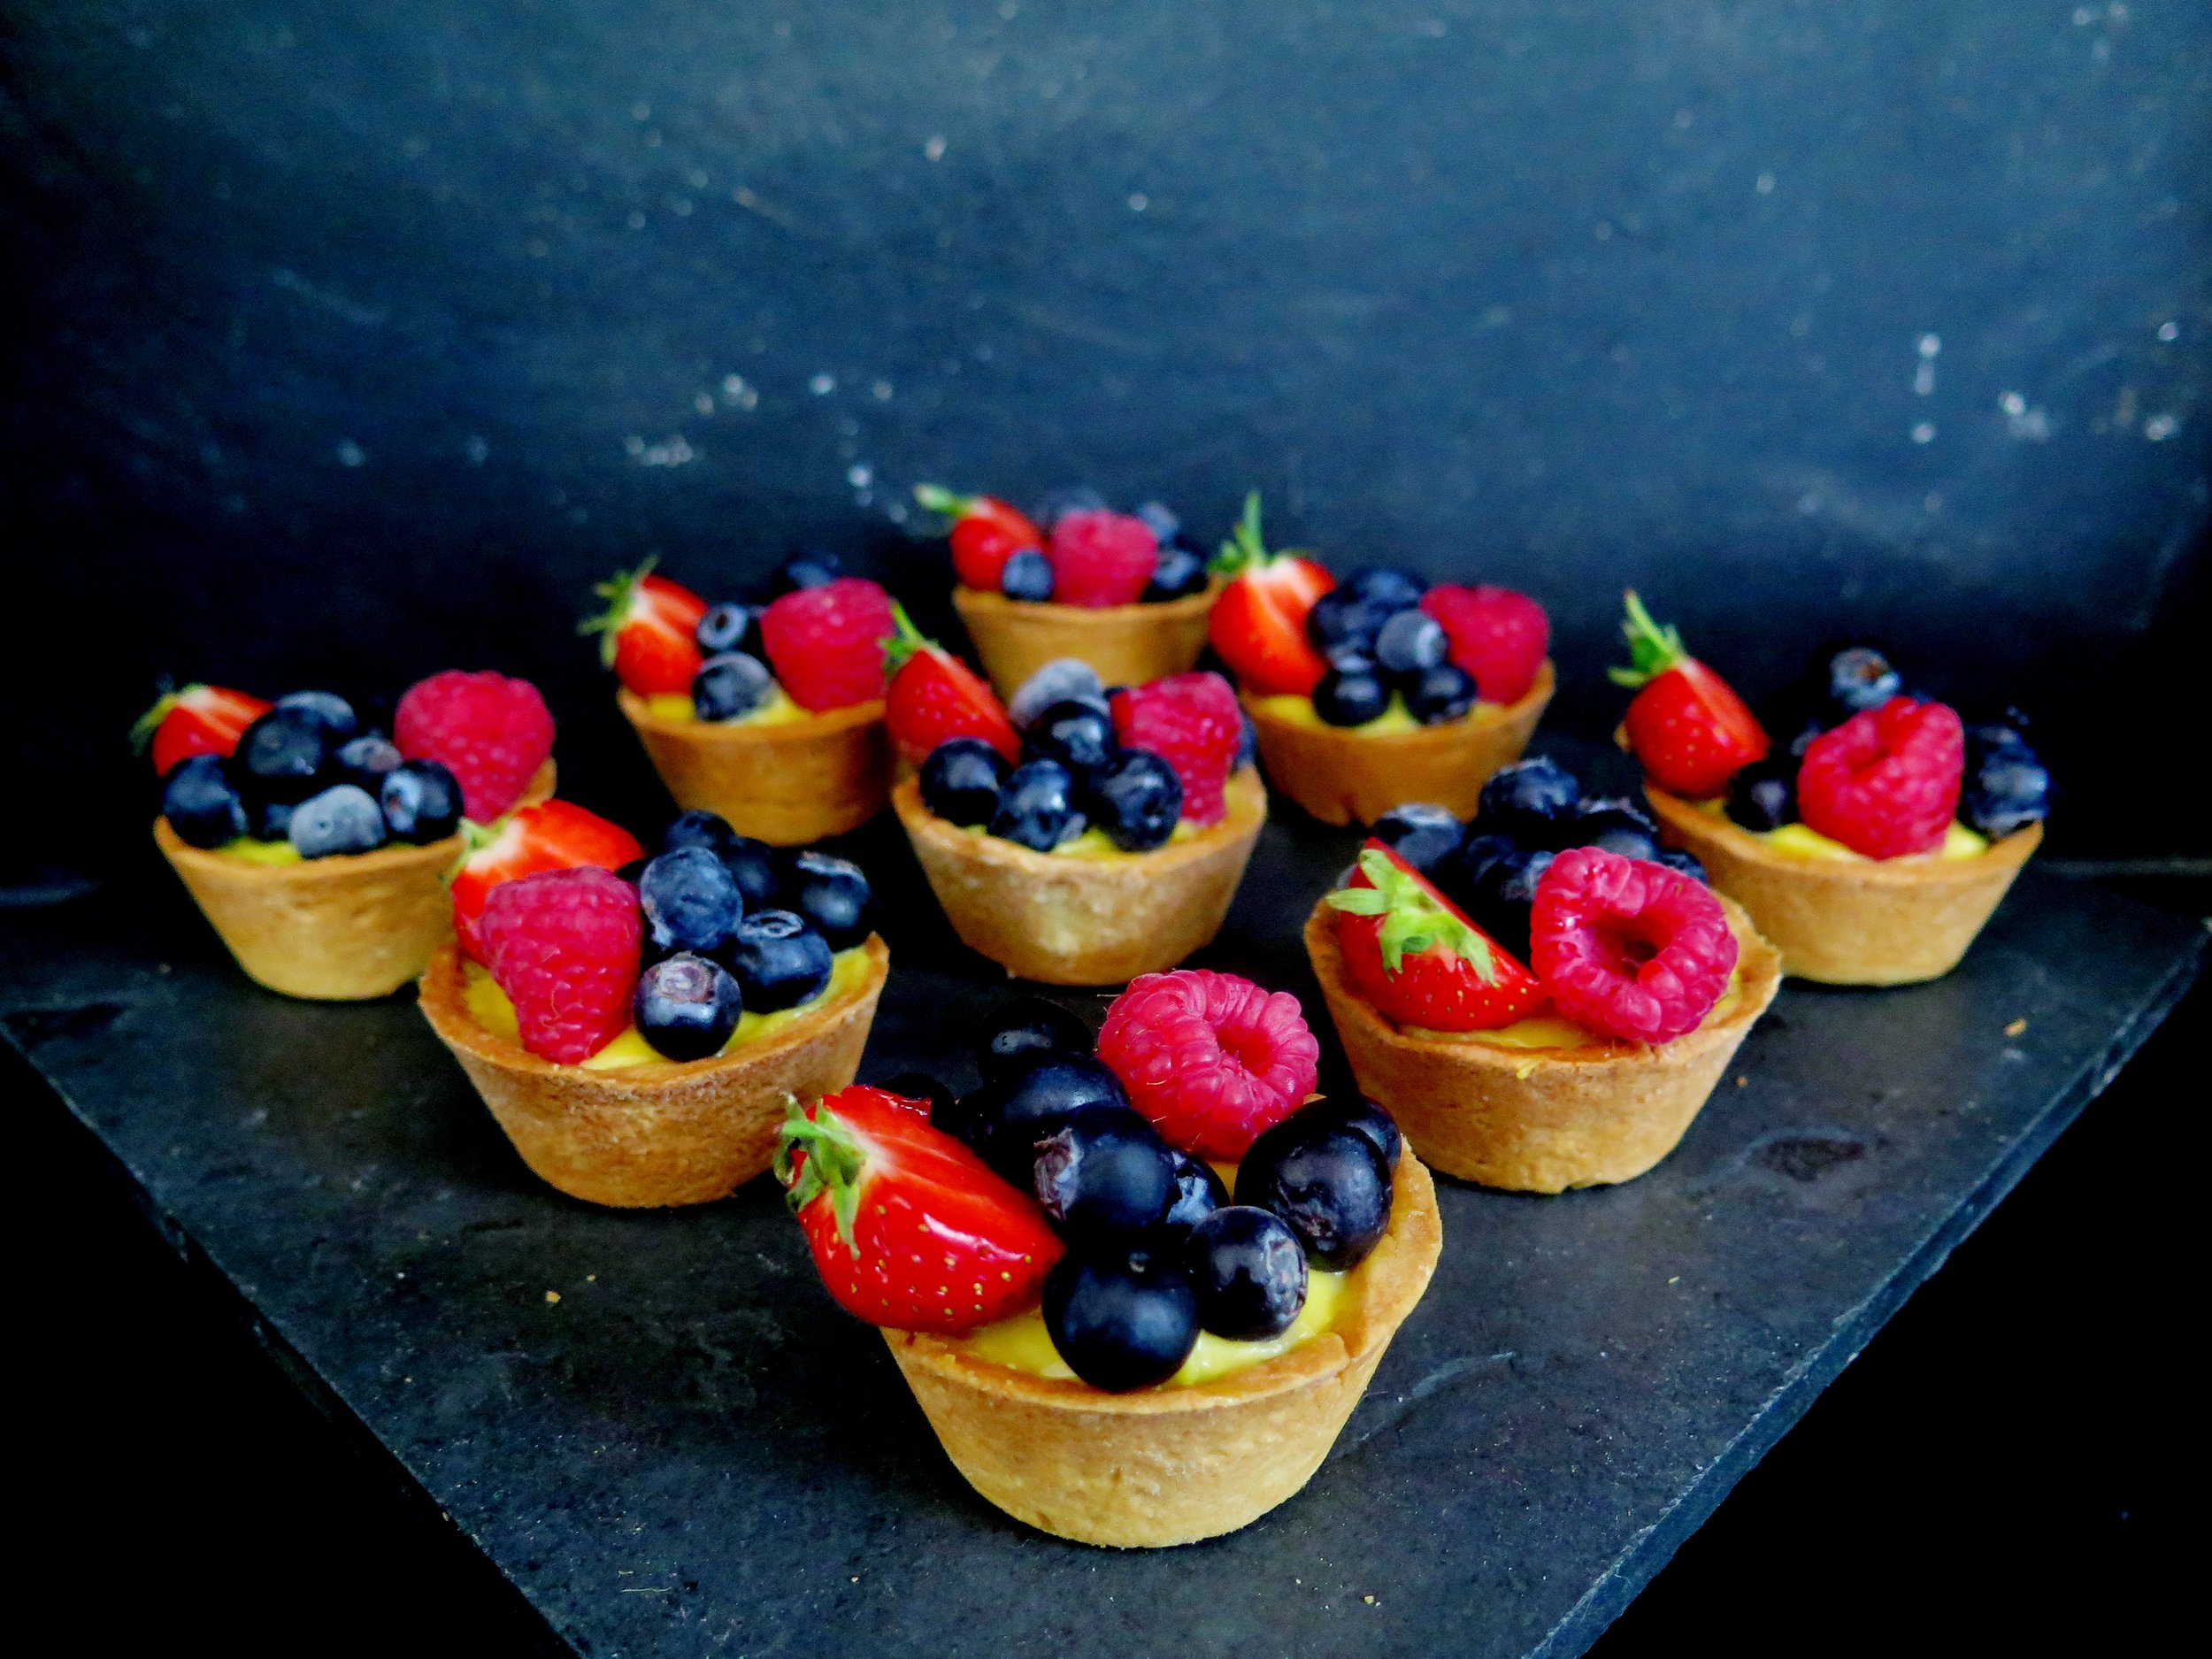
Notwithstanding my decade old aversion, I decided to venture into custard territory last week.  And I found my cure: lemon curd-filled tarts.

Summer Berry Lemon Curd Tarts

Summer Berry Lemon Curd Tarts


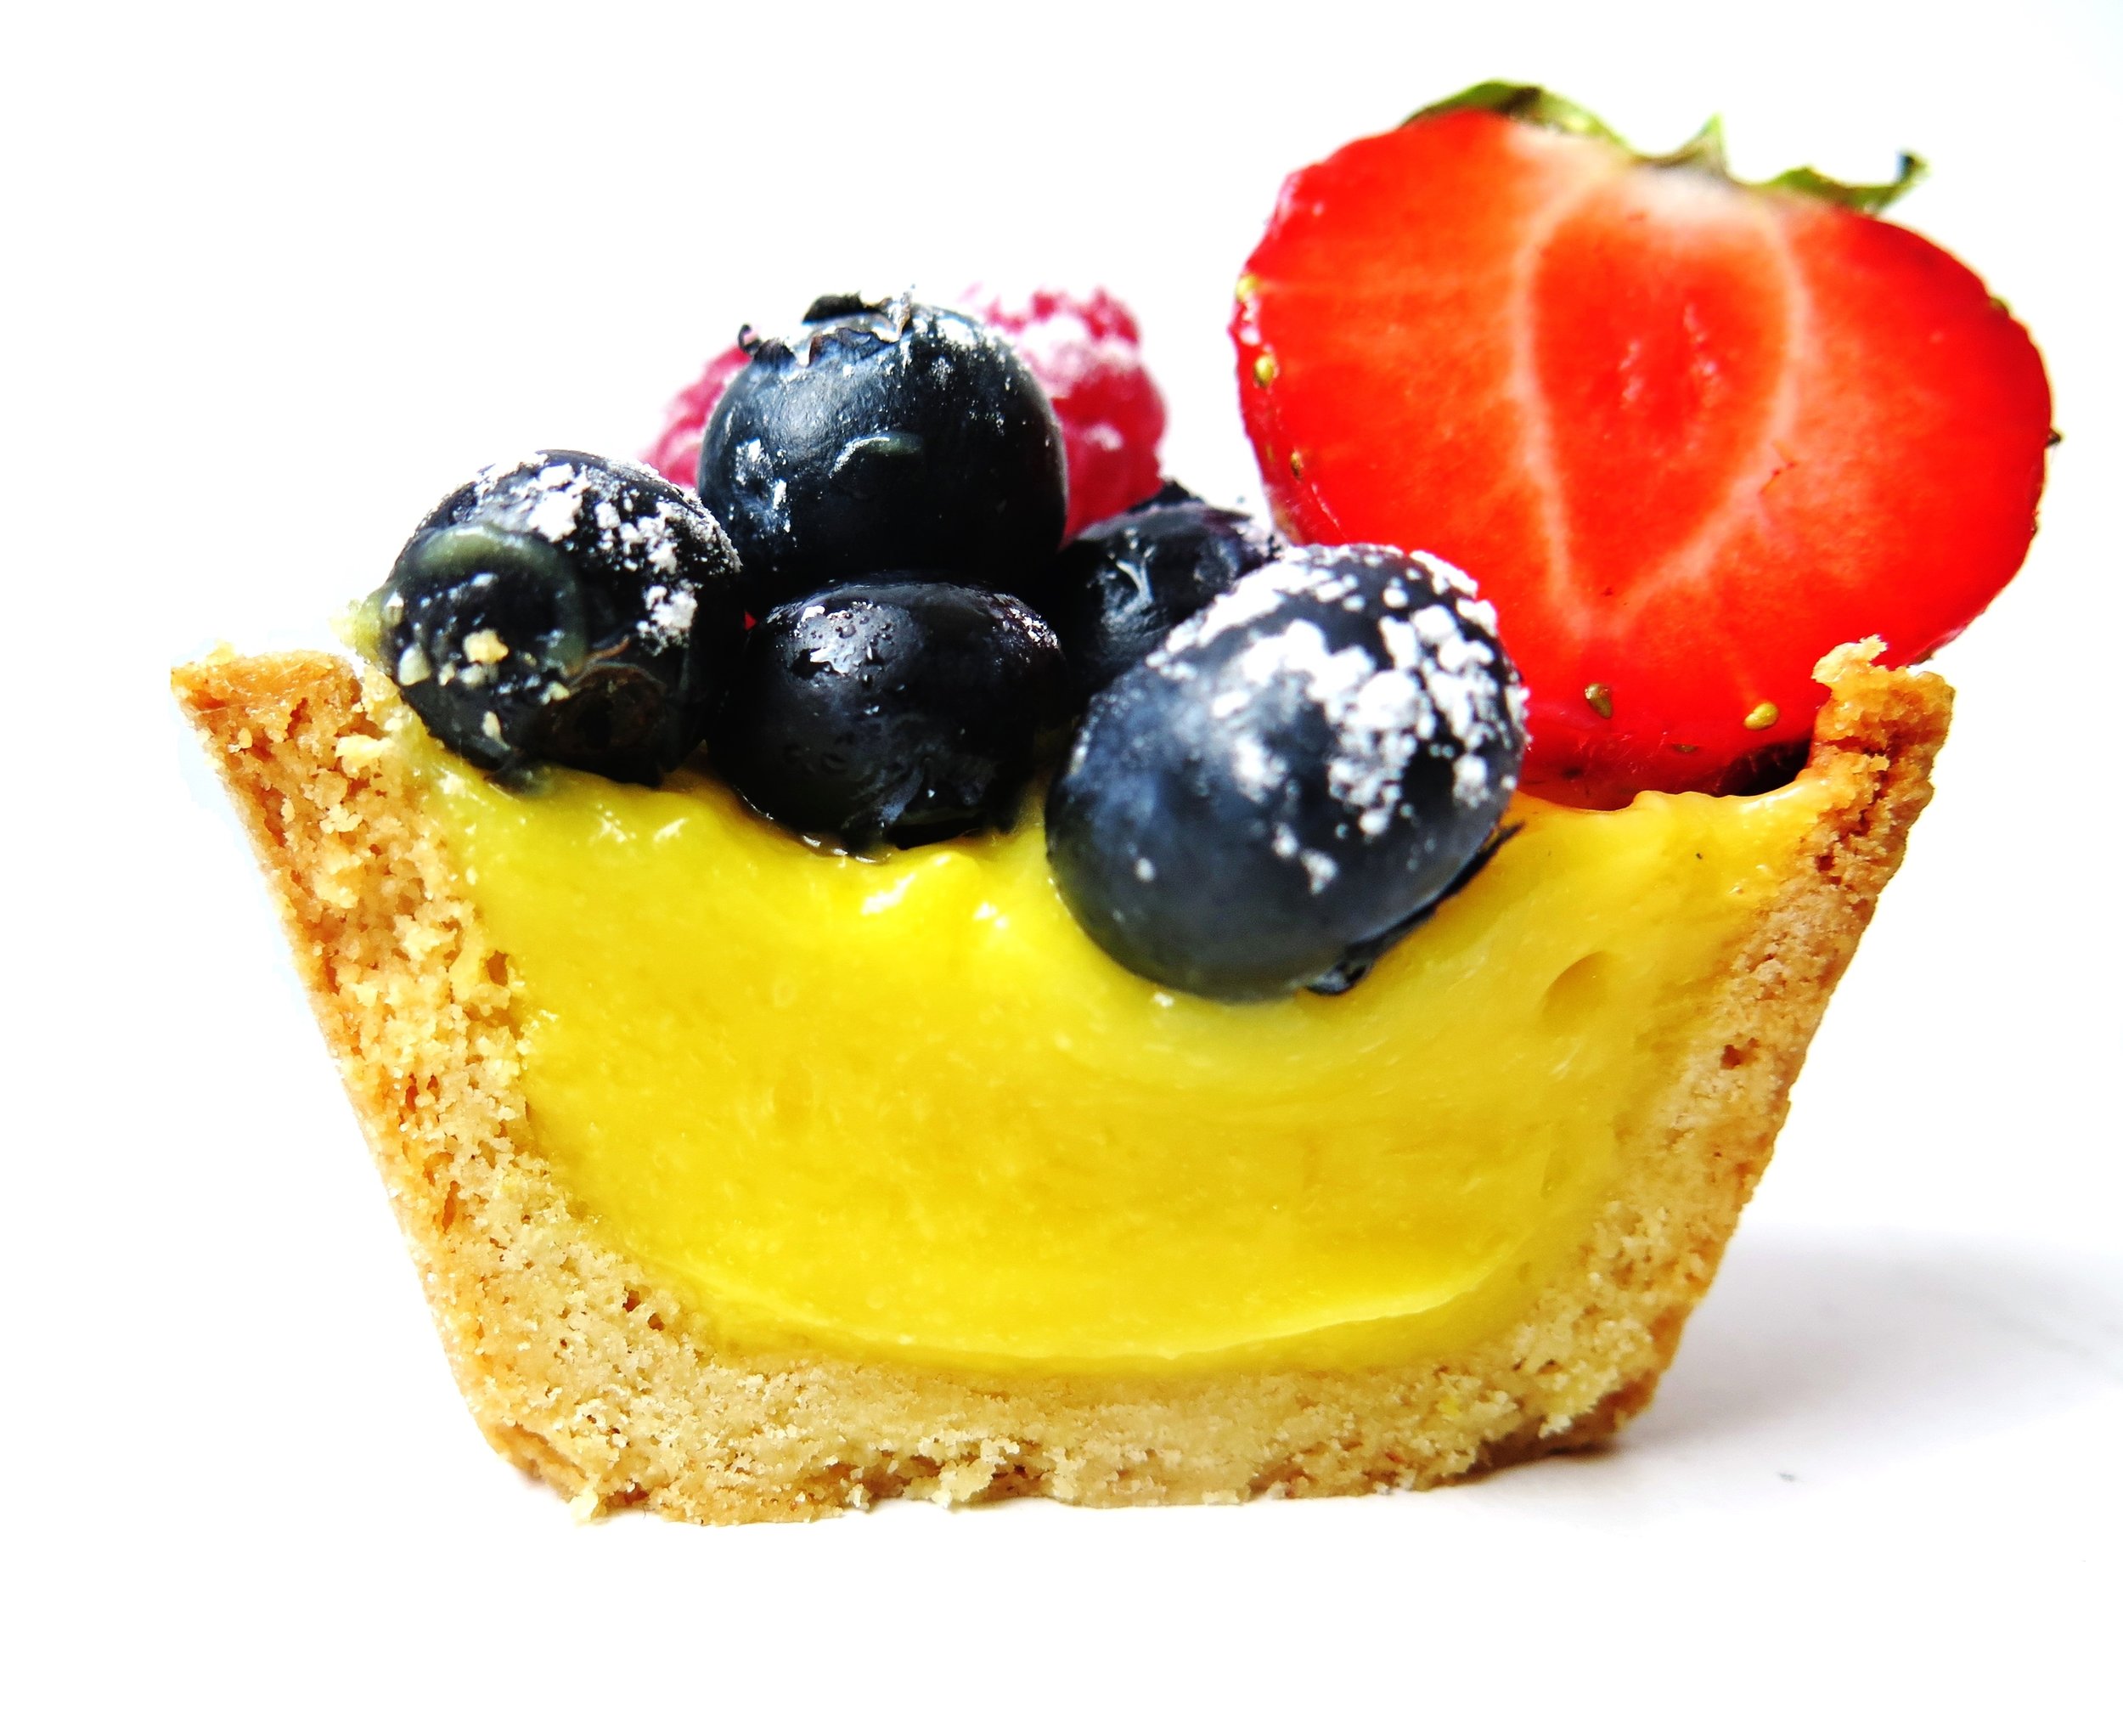
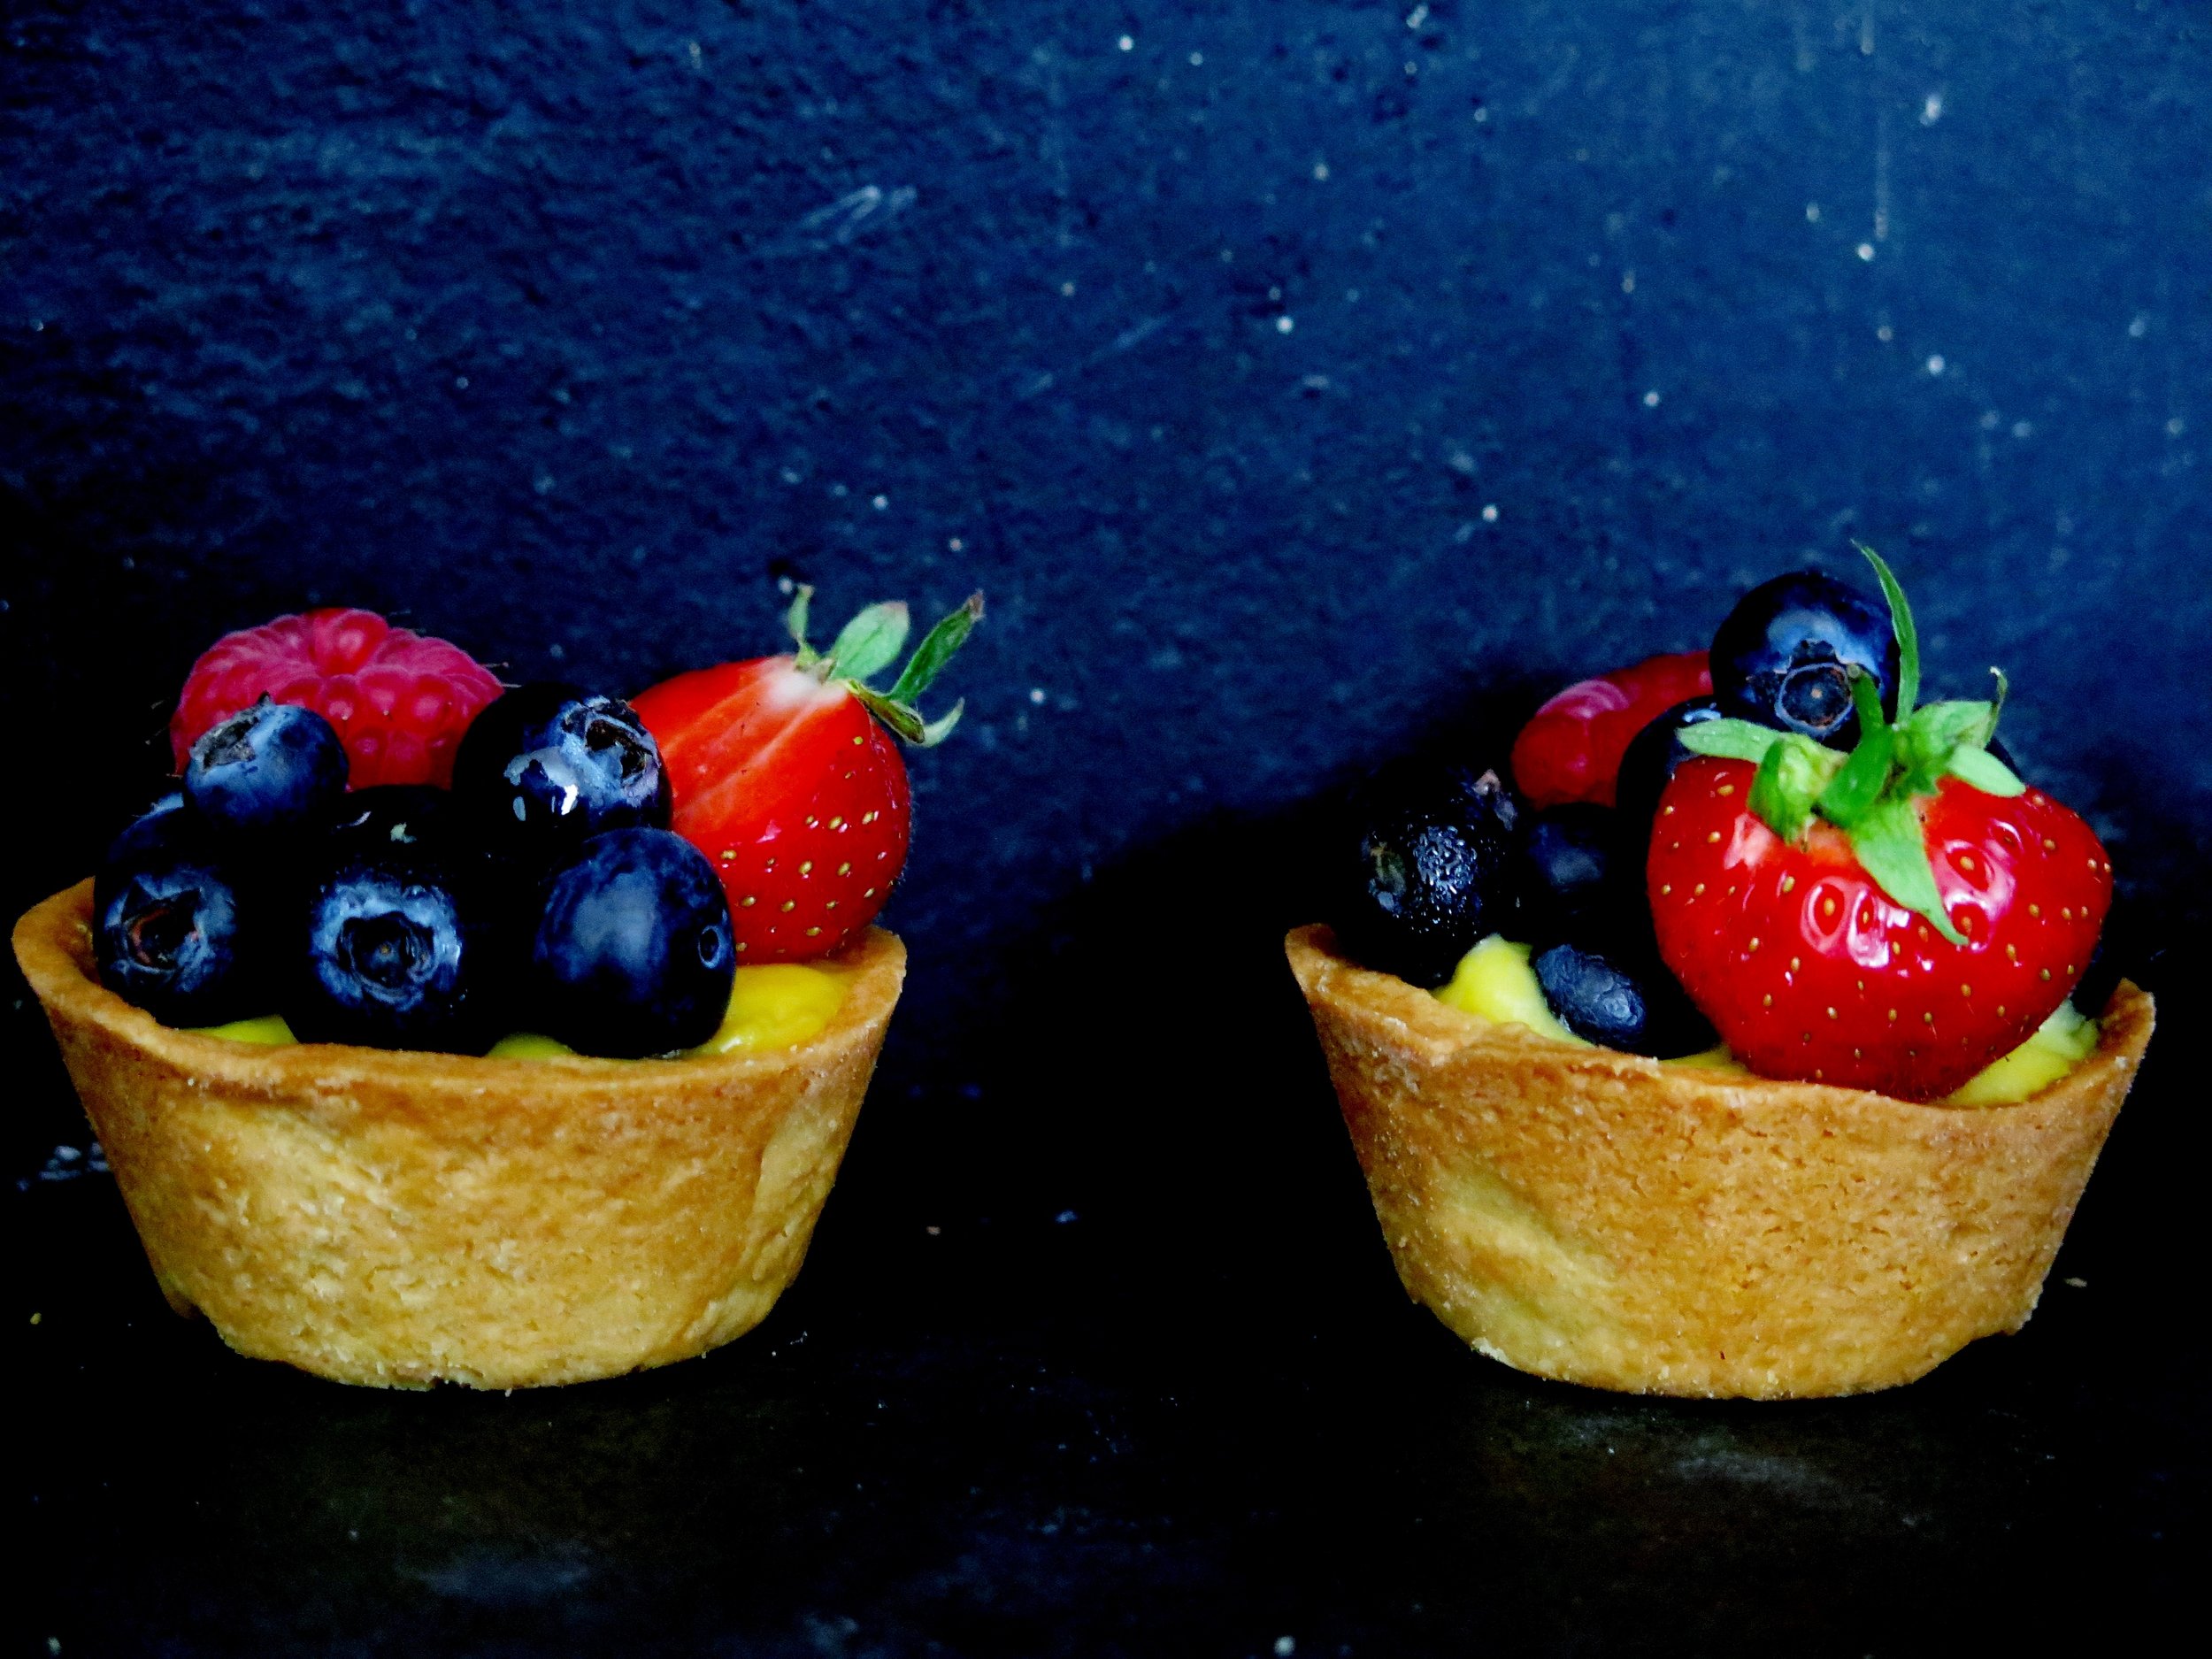
Made using both lemon juice and zest, paired with a lemon-infused tart shell, and partnered with fresh berries, these make a tangy and refreshing summer dessert.

Summer Berry Lemon Curd Tarts

Summer Berry Lemon Curd Tarts


I use spelt flour in the pastry to add extra nuttiness and depth of flavour.  It also has a lower GI than wheat flour.   However, if you can't find it, you can substitute plain flour.

IMG_1038


IMG_1021 Summer Berry Lemon Curd Tarts

Summer Berry Lemon Curd Tarts

Summer Berry Lemon Curd Tarts Summer Berry Lemon Curd Tarts Ingredients (makes 12)

Lemon tart shells

360g white spelt flour  (substitute with plain flour if unavailable)

110g icing sugar

Finely grated zest of 1 lemon

¼ tsp salt

190g cold unsalted butter, roughly chopped into small cubes

1 egg yolk

1 tsp vanilla extract

2 tbsp cold water


A 10cm pastry cutter

1 12-hole cupcake tin, greased with butter and then placed in fridge to chill

Baking beads or rice to weigh down the pastry while it bakes

12 cupcake cases


Lemon Curd

Finely grated zest of 4 lemons

200 ml lemon juice (4-6 lemons)

200g caster sugar

4 medium eggs

4 medium egg yolks

180g unsalted butter

1 baking tray with lipped sides

200g blueberries

150g strawberries

150g raspberries

Icing sugar for dusting


Method

Lemon pastry tart shells

  1. Blend together flour, sugar, lemon zest and salt in a food processor, and add in butter, pulsing to combine until the mixture resembles damp sand. Alternatively, if working manually, mix together the dry ingredients in a large bowl and rub the butter in with your fingers.
  2. Pour the egg yolk, vanilla and water into the mixture and pulse/stir until the mixture just comes together. Flatten the pastry dough into a disc , wrap in baking parchment/cling film and chill in the fridge for an hour, or freezer for 20 minutes.
  3. Preheat the oven to 150˚C.
  4. On a floured surface, roll half the dough out to the thickness of 2 or 3 mm, and cut the pastry into discs using the pastry cutter. Gently press the pastry discs into the prepared cupcake tin.  You will find that there is some dough left over.  This can be frozen for about a month.
  5. Set the cupcake cases into the pastry shells and fill them with the baking beads/rice to weigh the pastry down and prevent it from losing its shape during the bake.
  6. Bake in the oven for about 20-25 minutes until golden and firm to touch. If they have not turned golden by this point, remove the baking beads/rice and cupcake cases and bake for a further 5-10 minutes.  Remove from the oven and set aside to cool.  These can be made 2 or 3 days in advance and kept in an airtight container until you are ready to use them.

Lemon curd

  1. Place lemon zest, juice, sugar, eggs, egg yolks and half the butter in a saucepan over a medium-high heat and whisk continuously while the ingredients cook together.  When the mixture has thickened slightly and threatens to stick to the bottom of the pan, reduce the heat and continue to whisk for another couple of minutes until thickened, whisking all the while.  Off the heat, whisk in the remaining butter until thoroughly combined.  It should be smooth and glossy.
  2. Sieve the curd over the baking tray, and spread it out with a spatula so that only a thin layer coats the tray. Cover the surface of the lemon curd with baking parchment or cling film and place the tray in the fridge for a minimum of half an hour or until it has cooled and become slightly firmer.  Alternatively, place the tray in the freezer for 20 minutes.

Assembly

Arrange the pastry shells on a serving plate and spoon in the lemon curd (roughly 3 tsp per case). Top generously with the berries and dust with icing sugar just before serving.  They can be kept in the fridge for up to 6 hours before serving; longer than that they tend to become soggy.

Summer Berry Lemon Curd TartsSummer Berry Lemon Curd Tarts

8 Comments

Tarte Aux Nectarines

Comment

Tarte Aux Nectarines

IMG_8024.jpg

Tarte Aux Nectarines - Recipe I’ve been asked several times in the last couple of weeks what my blogs are about, what my angle is, which niche I am filling, what the selling point is.  So here it is: there is no niche.  Niches are overcrowded and limited places in which to write.  To me, food is a form of communication, even, to some extent, representative of character.  So  why should I pin myself down to some of the so-called niches in which other bloggers have incarcerated themselves?


Tarte Aux Nectarines - Recipe

Healthy cooking blogs, for example, seem to be proliferating at the moment, or so they call themselves, but what they are promoting is not cooking, nor is it necessarily healthy (or particularly interesting) – I’ve seen enough versions of green smoothies to make me want to down a packet of muscovado sugar (it tastes really good on its own, by the way).

Tarte Aux Nectarines - Recipe

I’m also sick of reading and hearing about avocado-based baking.  You can try to convince yourself that it tastes good. It does not.  It tastes rubbery, and bland, and makes me want to retch.  Another example is cauliflower pizza.  If you want pizza HAVE IT.  If you’re worried about its calories/fats/sugars/carbs/GI/salt, then don’t eat it.  If you’re desperate, have it in moderation. And if by mistake on purpose you eat the whole thing and it was really delicious, and you feel guilty, then just don’t do it again for a while.  Do not try to replace that experience with cauliflower as it simply does not work.  I’ll tell you the truth now: cauliflower does not equal bread. It doesn’t matter how small you grind the cauliflower, how tightly and agonisingly you squeeze out the liquid, and how densely you pack it into a tin, it does not turn into bread. Plus the amount of mozzarella you have to add to make it hold together undermines the whole attempt at making it “healthy”.

Tarte Aux Nectarines - Recipe

Baobab dust, acai capsules, psyllium husk powder - these are not what cooking and baking are about.  They will not be included in my recipes unless they add flavour. And even then, at £10-£15 for a thimbleful, it’s not worth it.

Tarte Aux Nectarines - Recipe

Turn away now if you’re looking for a fad.  As I have said before, gluten-free baking is for coeliacs only. Just because it says “free” doesn’t mean that it liberates you or your spare tyre. In fact, you’re probably adding another one by eating it as it shoots blood glucose levels sky high, above even those of wheat.

Tarte Aux Nectarines - Recipe

So to conclude, I’m not going to slot into any niche like the Priapus statue in Newby Hall.  The blog is to be viewed in the round and the recipes are for bold, modern and flavoursome cuisine.

Tarte Aux Nectarines - Recipe

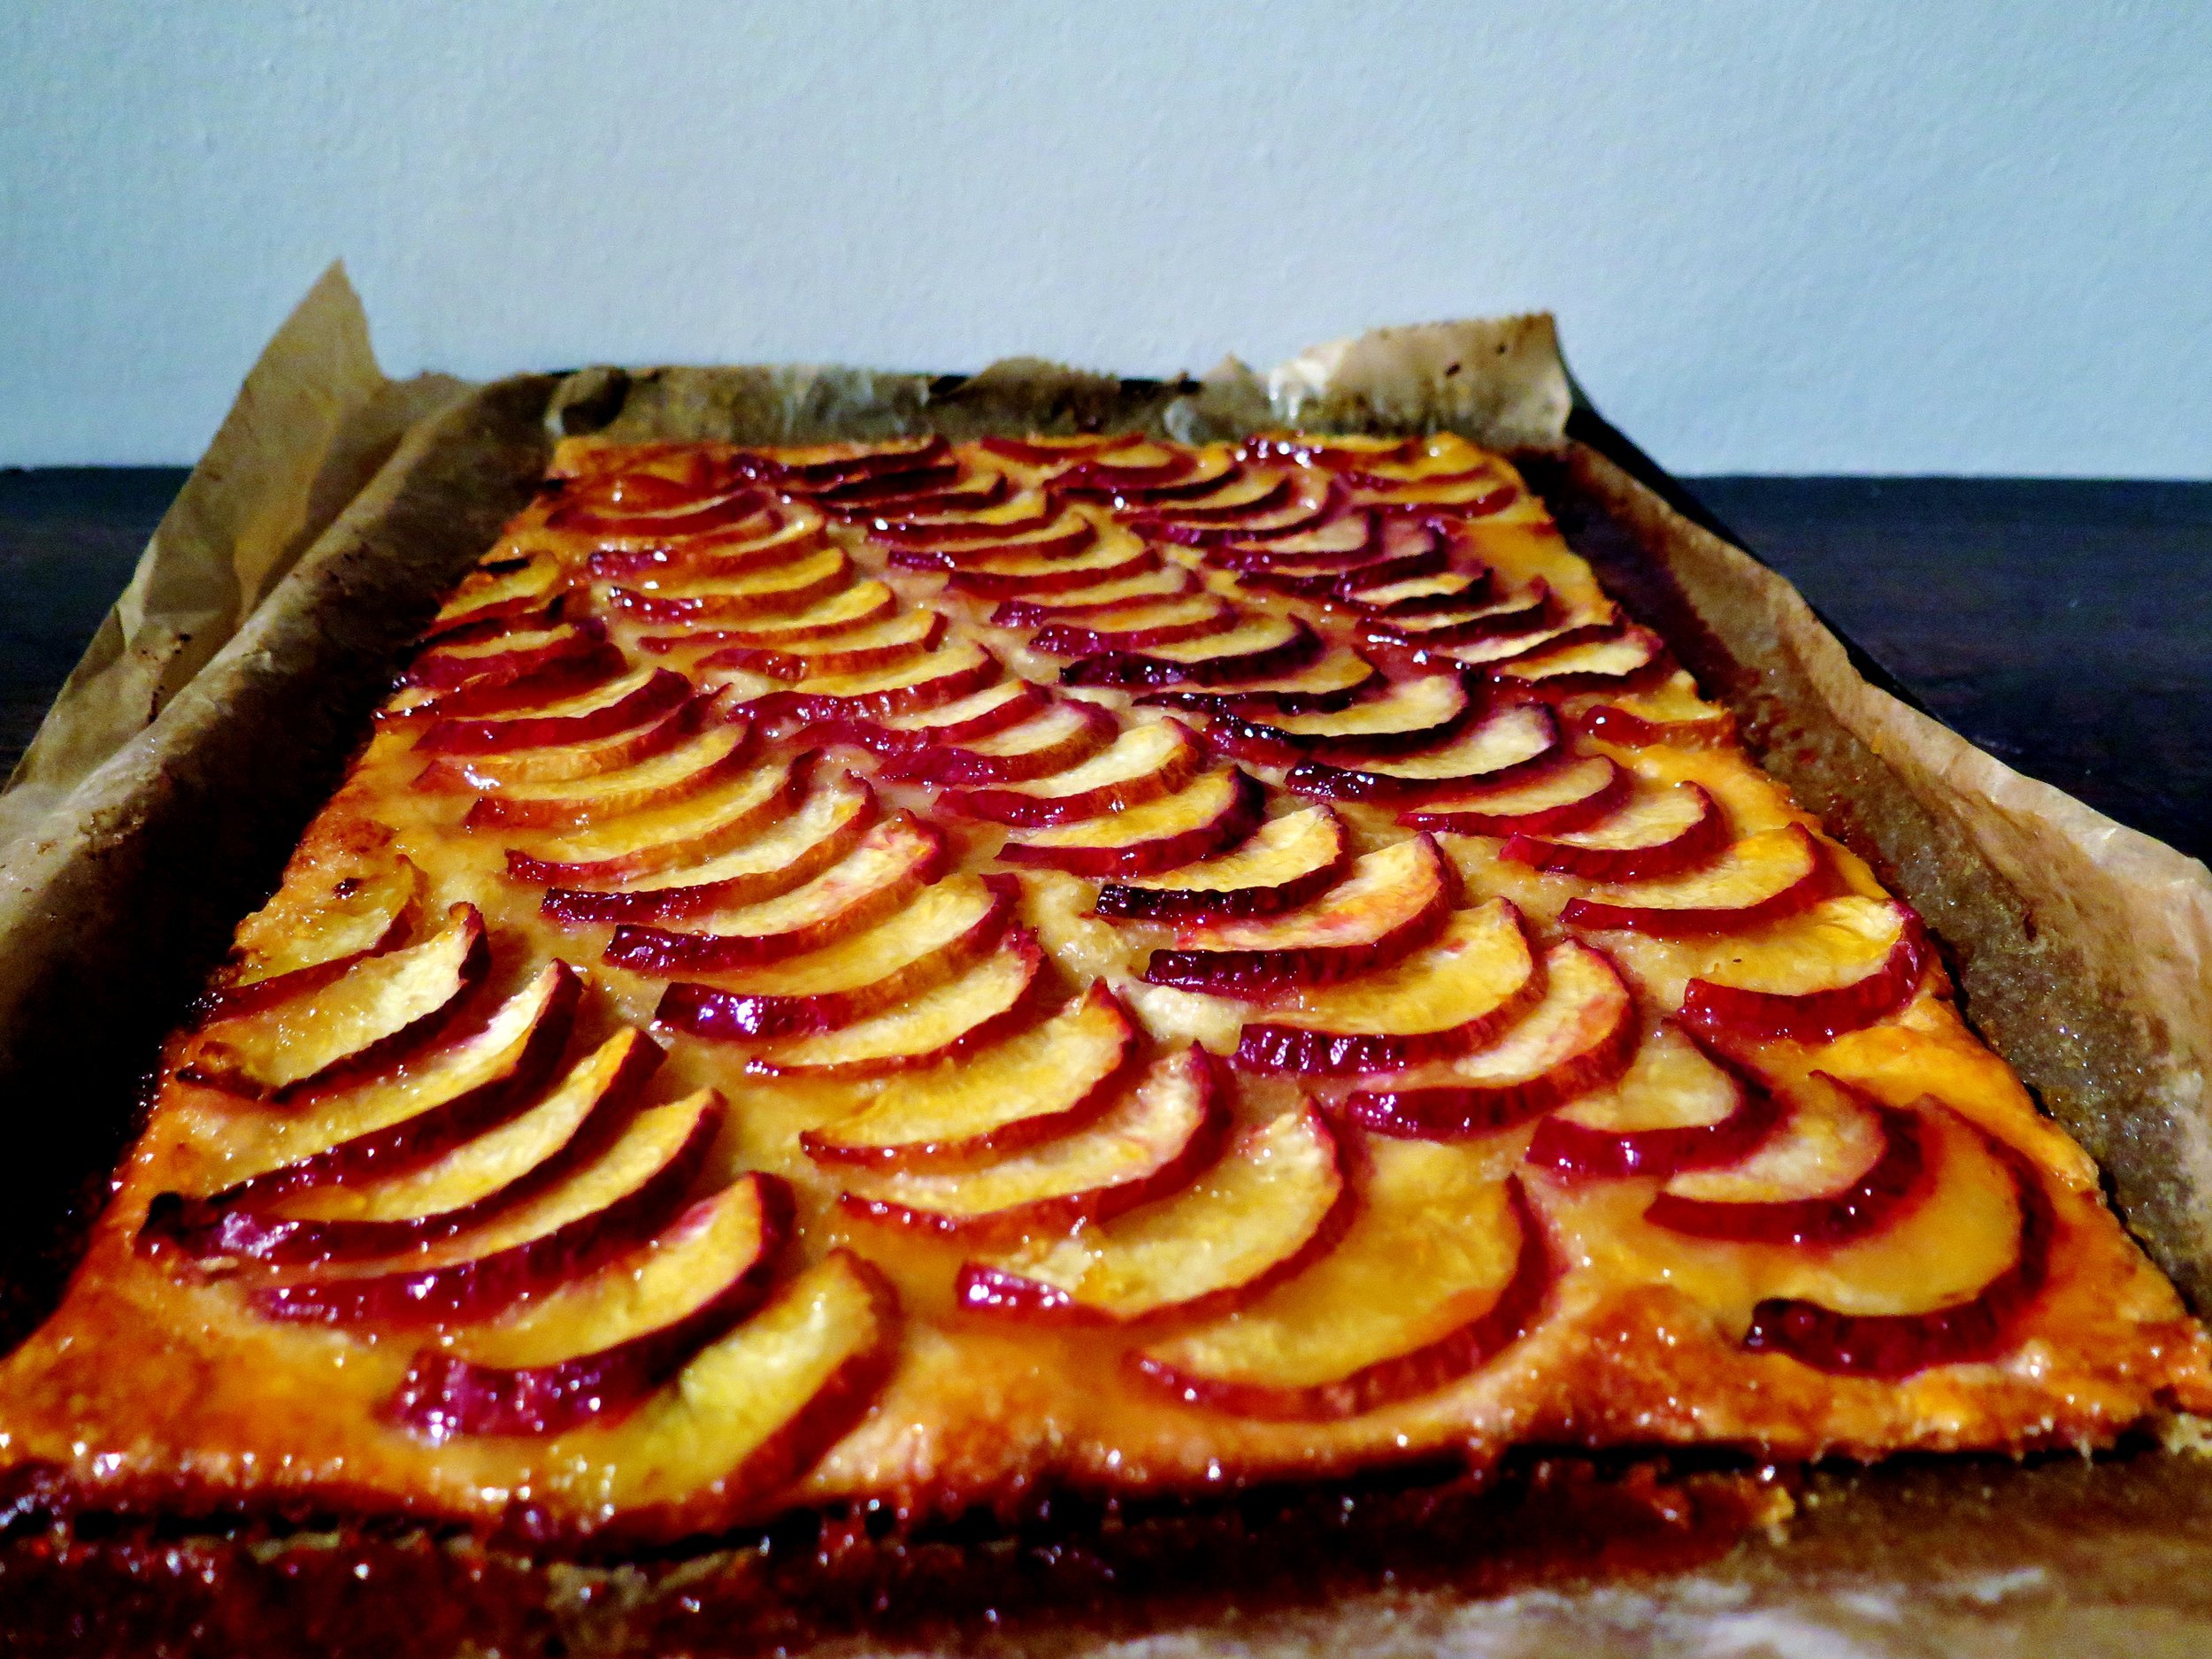
This recipe destroys the common misconception that pastry is hard to make, and combines with the nectarine topping just a hint of Triple Sec  to add subtle tang.  Very little effort is involved, but the result is impressive.

Tarte Aux Nectarines - Recipe


Ingredients

Pastry

280g plain flour

1 tbsp sugar

½ tsp salt

170g cold unsalted butter, diced

125ml cold water


Topping

4 nectarines, halved, destoned & sliced horizontally to 3-4mm thickness

100g caster sugar

60g cold unsalted butter, diced

¼ tsp salt

½ cup of smooth apricot jam

2 tbsp Triple Sec


Sheet tray lined with baking parchment


Recipe adapted from Ina Garten


Pastry Method

  1. Blitz flour, sugar and salt in a blender to combine, then add the butter and pulse briefly about 10 times until the mixture turns to pea-sized pieces.
  2. Pour in water and blitz until the dough begins to come together.
  3. Make it into a chunky disk and wrap in clingfilm/baking parchment. Place in freezer for half an hour

Construction method

  1. Preheat the oven to 200˚C.
  2. Roll out the pastry to a roughly 25x35cm rectangle, slicing off the edges to make it a clean rectangle.
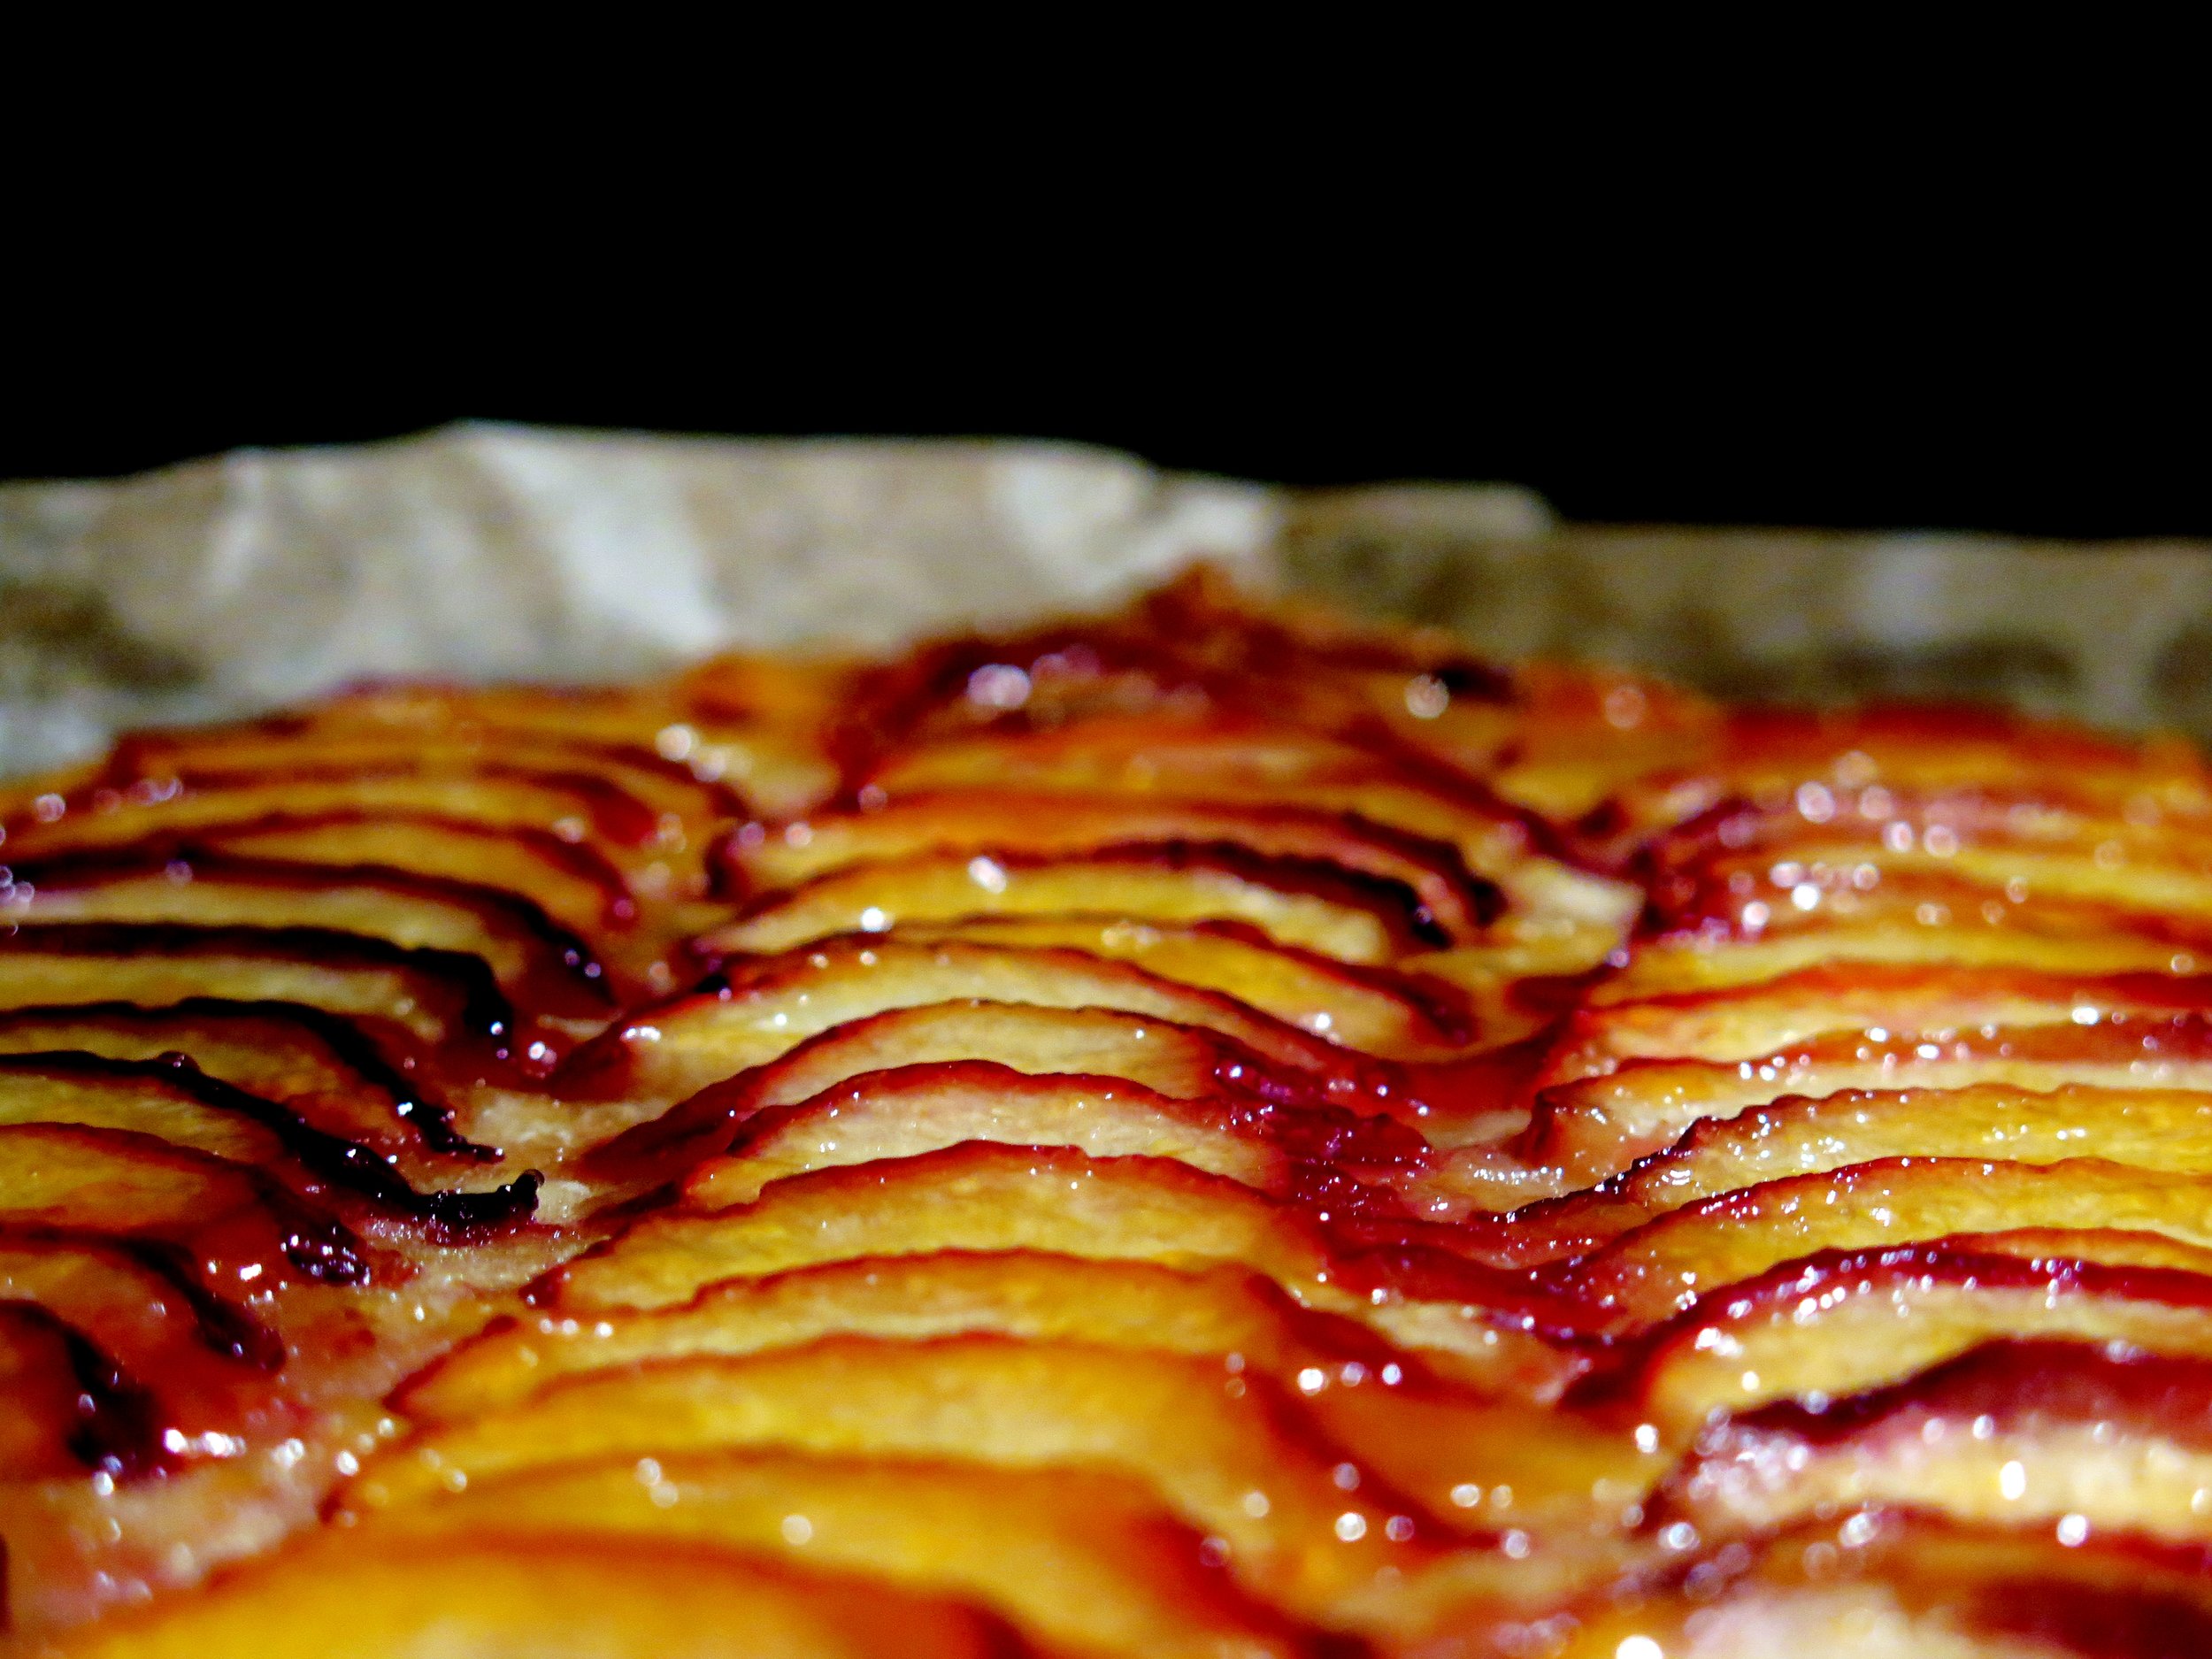
  3. Arrange the nectarine slices, slightly overlapping, in a diagonal down the middle of the tart then continue with rows on either side.
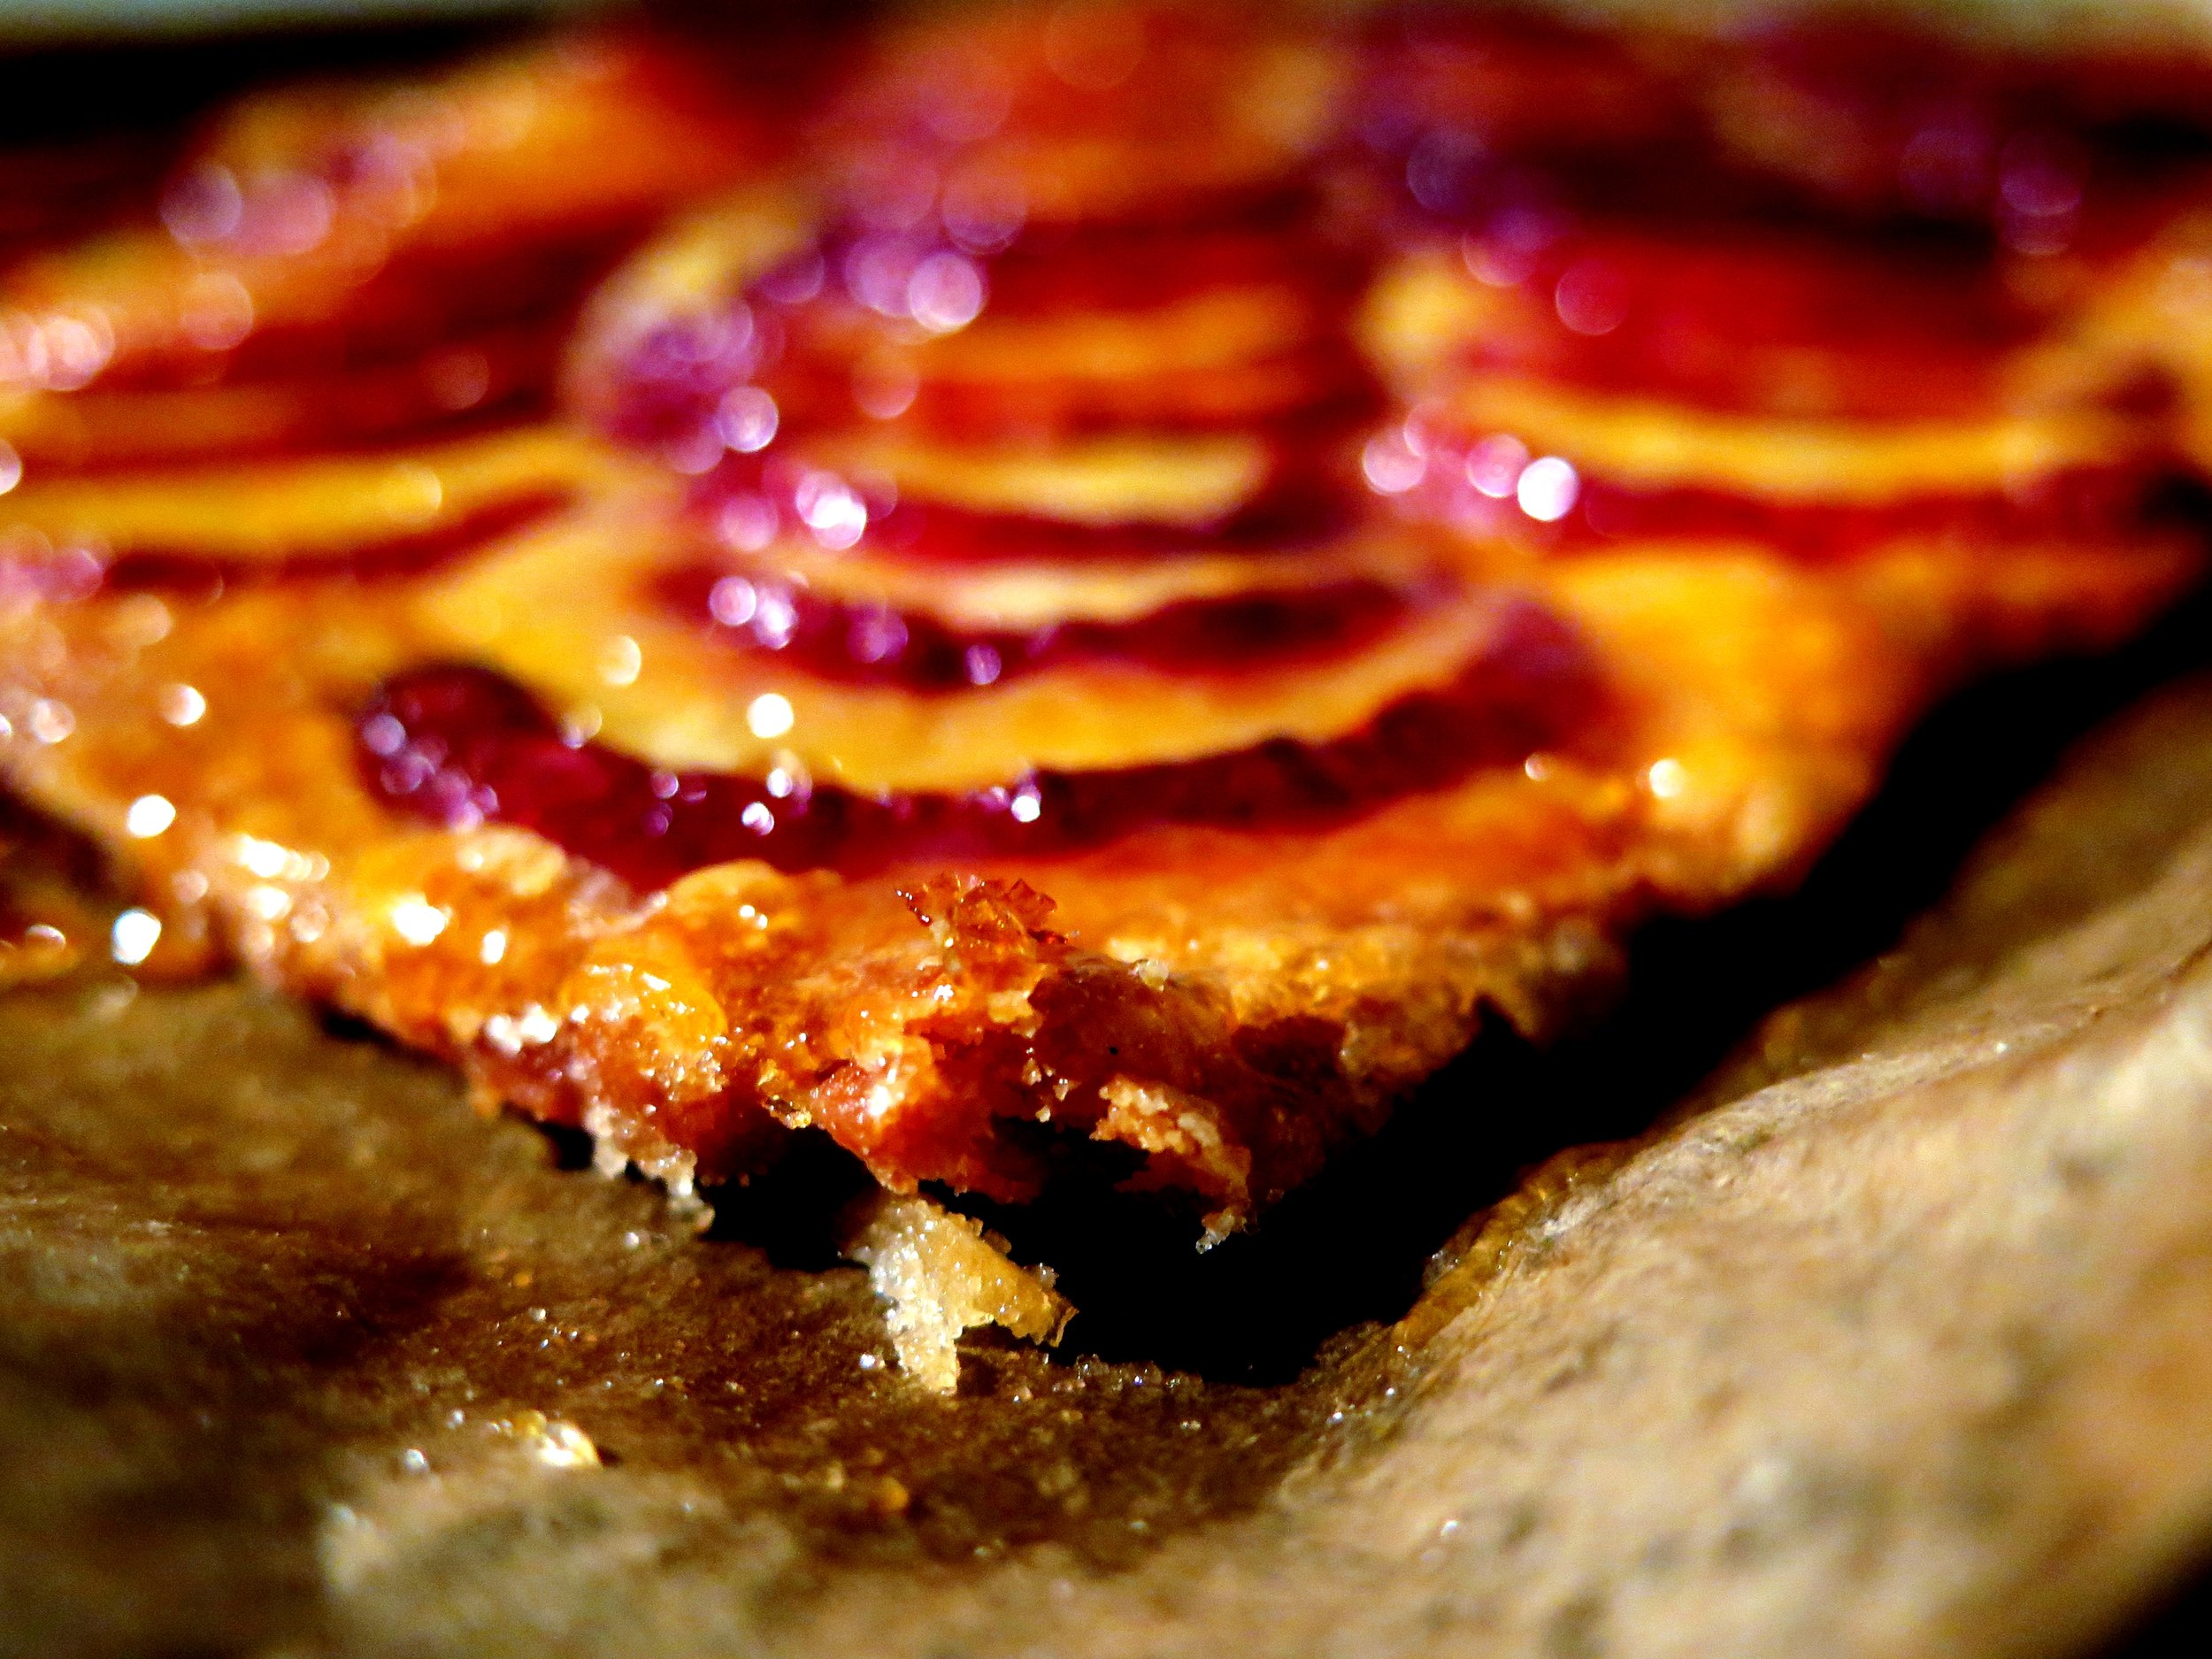
  4. Sprinkle the cubed butter and sugar and salt over the nectarine slices and bake in centre of an oven for 40 minutes or until crisp and golden. Check about half way during the baking time whether the pastry has become puffy. If so, simply cut slits in it to let the air escape.
  5. Once the tart is ready, heat the apricot jam together with the Triple Sec and brush it all over the tart, including all the nude sections of pastry.

Tarte Aux Nectarines - Recipe

IMG_8061 - Copy

Comment

1 Comment

Baklava

IMG_5989.jpg

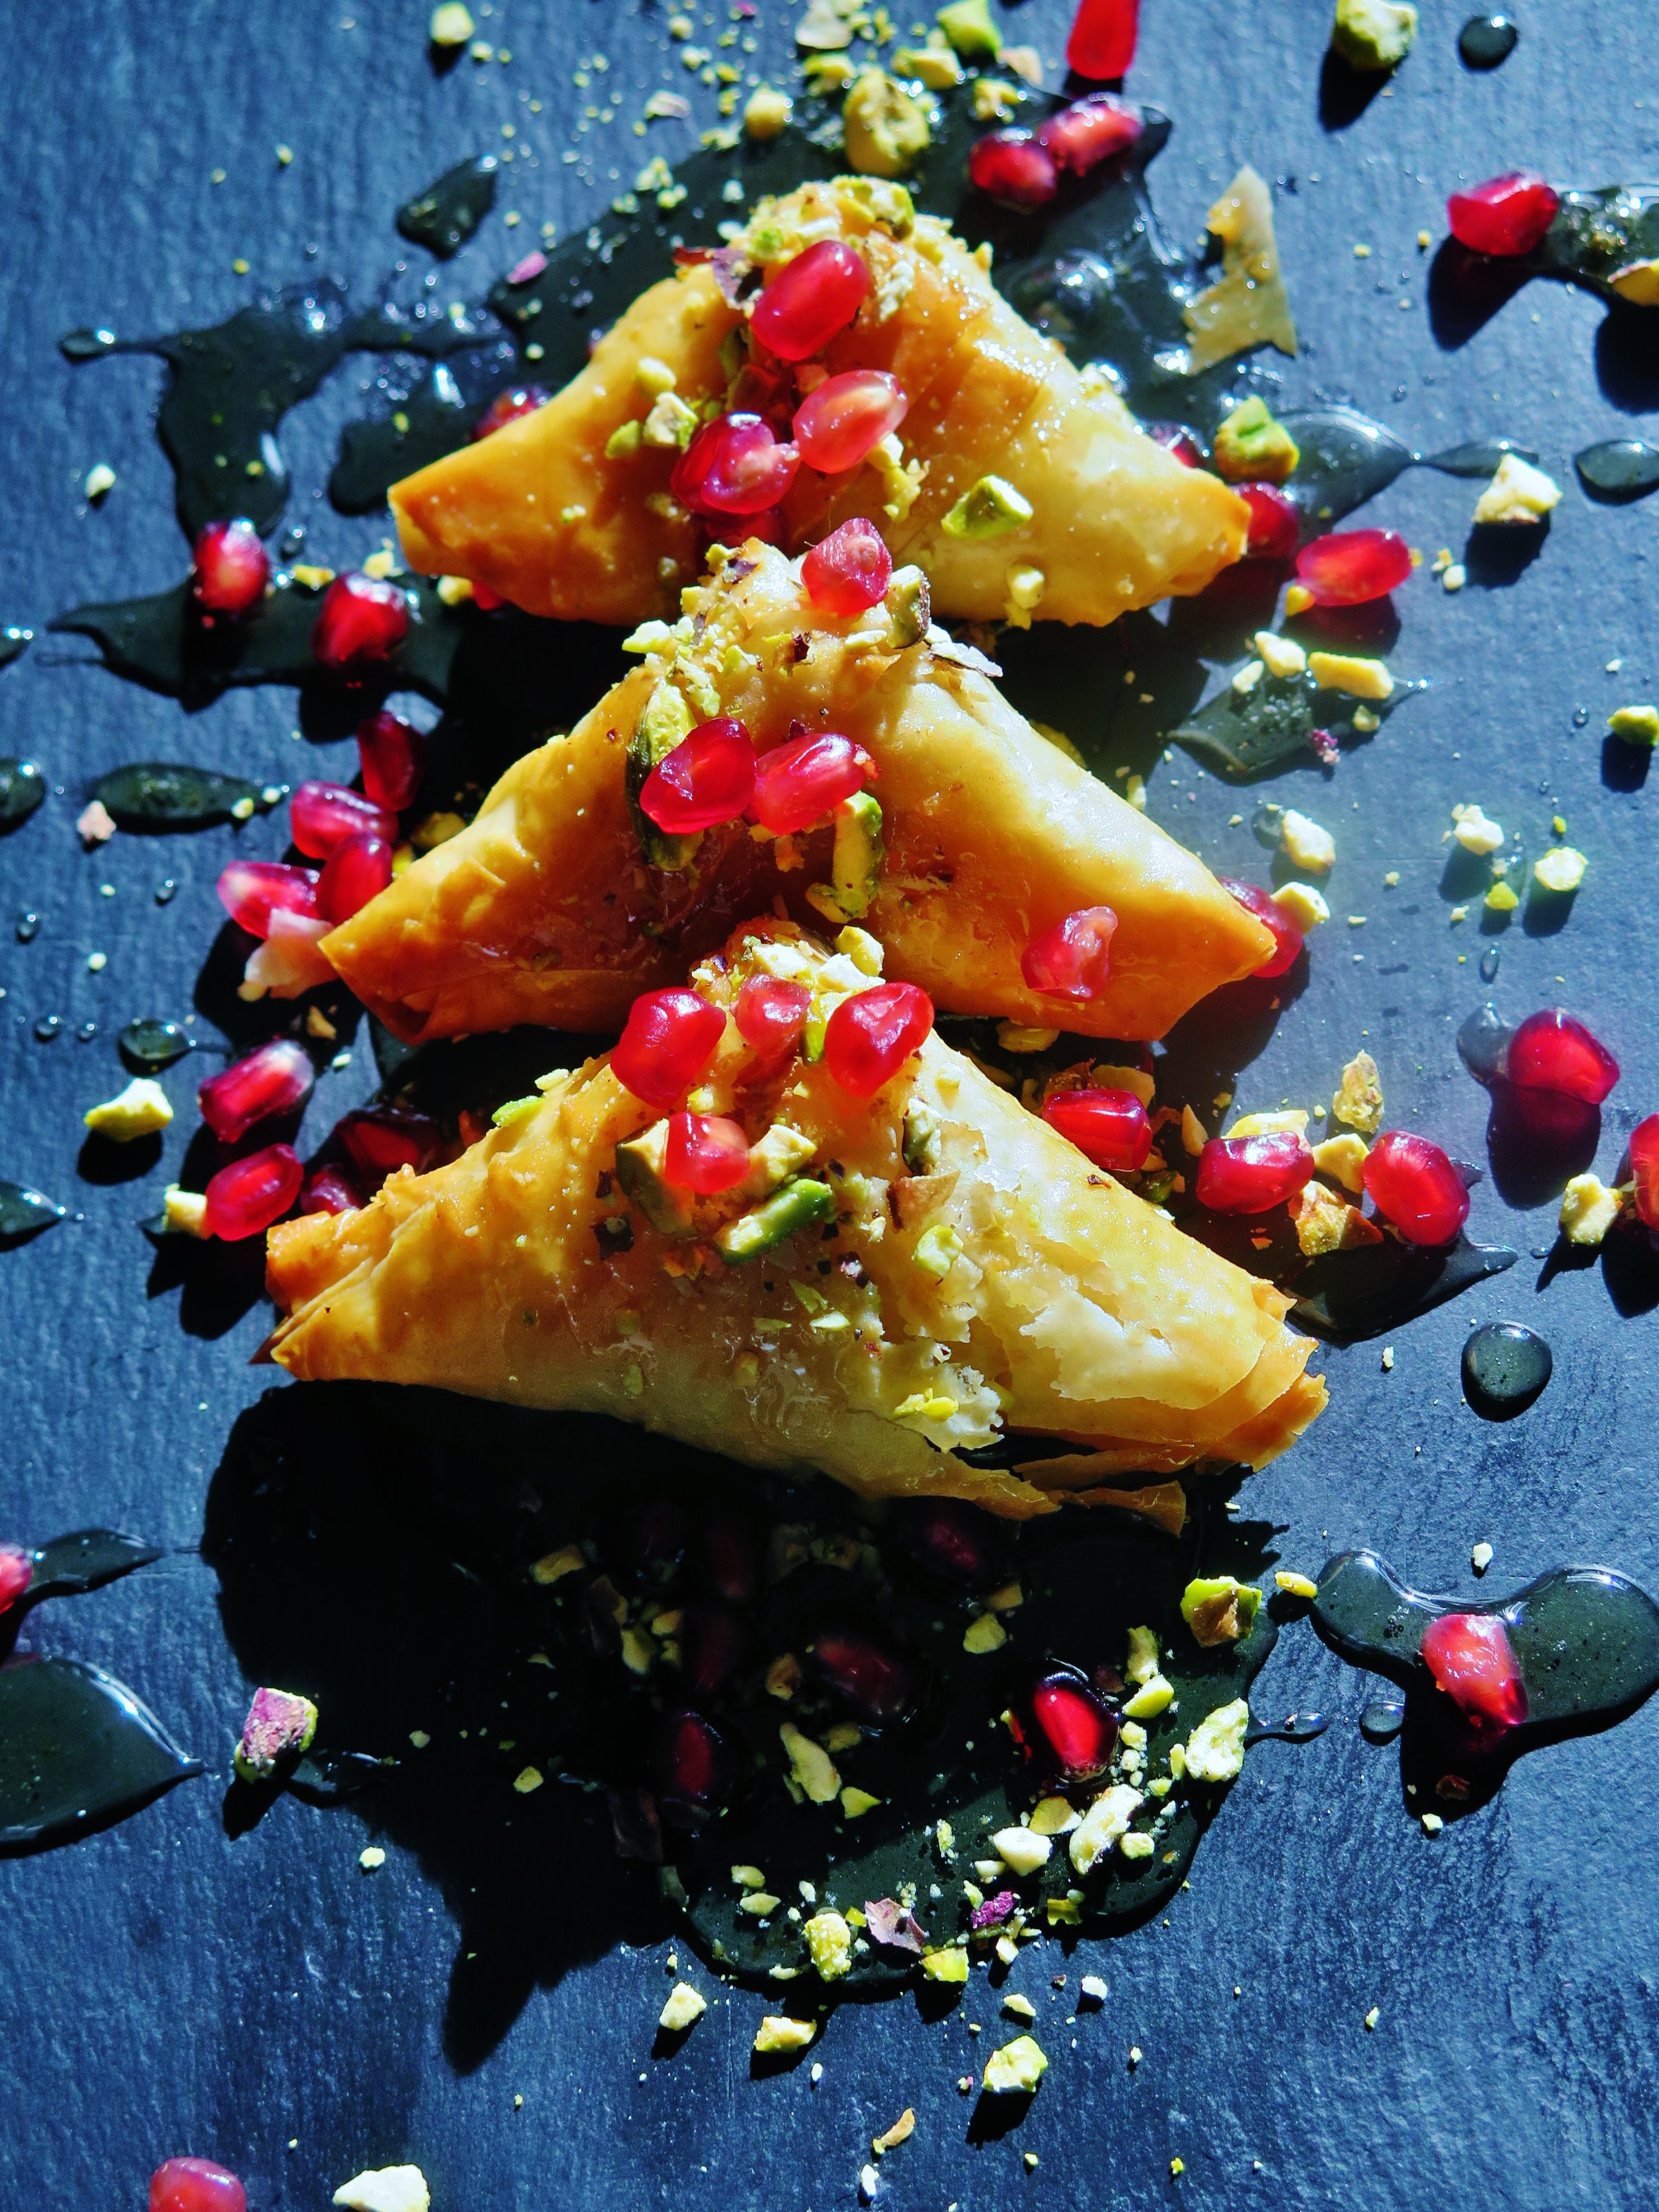
baklava Its origins lie as either  Central Asian Turkic traditional layered breads, or traditional Roman desserts from Istanbul the capital of the Eastern Roman Empire (I favour the latter option).  Breakfast, afternoon tea, dinner – these golden perfumed sweets are appropriate at any time of the day in may book and they are way simpler & quicker to make than you might think.
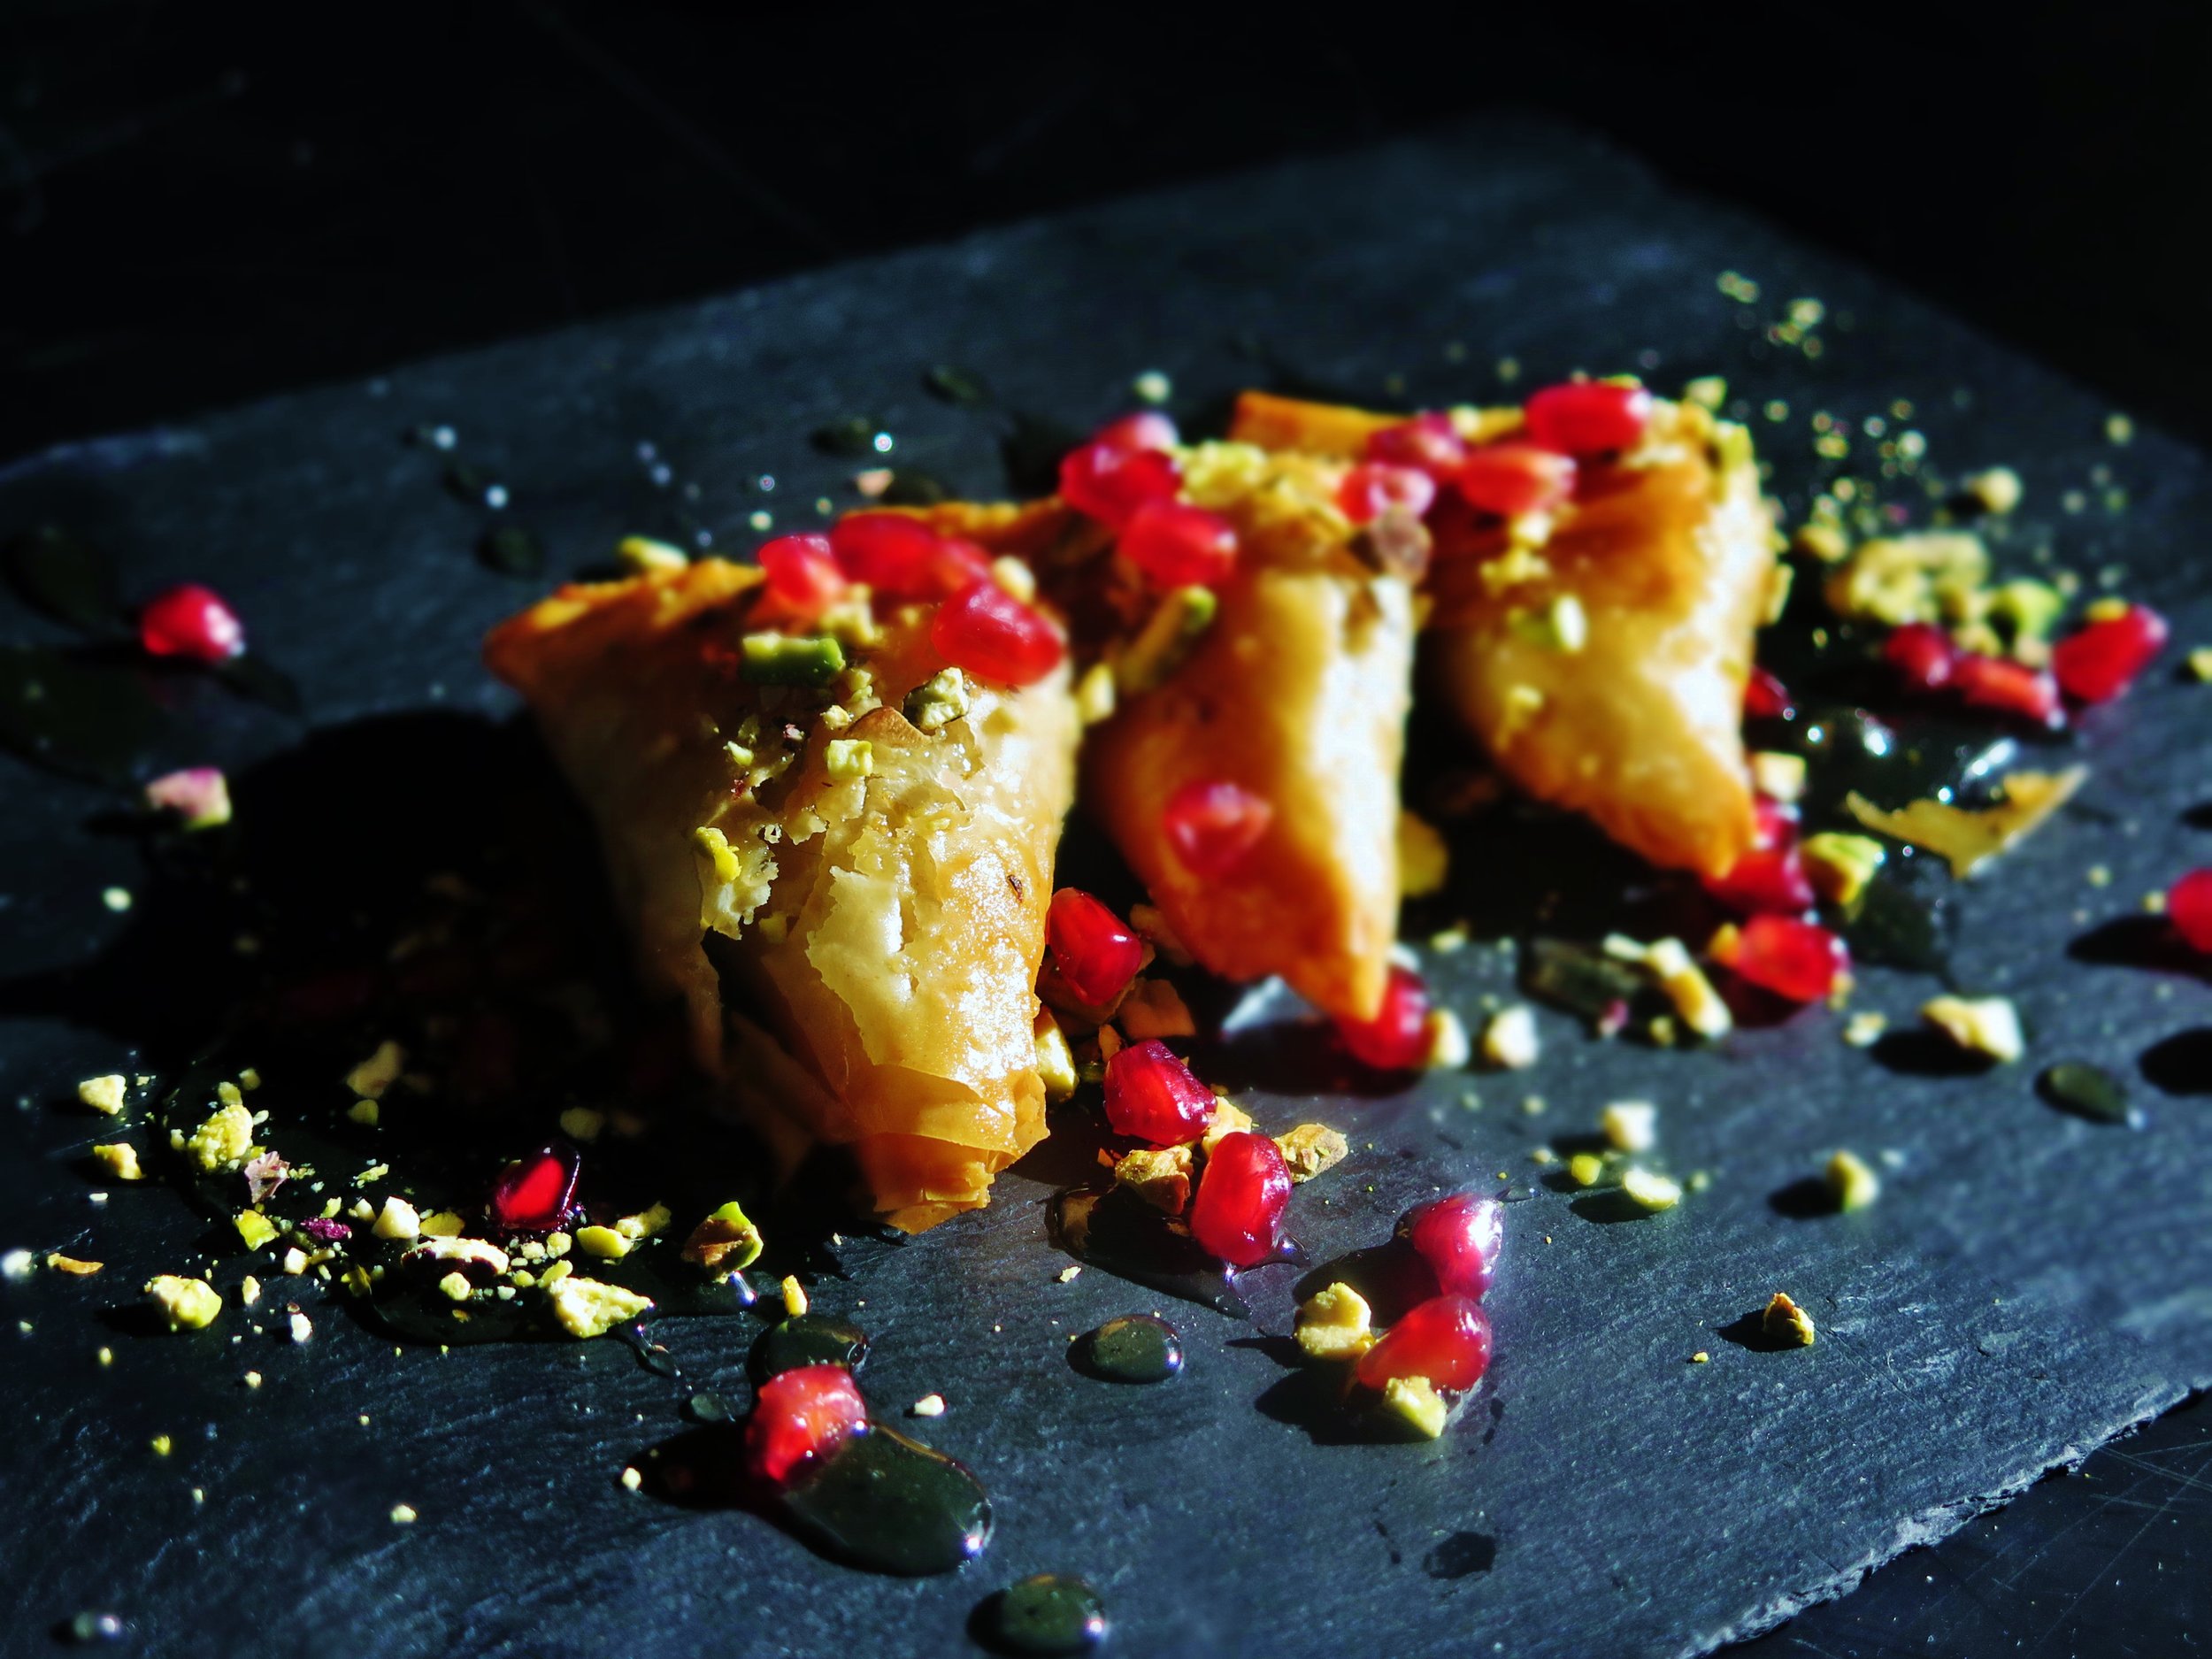
baklava with ground pistachio & pomegranate

baklava

Many recipes call for the pastry to soak for 8 hours or more – I came up with a recipe that can be made and cooked (and eaten) in less than half an hour.


IMG_5955

baklava

Ingredients


¼ cup caster sugar

¼ cup water

¼ cup orange blossom honey

1 ½ tsp lemon juice

½ tsp rose water

100g pistachios (ground to affine rubble)

100g walnuts (ground to a fine rubble)

Pinch of salt


6 sheets filo pastry

200g melted butter

100g bread crumbs


Syrup

½ cup water

½ cup caster sugar

¼ cup orange blossom honey

1 tsp lemon juice

¾ tsp rose water

tray line with baking parchment


Method

  1. Preheat oven to 200˚C.
  2. Place sugar, water and honey in a pan over high heat and stir until the sugar has dissolved.
  3. Reduce to medium-high heat and allow to simmer for 4-5 minutes until slightly more viscous. Stir in the lemon juice and simmer for 1 minute, then remove from the heat.
  4. Stir the ground nuts, pinch of salt and rose water into the syrup and set aside.
  5. Lay out a sheet of filo pastry lengthways (with the shorter side of the rectangle nearer to you), paint with melted butter and lightly sprinkle with bread crumbs. Lay another sheet on top and repeat.
  6. Cut the layered pastry into 4 long strips. Place a teaspoon of nut mixture at the bottom right hand corner of a strip and fold the corner over to great a triangular pocket.  Keep folding, in triangles until you reach the end of the strip then paint with melted butter and place on baking tray.
  7. Bake in oven for 10 minutes, or until the outside is golden and crisp.
  8. While the baklava are baking, make the syrup by repeating step 2 with the syrup ingredients.
  9. Once baklava are cooked, place on serving plate & drizzle generously with the syrup.

Makes 12

IMG_5964

1 Comment