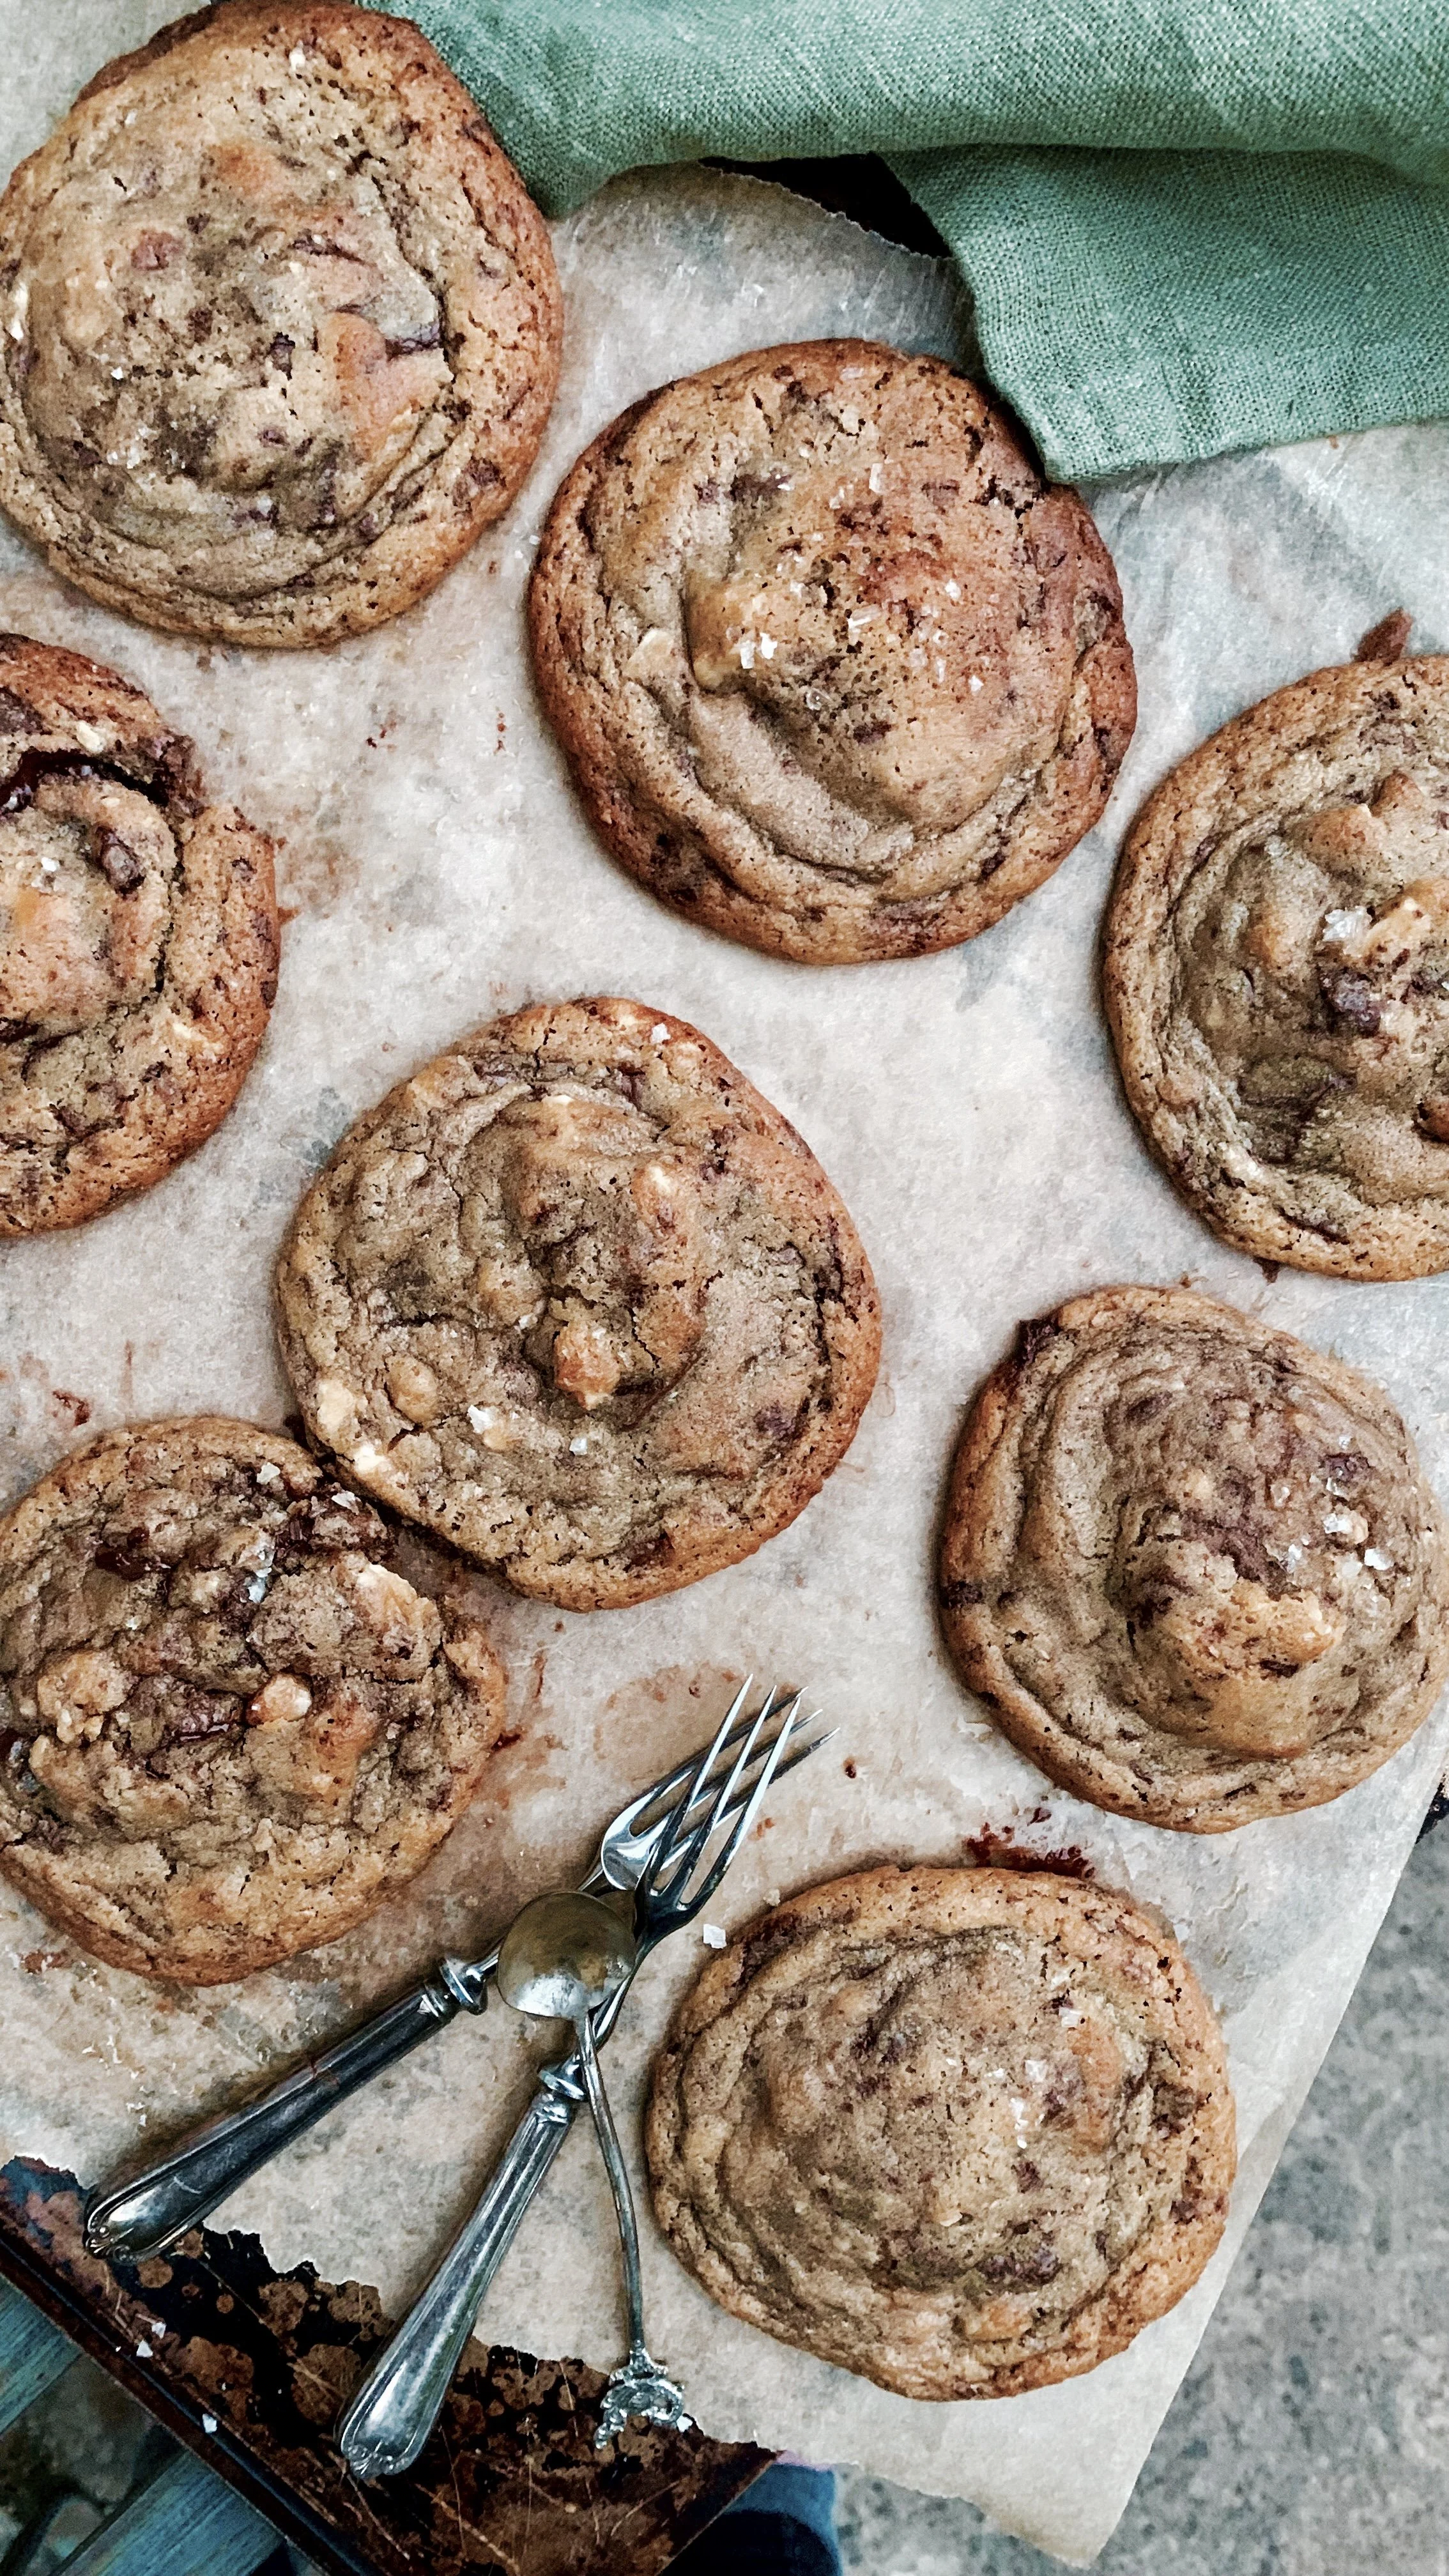
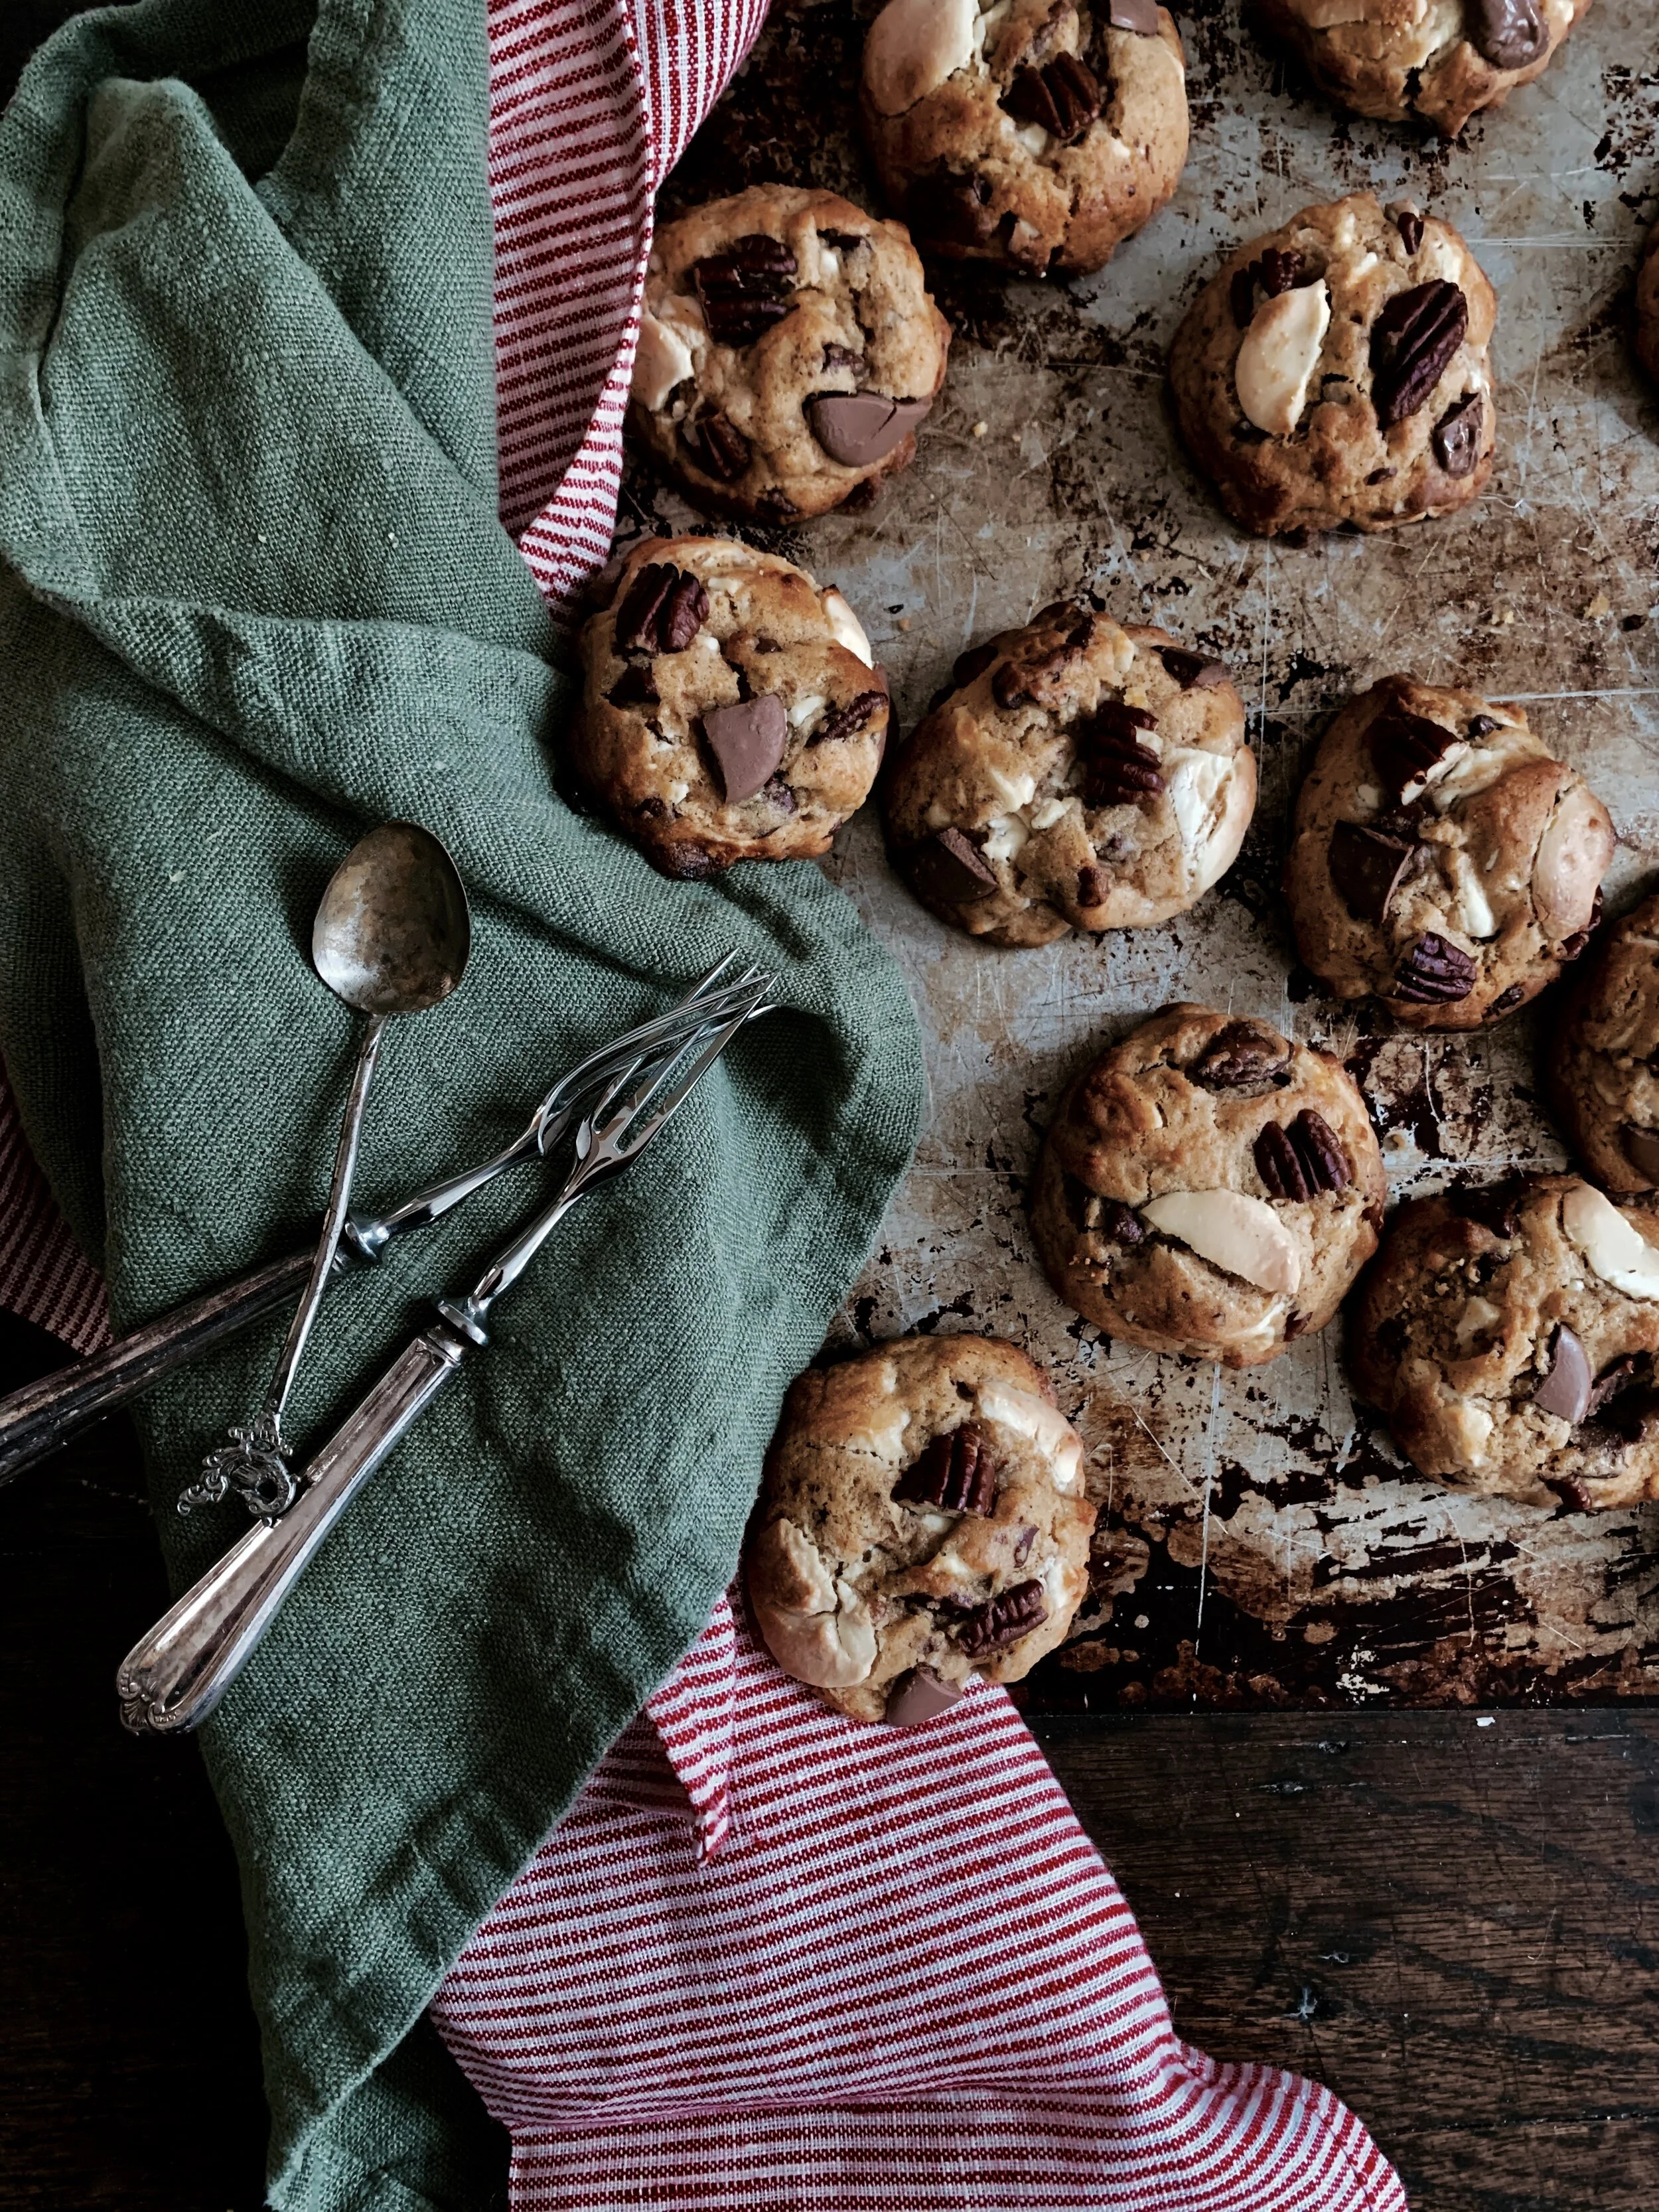
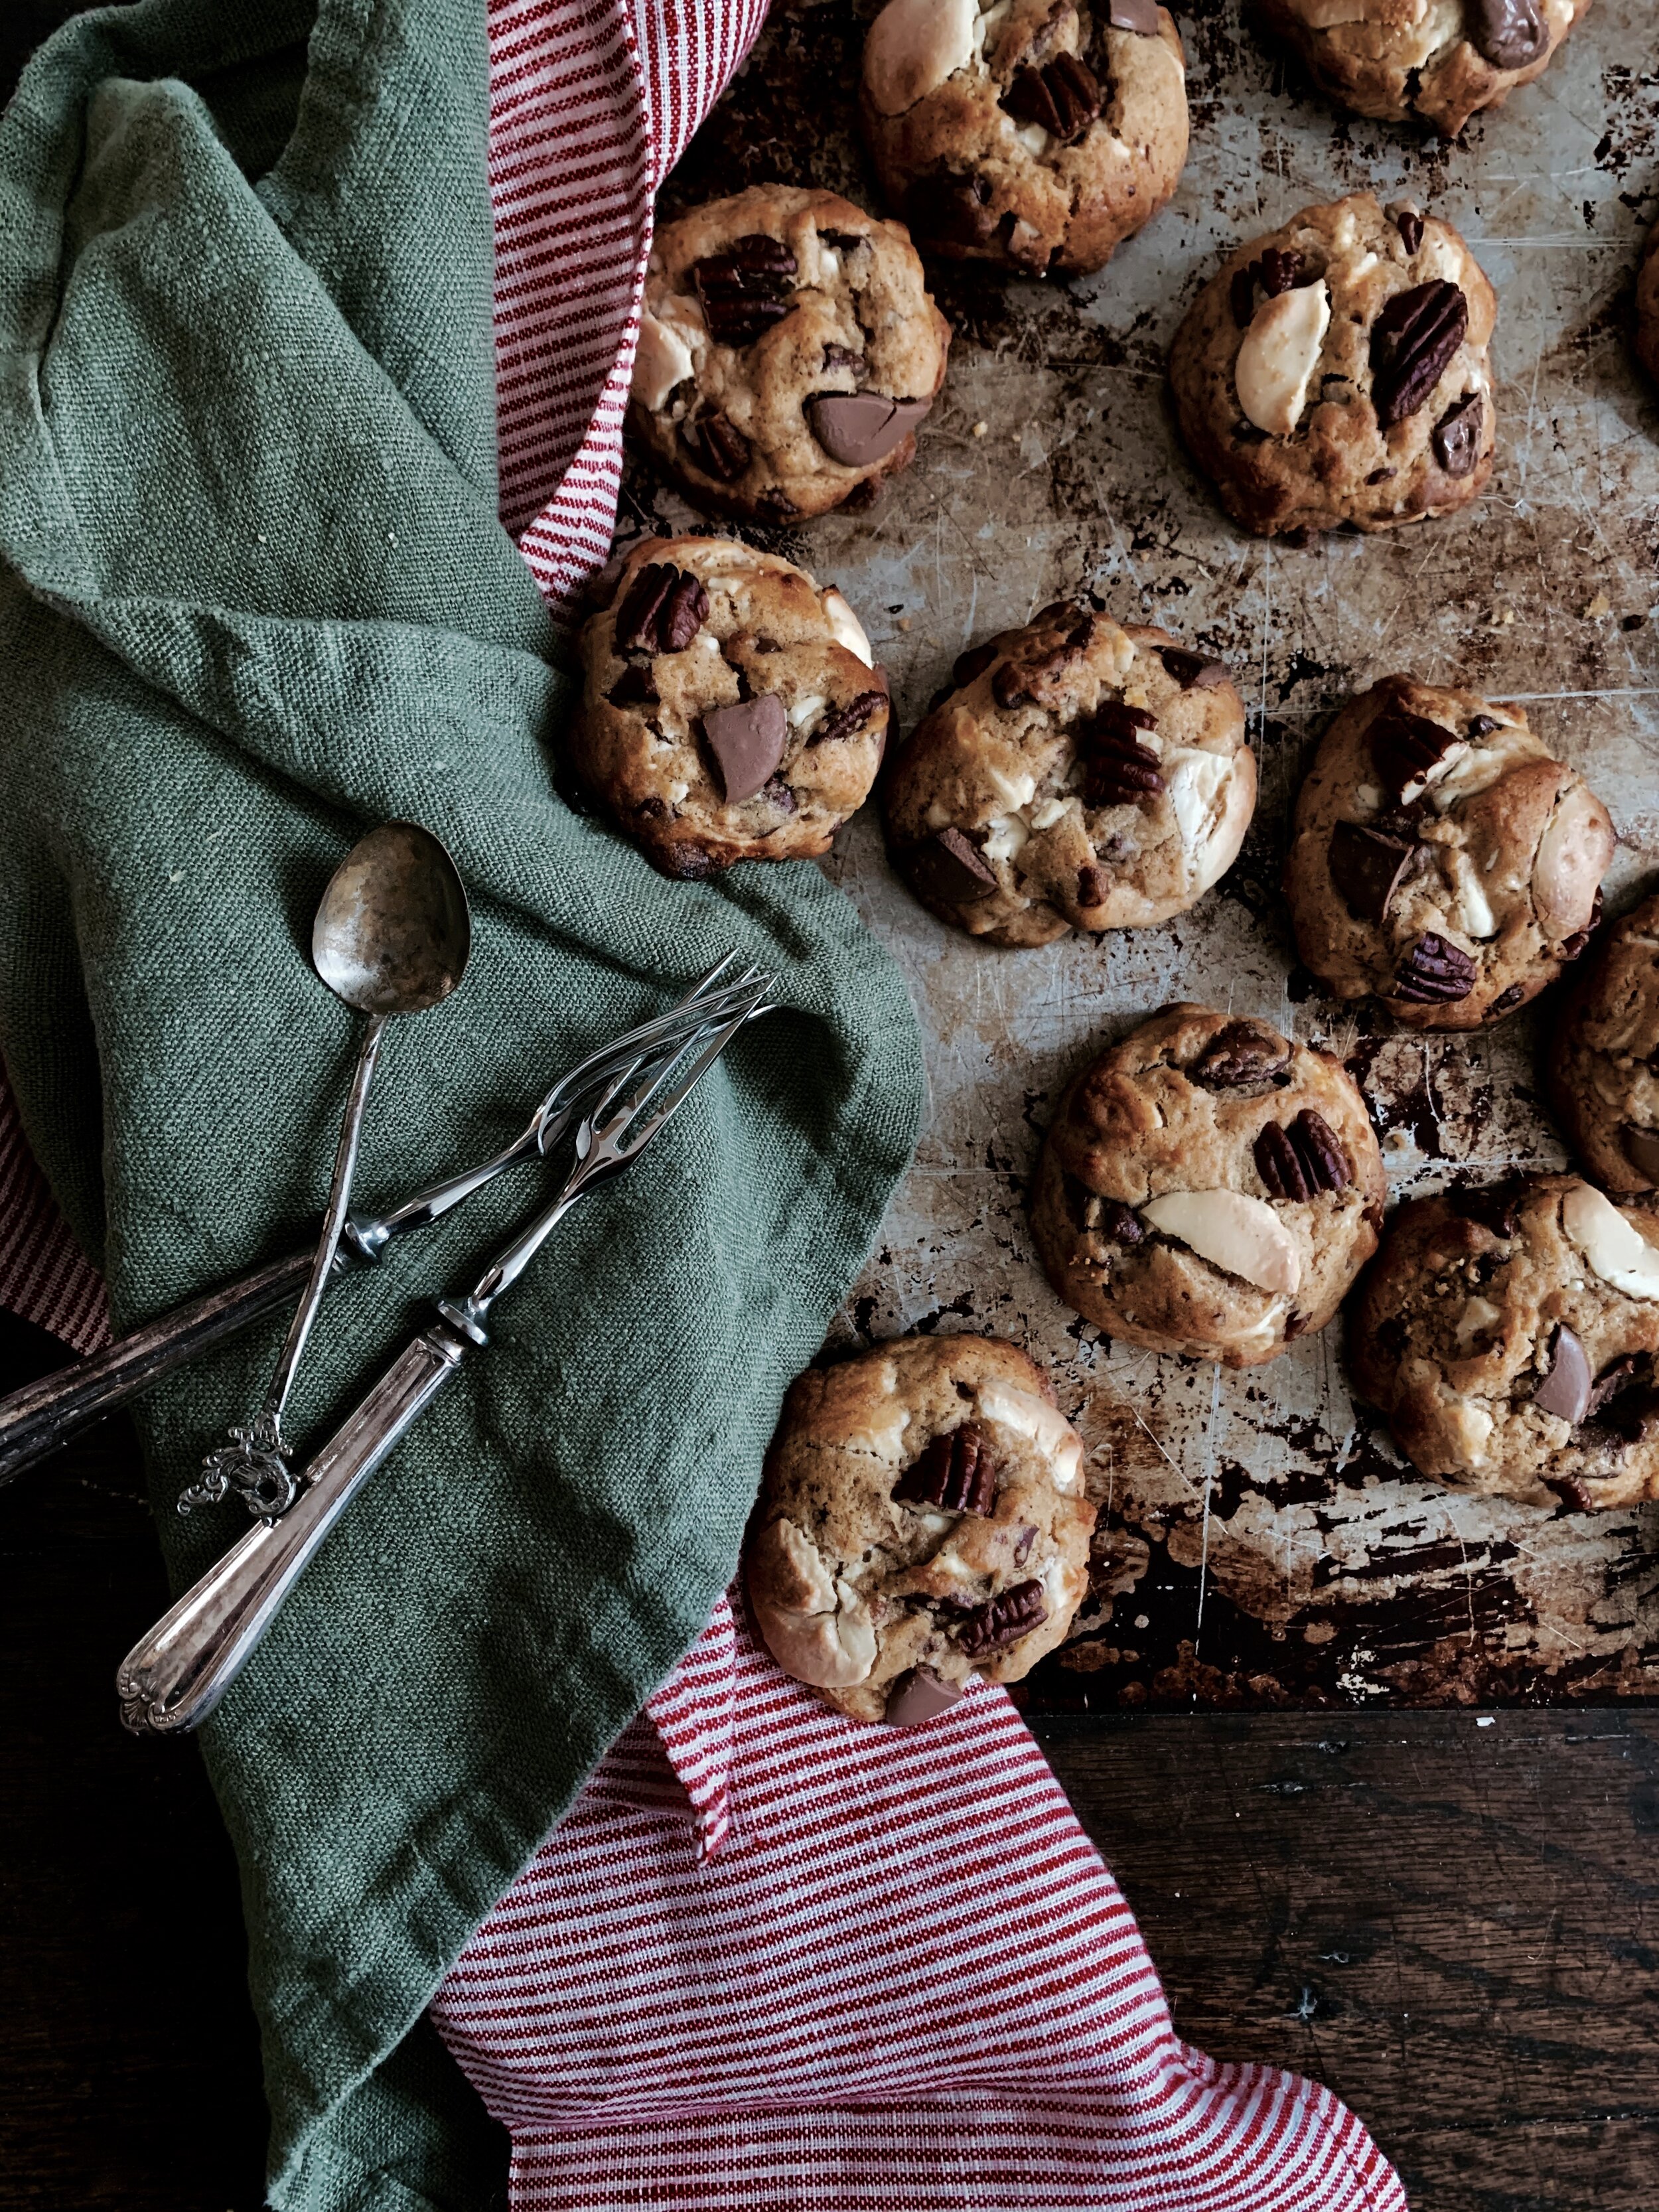
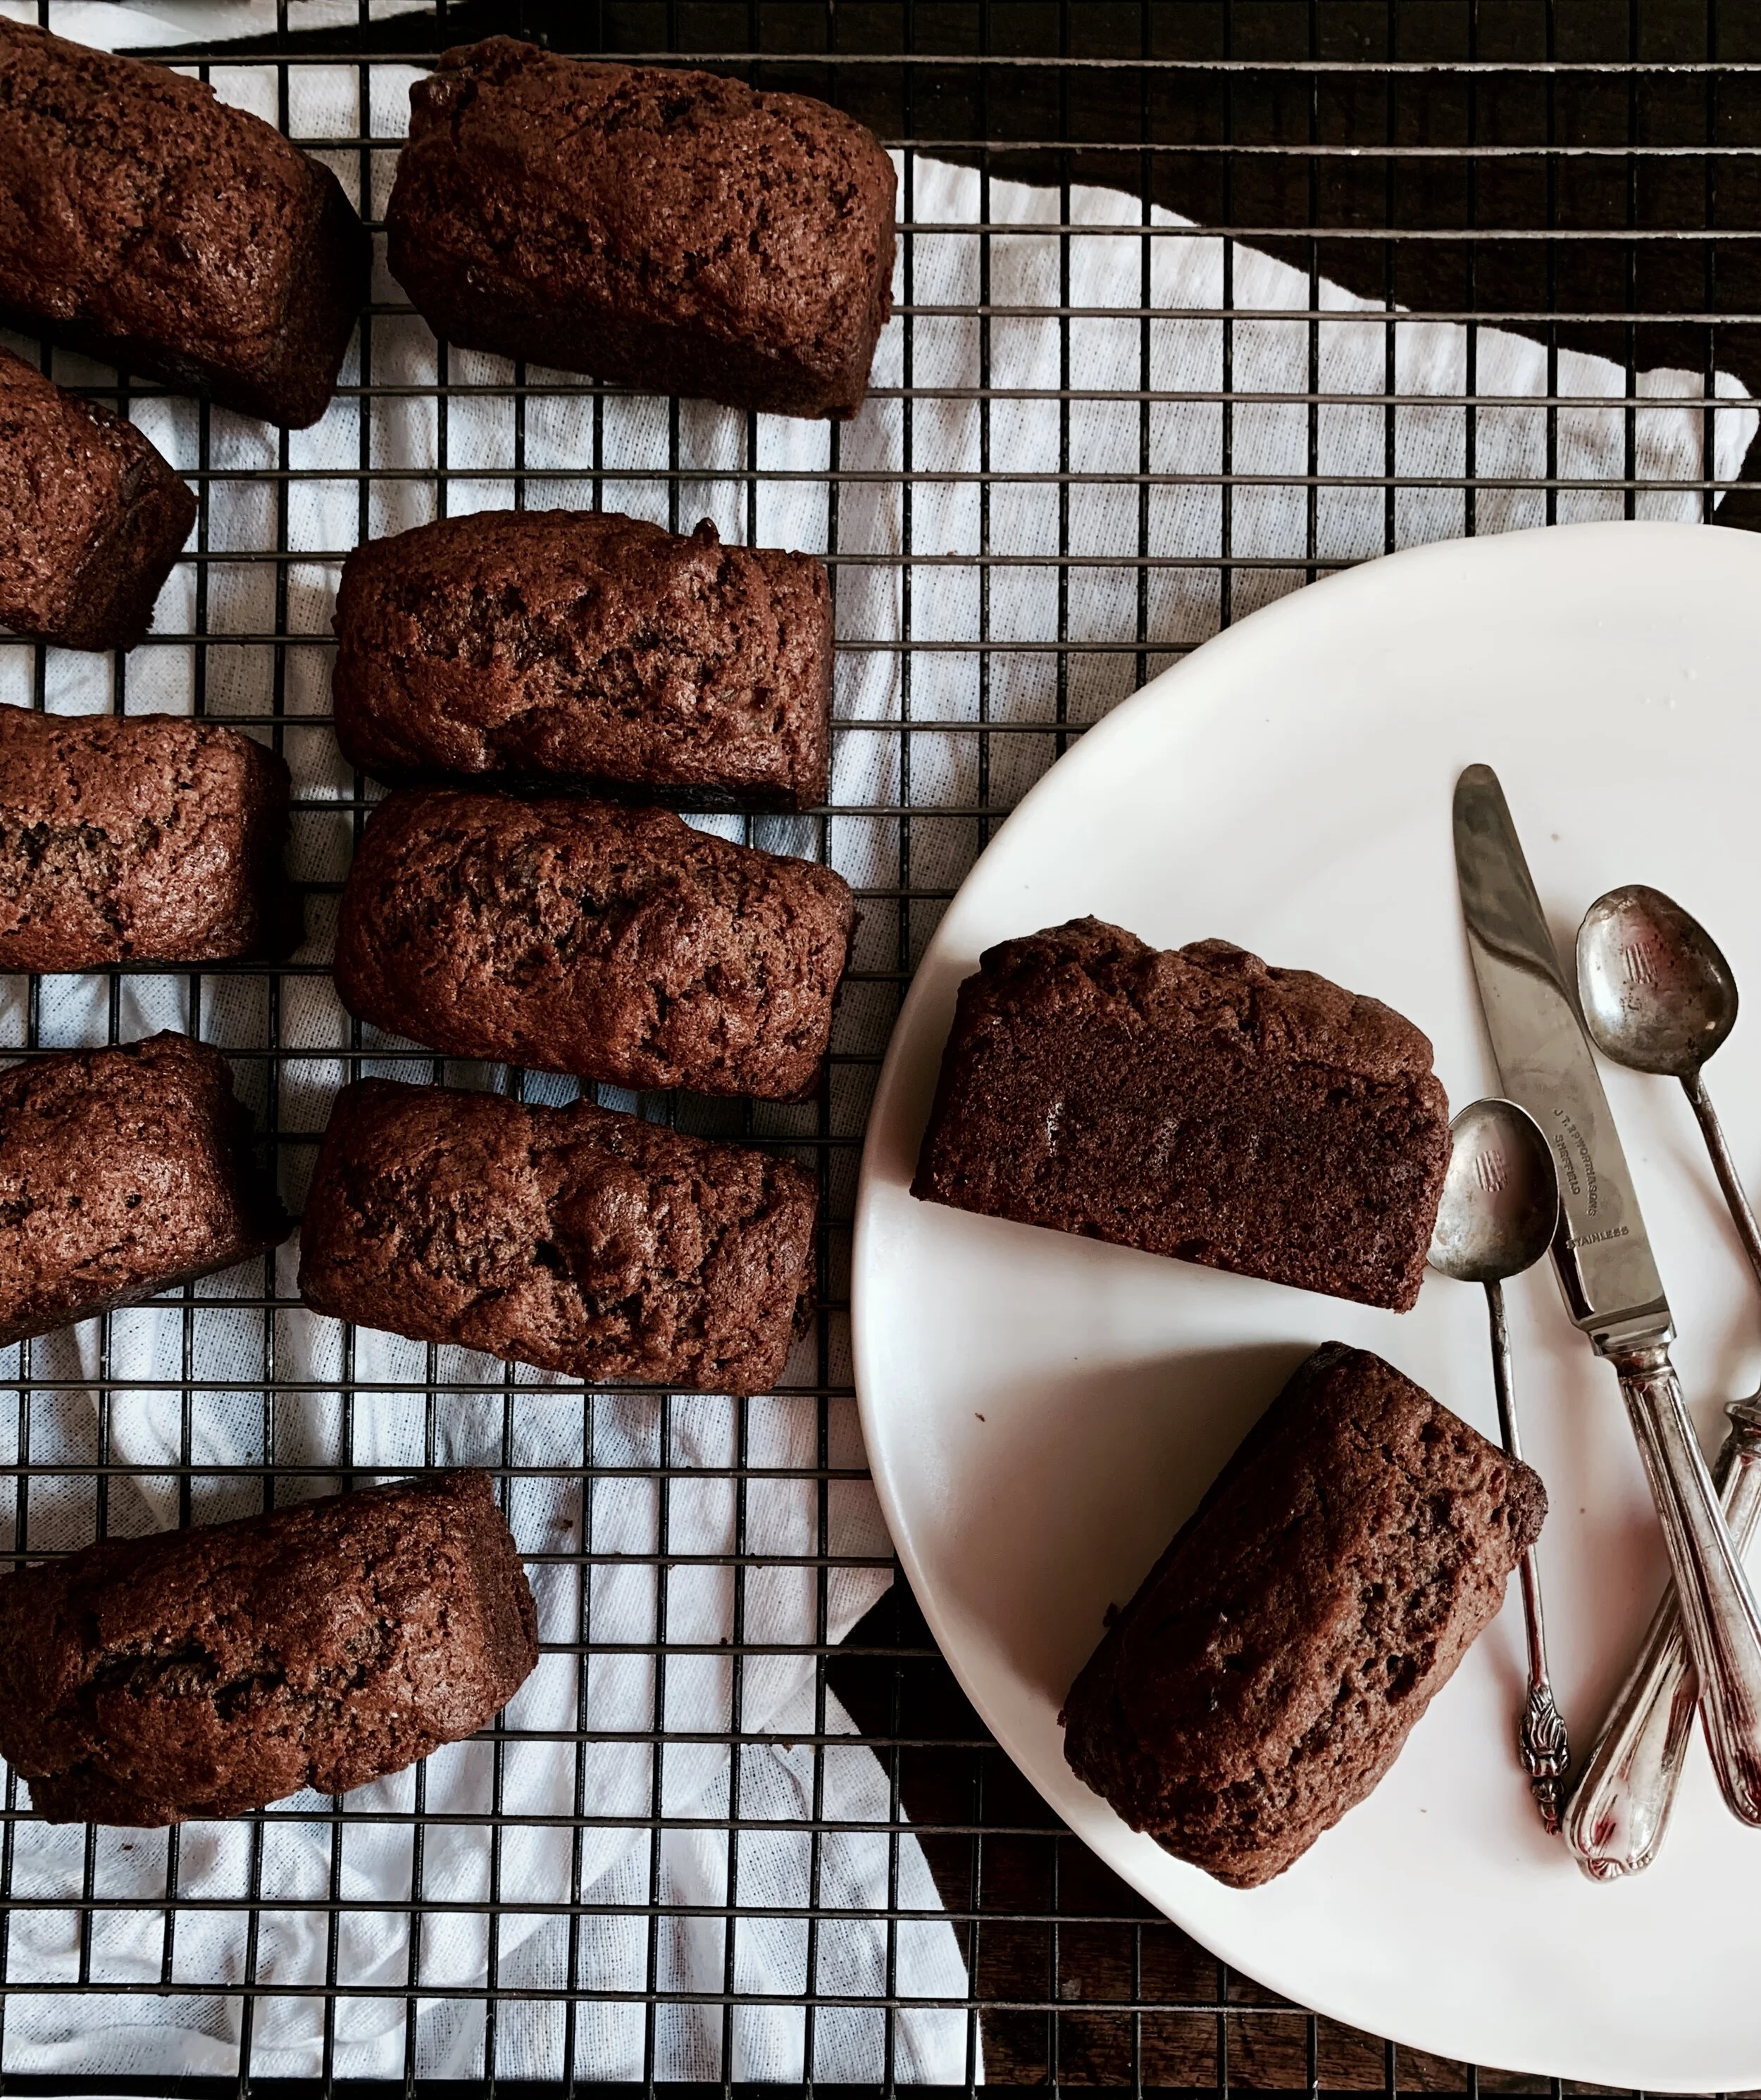
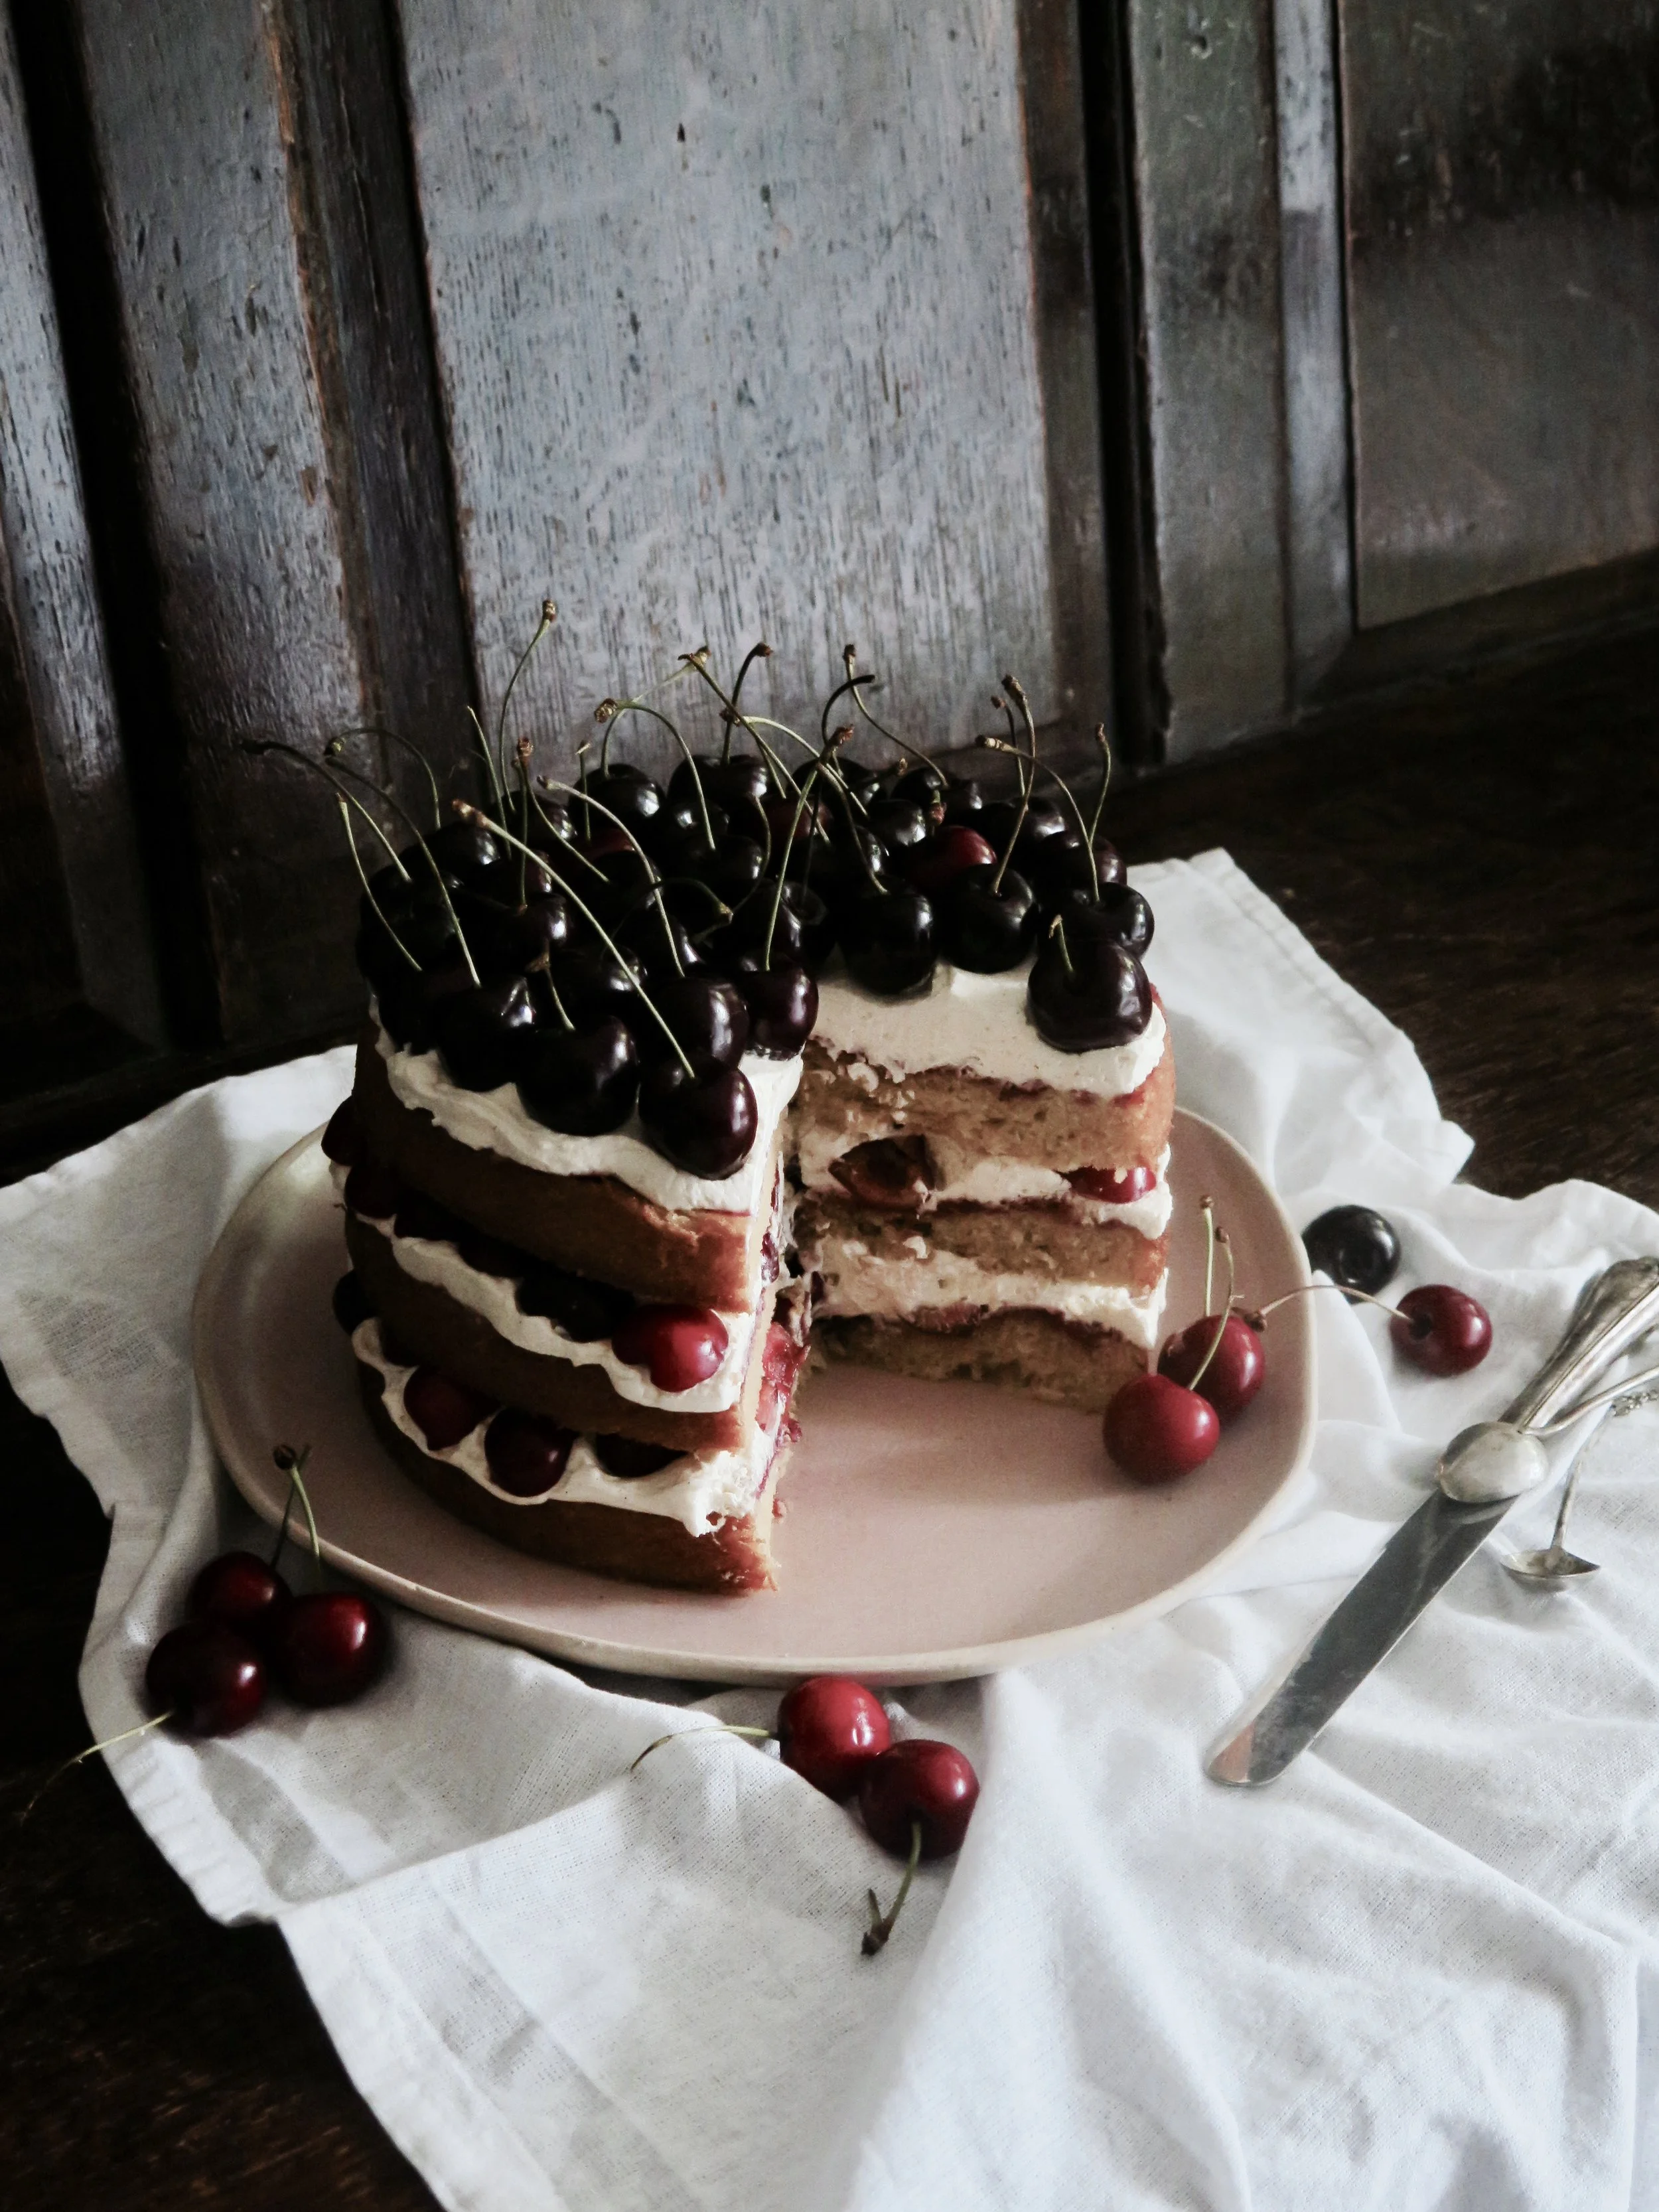
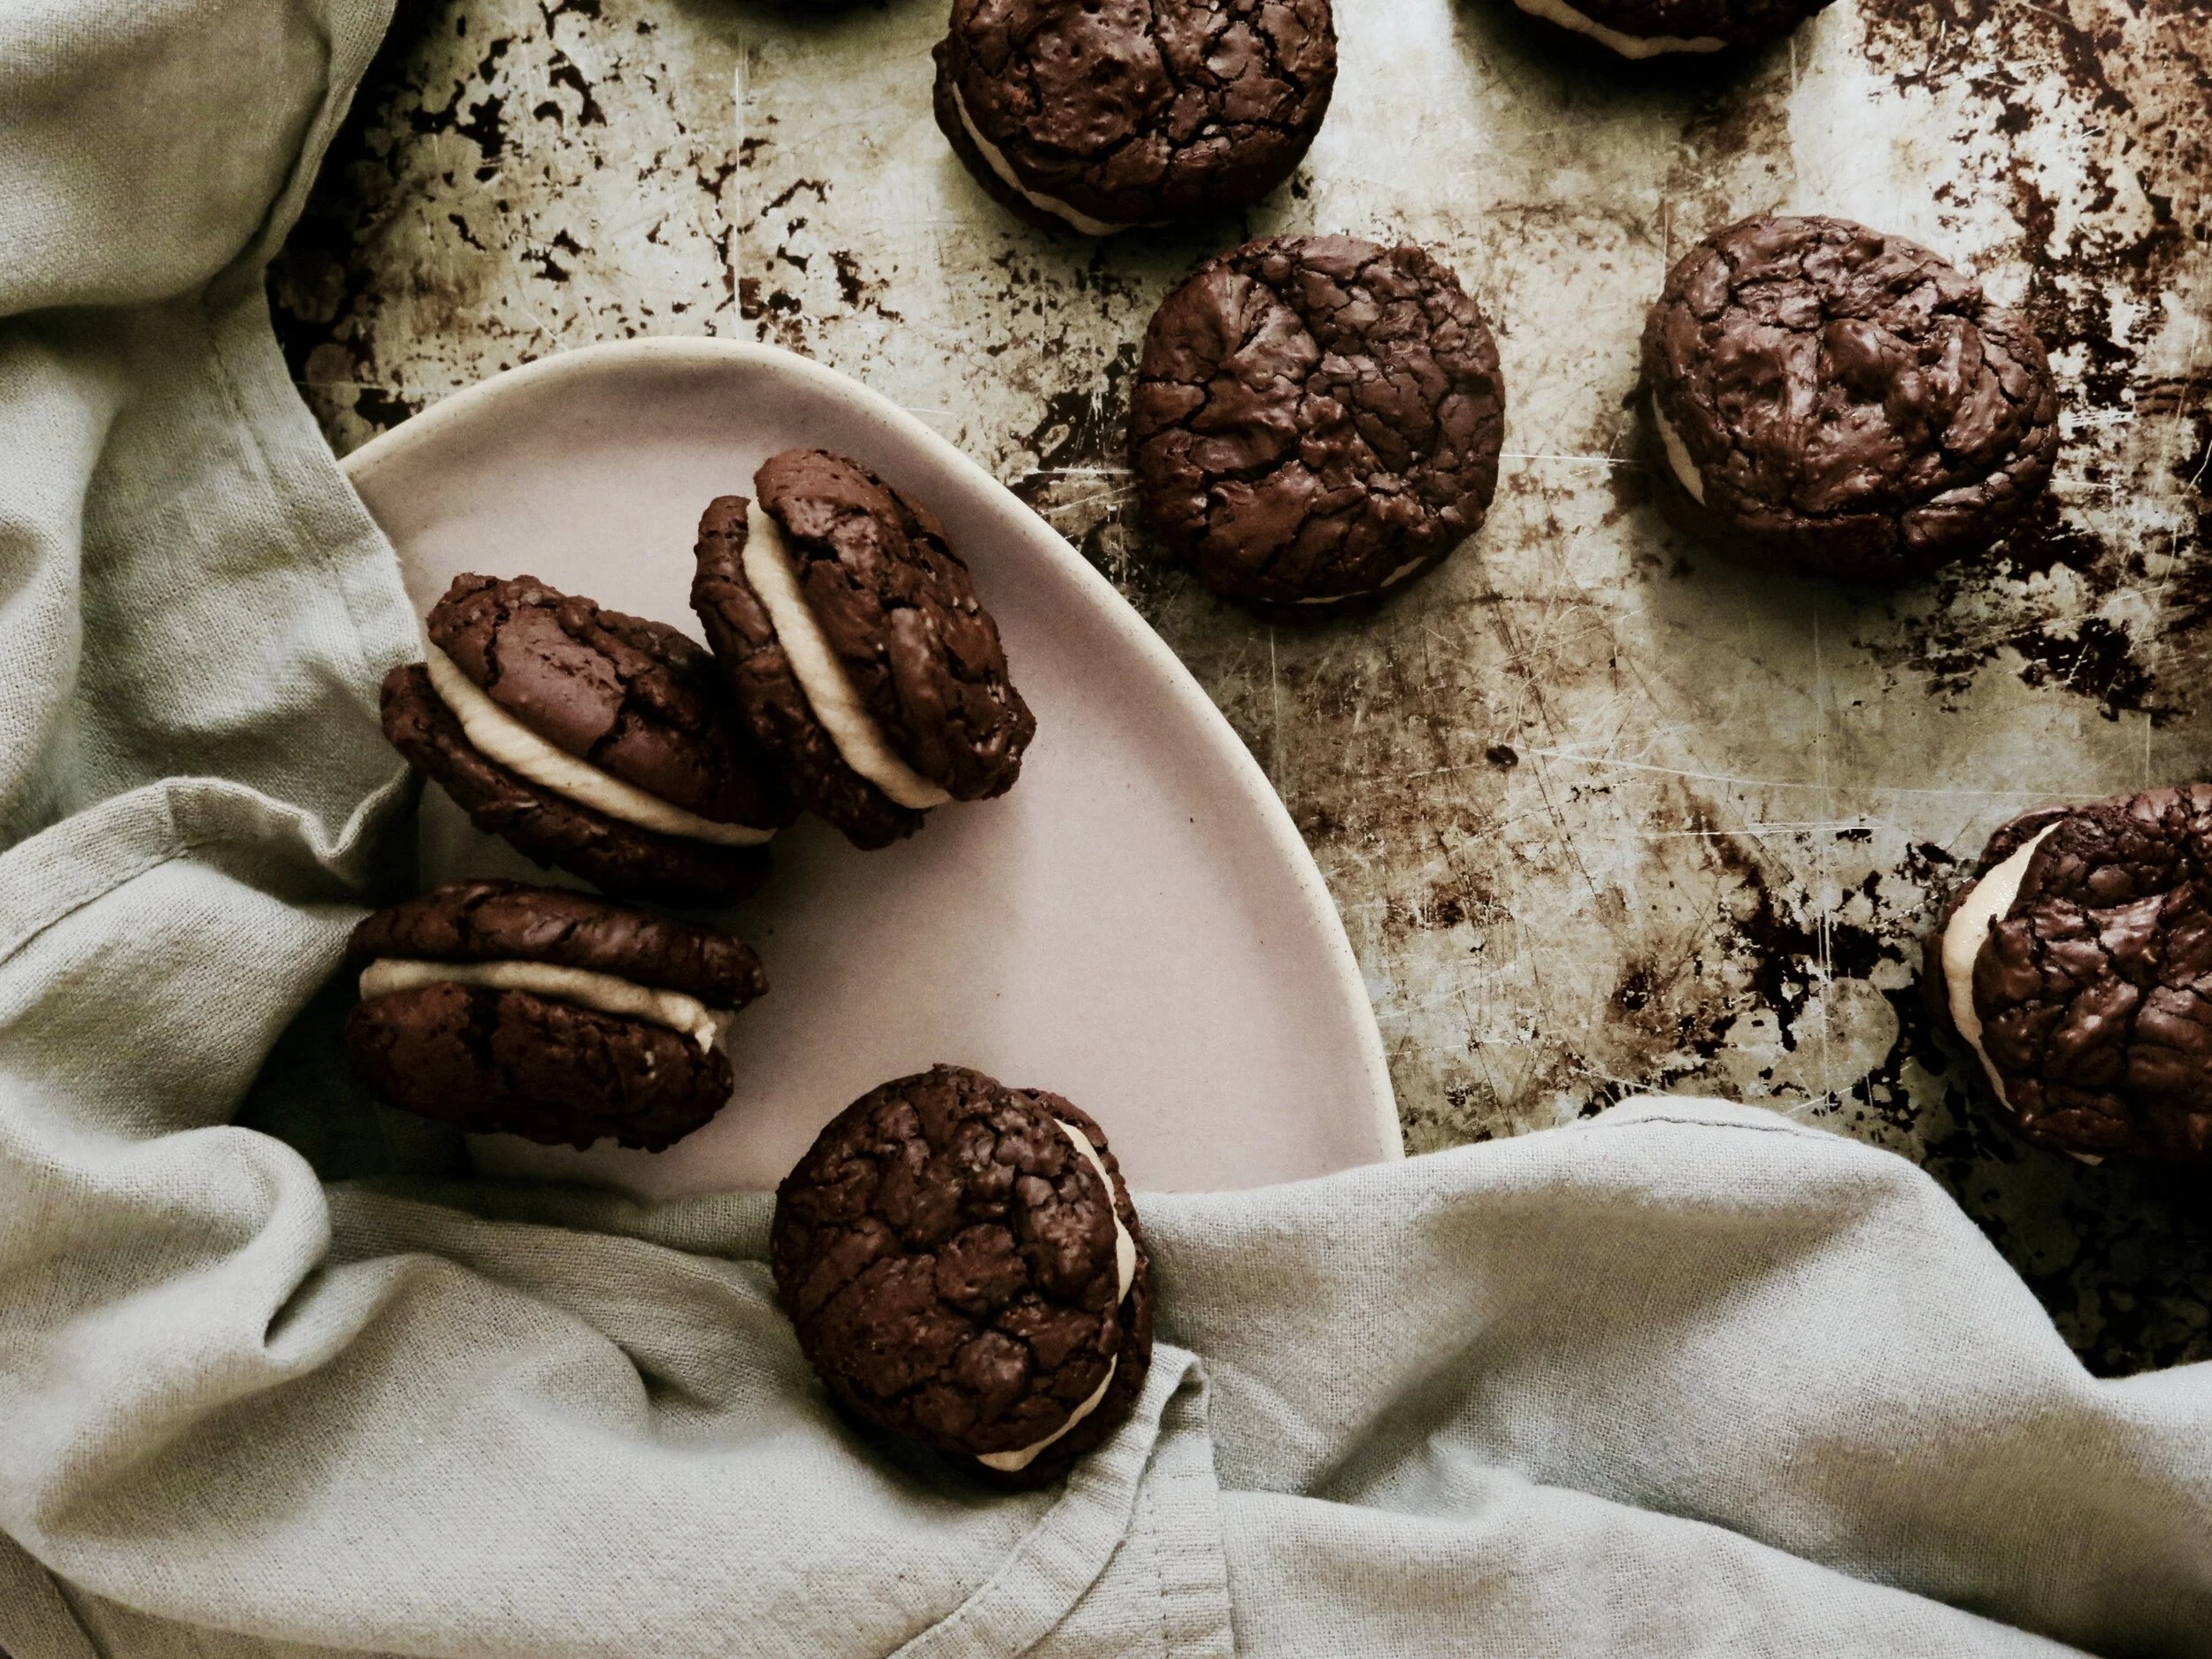
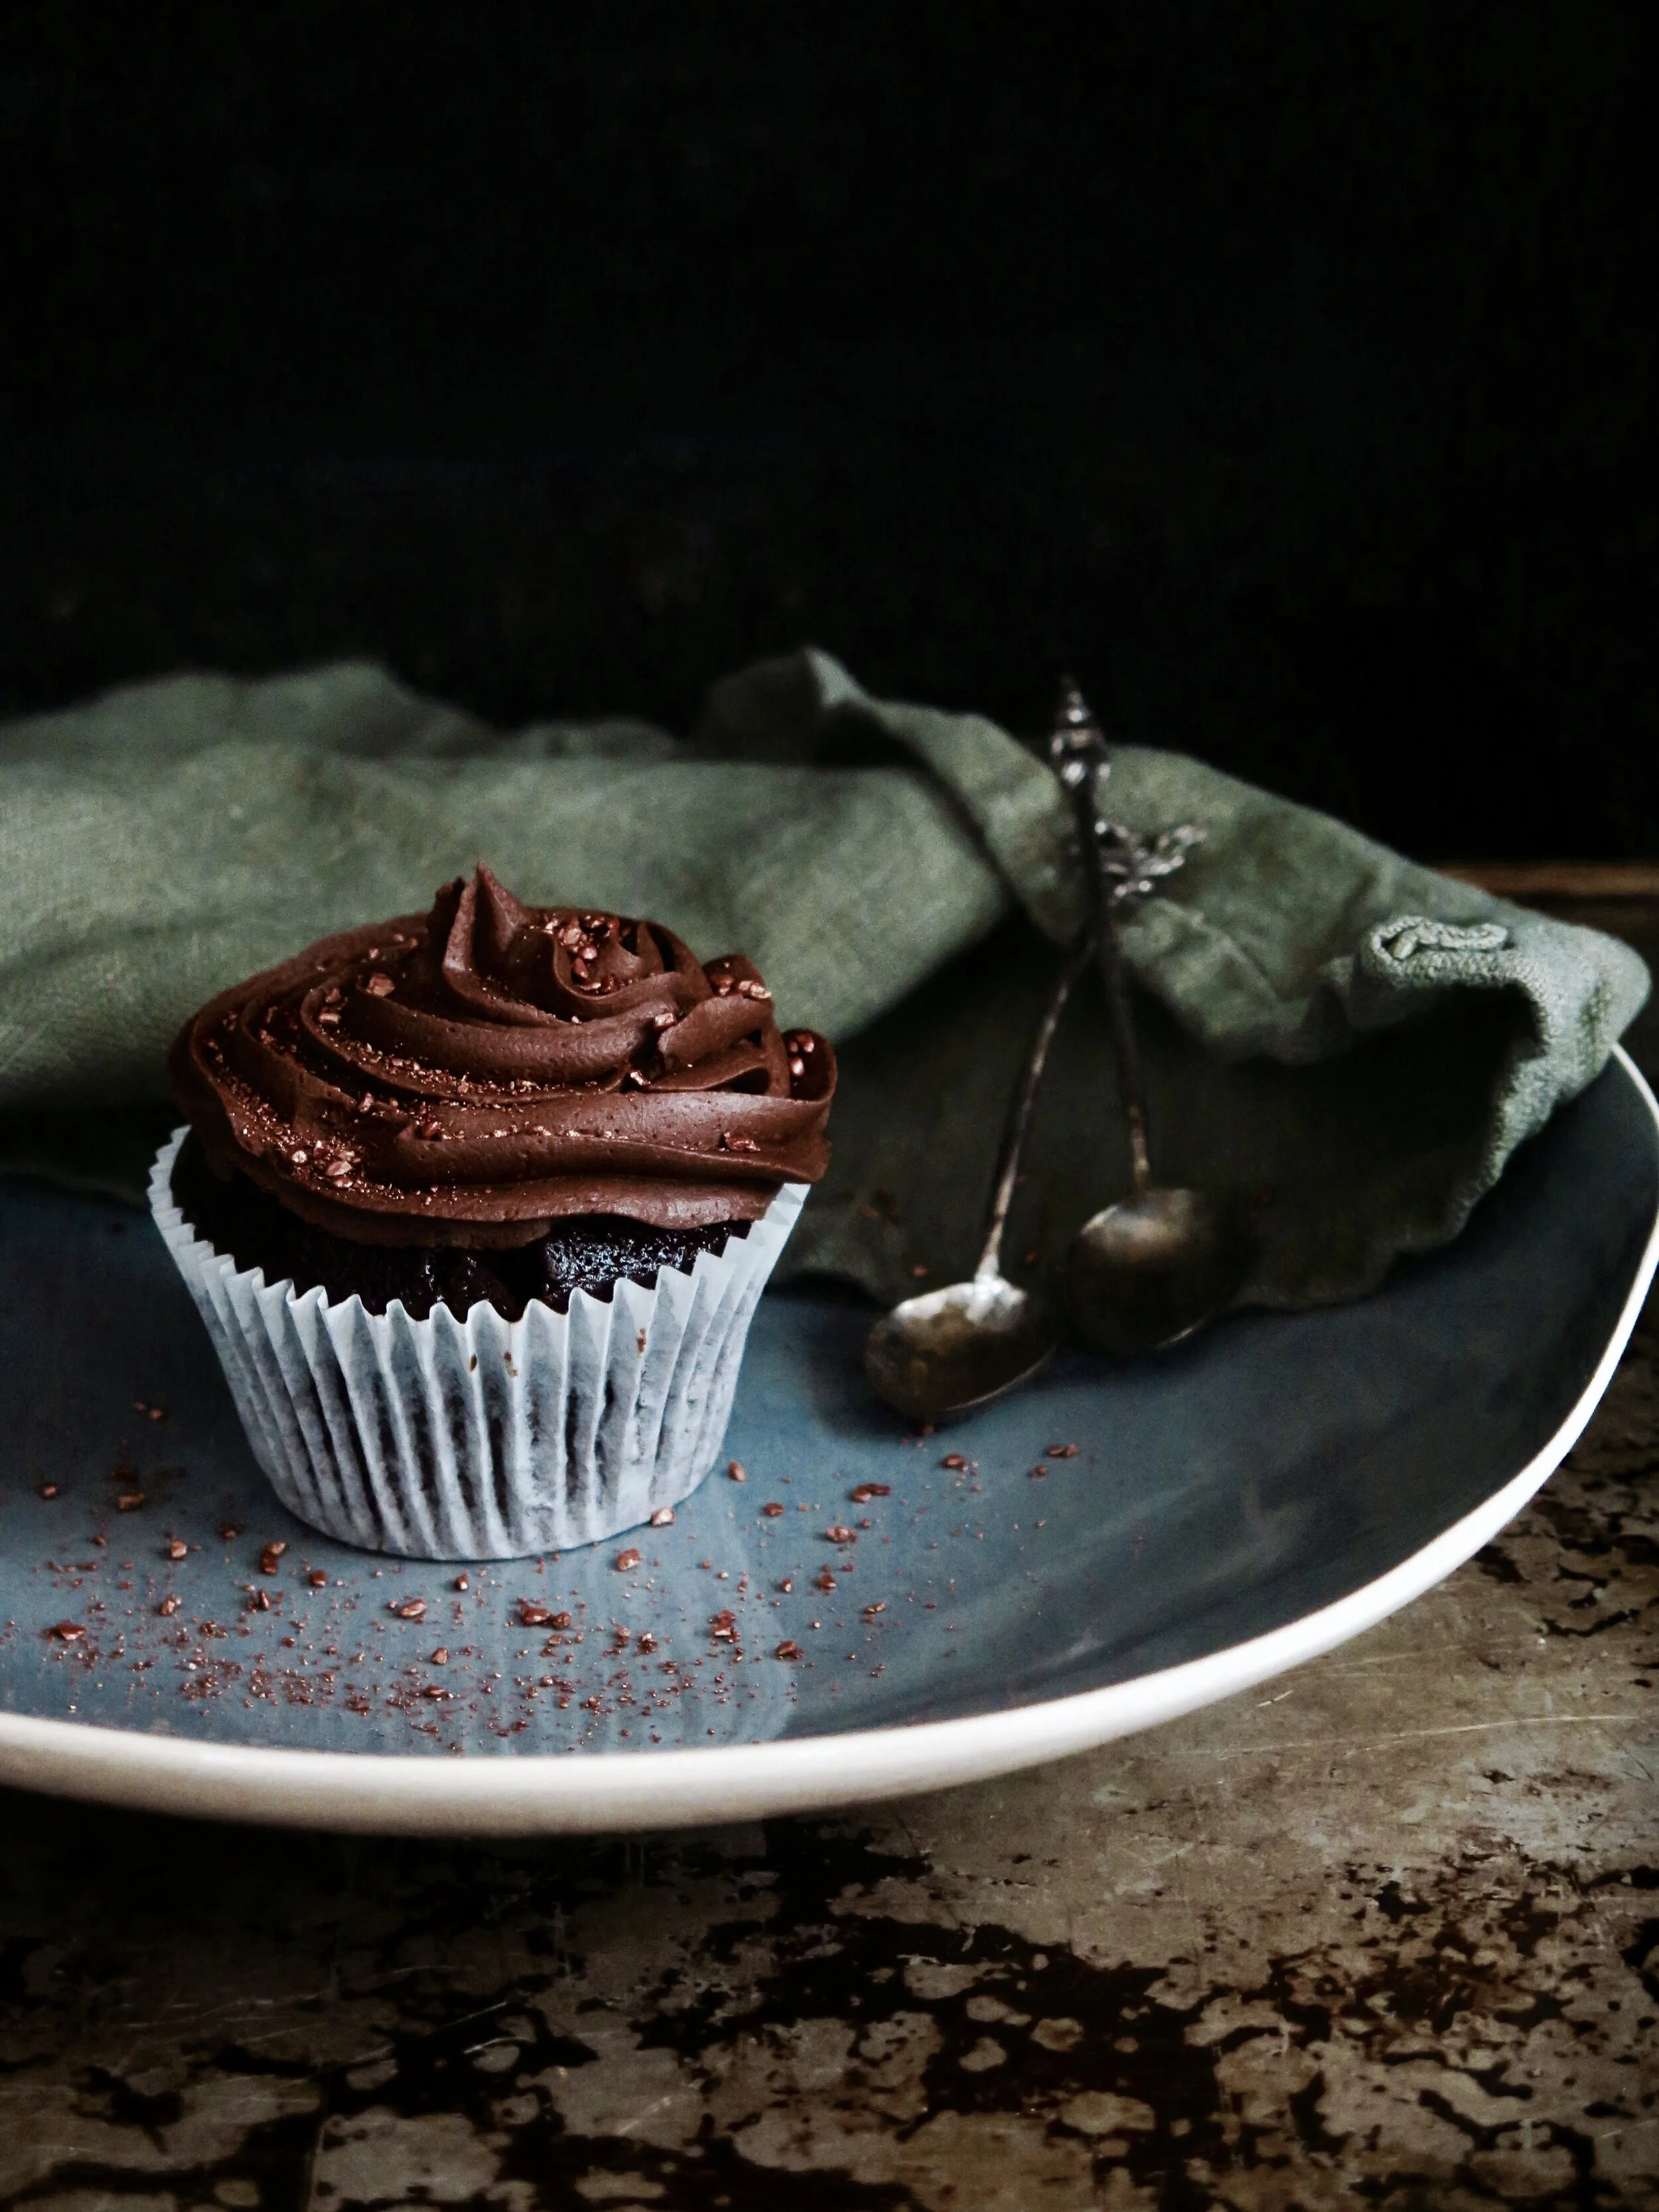
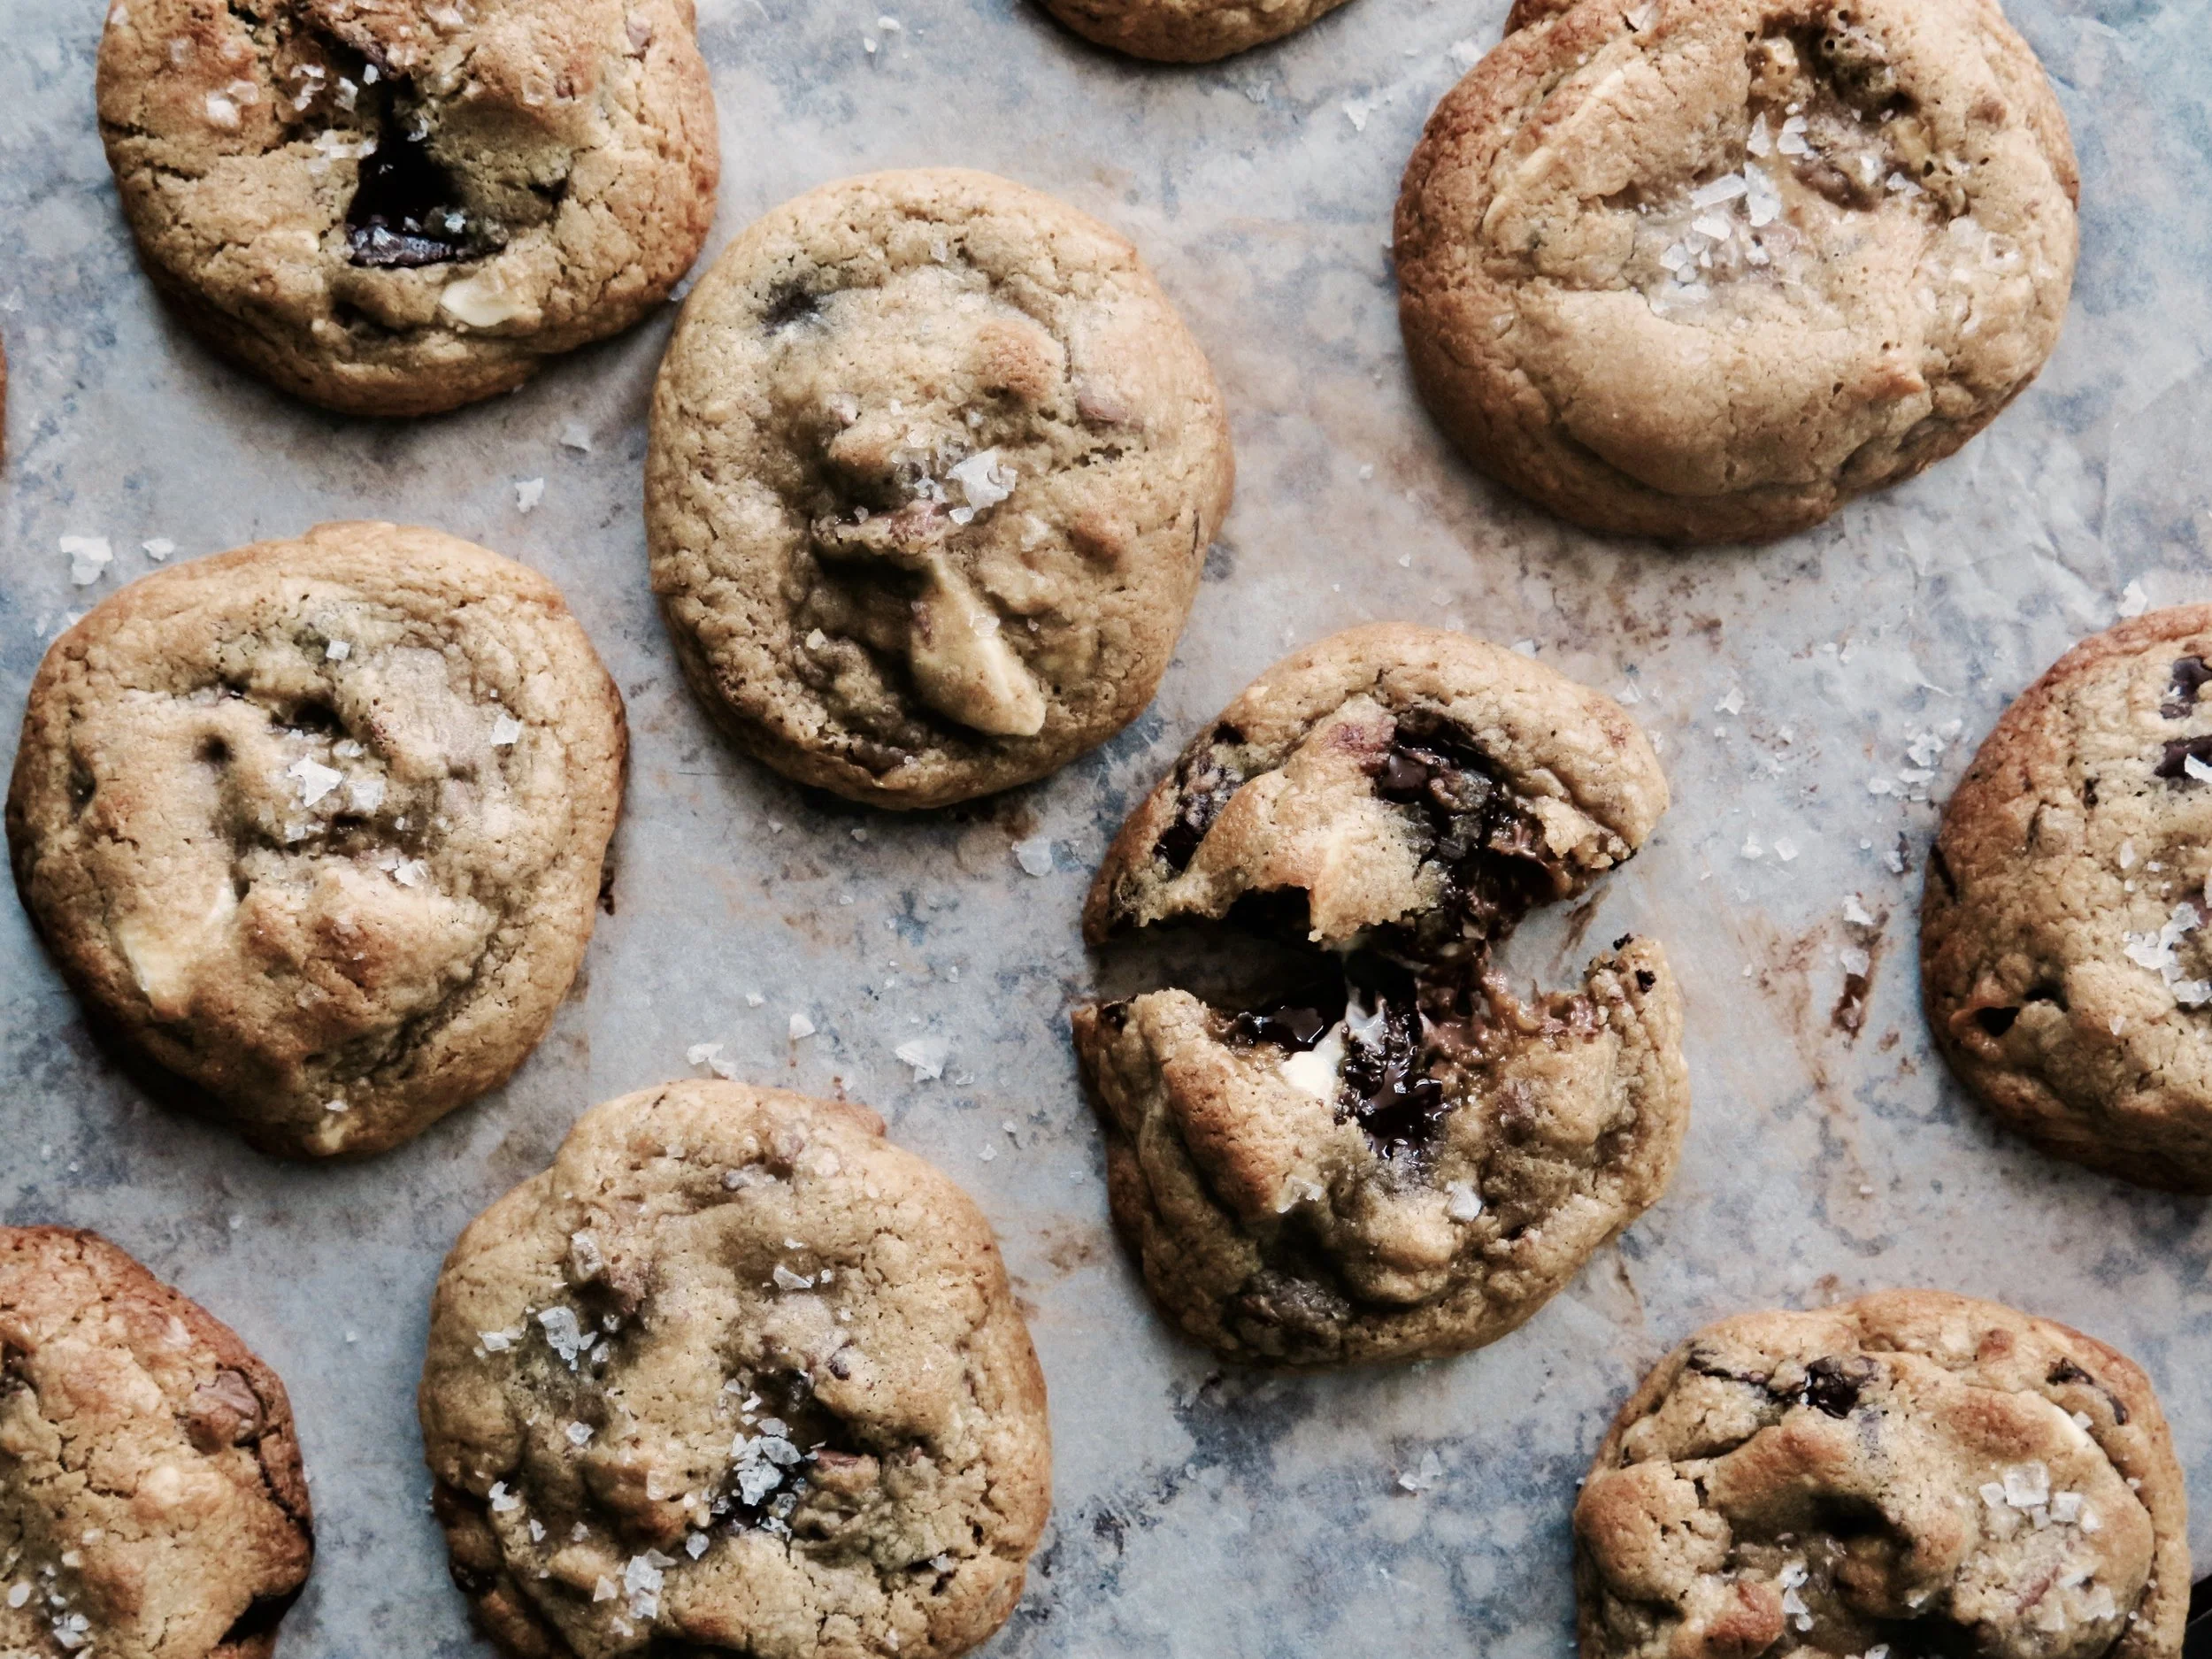
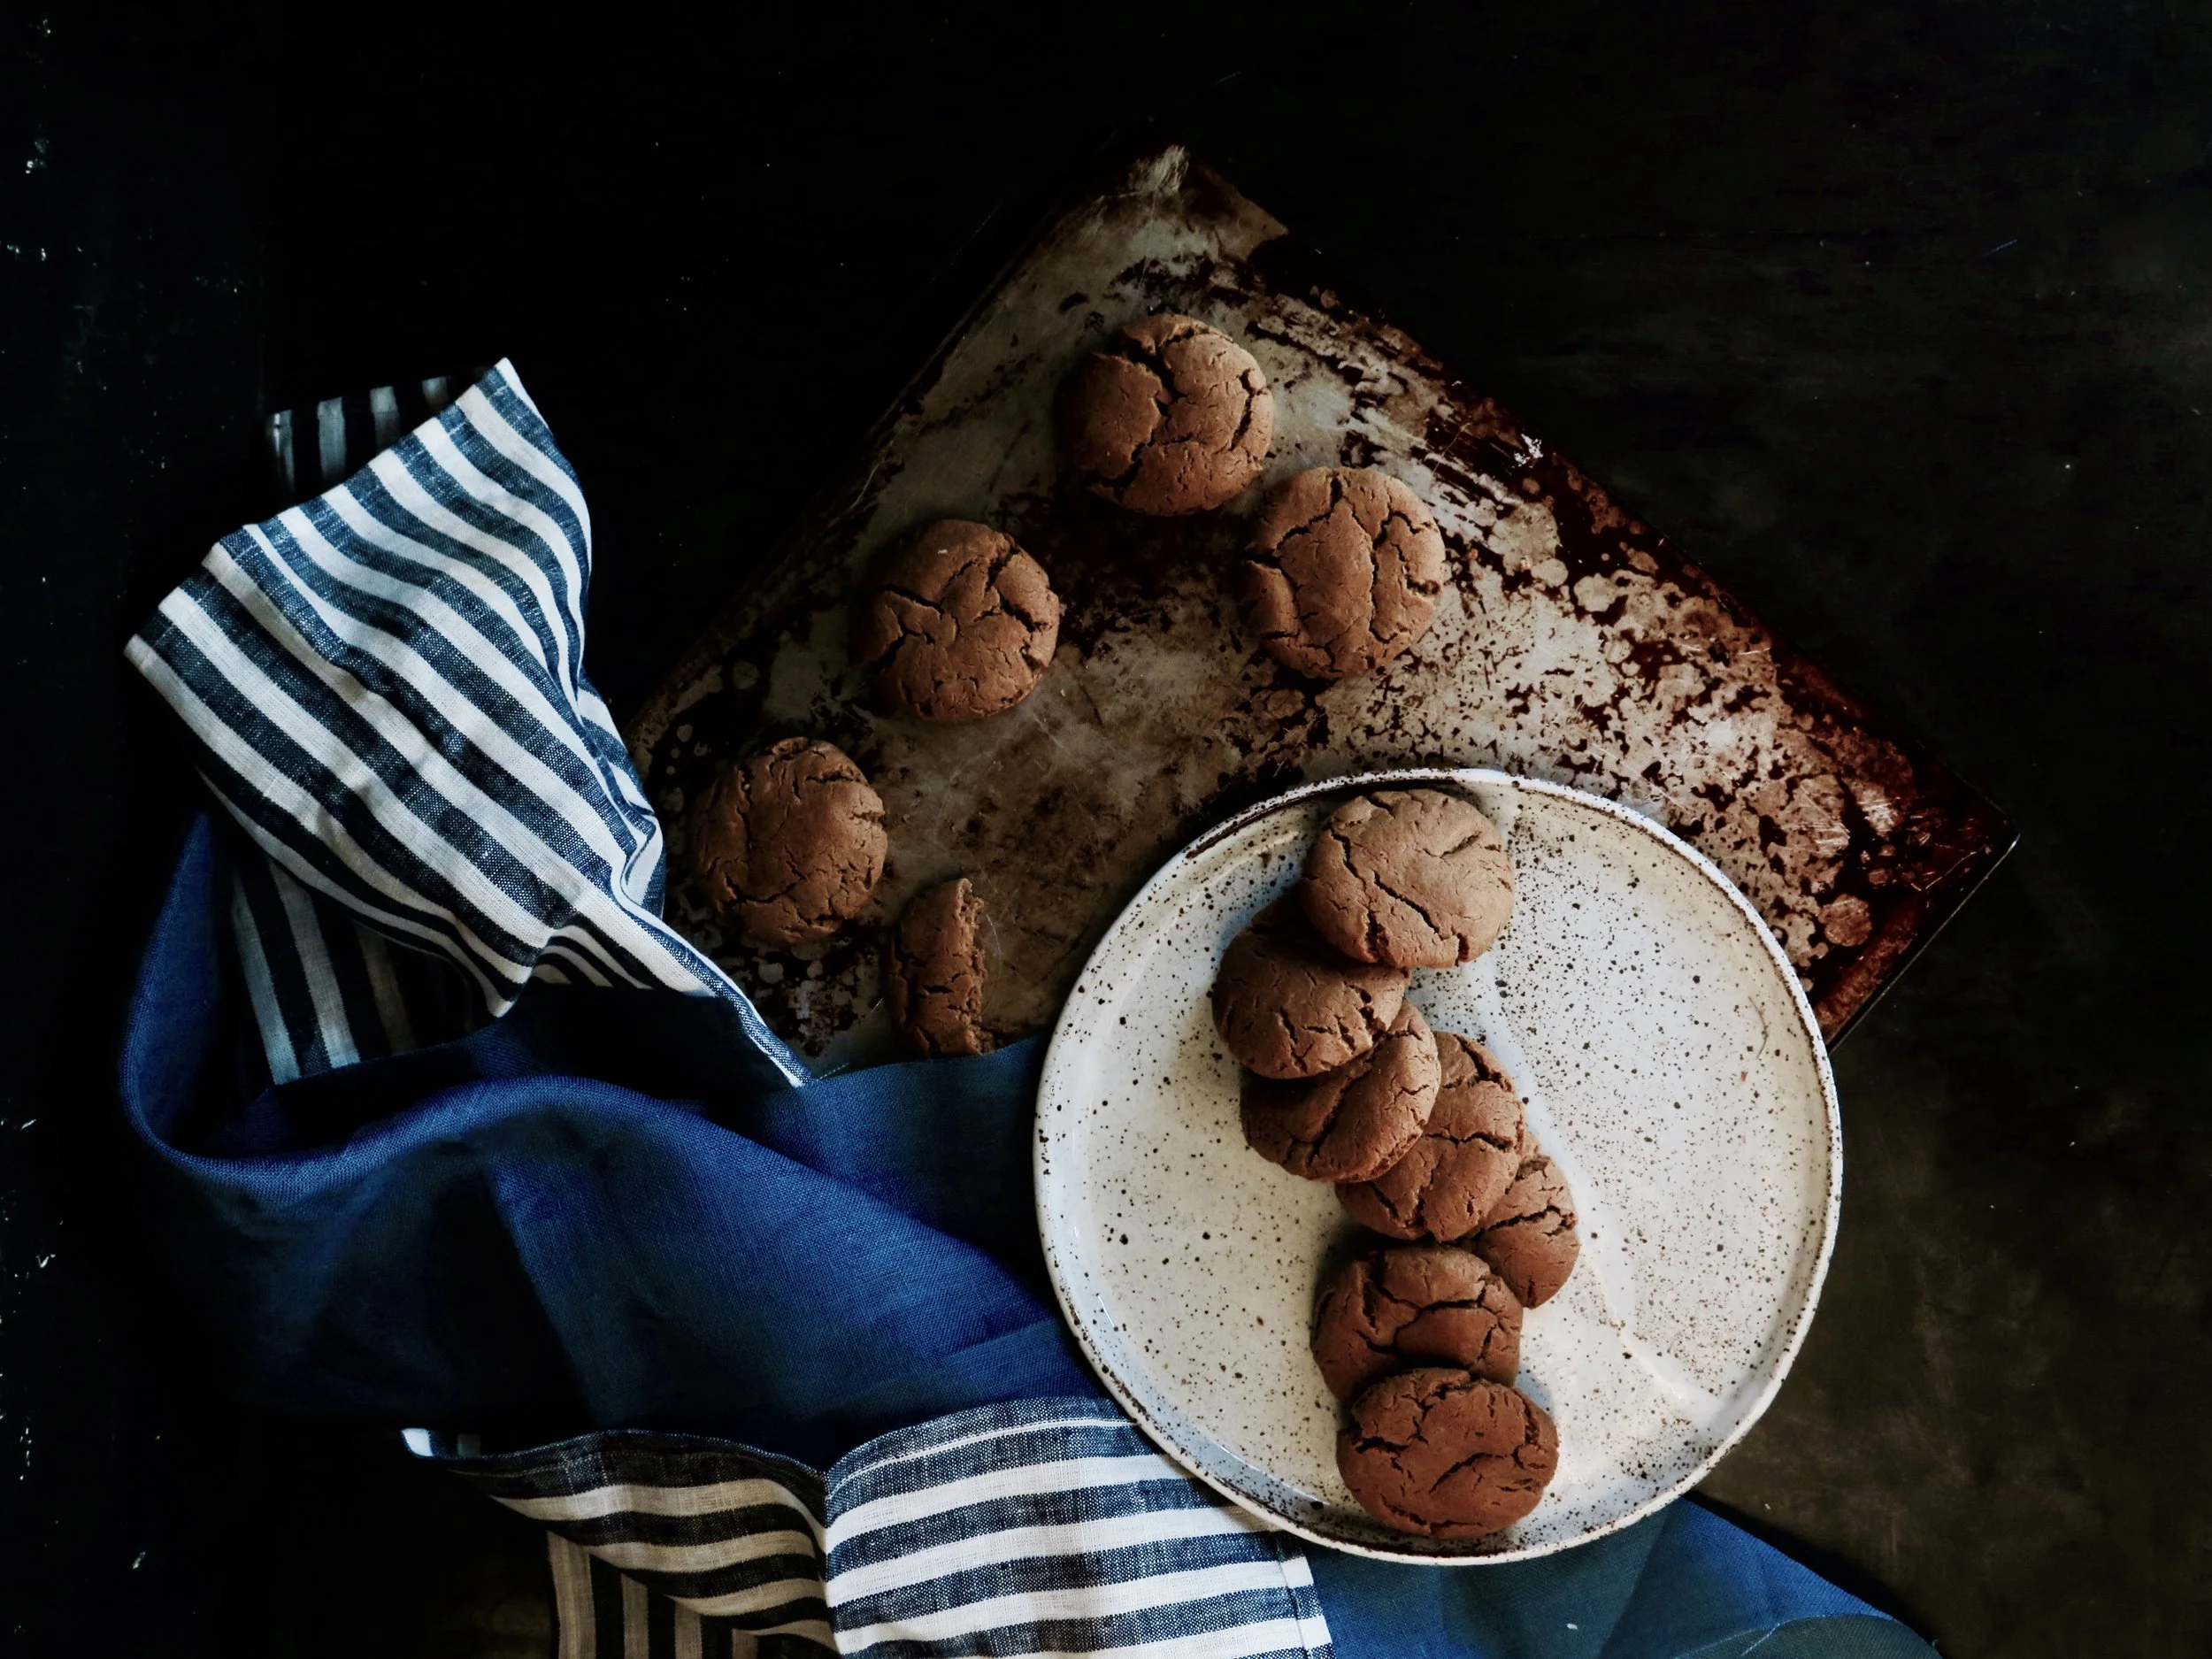
These are slightly different from my other cookie recipes – they’re NYC-style: enormous, and molten and tender, to the point where they very nearly collapse when lifted. They’re saturated with chocolate and have the delicious crunch of walnuts and a touch of sea salt to counteract their sweetness.
Viewing entries tagged
chocolate
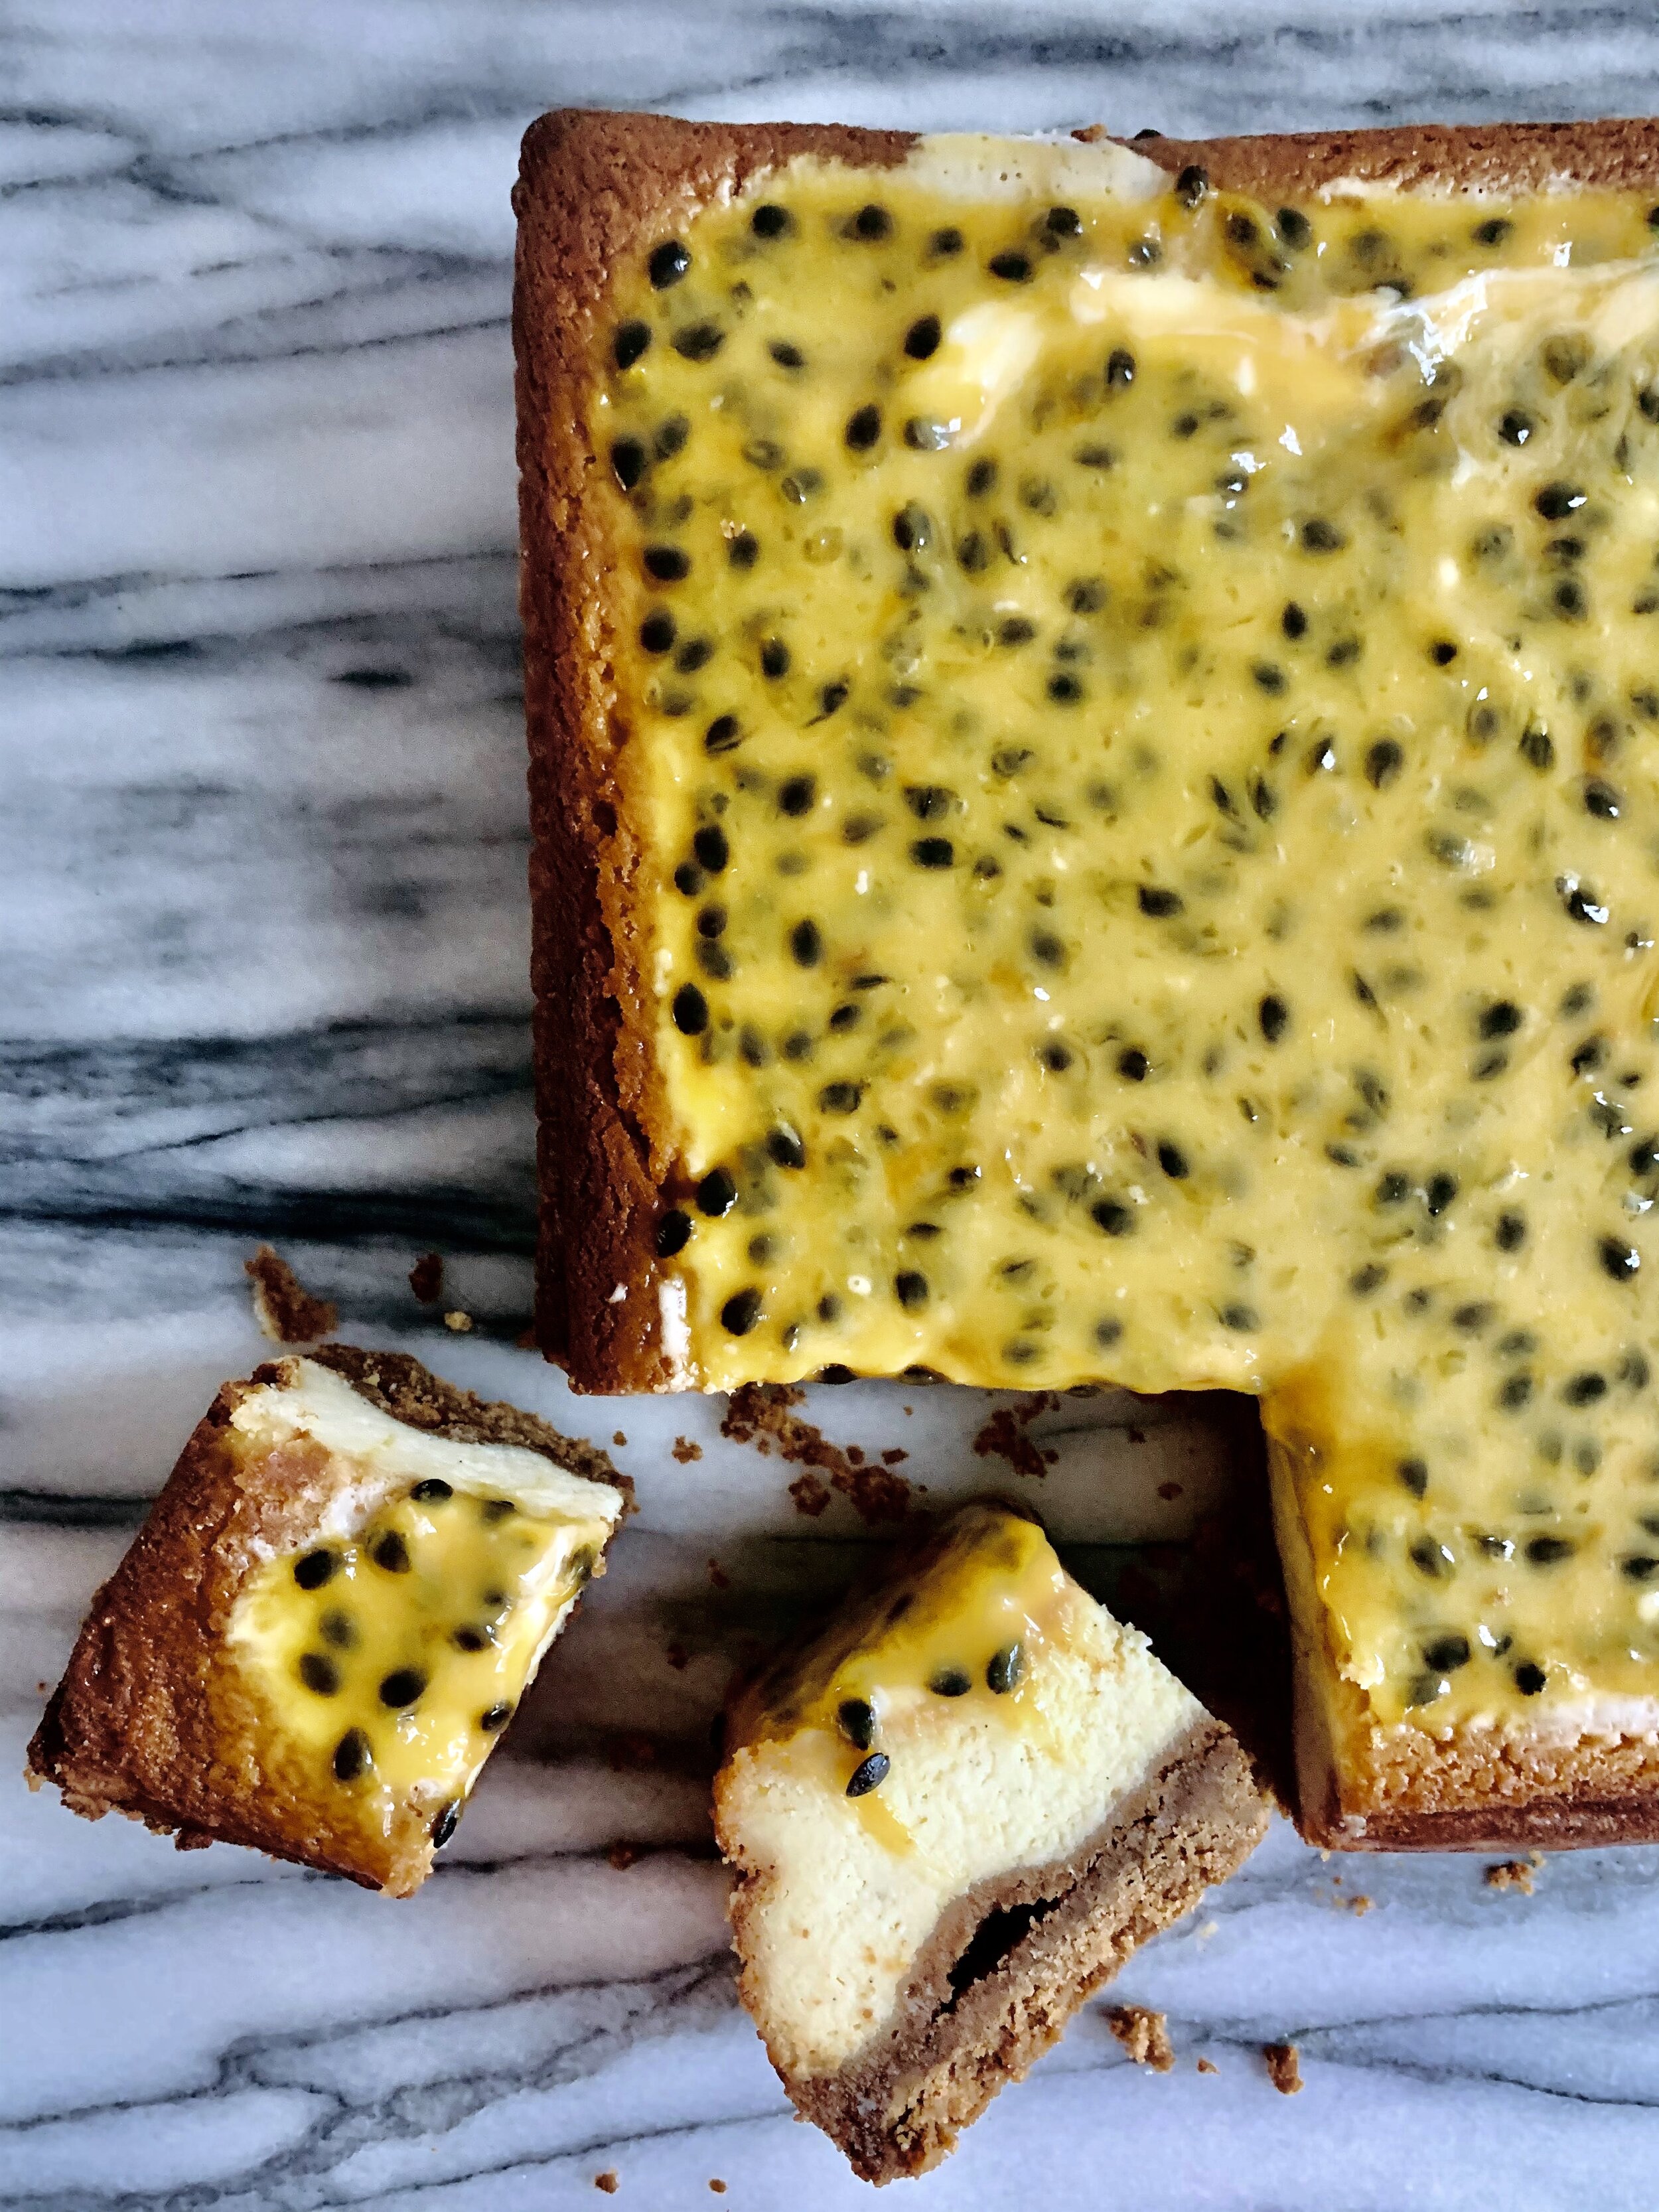
This cheesecake speaks for itself. It combines my three of my favourite things: lotus biscuits, white chocolate and passionfruit. The lotus biscuits make the perfect base, providing an almost umami, caramelised base.
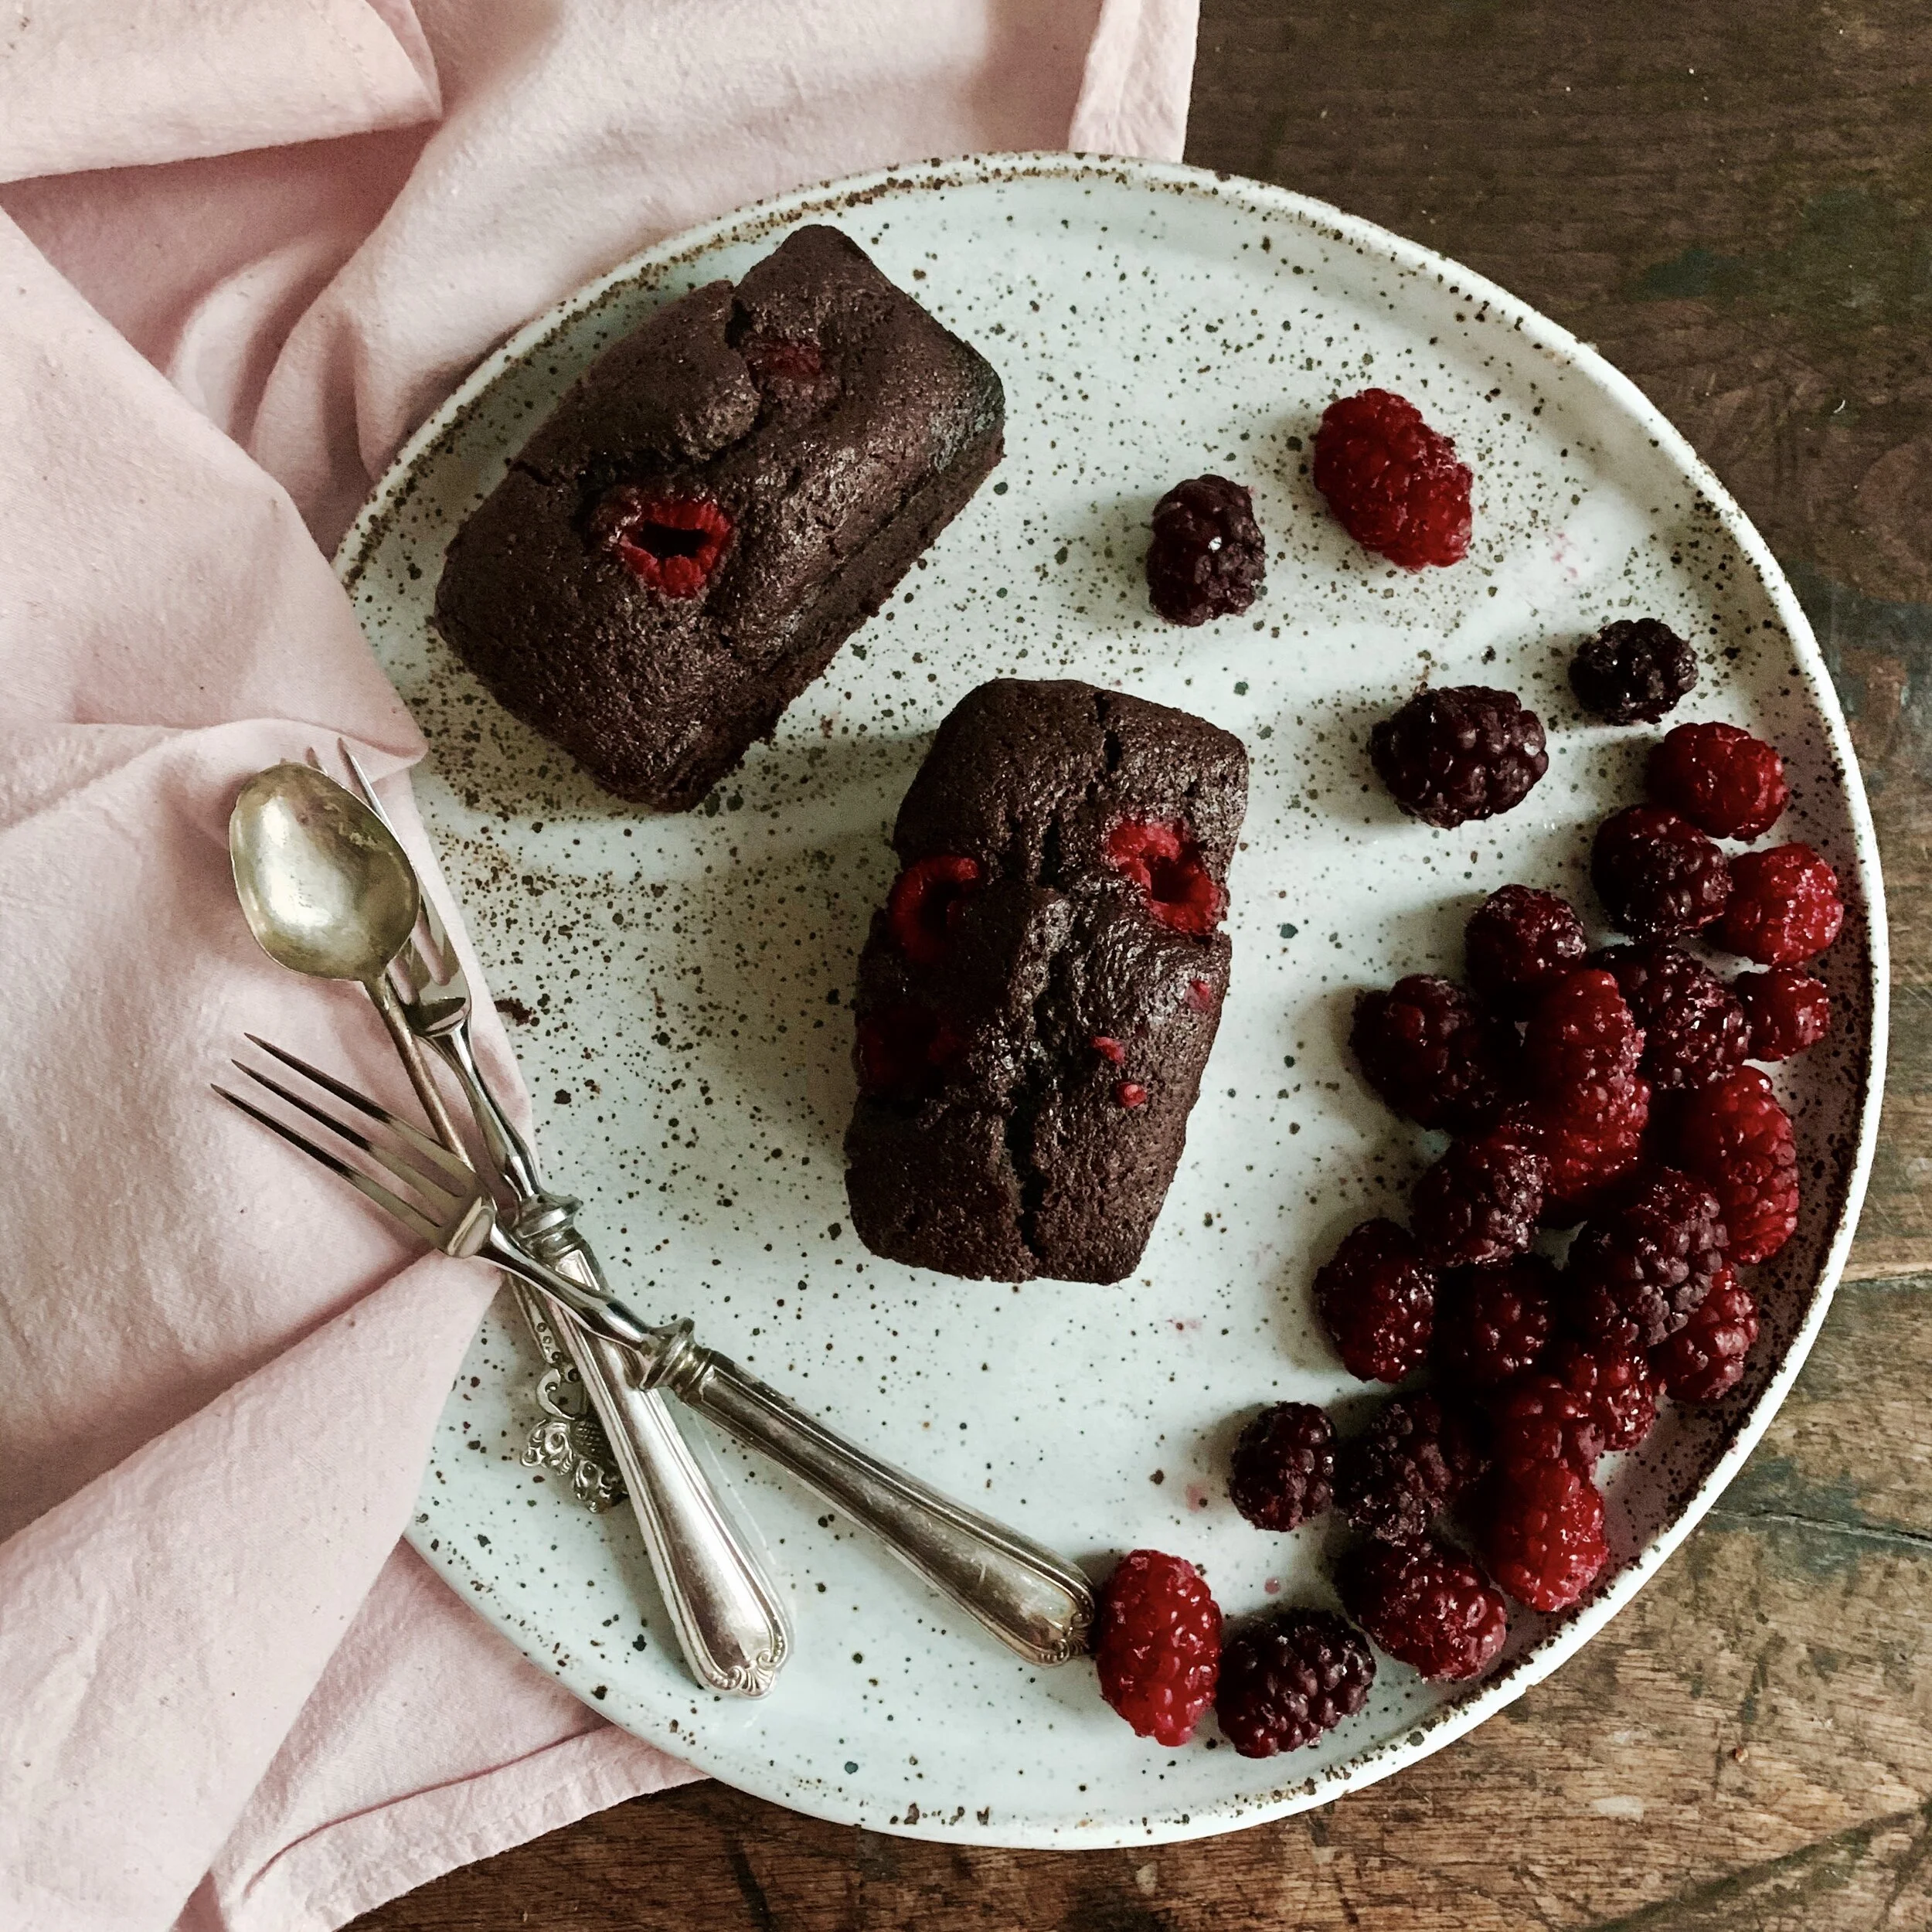
The cake is tender and chocolatey and, when cut open, reveals a molten centre. The raspberries add that vital fresh astringency to cut through the sweetness and make a second piece impossibly hard to resist.
Once again, this recipe comes with a disclaimer that despite being vegan, the cake does not vaguely taste “vegan”.
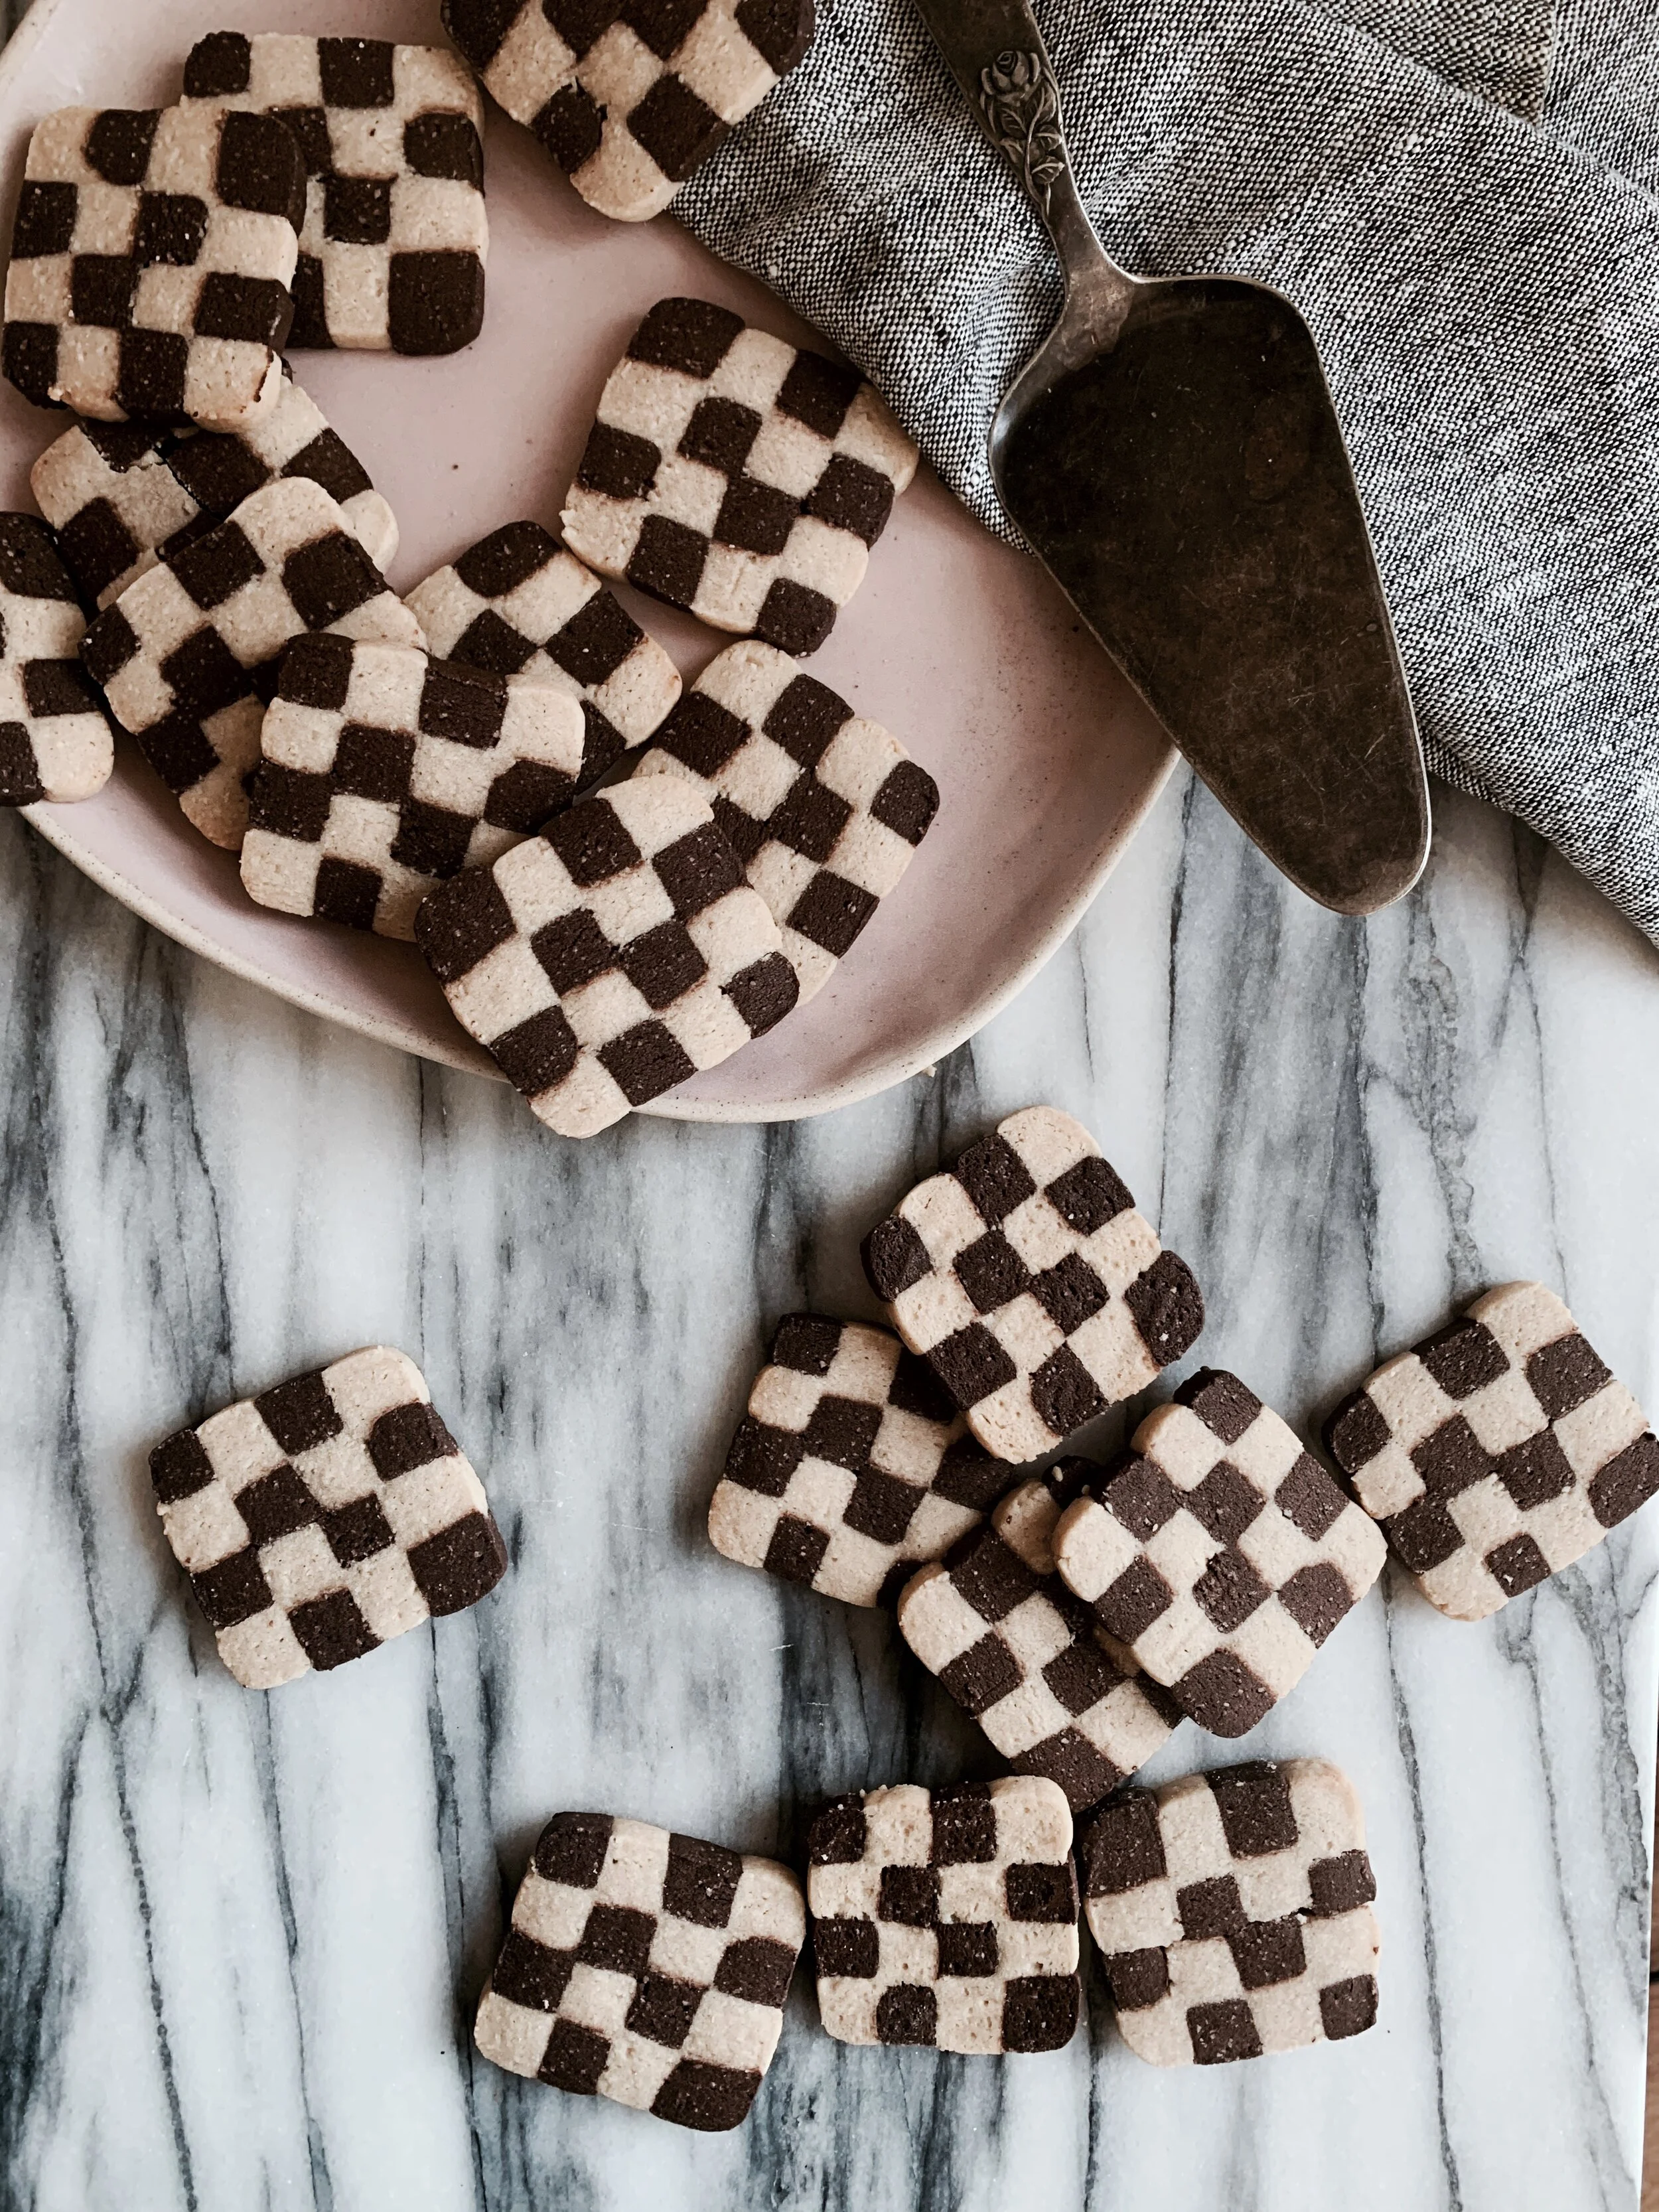
Checkerboard Cookies: This cookie is partially inspired my nostalgia for playdough, and partially by my extreme jubilation about the fact that Drag Race (both UK & US editions) has just started again (the cookies represent the Drag Race flags that Ru Paul holds, obviously). If you like either of those things, especially playdough, are feeling crafty, and/or are seeking some fun on day 323 of lockdown, then these cookies are for you.
I don’t understand why there’s a “season” for pumpkin spice themed dishes when delicious pumpkin puree is available (from a can) all year round. In honour of this recent discovery, I decided to make these cookies. I was influenced by a recipe on Bon Appetitwhich incorporated pumpkin and various spices into a cookie. However - I was very disappointed by the result: the cookies were mean and thin, with root canal problem-inducing sweetness, overly egg-y, and totally lacking in the promised pumpkin flavour.
So, I made my own to tick the 3 commandments of cookies:
- Chewy
- Molten
- Thick
I radically amped up the amount of pumpkin, and reduced the sugar. I also added both white and milk chocolate, so that, upon baking, they caramelized, creating a sophisticated toffee flavour. The added crunch and maple-flavour of the pecans add some complexity, too.
NB If you would like a more savoury cookie, you could switch the milk and white chocolate for dark chocolate. And if you’d like to have a supply of cookies for emergencies, you can freeze the scoops of uncooked cookie dough and bake them when desired.
Pumpkin spice cookies (makes 20-22)
Ingredients
150 unsalted butter, softened
80g light brown sugar
70g caster sugar
1 egg
40g pumpkin puree
1 ½ tsp vanilla extract
½ tsp cinnamon
1 ½ tsp ground ginger
¼ tsp ground nutmeg
1/8 tsp mixed spice
220g plain flour
heaped ½ tsp baking powder
½ tsp salt
100g white chocolate + 30 g white chocolate for topping (I use buttons but you can chop up a bar or use chips instead)
50g milk chocolate, roughly chopped
50g chopped pecans, + 20g for topping
2 large baking trays, lined with baking parchment
Method
1) Put the unsalted butter, light brown sugar and caster sugar into the bowl of an electric mixer, fitted with the paddle, and beat until light and fluffy (about 5 minutes). If doing by hand, beat ingredients together with a spoon. Add the egg, pumpkin puree and vanilla extract, and beat until full combined.
2) Add the spices (cinnamon, ginger, nutmeg, mixed spice), flour, baking powder and salt to the wet ingredients, and very gently fold together until almost combined, leaving some flour still visible. Add the chopped milk chocolate, white chocolate and pecans, and very gently fold them into the cookie dough until combined.
3) Cover the bowl and refrigerate for minimum 1 hour and up to 24 hours (until you’re ready to bake the cookies).
4) Preheat the oven to 180°C. Then. either using an ice cream scoop, or a tablespoon, scoop the cookie dough into 40g dollops. I weigh each one to make sure they cook evenly, but if you can’t be bothered just estimate. Roll each into a sphere between your palms to ensure that they bake into near-perfect rounds. Place on the tray leaving about 4cm between each so that they have room to spread when they bake. Then, into each sphere, press a piece of white chocolate and a piece of pecan.
5) Place in oven to bake for 7-10 minutes, or until they are golden at the edges but still soft to the touch. Once they are removed from the oven, they will continue to cook on the baking tray so leave them to sit for a couple of minutes. Serve warm if you can’t wait, or keep them for up to 4 days in an airtight container. You can also freeze them in an airtight container for up to 3 months.
HUNGRY FOR MORE?
These chocolate brownie and peanut butter cookies are not hard to make, but they’re so good I wouldn’t recommend wasting them on frenemies.
if I have a vegan chocolate cake, it needs to meet or surpass its non-vegan equivalent in taste, in texture and in appearance.
And, it most certainly cannot have any weird artificial or suspicious gunk holding it together.
Anyway, I stumbled across a basic recipe online: it came out disturbingly black, and tasted acrid. And I tried an online vegan icing recipe: it was revoltingly oily, and tear-inducingly bitter. So, I’ve chopped and changed and adjusted and refined, and this is the result: cupcakes that are juicy, fluffy, tender, and moist, with a smooth, creamy chocolatey icing.
They are so good that I guarantee no one will guess they’re vegan.
These cookies are thick; they’re chewy; and they have a a molten Nutella centre with oozy chocolate and crunchy toasted hazelnuts. I’m not even going to feign modesty: these cookies are the apotheoses of cookies. Make sure you have at least two reserved per person because eating one is never going to be enough – be warned.
In my dictionary definition of cookie, I’m going to be demanding. It needs to be thic(ccc)k so that each mouthful contains some of the promised flavours, be they chocolate, nut, or candy. I want it crisp on the outside so that when broken, it gives way to a chewy cookie-dough goo. If there’s chocolate or caramel, they need to be molten. They also need to have enough salt to balance the sweetness and add depth of flavour.
And, after years of trials, the quest to create the perfect cookie becoming increasingly Sisyphean, I’ve done it. And you need to make them ASAP.
I wanted chocolate. I wanted peanuts. I wanted caramel. And so came together three revered ingredients to make this simple but deeply luscious dessert. I admit to a glimmer of inspiration from the Season 11 contestant of RuPaul’s Drag Race contestant, the drag queen with the moniker Silky Nutmeg Ganache. But apart from that, I attribute this recipe to greed.
It’s on an almost daily basis that I find my thoughts converging on that scene in Matilda: Bruce vs the chocolate cake – moist, dense, dark, and yes, revolting. It’s a tempting challenge, and only on a handful of occasions in my life have I come close to those chocolatey depths (or heights, depending on your perspective).
The first time was at my 9th birthday party which took place in the civilized private room of a pottery painting shop, surrounded by friends from my all-girls school, all politely detailing their teacups with flowers, and hearts, and stars. The birthday cake arrived, tall and majestic, lavishly enrobed in sumptuous swathes of soft chocolate buttercream.
All I can say in mitigation of what was to come was that at least I waited until my slice was placed in a bowl. But then the urge became overpowering, and it was with unbridled joy that I plunged my face into my bowl and into the luscious embrace of the cake.
But my Bruce experiences don’t end there. I waited a further nine years until I was at university, when a five pence coin thrown into a neighbour’s dessert meant that it had to be devoured without cutlery. This was a curse to many, but an opportunity I wholeheartedly seized. Why waste time on cutlery when you can cut to the chase, pig-in-trough style, with an audience?
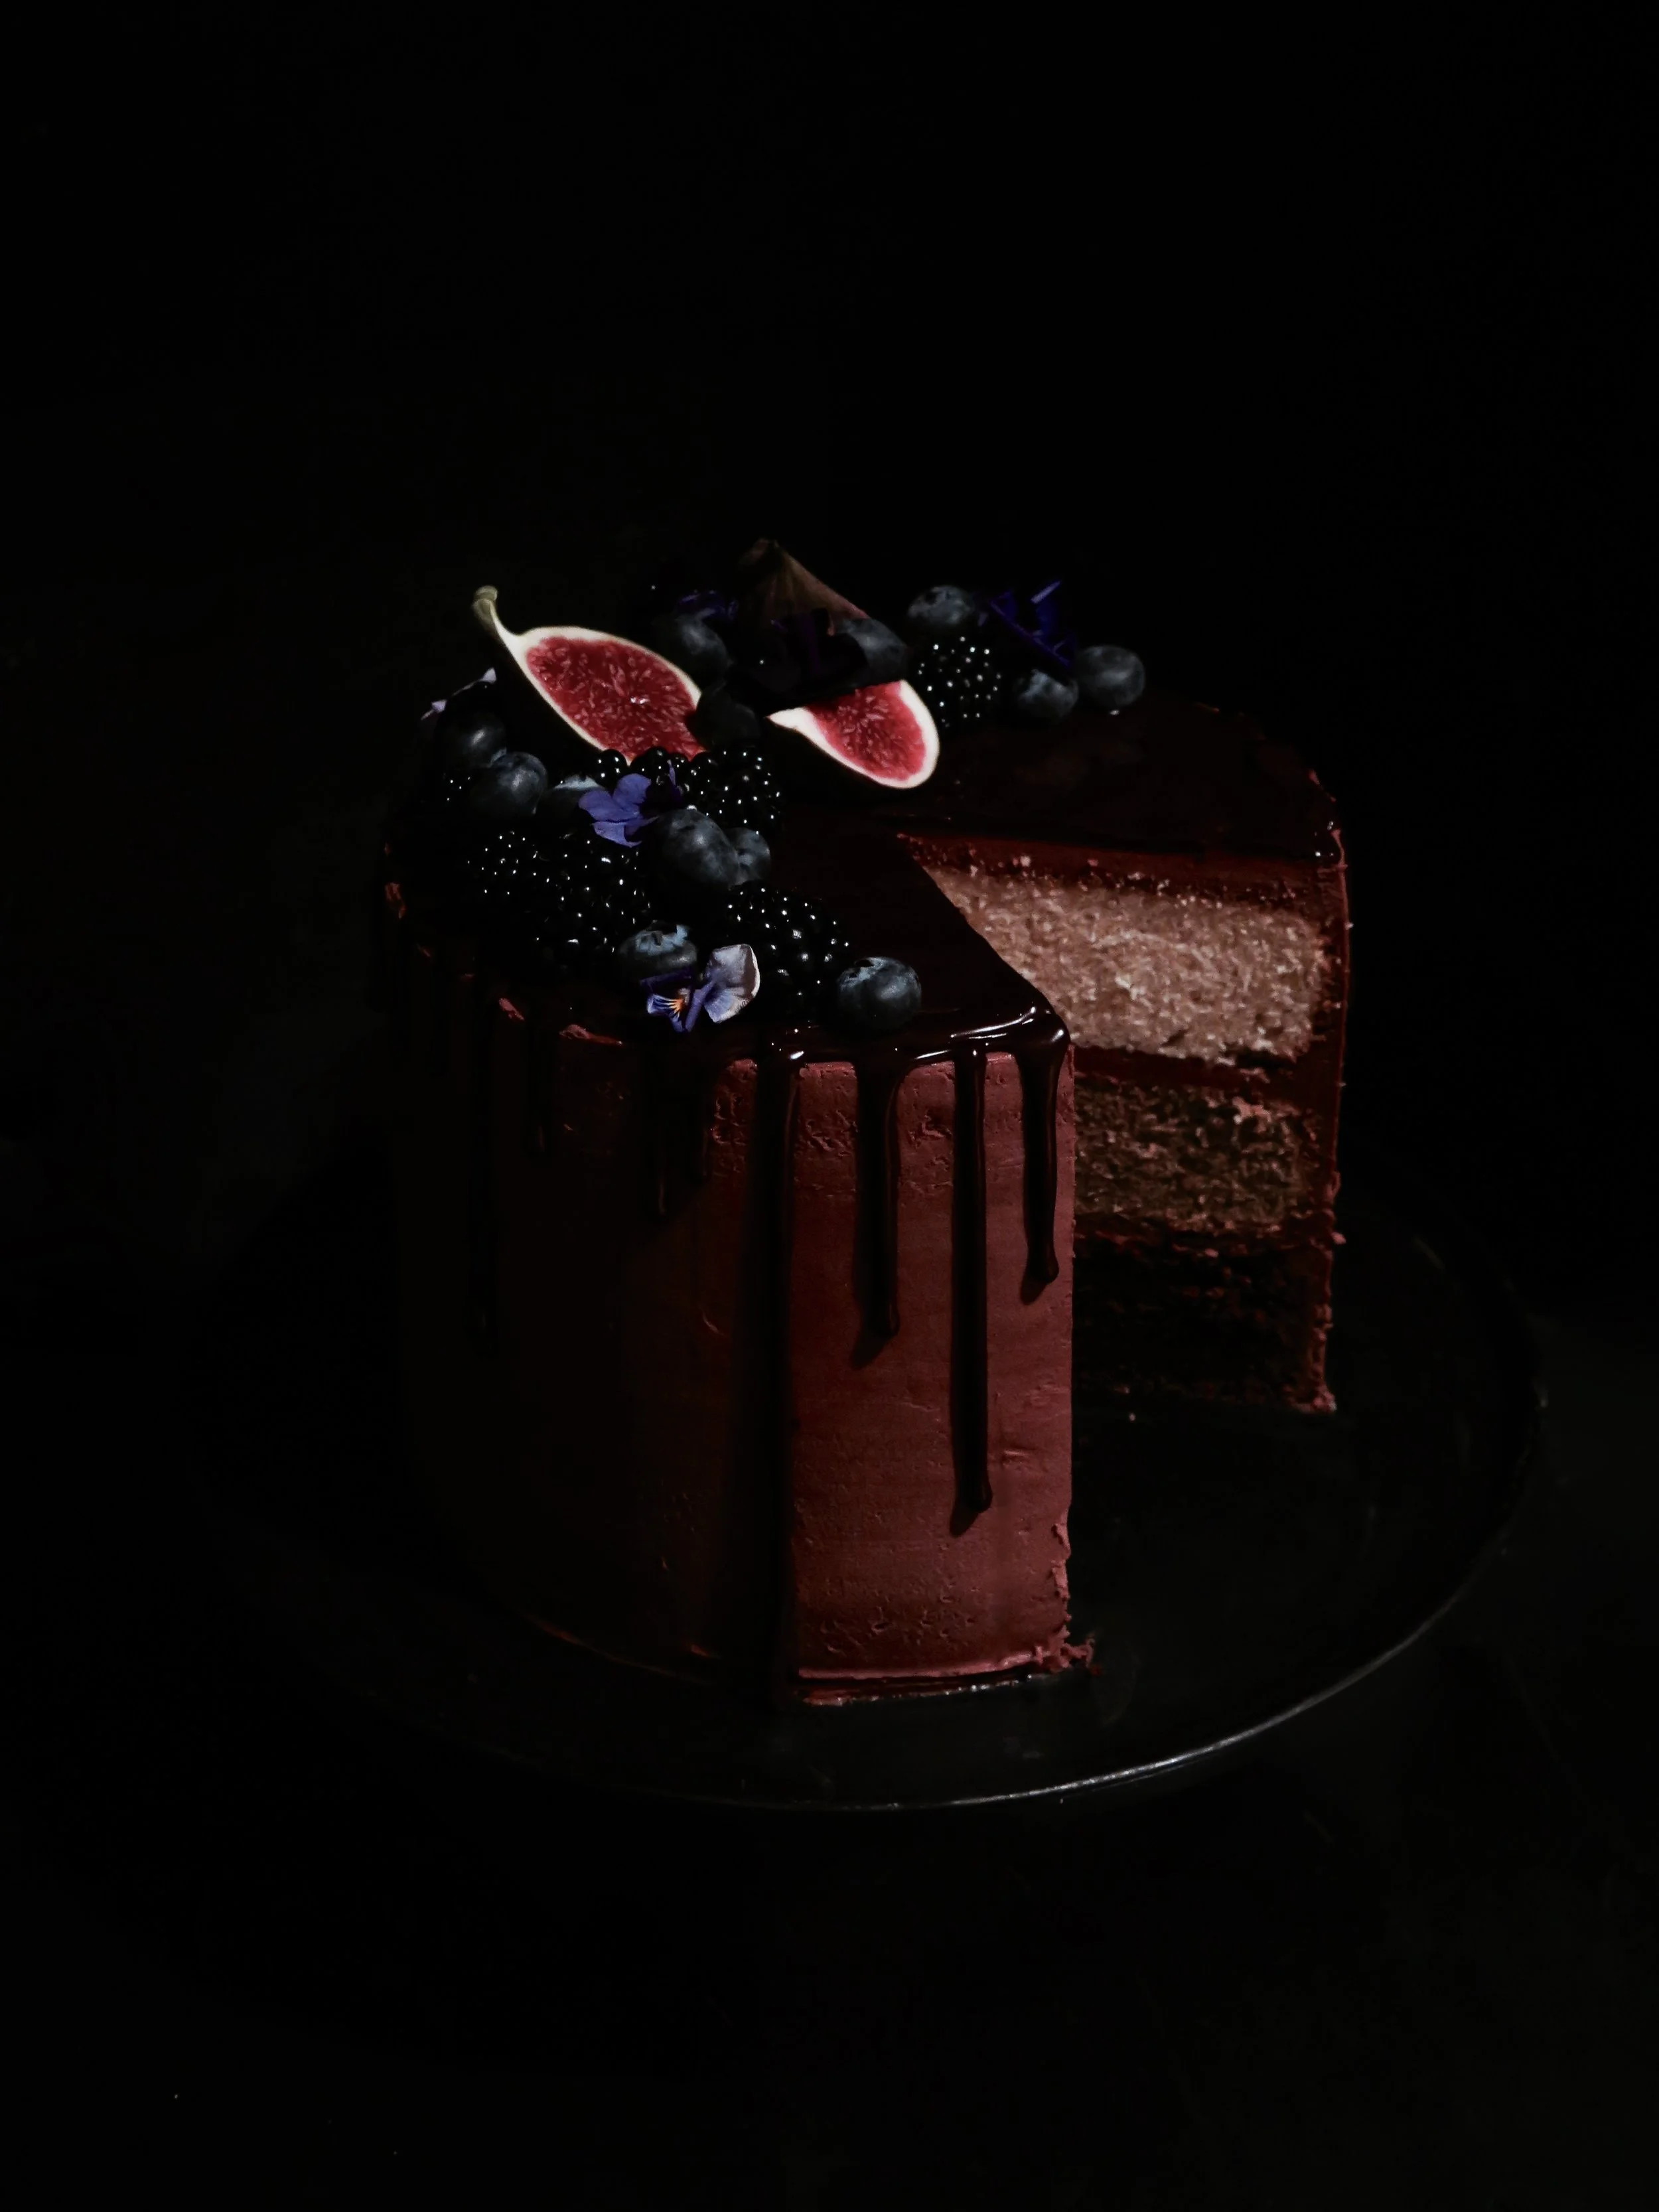
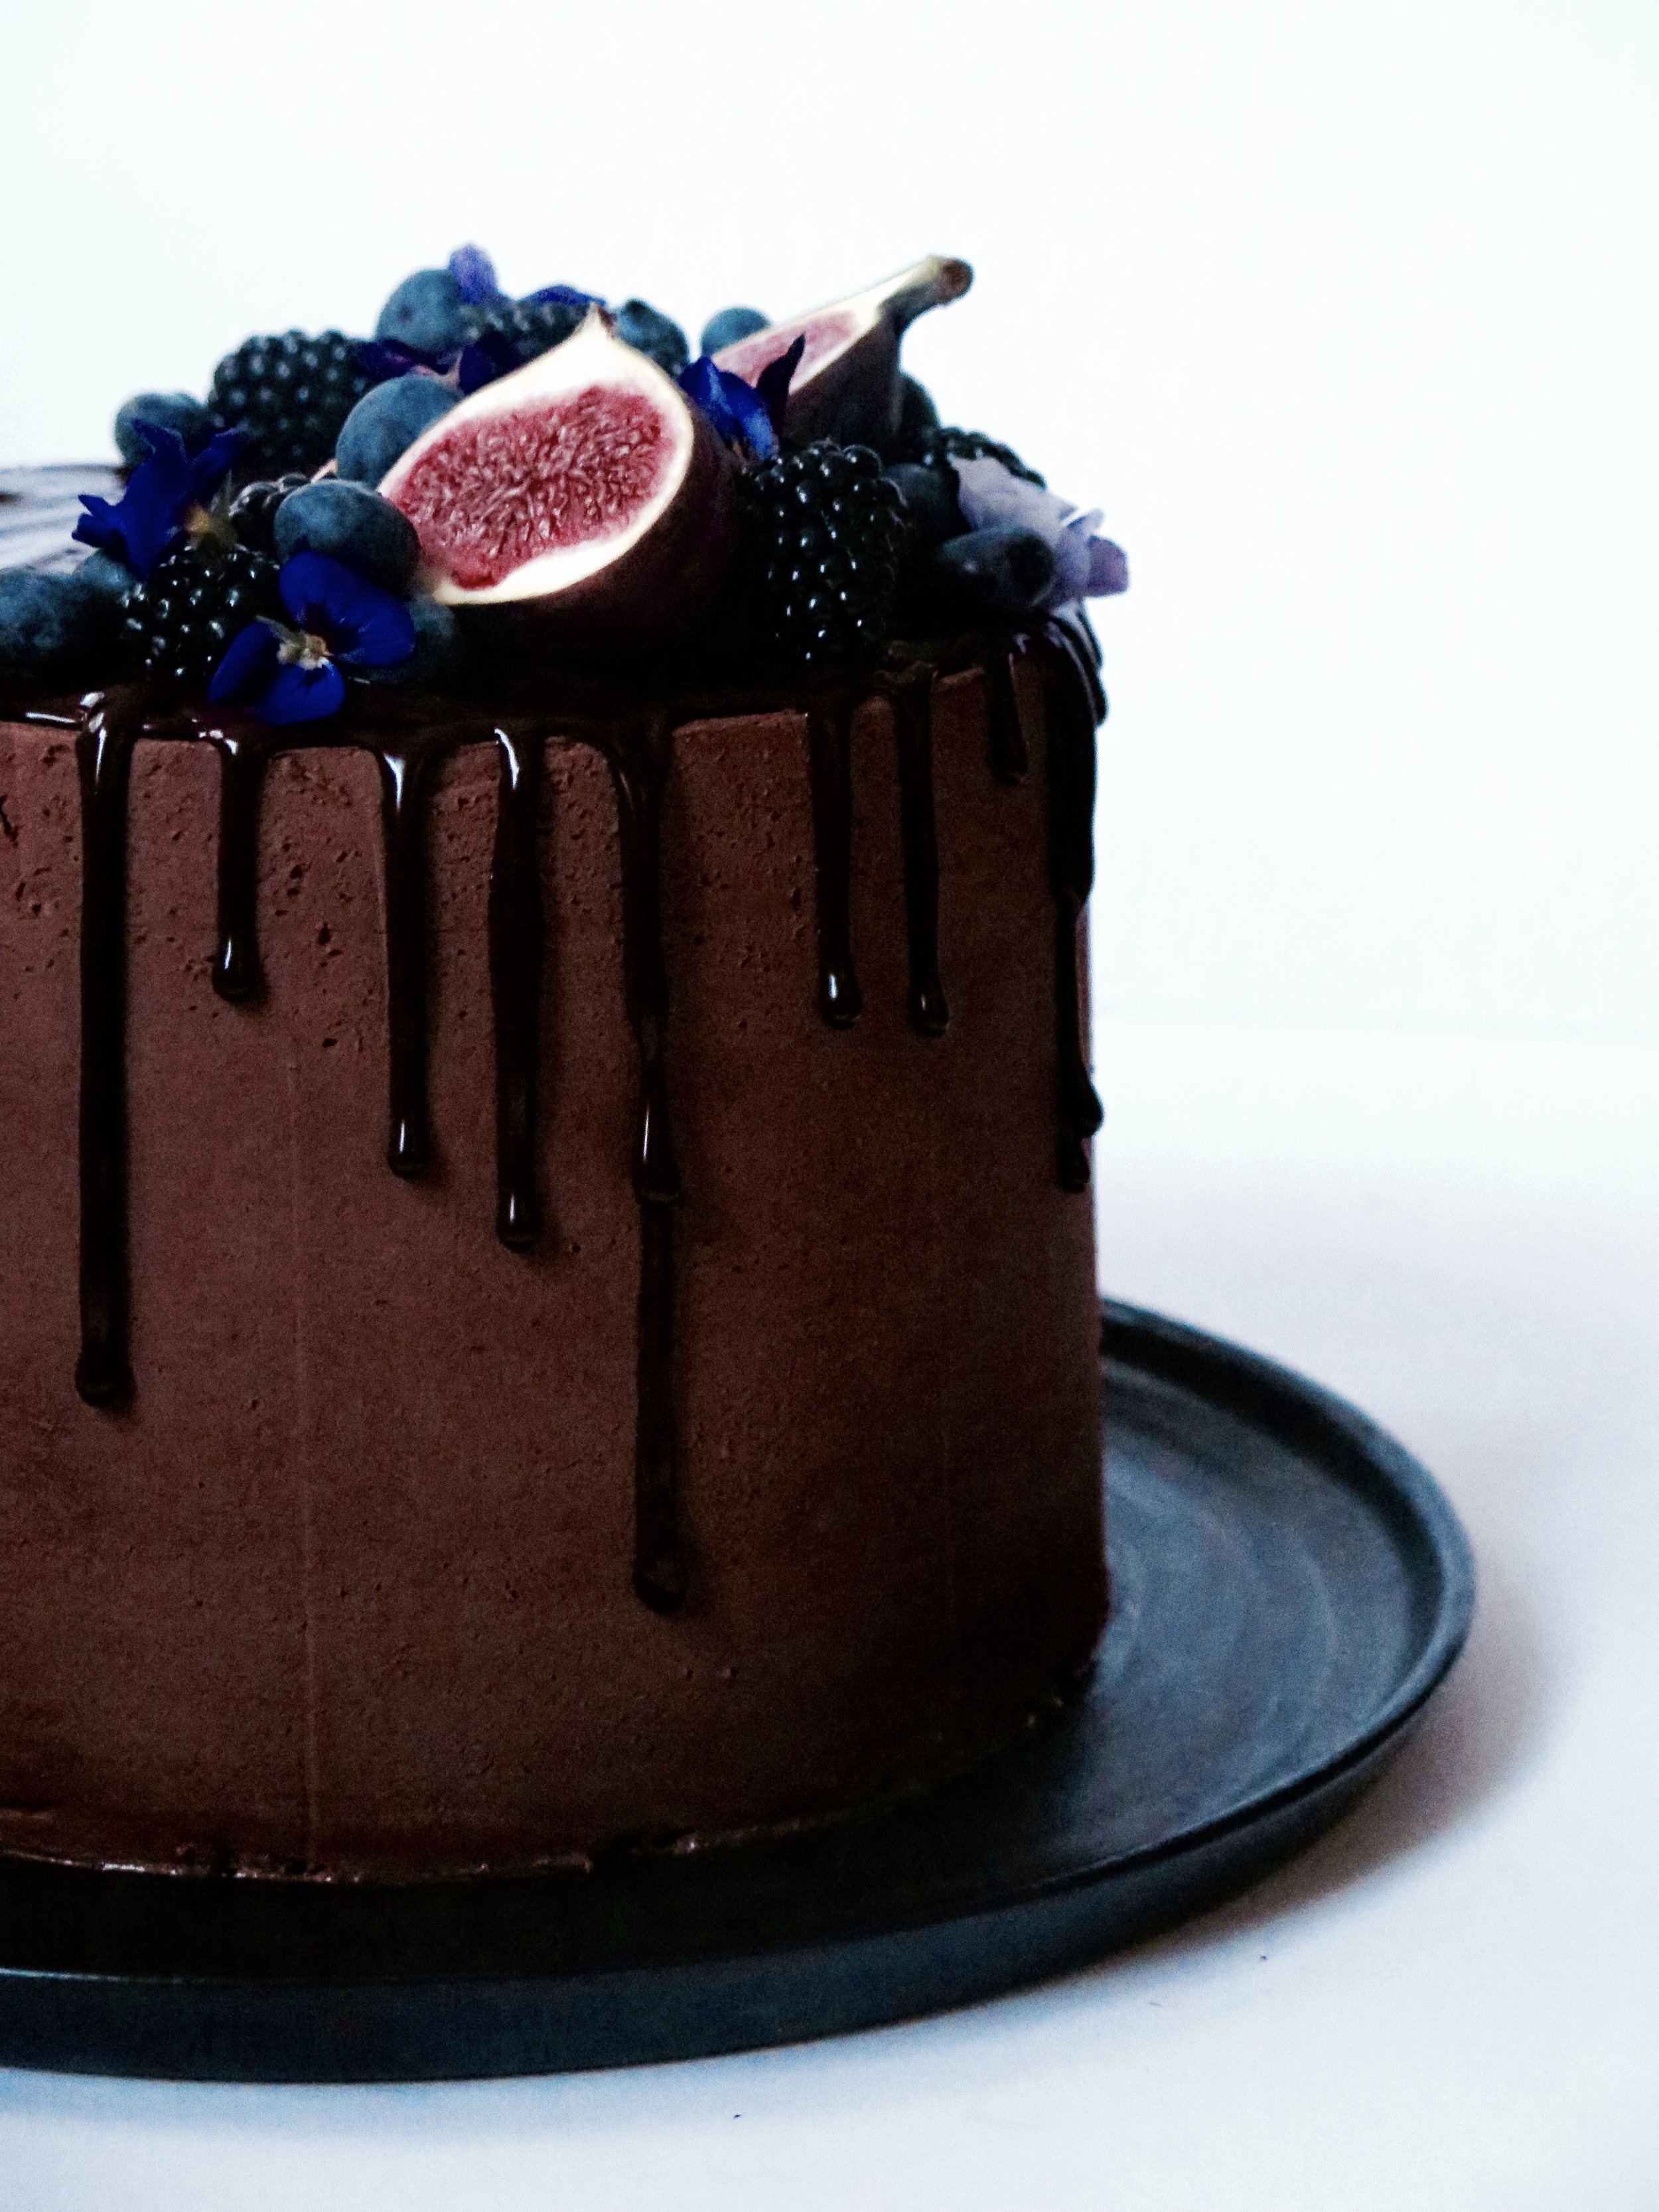
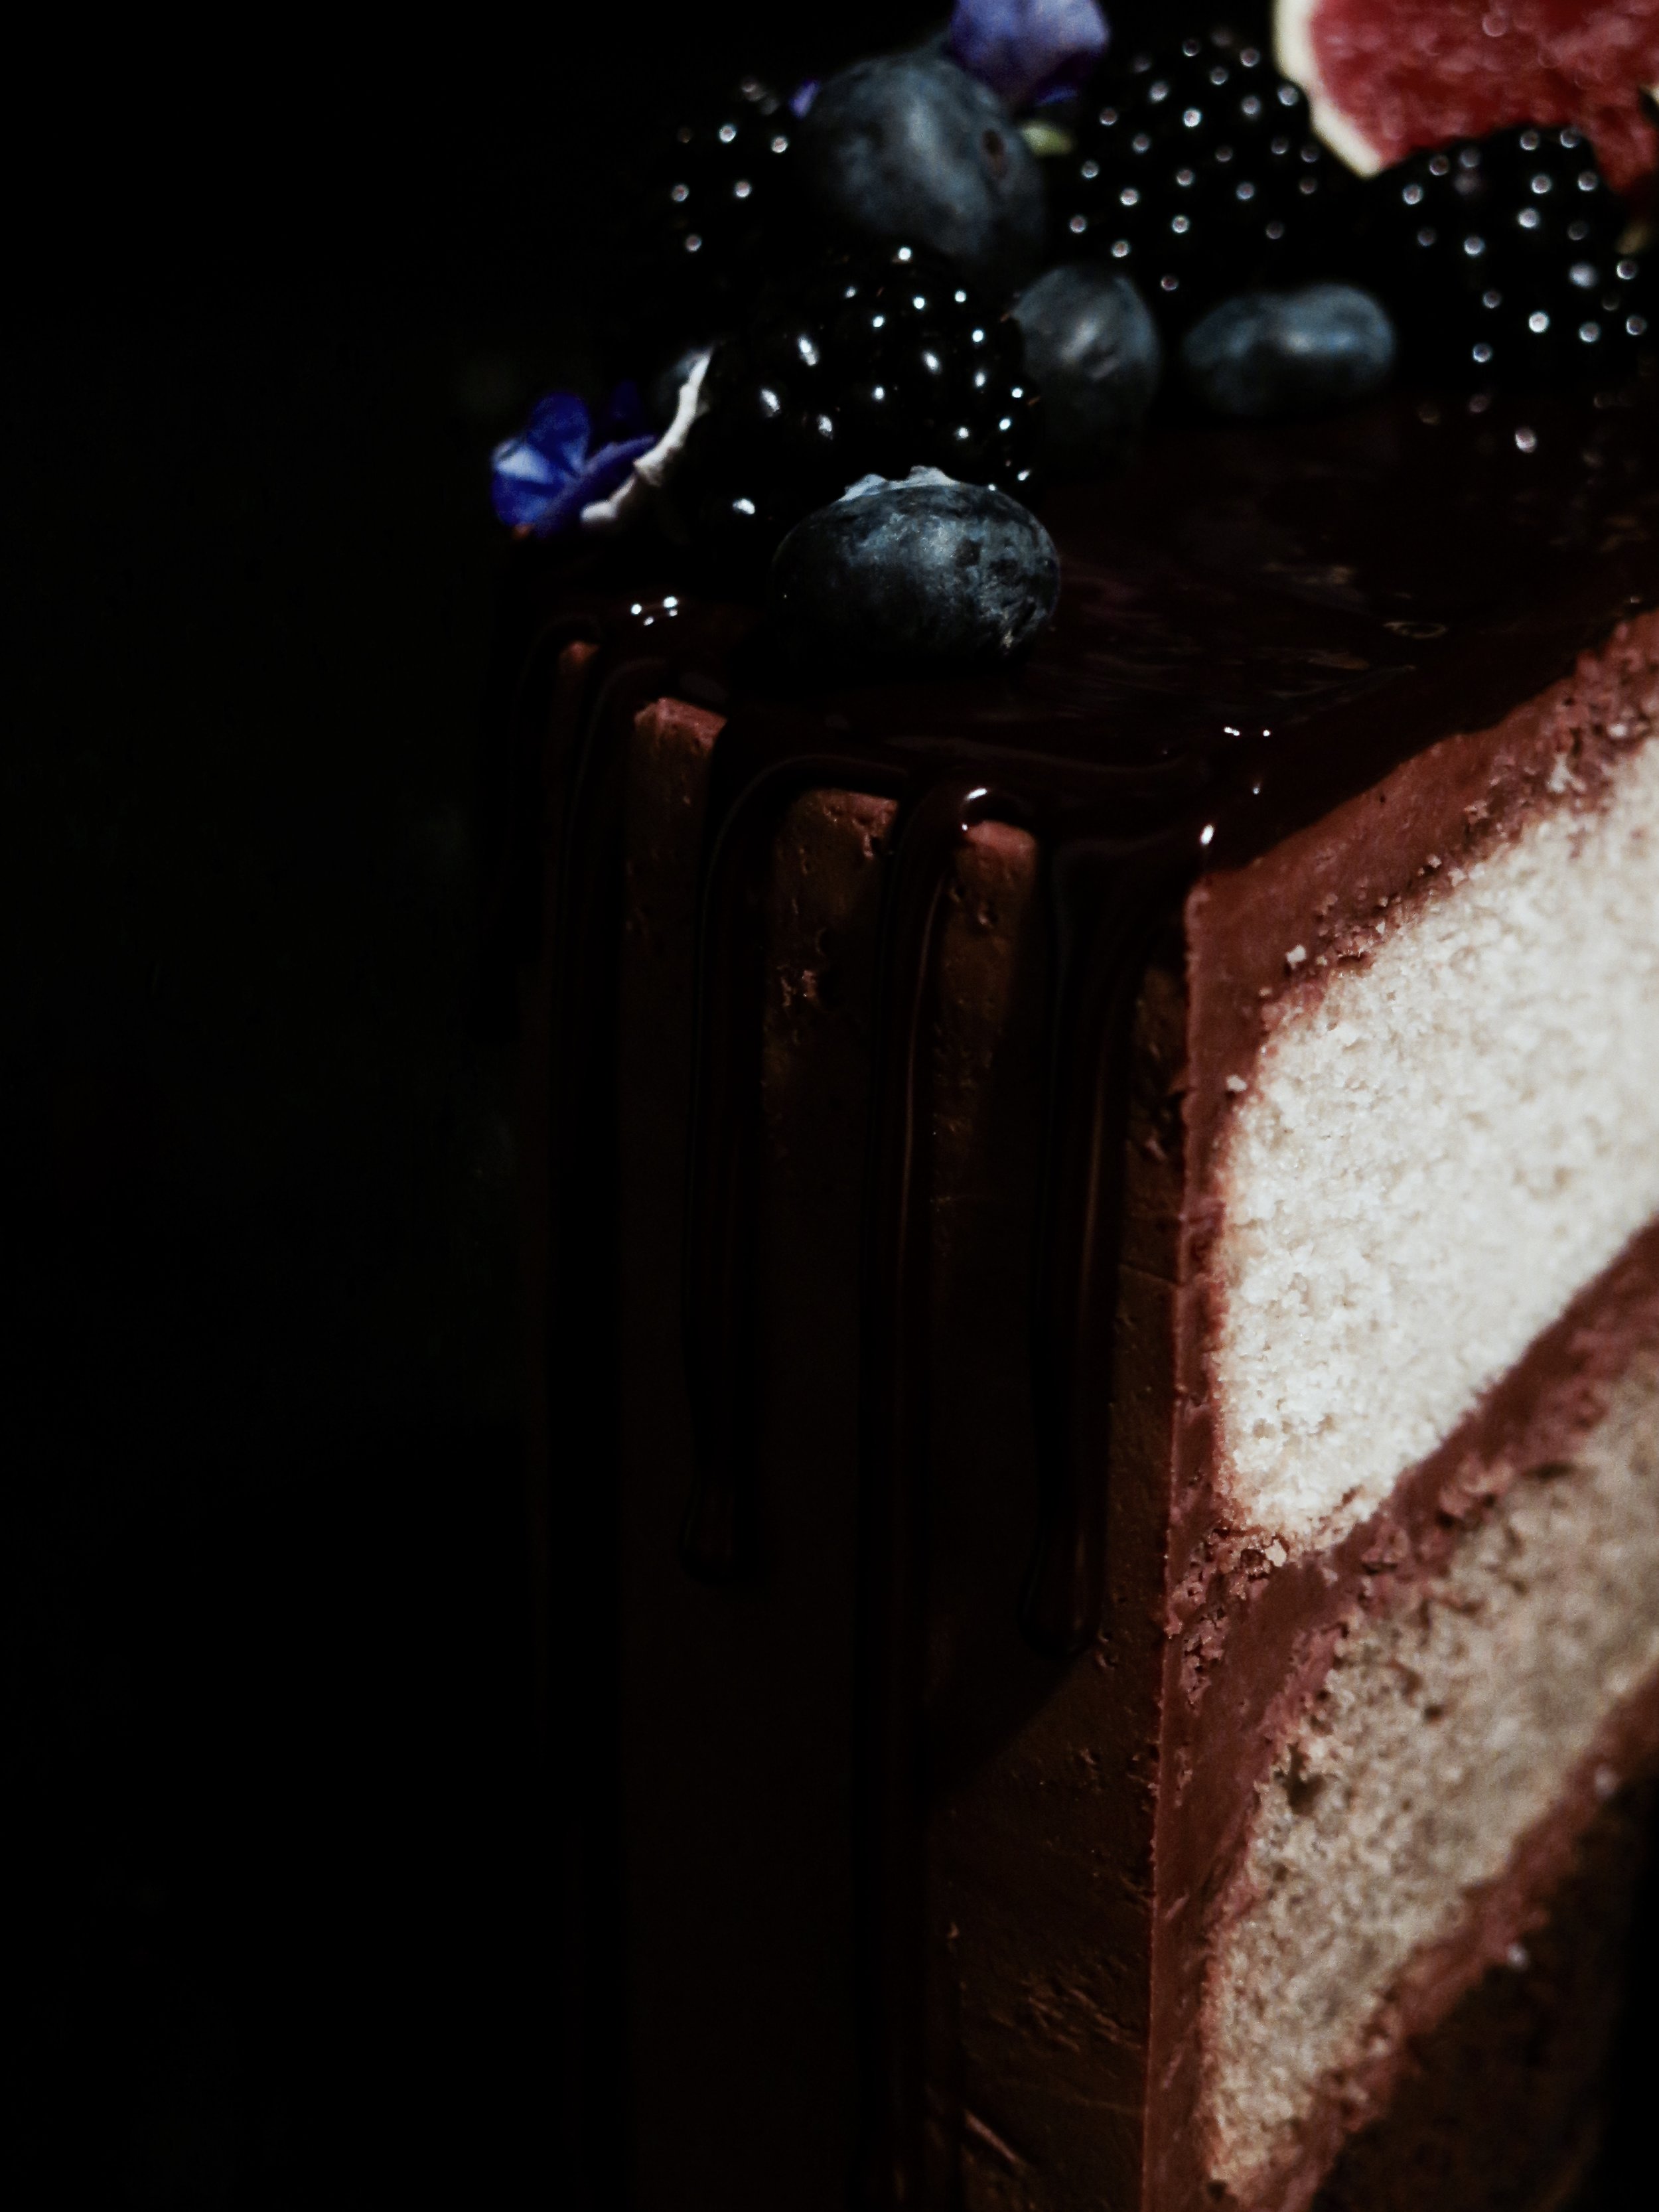
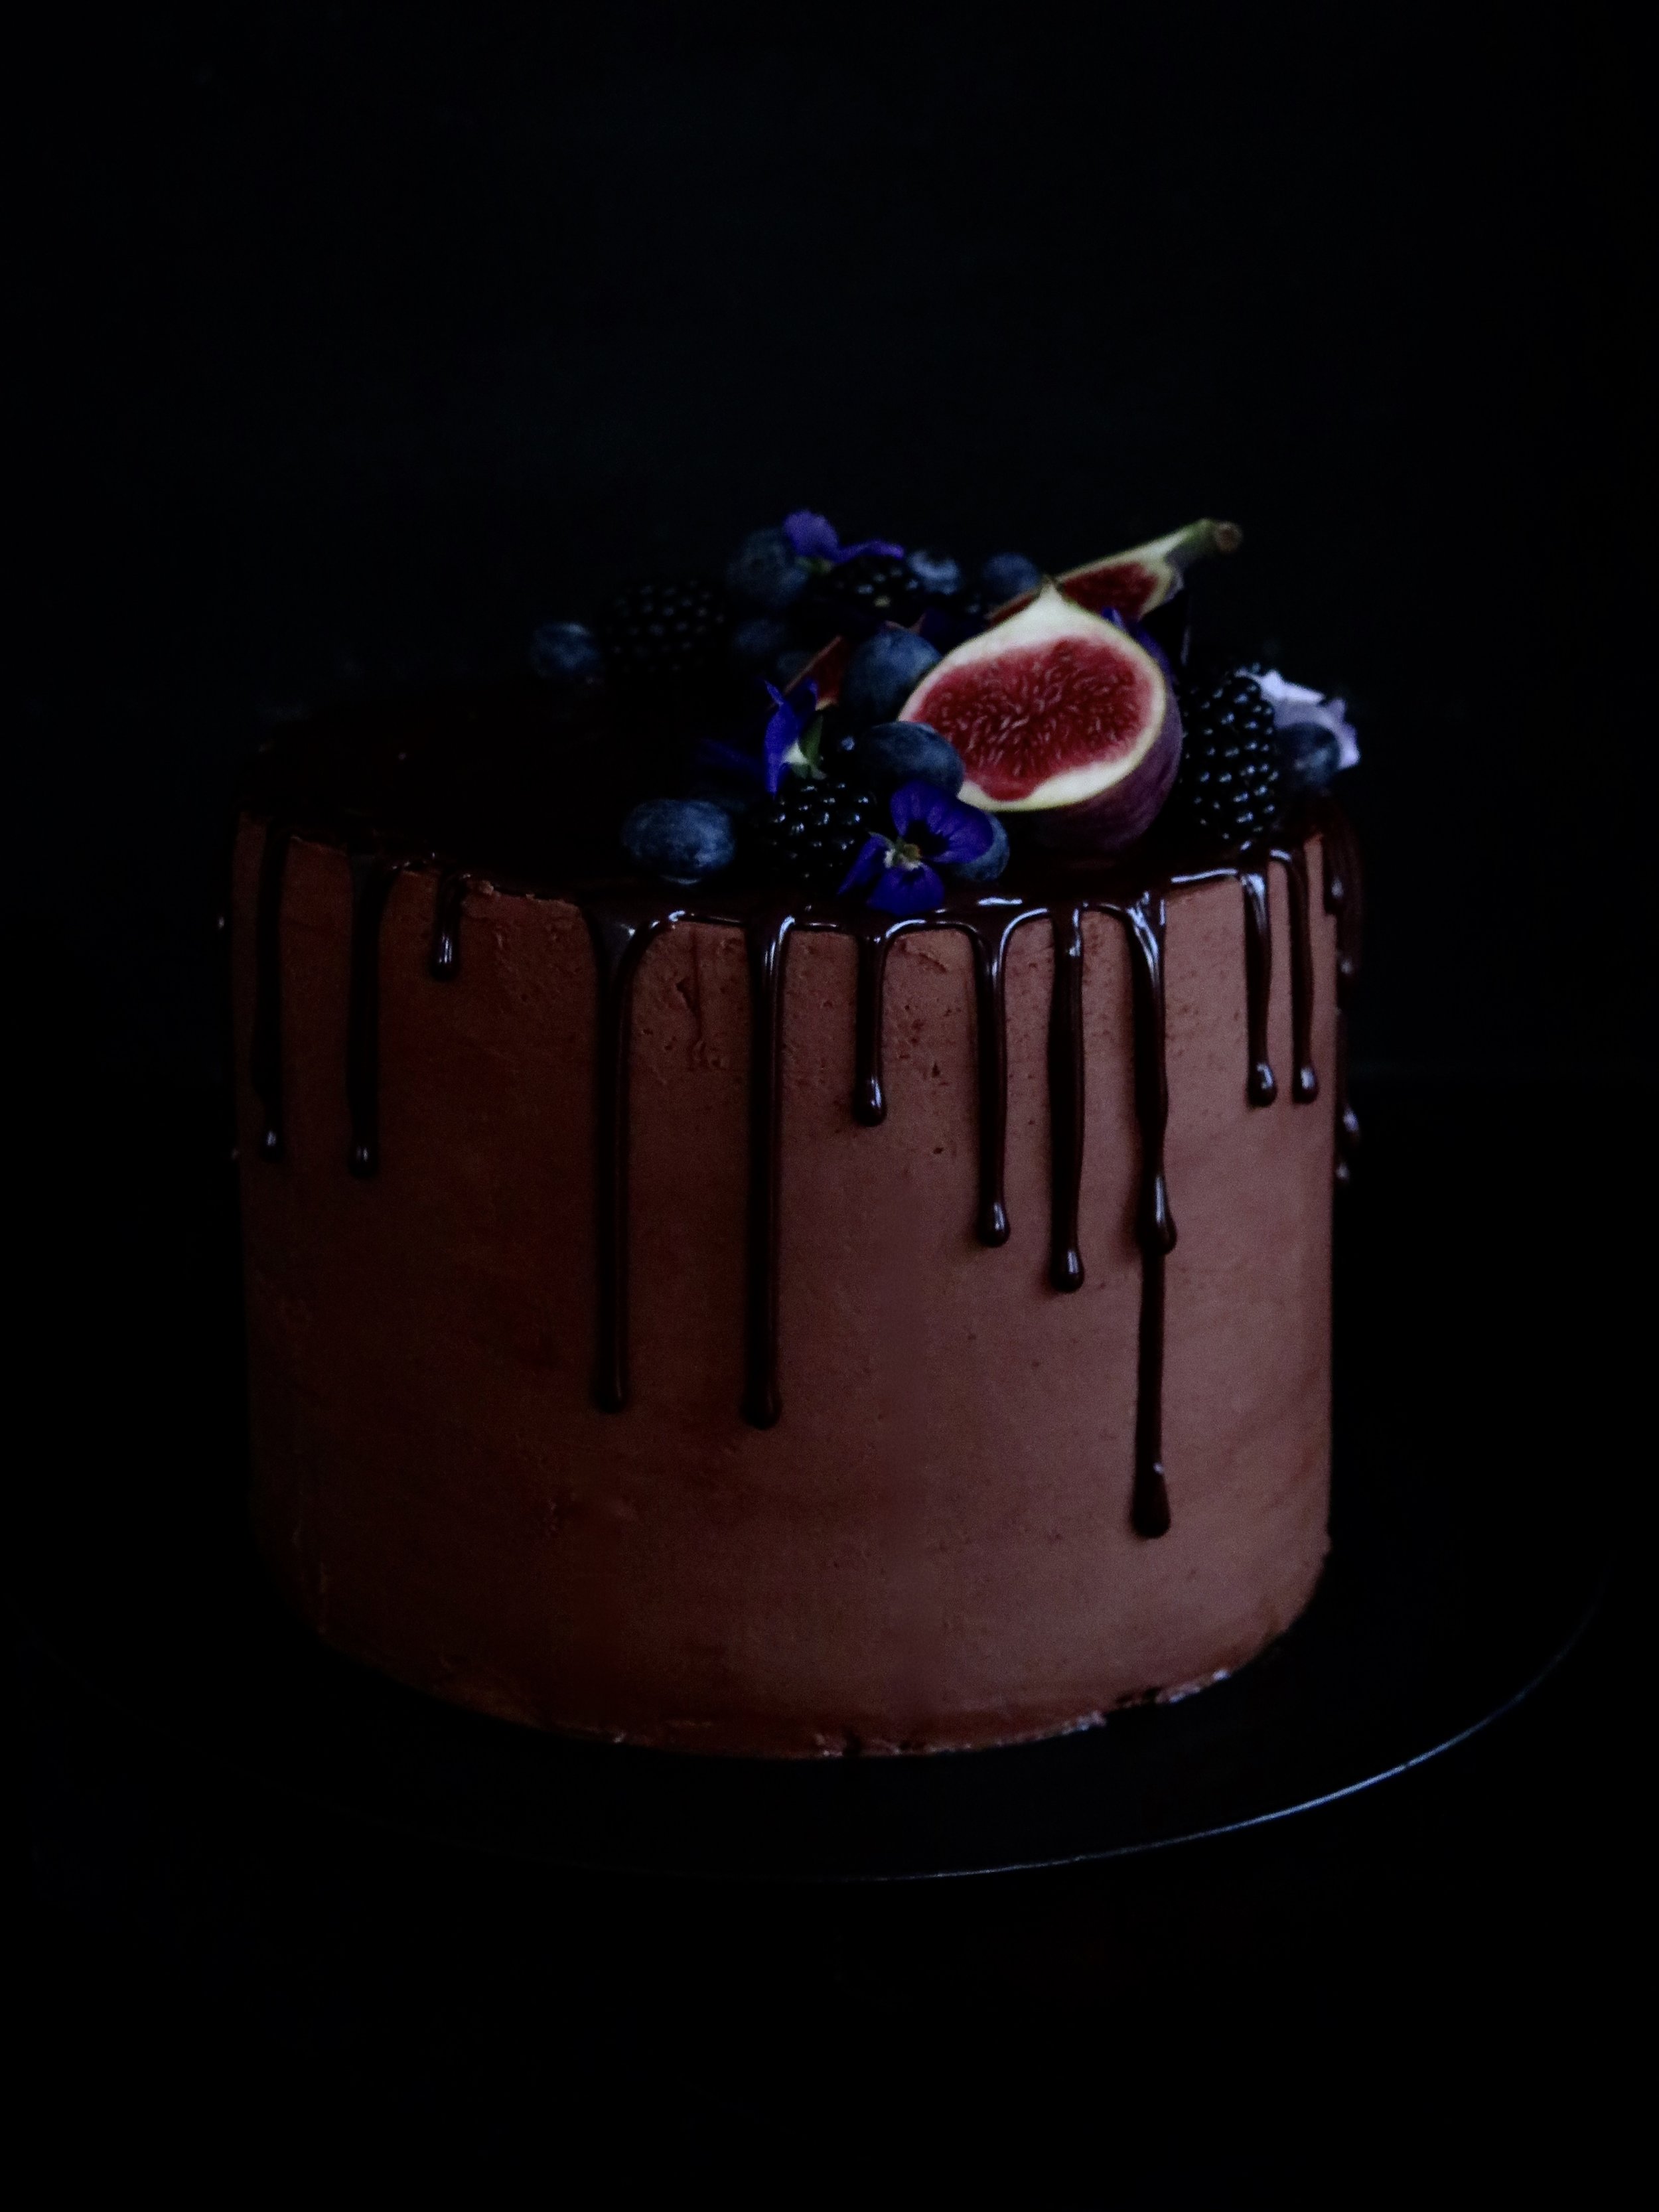
The desire was mostly satisfied then but I still dream up opportunities to replicate it. I imagine this cake would be peak territory for such caveman antics: a base layer of moist and rich chocolate cake (ticks the Bruce box), a golden middle tier of coffee cake, and a fluffy vanilla sponge top tier. The buttercream is deeply chocolatey with a pinch of salt to counteract the sweetness, and the cake is topped with a mirror ganache drip glaze (easier to do than you may think). Nigella famously writes in her recipe: “Feeds twelve, or one with a broken heart”. This feeds twenty, or one with an overpowering Man vs Food, Matilda’s Bruce desire.
Although this cake has multiple elements and steps it is not difficult to carry out.
- If you wish to have all three layers identical, then just triple the quantity of one cake.
- Feel free to experiment with buttercreams as well (for example, vanilla, coffee, or caramel).
- Additionally, I use dark fruits to decorate the cake, but you can keep it plain, or venture down more chocolatey routes. It is also delicious kept simple, without the mirror chocolate ganache.
- This is effectively three cakes in one so you can just make one of the cakes, and make a third of the icing in which to cloak it.
- The chocolate cake recipe makes slightly more than necessary, hence the muffin cups into which the excess mixture is poured – a bonus in my book…
Ingredients
The vanilla and coffee cakes:
450g unsalted butter, at room temperature
450g caster sugar
2 tsp vanilla extract
4 tbsp milk
8 large eggs, at room temperature
450g self-raising flour, sieved
½ tsp salt
1 tbsp espresso powder, dissolved in 1 tsp boiling water
The chocolate cake:
400g plain flour
250g caster sugar
100g light muscovado sugar
50 high quality cocoa powder
2 tsp baking powder
1 tsp bicarbonate of soda
½ tsp salt
3 large eggs, at room temperature
140g soured cream
1 tbsp vanilla extract
175g unsalted butter, melted
125g corn or vegetable oil
300ml cold water
Salted cocolate buttercream:
250g high quality 70% dark chocolate
375g unsalted butter, at room temperature
680g icing sugar, sieved
½ tsp salt
4 tsp vanilla extract
Mirror chocolate ganache:
100g double cream
100g high quality 70% dark chocolate
Equipment:
3 (or 2 if you wash one up in between making vanilla/coffee and chocolate cakes) x 20cm diameter round cake tins, buttered, with the base lined with a circle of baking parchment
1 muffin tin with 5 muffin cases
piping bag fitted with a 2-3mm round nozzle
Method
The vanilla cake and the coffee cake:
1) Preheat fan oven to 180C. In a large bowl with a spoon, or in a mixer fitted with the paddle, beat together butter and sugar for about 3 minutes until the mixture turns fluffy, soft and almost white. Beat in the vanilla and milk.
2) Then beat in one egg at a time alternating each egg with a tablespoon of flour. Don’t panic if it looks slightly curdled, as this is normal. Add in the rest of the flour and salt and, by hand, gently fold them into the mixture.
3) Pour half the mixture into one of the lined baking tins – this is the vanilla cake. For the coffee cake, add in the dissolved espresso powder into the remaining mixture and fold in gently. Pour into the second baking tin and place both in the oven to bake for 30-40 minutes until golden on top and a skewer comes out clean. After 30 minutes, you may need to cover them with tinfoil to prevent the surface from burning.
4) Once cooked, remove from oven and place on a rack to cool.
The chocolate cake:
1) Preheat fan oven to 180C. Into a large bowl, sieve all the dry ingredients and mix through. In a separate medium sized bowl, whisk together the eggs, soured cream and vanilla.
2) In a third, large bowl, either by hand or in a mixer fitted with the paddle, beat together oil, butter and water until combined. Into this bowl, pour the dry ingredients and fold gently to combine. Then pour in the egg, cream, vanilla mixture and fold gently together until smooth and just combined.
3) Pour off 300g of the mixture into a separate bowl and divide equally between 5 muffin cases. Pour the rest of the mixture into the prepared cake tin. Place muffins and large cake in the oven. Bake the muffins for 20 minutes, and the large cake for 40-50 minutes until a skewer comes out clean. Check the large cake after 30 minutes, as you make need to cover it with tinfoil to prevent the surface from burning. Once cooked through, remove from the oven and place on a baking rack to cool.
The salted chocolate buttercream:
1) Melt the chocolate in a bowl sitting on top of a pan of boiling water (don’t let the water touch the base of the bowl containing chocolate). Set the melted chocolate aside to cool slightly.
2) In a mixer fitted with a paddle, or in a large bowl with a spoon, beat together the icing sugar and butter until combined. Pour in the melted chocolate, salt and vanilla, and beat once more until combined.
The chocolate mirror ganache:
1) Make this only once the cake is iced. Heat the double cream in a small pan over a medium heat until it just begins to bubble. Remove from heat immediately and stir in the chocolate until it has melted and both combine into a glossy ganache.
Assembly:
1) The cakes should be of equal depth, so line the three cakes alongside each other and, with a long-serrated knife, slice the domes off each to make them even. I then place the cakes in the freezer for 10 minutes as it makes them easier to ice.
2) Place the chocolate cake on the stand on which you wish to serve the cake. This will be the bottom most layer. Place about a fifth of the icing mixture on top and spread it carefully with a spatula. Place the coffee cake directly on top and repeat, finally placing the vanilla layer on top.
3) At this point, if you are impatient, you can continue to ice the rest of the cake with the remaining buttercream, and proceed directly to stage 4. If, however, you want to ice the cake perfectly, it is advisable to do a crumb layer. This involves placing another fifth of the buttercream on the top of the cake and using a spatula to spread it evenly in as thin layer as possible around the cake, coating and filling any irregularities or gaps so that the sides and top are totally smooth and flat. Once this is done, place the cake in the fridge for a further 30 minutes until the icing is slightly hard to the touch. Remove from the fridge, and place the remaining icing onto the top of the cake and use a spatula to spread it off the top and around the sides. I dip the spatula in hot water to help achieve a smooth result. Place the cake back in the fridge while making the ganache.
4) Spoon a third of the ganache into the piping bag. Begin by drawing a line round the edge of the cake surface as a border. Then to make a drip, hold the piping bag very still with the nozzle pointing directly down, and put consistent pressure on the bag to allow the drop to fall from the edge down the side of the cake. Stop when the drip is nearly at the length you want. Continue along the edge of the cake making drips of different lengths. Once this is done, pour the remaining ganache onto the top of the cake and spread with a spatula to cover the surface.
5) Top with dark fruits or any decoration of choice, and serve.
All cake recipes are adapted from Nigella Lawson’s Chocolate Fudge Cake and Victoria Sponge Cake recipes

