Viewing entries tagged
citrus

Vegan Pistachio, Rose & Lemon Syrup Cakes

Comment

Share

Vegan Pistachio, Rose & Lemon Syrup Cakes

Vegan Pistachio & Lemon Cakes

Putting the words “vegan” and “cake” together can be dangerous territory. I’ve had some scarring experiences:  vegan cake conjures up memories of synthetic, stomach-ache inducing, chemical-tasting, dry sponges. 

Vegan Pistachio & Lemon Cakes

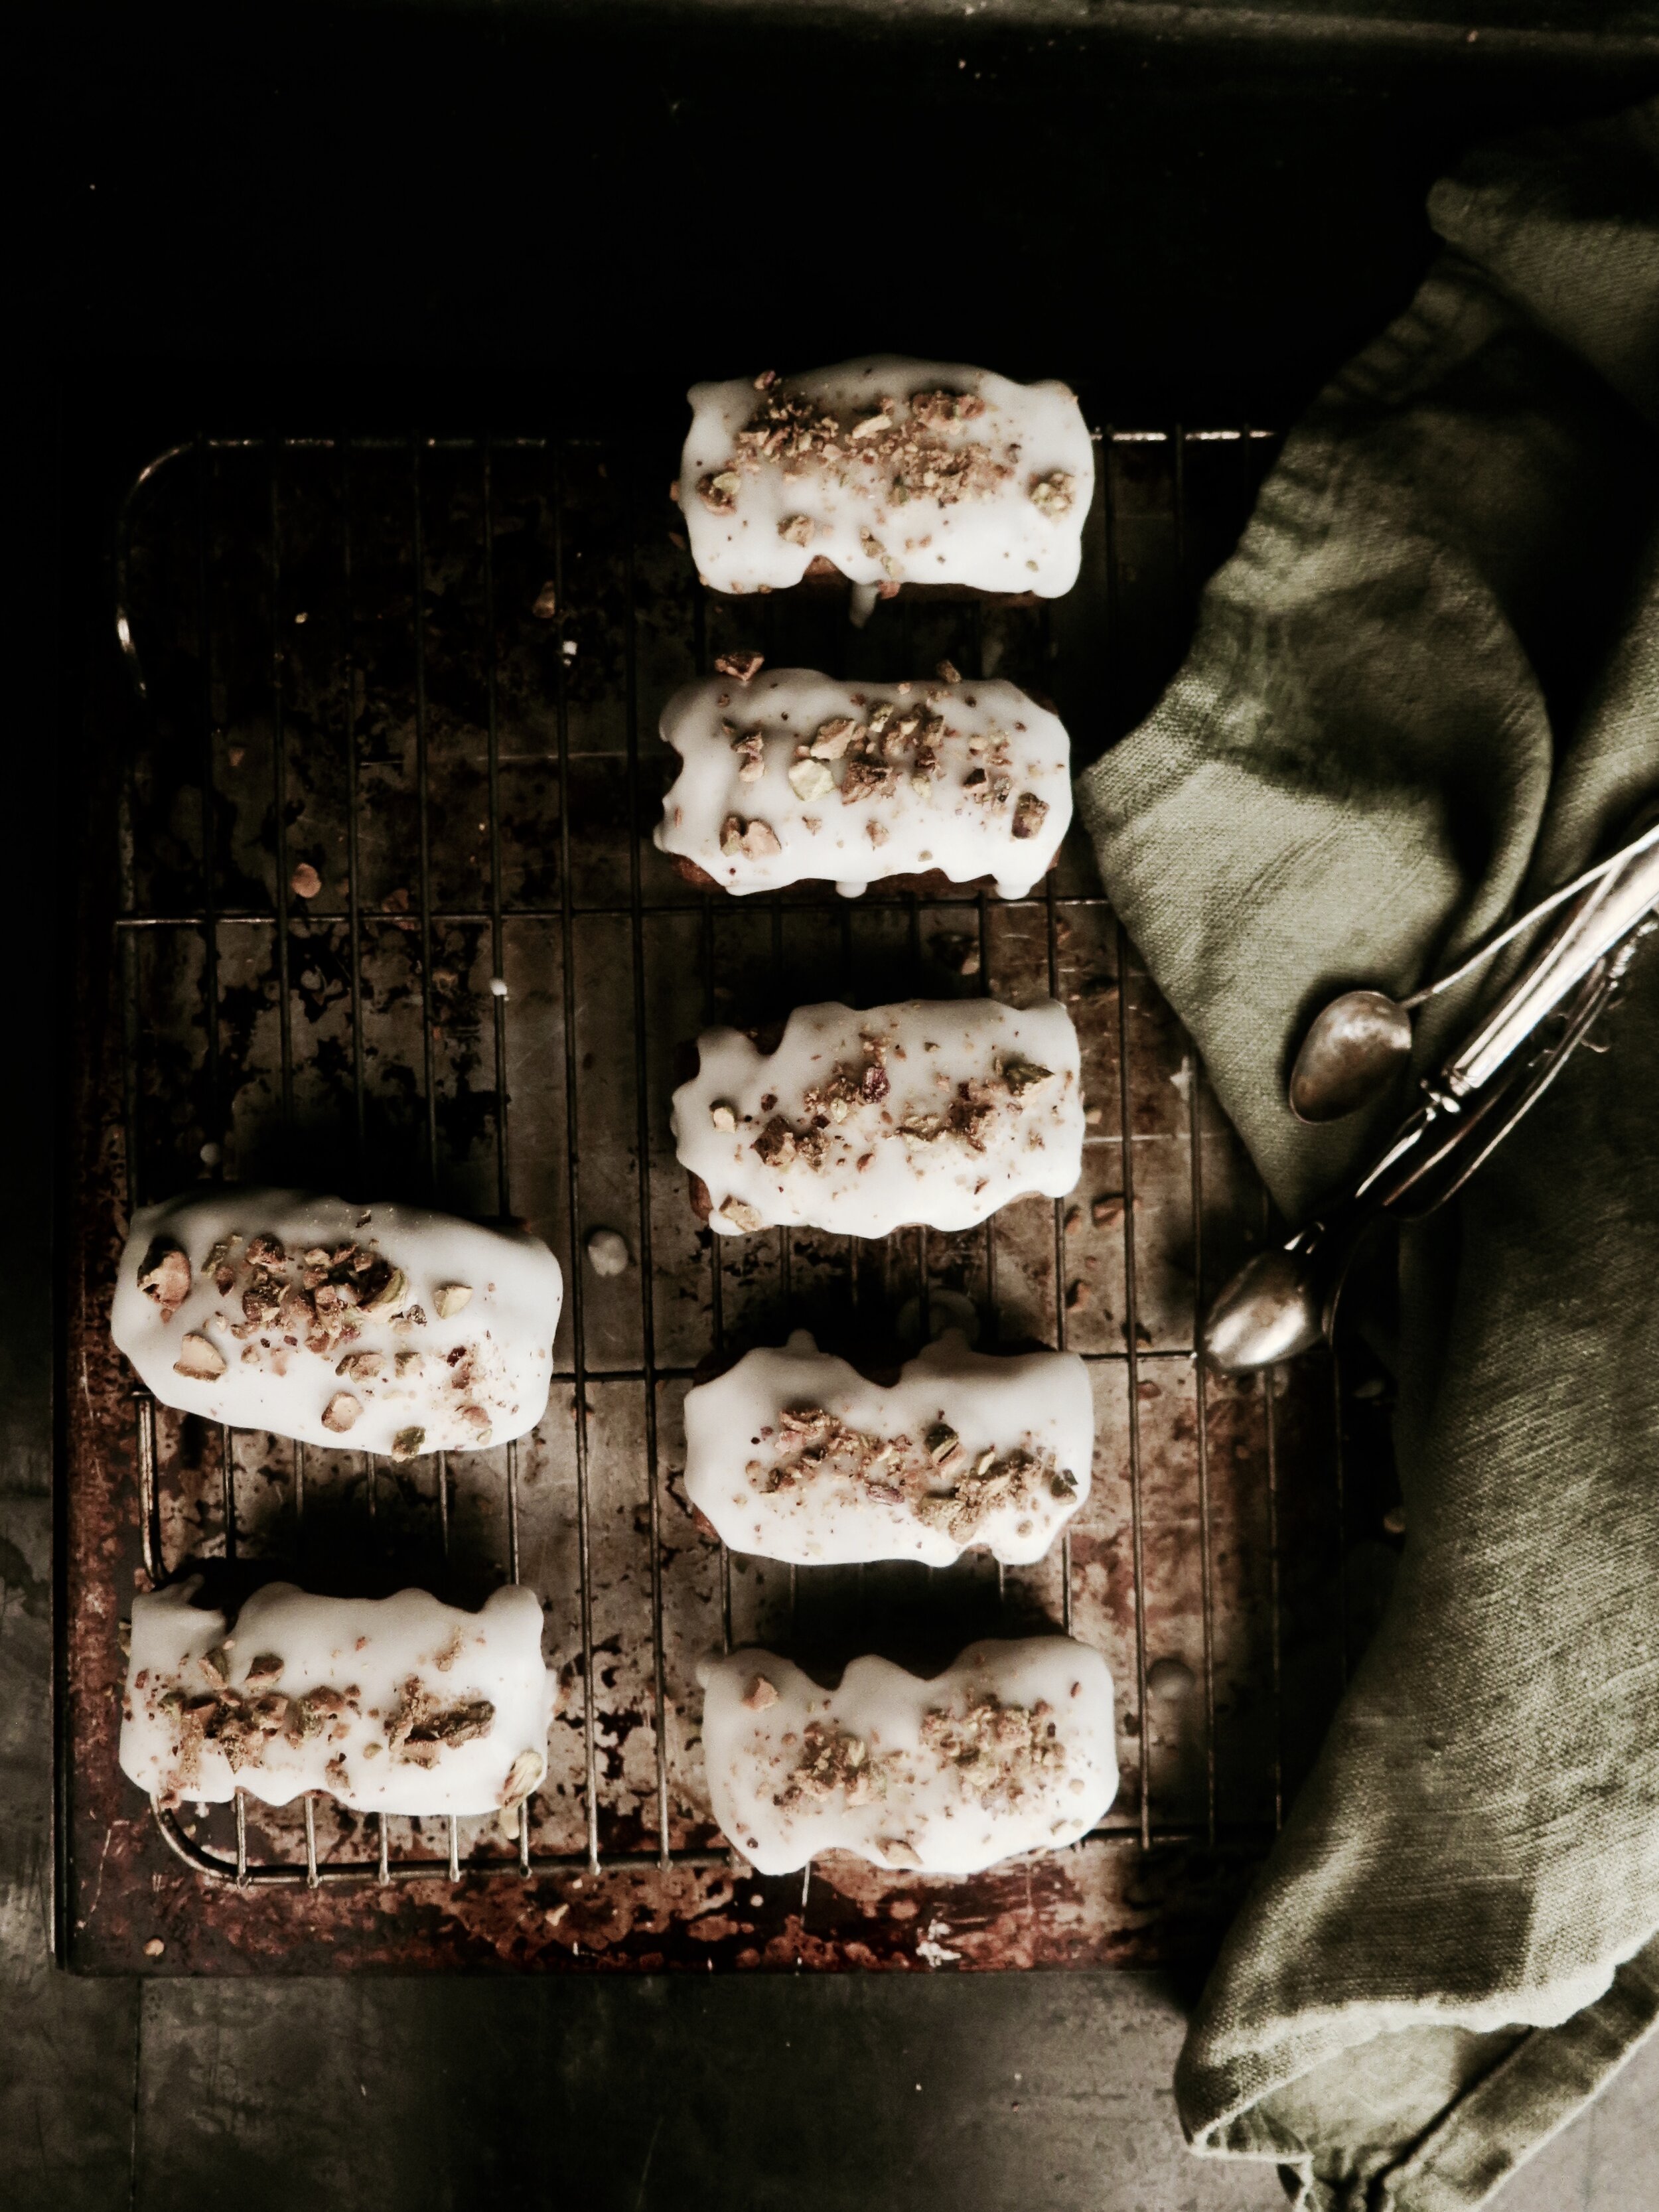
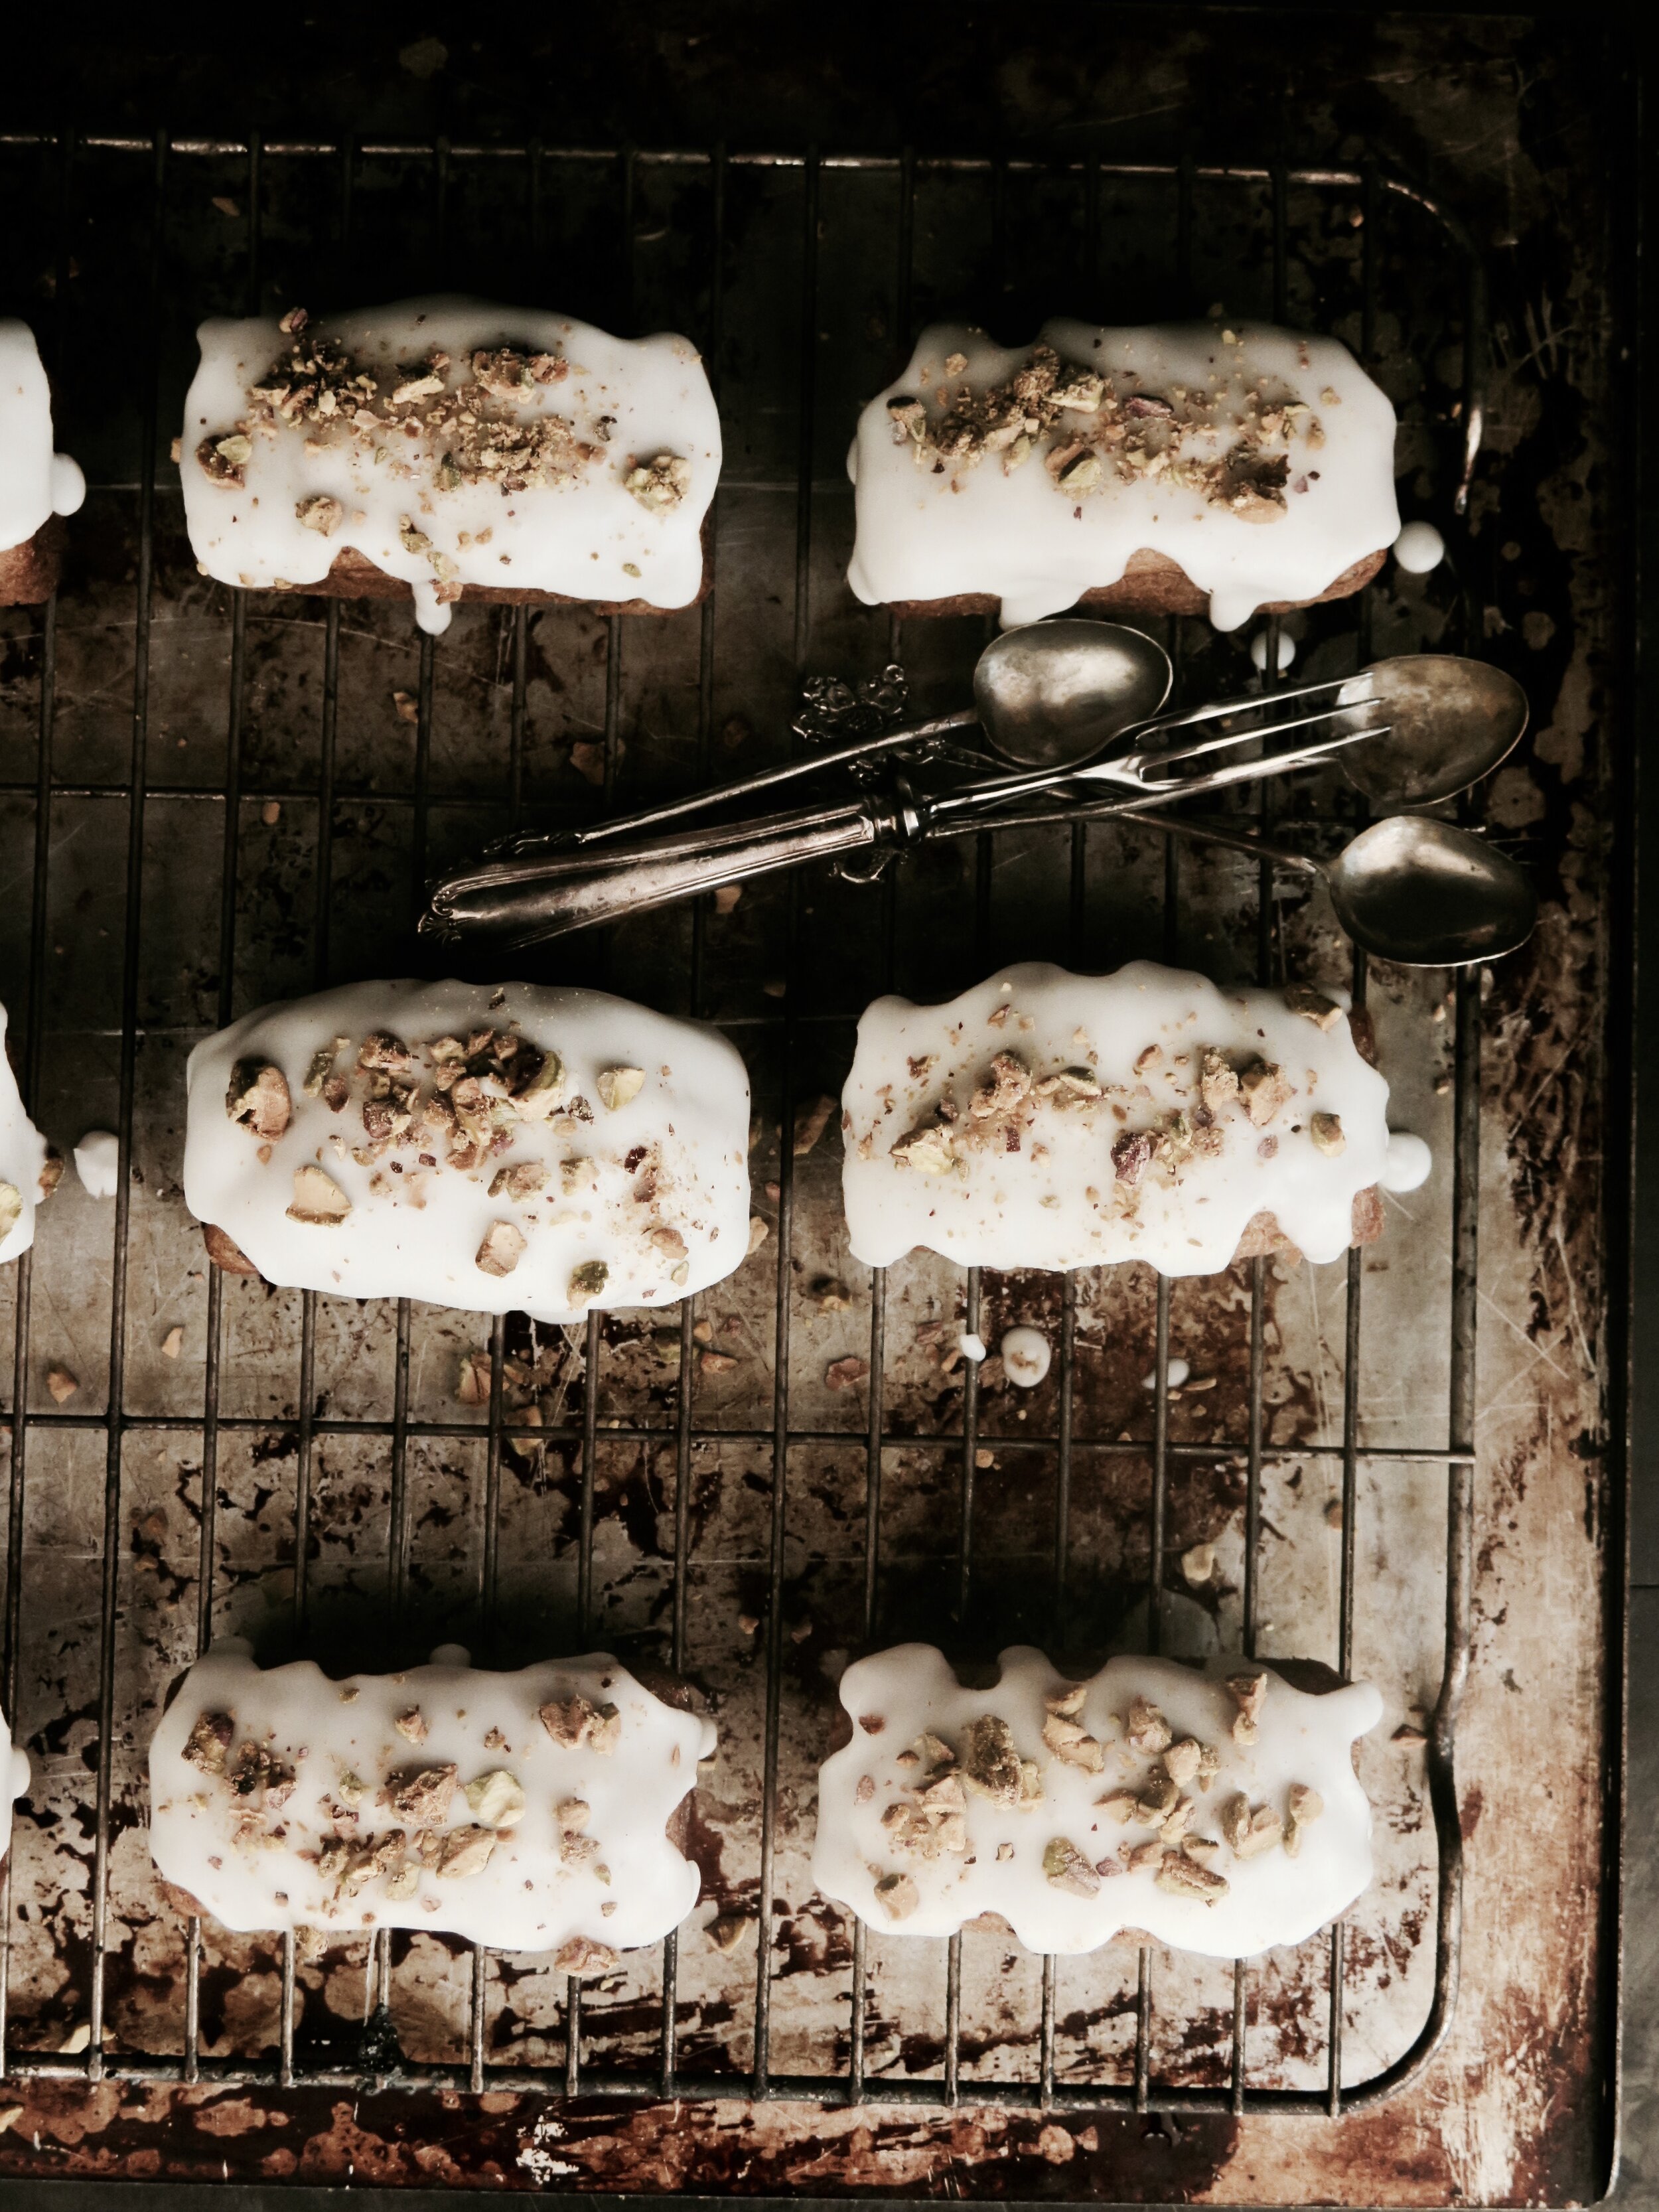
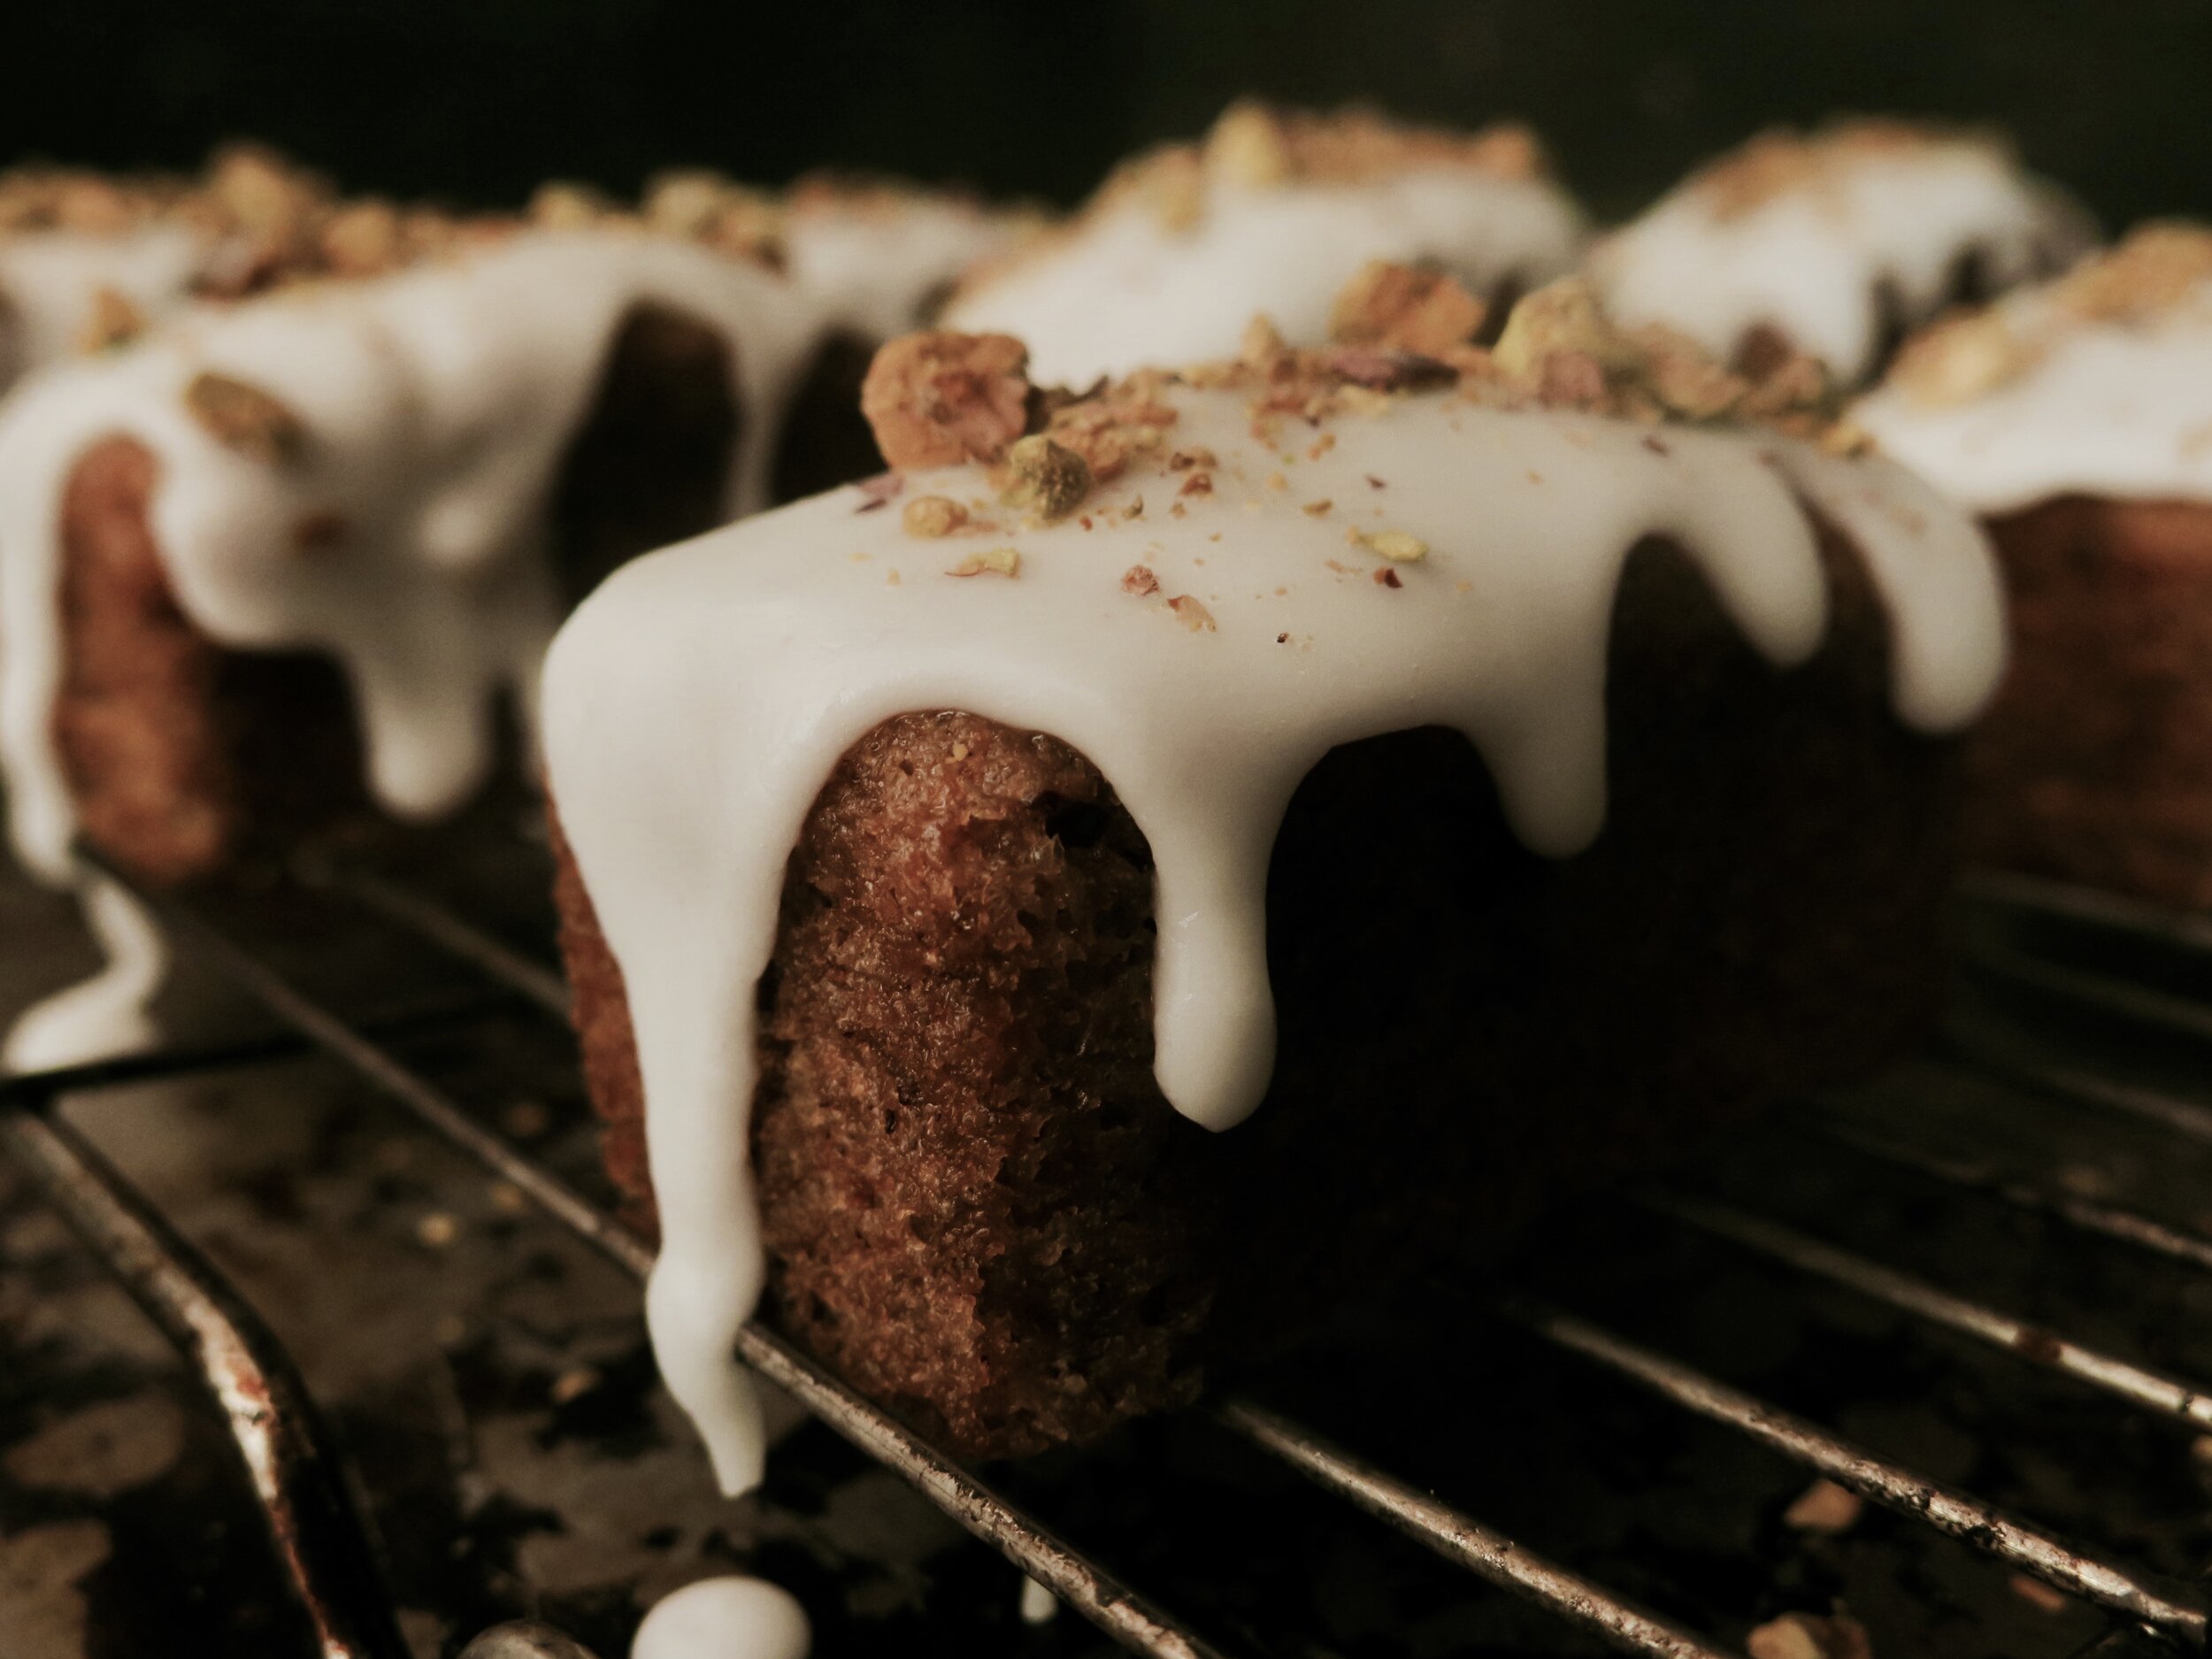
I’ve managed to defy the stereotype before with these chocolate cupcakes  and was beginning to fear that that is where my vegan cake adventures would end. I was wrong. These pistachio cakes are light, moist, and totally delicious – and they have no gross chemicals. 

They have a semblance of a Moroccan/Arabian dessert with tangy lemon to cut through the sweetness, crunchy salted pistachios for texture and relief from the sweetness, and a touch of rose water not to make them too perfumed (which I also don’t like) but to add a hint of exoticness.

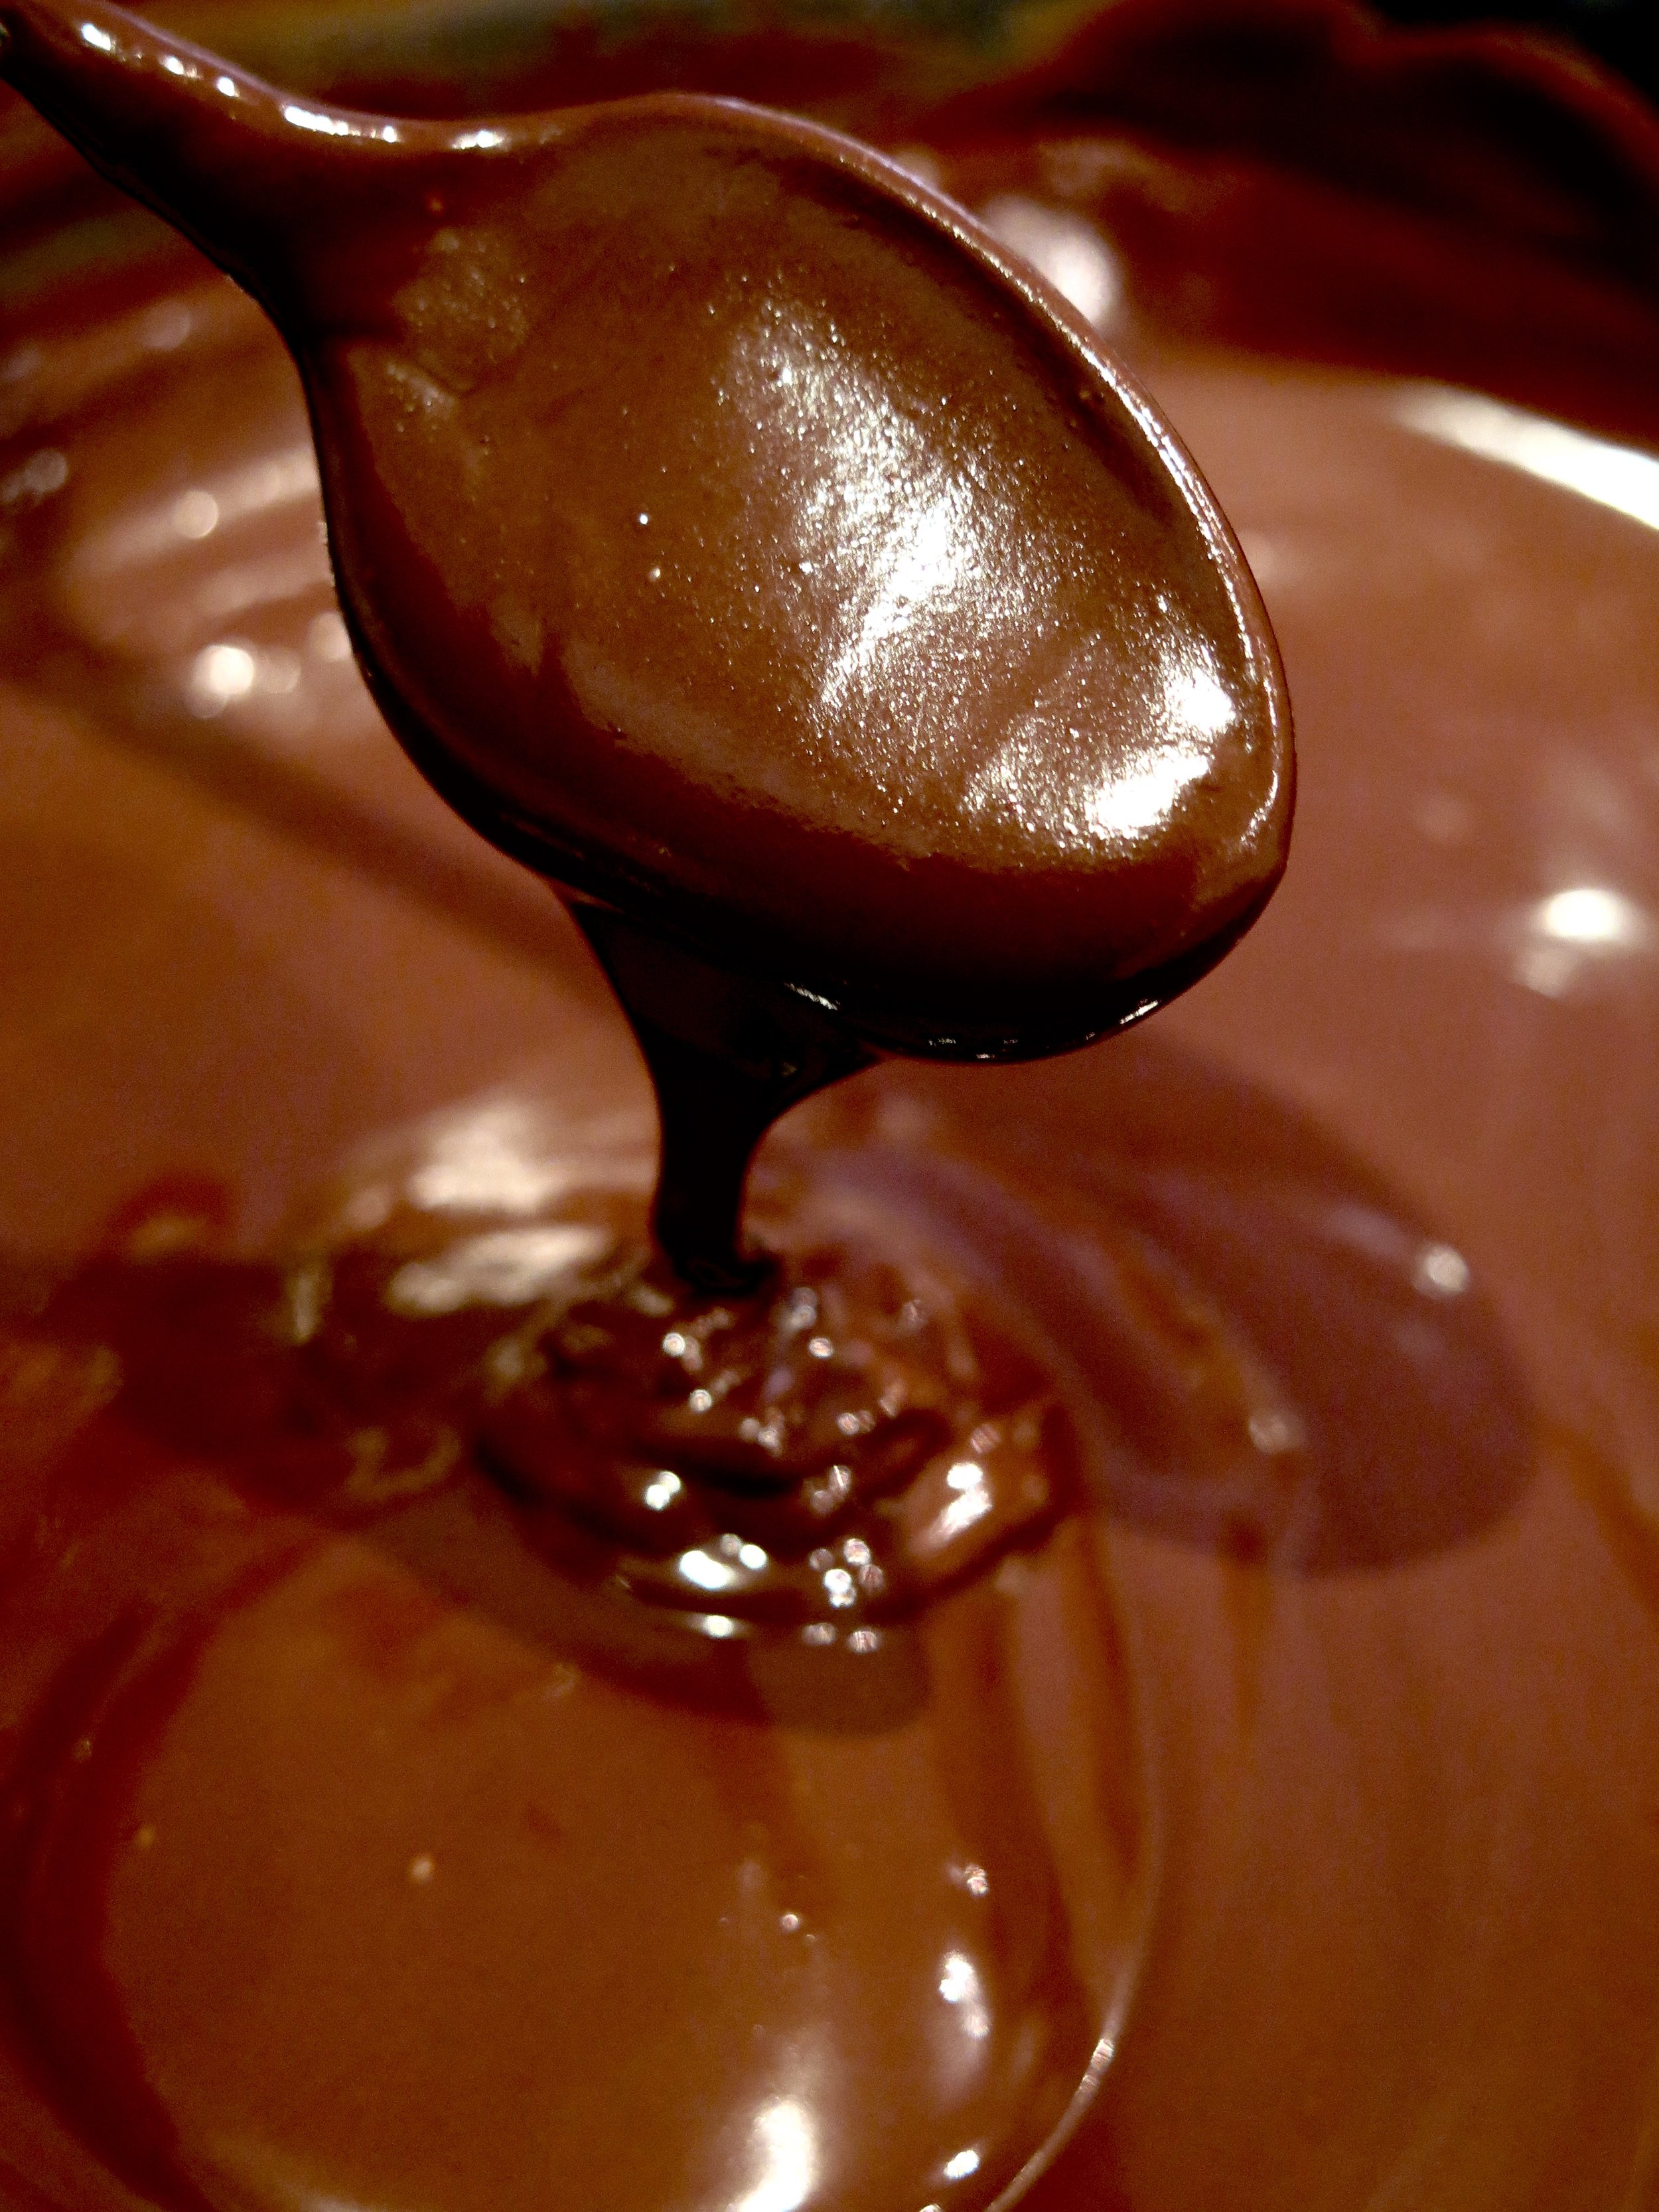
The batter is also dangerously good (so make sure your spatula isn’t too effective).

Vegan Pistachio & Lemon Cakes

 Vegan pistachio, rose & lemon syrup cakes   

(makes 10 mini cakes or 1 large loaf cake)

Ingredients

100g roasted and salted pistachios, shelled (80g for the cake and 20g for the topping)

200g plain flour 

8 cardamom pods

¼ tsp vanilla

¼ tsp salt

220g caster sugar (150g for the cake, 70g for the syrup)

80ml vegetable oil

200ml plant-based milk (I use oat or almond for their neutral flavour)

3 lemons (zest of 1 lemon and juice of all 3)

1 ½ tsp baking powder

¾ tsp bicarbonate of soda

¼ tsp rosewater (you can leave this out if you’re not a fan or can’t get hold of it)

200g icing sugar, sifted


10-holed mini loaf tin (each one is 10cm x 4cm), or large loaf tin (10cm x 20cm), greased with vegetable oil and dusted with flour, or a 12-hole muffin tin, lined with cases


Method

1)    Preheat oven to 180°C.

2)    In a large bowl, mix together the flour, 150g caster sugar, baking powder, bicarb, salt and the zest of one lemon.

3)    With a pestle and mortar (or back of a knife), gently crush the cardamom pods so that you can remove the shells and are left with just the seeds. Crush the seeds to a powder. Then either in the pestle and mortar or in a blender, blitz 80g of the shelled pistachios until they resemble coarse sand. Mix them into the dry ingredients.

4)    Pour milk, oil, vanilla and the juice of one lemon into the dry ingredients and fold together until combined (btw the batter tastes amazing raw). Spoon the batter into the mini loaf tins/large loaf tin/muffin cases, and place in the oven to bake until an inserted skewer comes out clean. The mini loaf tins and muffin tins will take 10-12 minutes, the large loaf tin will take 30-40 minutes, and you may need to cover it with tin foil after 25 minutes to ensure the top doesn’t burn. 

5)    While the cakes are baking, in a small pan over a medium heat, stir together the juice of 1 lemon and 70g of caster until the sugar dissolves. Allow to simmer for 3-4 minutes until the liquid becomes slightly viscous (almost like maple syrup).

6)    Remove the cakes from the oven, place on a rack to cool, and pierce all over with a cake tester or toothpick. Spoon the heated lemon juice/sugar solution over the cakes. This will be absorbed quickly and make the cakes extra zesty and moist.

7)    While the cakes are cooling, make the icing by mixing together icing sugar, 2tbsp of lemon juice (about 1 lemon) and the rose water until they form a smooth paste. Often weather can affect consistency: if the icing is too stiff, you may need to add a drop more lemon juice; and vice versa, if it is too liquid, you can add a touch more icing sugar. It should be a thick paste.

8)    Once the cakes have cooled, drizzle the icing over, sprinkle with the remaining pistachios, and serve.


Vegan Pistachio & Lemon Cakes

(Adapted from So Vegan)

HUNGRY FOR MORE?

Comment

Share

Chewy Triple Chocolate Nutella & Orange Cookies

Comment

Share

Chewy Triple Chocolate Nutella & Orange Cookies

ANTI-VALENTINES ANCIENT ROMAN-STYLE

Chewy Triple Chocolate Nutella & Orange Cookies

Candlelit dinner in a restaurant suddenly eye-wateringly expensive, a single rose rattling in its cellophane wrapper, chocolates filled with chemical cherry liqueur, and greetings cards covered with hearts and teddy bears and hearts and pictures of champagne and hearts: these are contemporary references to St Valentine’s Day. 

How much more seductive would it be to celebrate Lupercalia as the Ancients did?

Chewy Triple Chocolate Nutella & Orange Cookies

On the 15th February, naked youths of noble birth, anointed with the blood of sacrificed goats, and carrying strips of the animals’ hide, would run through Rome in a spirit of hilarity and lash waiting females in order to promote fertility and assist with pregnancy.

Chewy Triple Chocolate Nutella & Orange Cookies

If this sounds too overtly carnal, how about taking the advice of Ovid in his Ars Amatoria on how to secure a woman or man, how to seduce him or her, and how to keep him or her from being stolen by another? His tips include knowing where to look to find the beloved as he or she will not just fall from heaven. 

Chewy Triple Chocolate Nutella & Orange Cookies

According to Ovid, the theatre is a particularly good place to meet beautiful women.  He warns men to wear well cut and spotless togas, and to avoid having dirty, long fingernails and visible nasal hairs.

Chewy Triple Chocolate Nutella & Orange Cookies

 Beware, too, the persuasive effects of low lighting and alcohol which can mask a woman’s true looks, he says. 

Chewy Triple Chocolate Nutella & Orange Cookies

Women, however, he advises, should use to their advantage all the tricks that cosmetics can offer, while not letting any man observe their application: hide the work in progress, he suggests. Wear simple, unostentatious clothes, revealing a slightly exposed shoulder or upper arm. Sing, play an instrument and learn to play board games, he tells women, and beware of fops.

Chewy Triple Chocolate Nutella & Orange Cookies

But if all this sounds too much like hard work, I heartily recommend that you make these cookies.  Simple to make, they are rich and decadent and infinitely seductive.

Chewy Triple Chocolate Nutella & Orange Cookies


Ingredients (Makes 24)

300g good quality dark chocolate (70% cocoa)

160g Nutella

45g unsalted butter

225g plain flour

35g unsweetened cocoa powder

1/4 baking powder

1/2 tsp salt

4 large eggs

300g caster sugar

finely grated zest of 2 medium-sized oranges

1 tbsp fresh orange juice

80g icing sugar

2 baking sheets, lined with non-stick baking parchment


Method

  1. Place a heatproof bowl over a saucepan of boiling water (without the water touching the bottom of the bowl).  Into the bowl break the chocolate into pieces and add in Nutella and butter. Allow to melt slowly, stirring occasionally until it turns glossy, molten and smooth. Remove the bowl from heat and set aside to cool.
  2. In a large bowl, sieve together flour, cocoa powder, baking powder and salt.
  3. In an electric mixer fitter with the paddle, or in a large bowl by hand, beat together eggs and sugar for 2-3 minutes until creamy, thick and pale.  Pour in orange zest and juice and beat again to combine.
  4. Pour the molten chocolate mix into the egg mixture and very gently fold together so as not to lose the aeration. Pour in the sieved dry ingredients and, again, fold gently until just combined. 
  5. Cover bowl and let the mixture cool in the fridge for half an hour. 
  6. Preheat oven to 170°C. Sieve icing sugar into a bowl. Remove the cookie dough from the fridge and roll the dough into spheres of about 40g each. Roll each one in the icing sugar to coat thoroughly, then place on the tray, leaving about 5cm space between each.
  7. Place in oven to cook for 8-12 minutes, (checking after 8). They should be soft to the touch and feel slightly undercooked. Remove from oven and set aside to cool. They will continue to cook as they cool. If you can manage to resist them, store in a an airtight container for a week (they get fudgier over time), or freeze in an airtight container for 2 months.
Chewy Triple Chocolate Nutella & Orange Cookies

HUNGRY FOR MORE?


Comment

Share

Morroccan Spiced Linzer Jam Cookies

Comment

Share

Morroccan Spiced Linzer Jam Cookies

Afternoon tea.  What do you think of when someone says those words? Tiers of fluffy isosceles sandwiches, miniature entremets layered with fruit, caramel, and chocolate, and maybe a scone glistening with strawberries.  Crisp napkins, high ceilings, the tinkling of fine bone china…

Near where I live there is an Austrian tea room.  The window is filled with garish glace cherry- adorned, deflated pastries, crusted squiggles of festering cream, and opera cake melding into a brown sludge. It opened 60 years ago, and the décor and pastries appear not to have been refreshed since.

Morroccan Spiced Linzer Jam Cookies

Inside, it is dark and cramped, and the airless atmosphere is thickened with hot breath and the oversweet smell of fat and sugar.

Their Linzer biscuits, however, remind me of Jammie Dodgers – those jam-filled, shortbread biscuits of my childhood that only other people’s mothers allowed – and inspired me to re- interpret them. 

These have a slight Moroccan edge: spiced, delicate with a slight chewiness, filled with the tangy conserve of your choice.

I like marmalade for the tart/bitter contrast against the sweetness of the pastry, but strawberry also works well.  Of course, you can go for any shape, but I am rather taken by the cog-like –quirky take on a Jammie Dodger look.

Ingredients

290g (10.125 ounces) white spelt flour (or plain flour if unavailable)

140g (5 ounces) ground almonds

100g (3.5 ounces) caster sugar

¼ tsp salt

2 ½ tsp cinnamon

¼ tsp ground cloves

¼ tsp almond extract

1 tsp grated lemon zest (about ½ lemon)

1 tsp grated orange zest (about ½ medium orange)

225g (8 ounces) unsalted butter

200g (7 ounces) marmalade or jam of choice (I used marmalade and strawberry)

30g (1 ounce) icing sugar

Large and small cookie cutters (I used 7cm and 3.5cm diameter rings)

2 large baking sheets, lined with baking parhcment

Method

  1. Pour flour, ground almonds, caster sugar, salt cinnoman, cloves,orange and lemons zest, and almond extract into a food processor and pulse until fully combined.  Add in the chopped butter and pulse again until the mixture forms a damp sand-like texture.  Keep pulsing until it clumps tighter to form a dough.
  2. Divide the dough into two rounds and flatten both onto sheets of baking parchment, wrap them and place them in the freezer for about 20 minutes or the fridge for an hour.
  3. Preheat the oven to 160˚C (325˚F). Remove the disks of dough from the freezer/fridge – if they are too firm to roll, let them sit for a few minutes.  Ona thoroughly floured board, roll one disk out to a 3mm (1/8 inch) thickness. Cut out as many cookies as possible and set aside the scraps.  Space the disks out on the baking trays as you go. Repeat with the second disk and use the smaller cutter to cut out small holes from the rounds.  Press together the accumulated scraps and roll out again.  Make sure there are an equal number of whole circles to circles with a cut out circle.  A tip to avoid the cutter sticking in the dough is to dip it in flour first.
  4. Place the trays in the oven and bake for 12- 15 minutes until the cookies are golden but still soft to the touch – they will continue to cook as they cool. When cool, for aesthetic effect, sieve the icing sugar onto the rounds with the circles cut out of them. Then spread a teaspoon of the jam/marmalade onto the complete circles, and lightly press the cut-out layer on top.  Devour, delicately, of course…
Morroccan Spiced Linzer Jam Cookies

Comment

Share

Strawberry Crumble Bars

Comment

Share

Strawberry Crumble Bars

IMG_4993.jpg

Strawberry Crumble Bars 
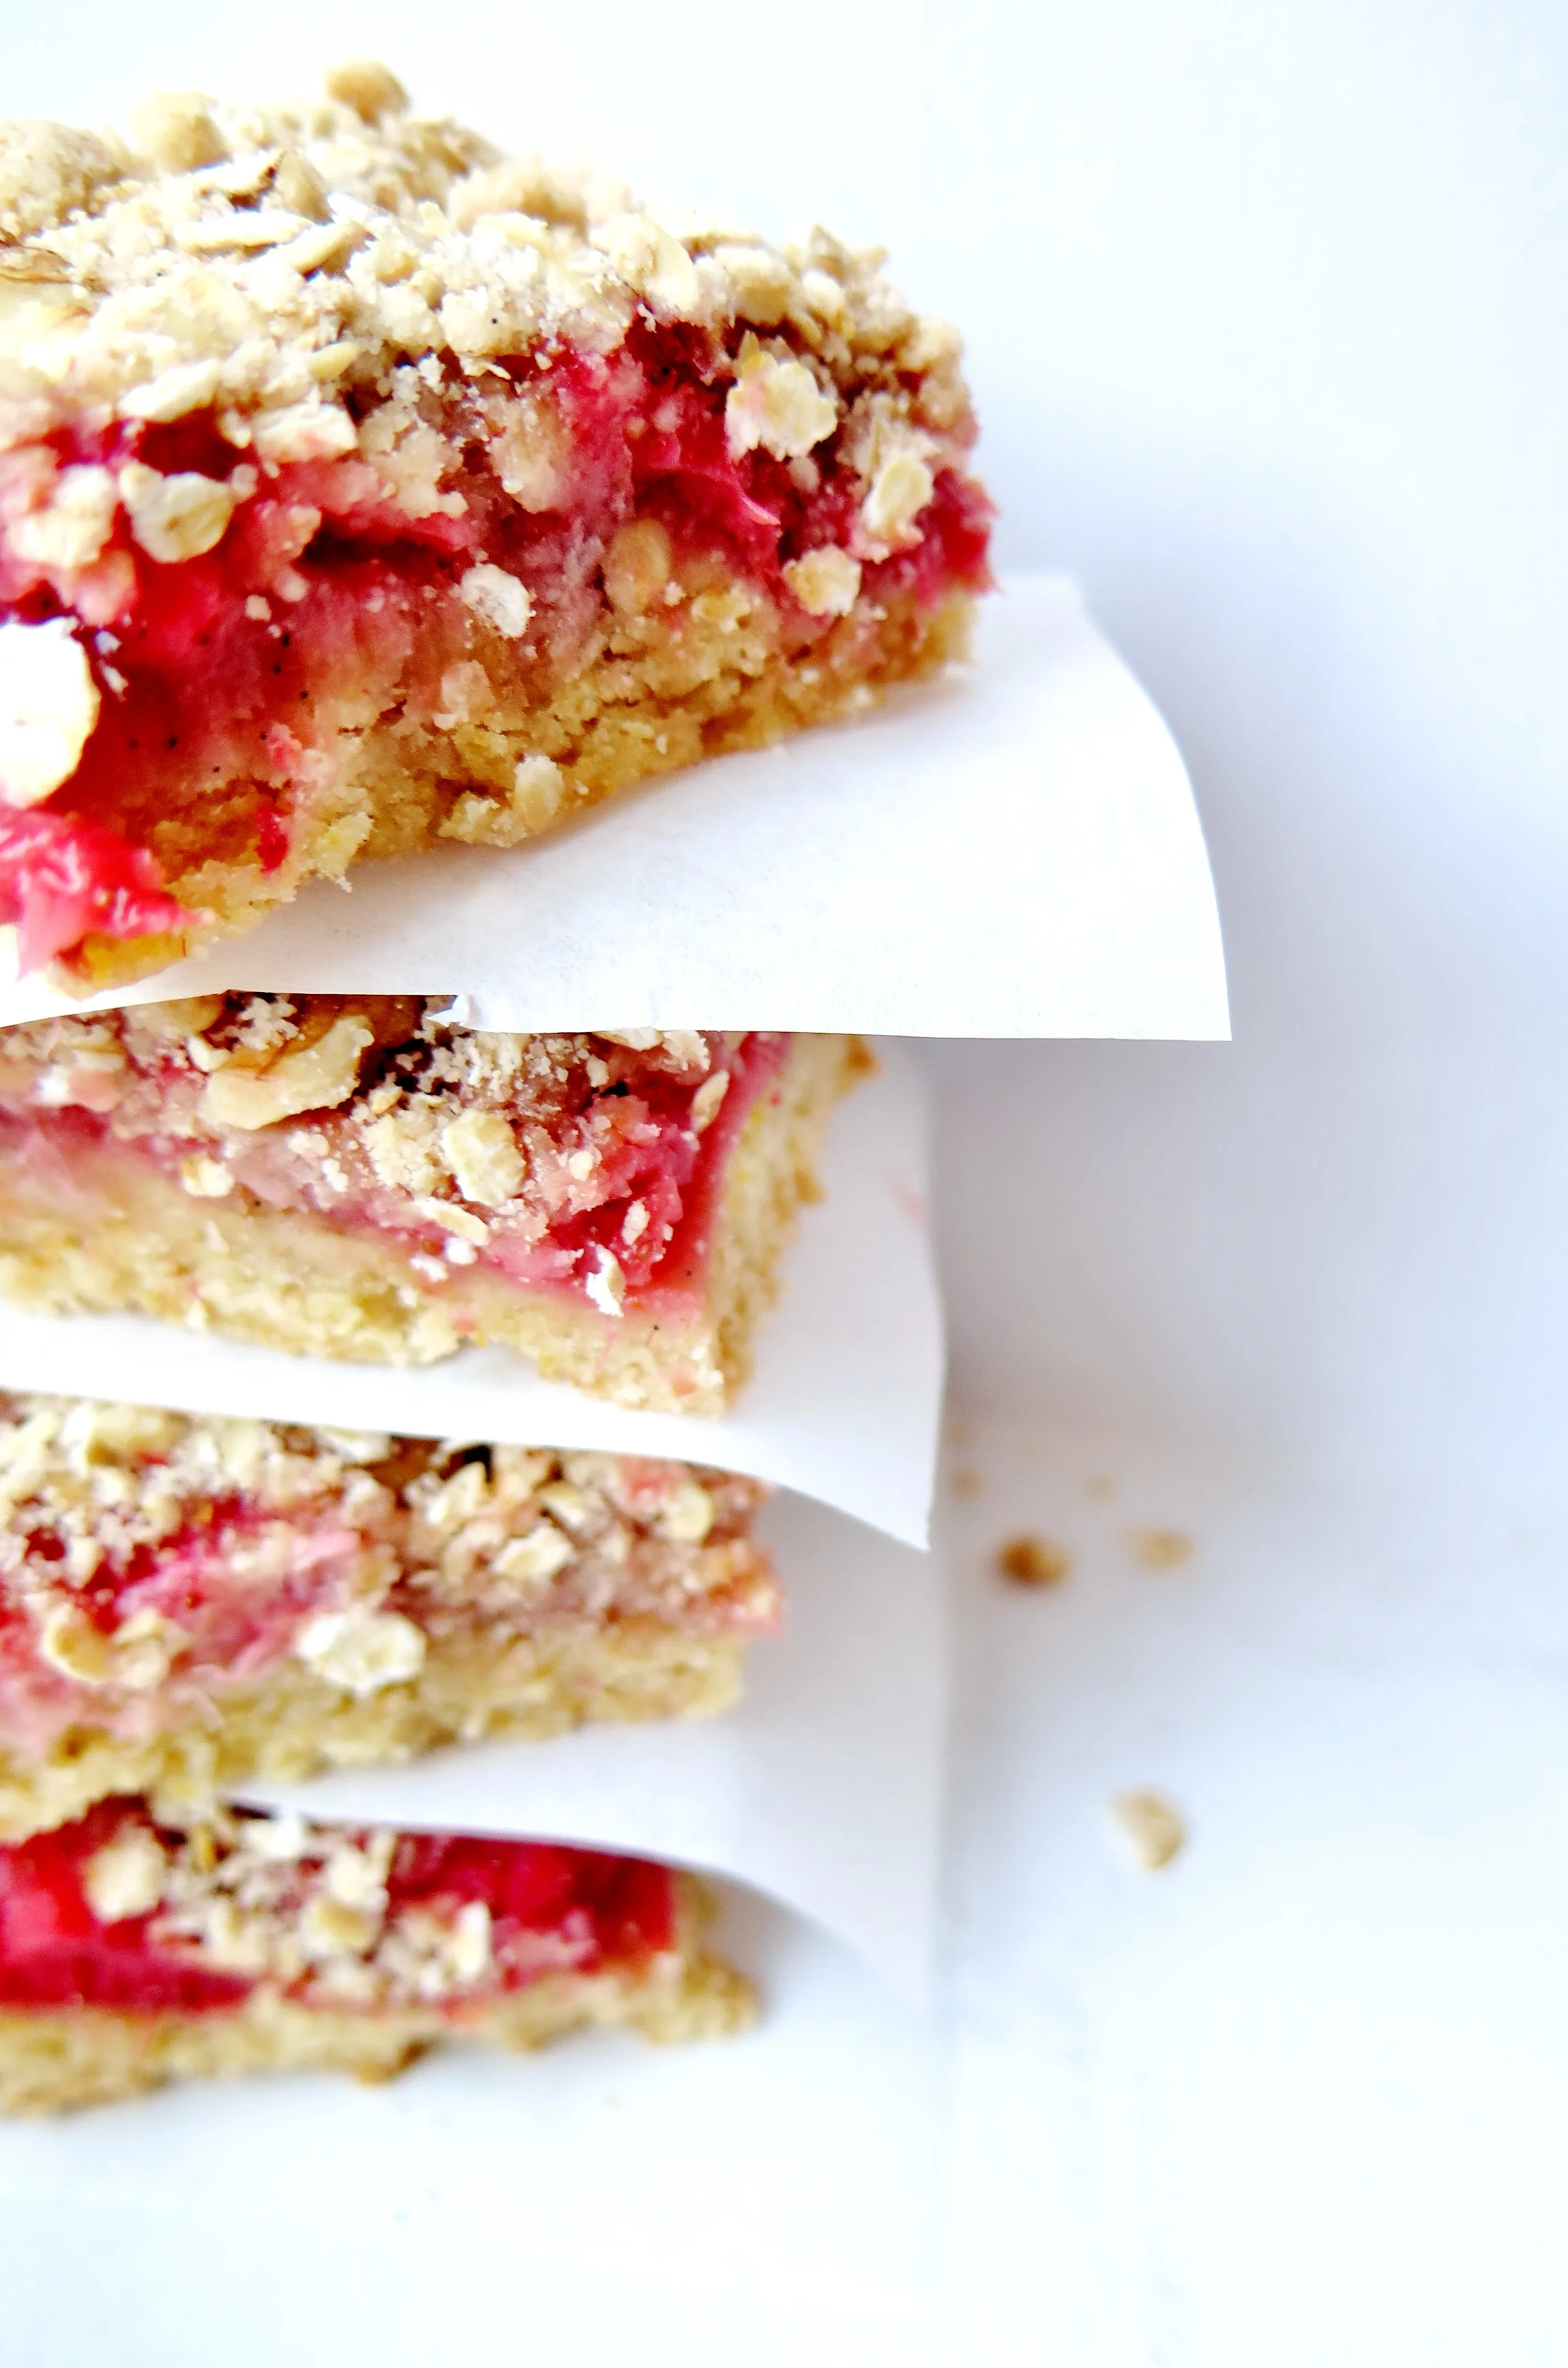
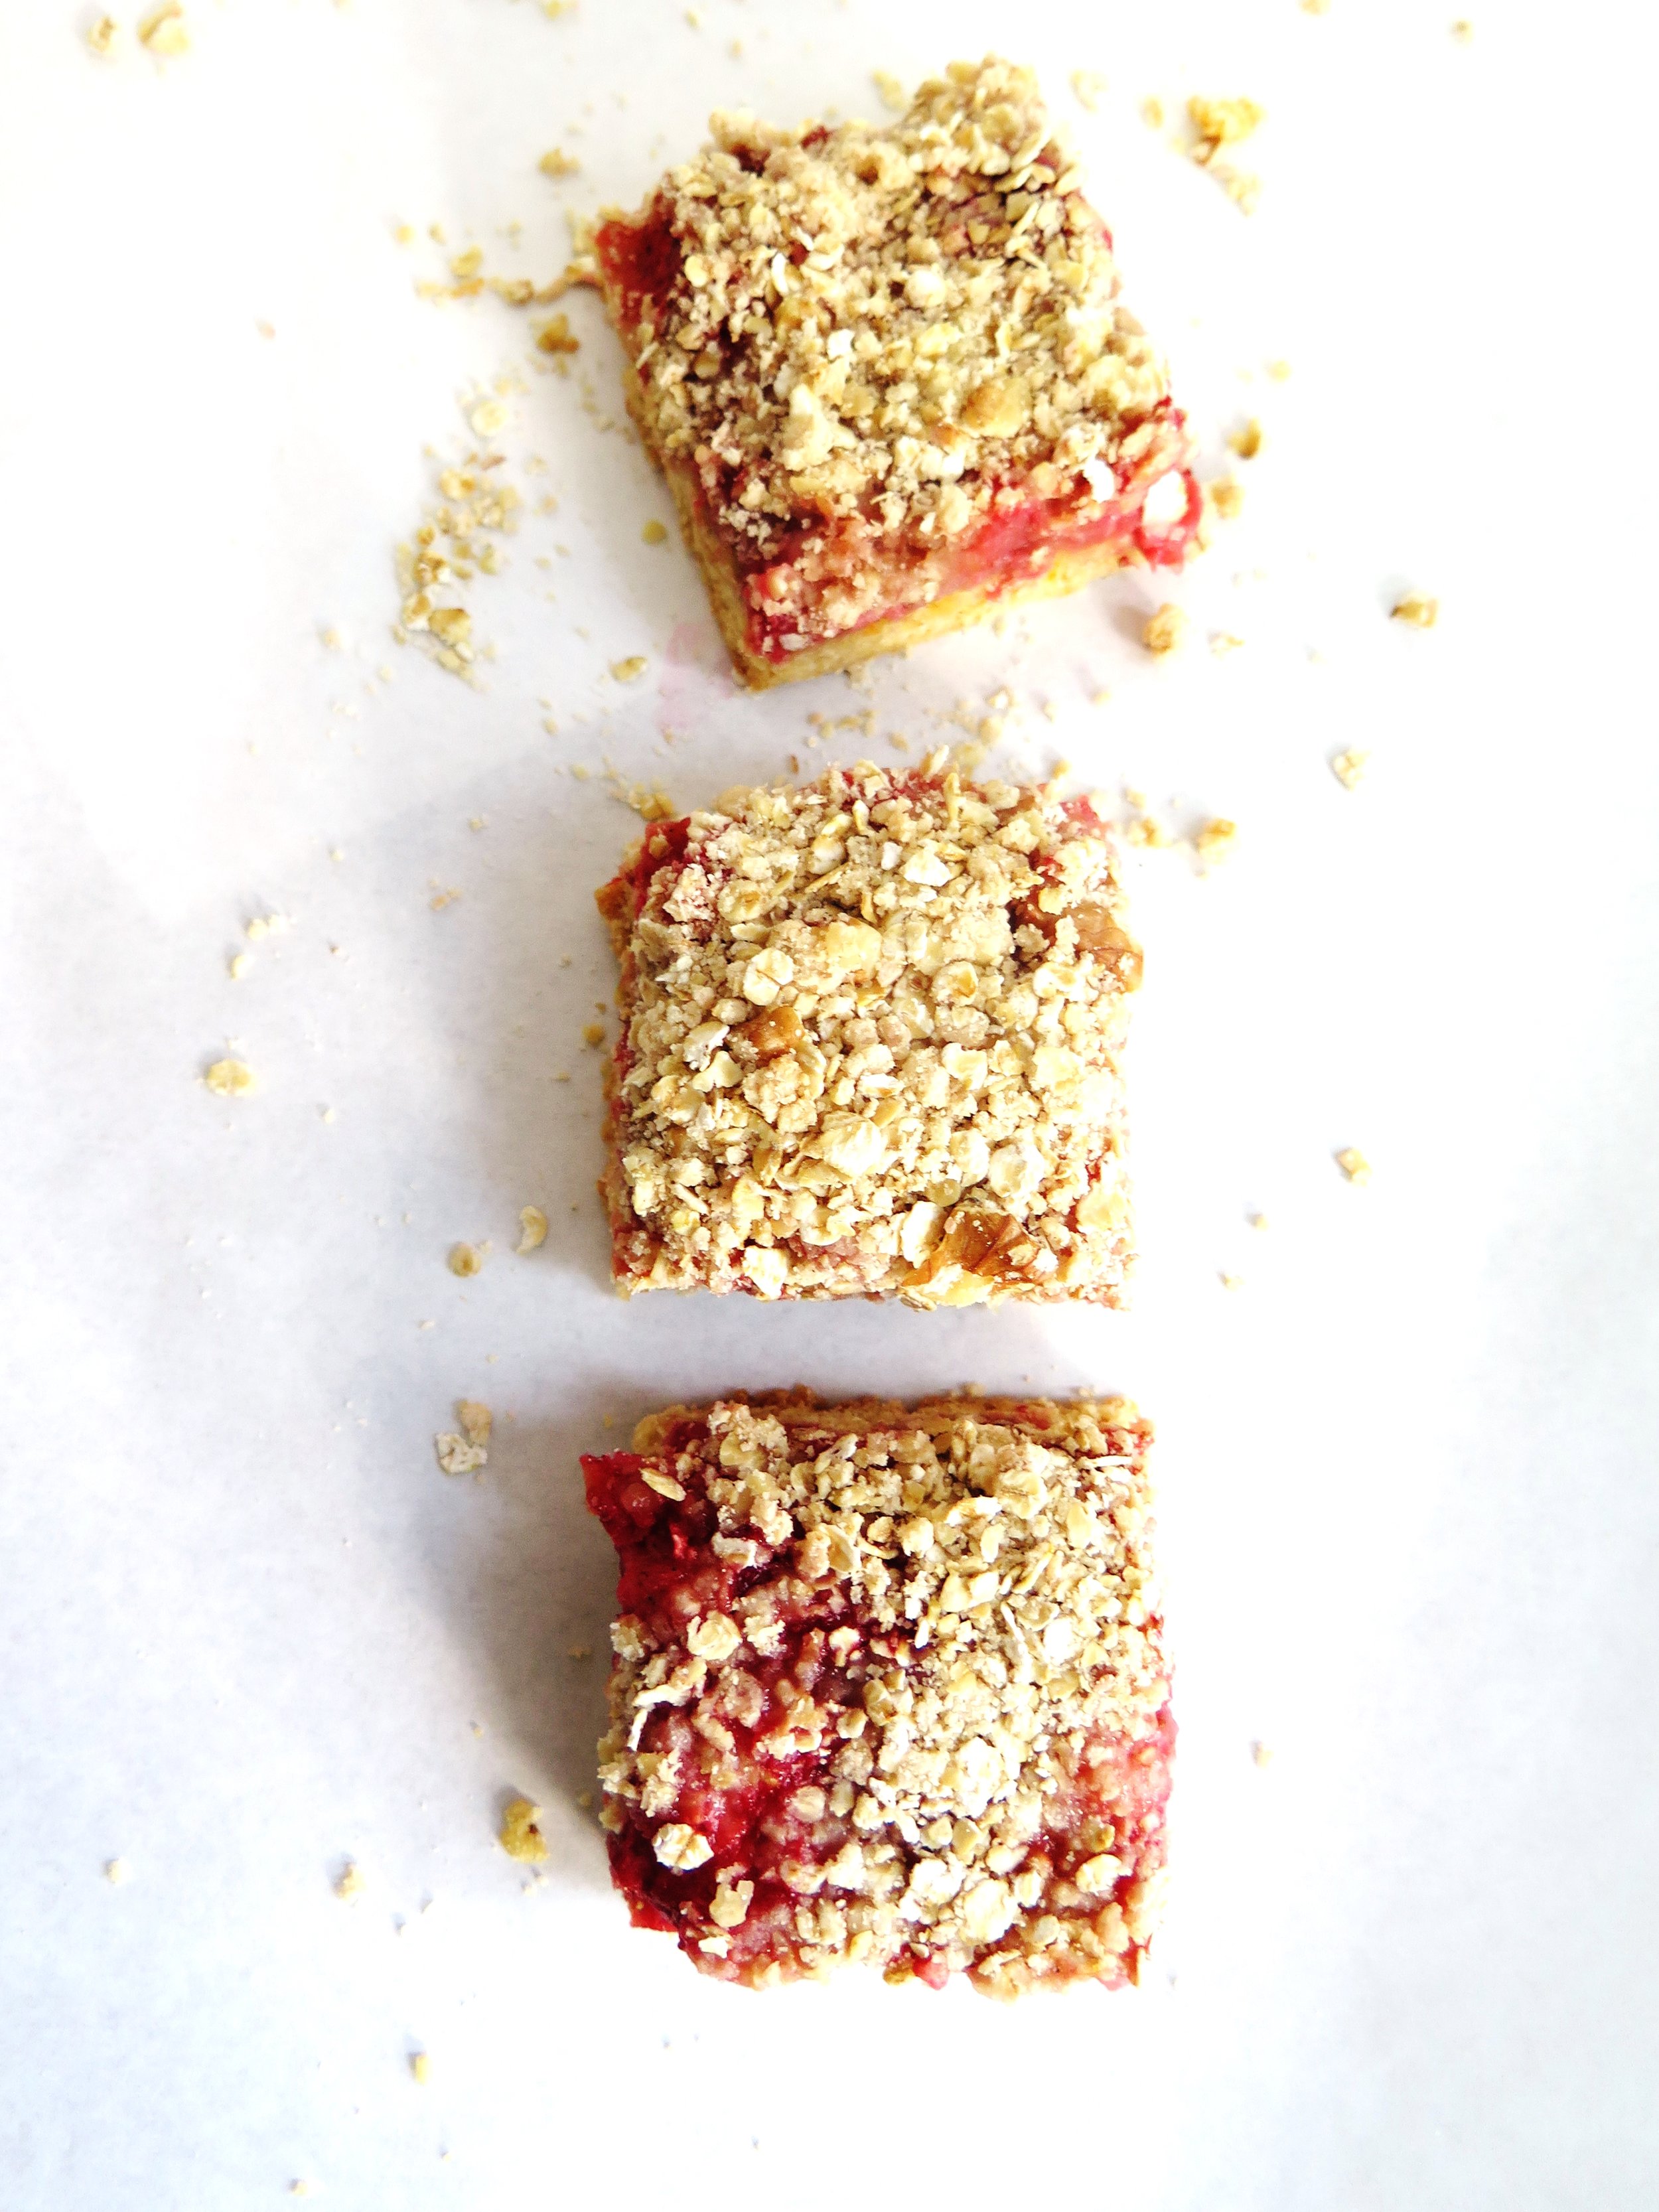
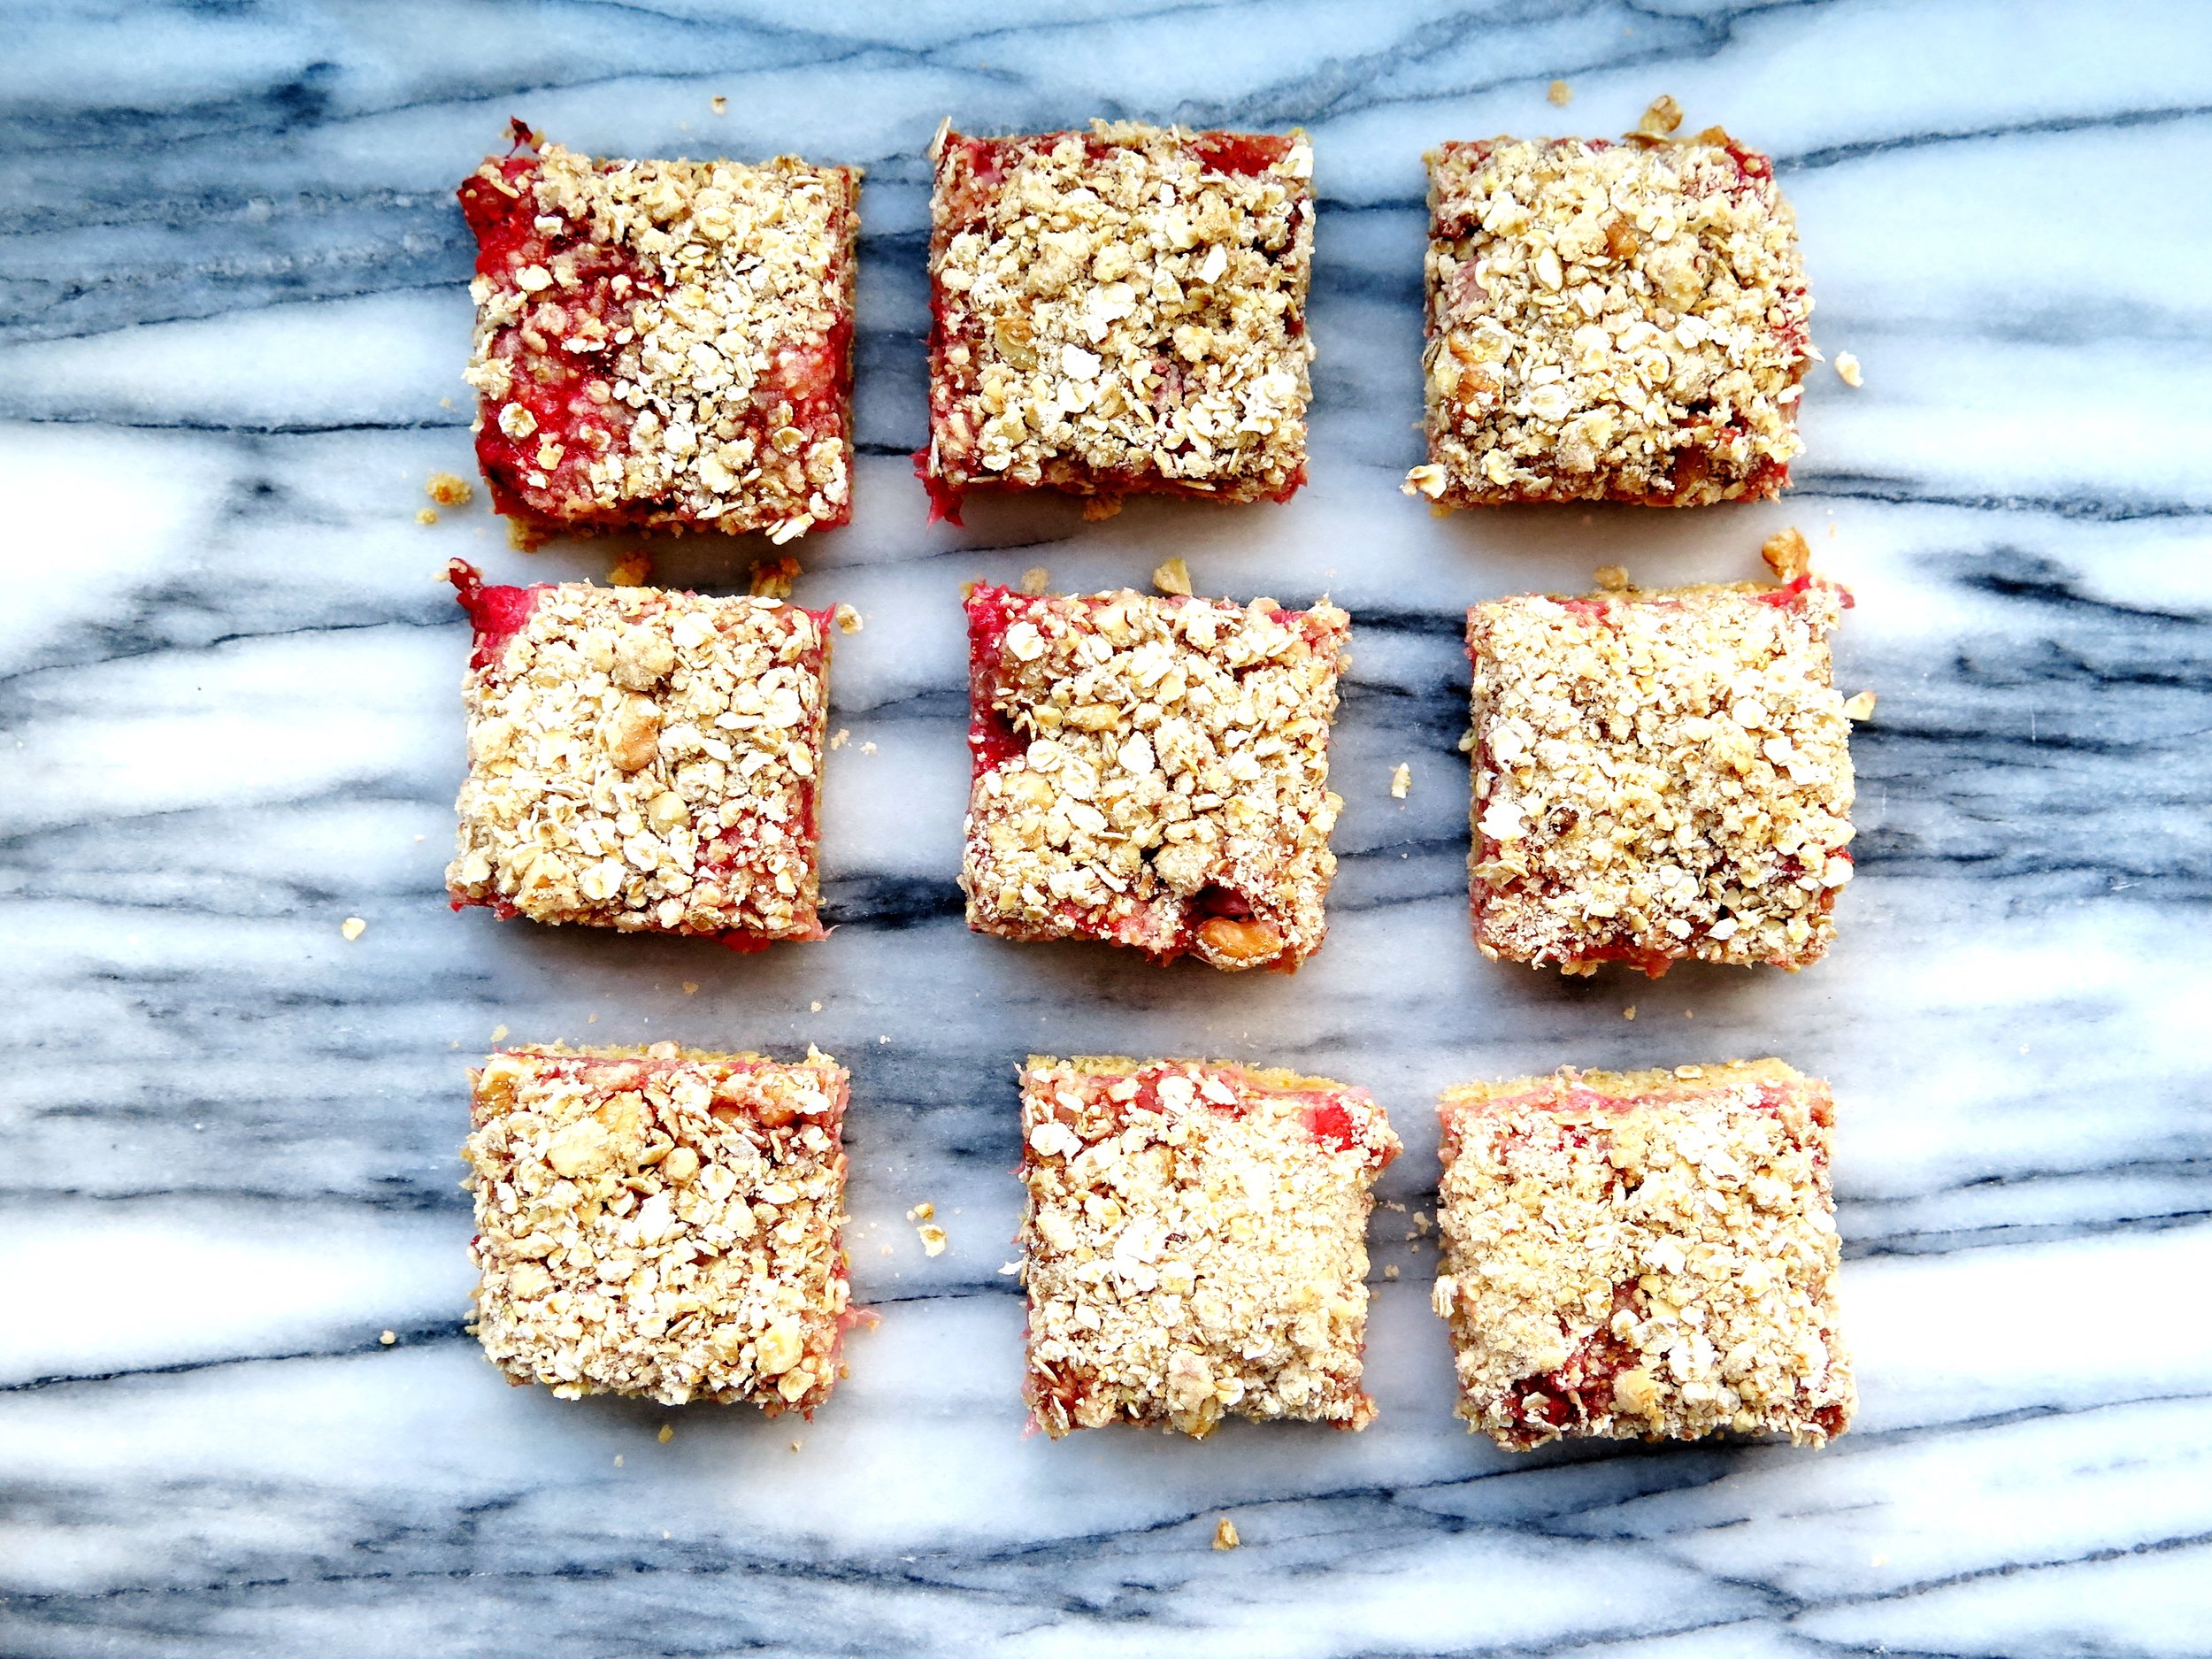
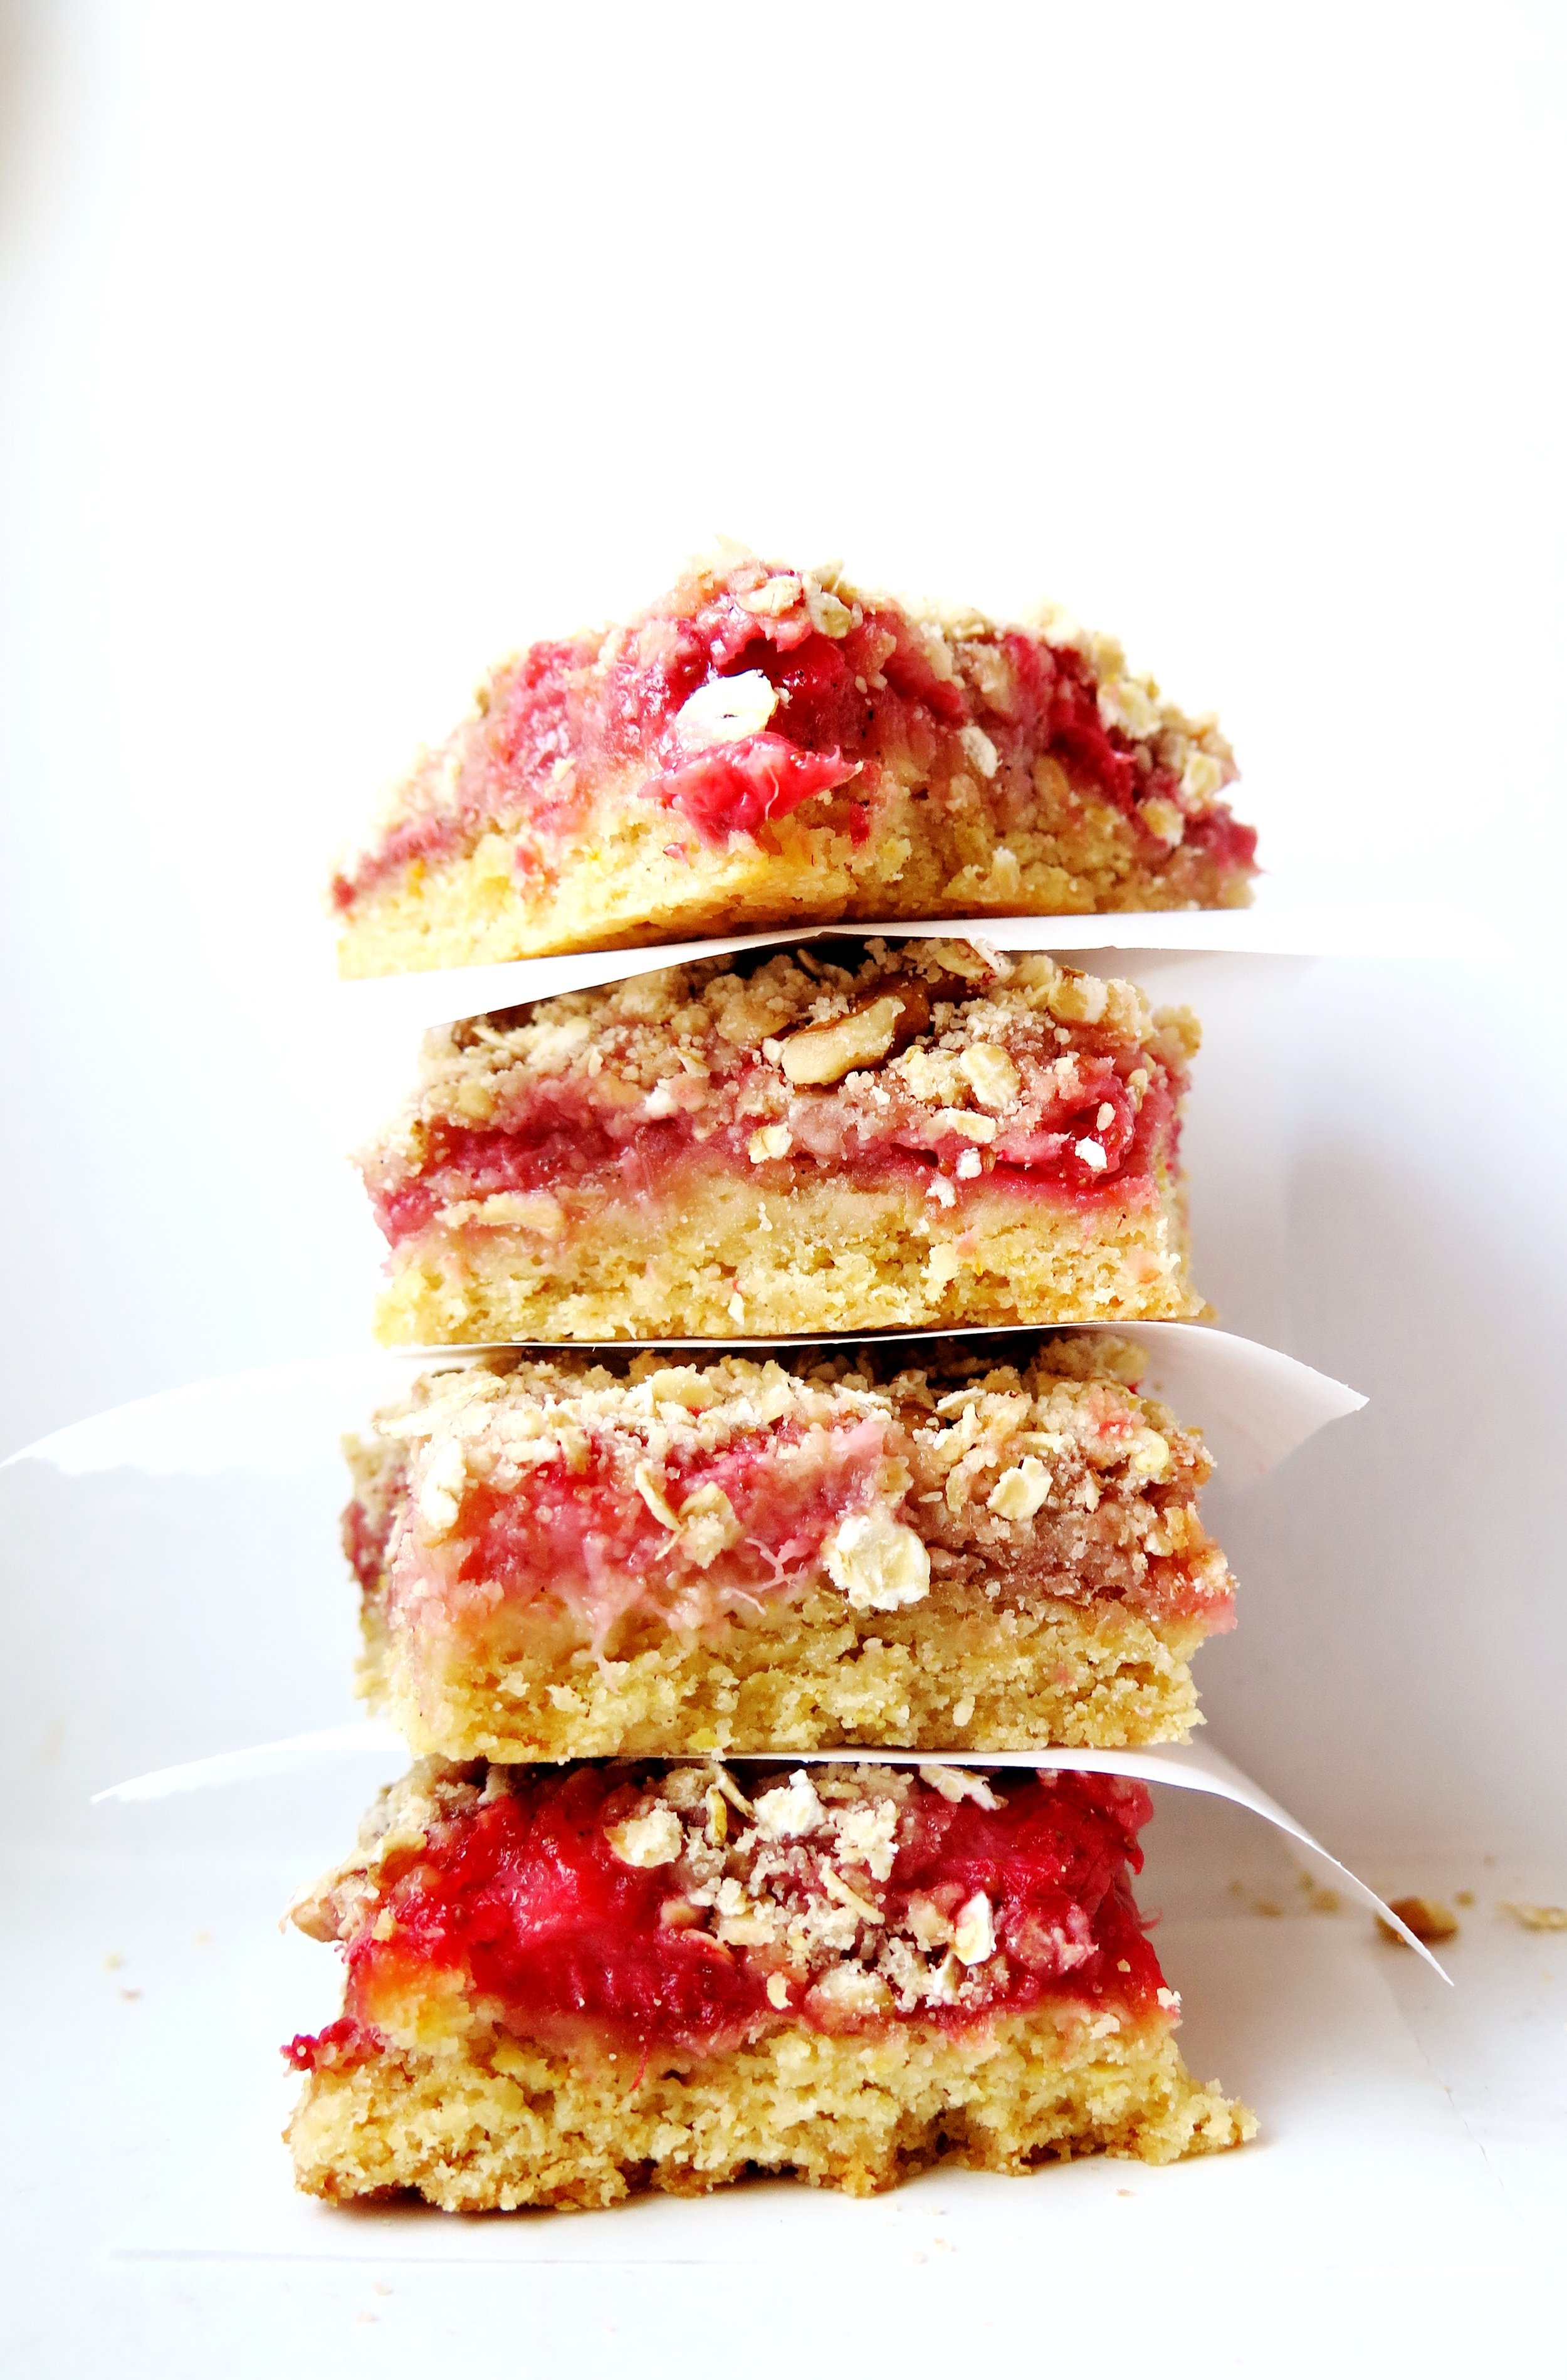
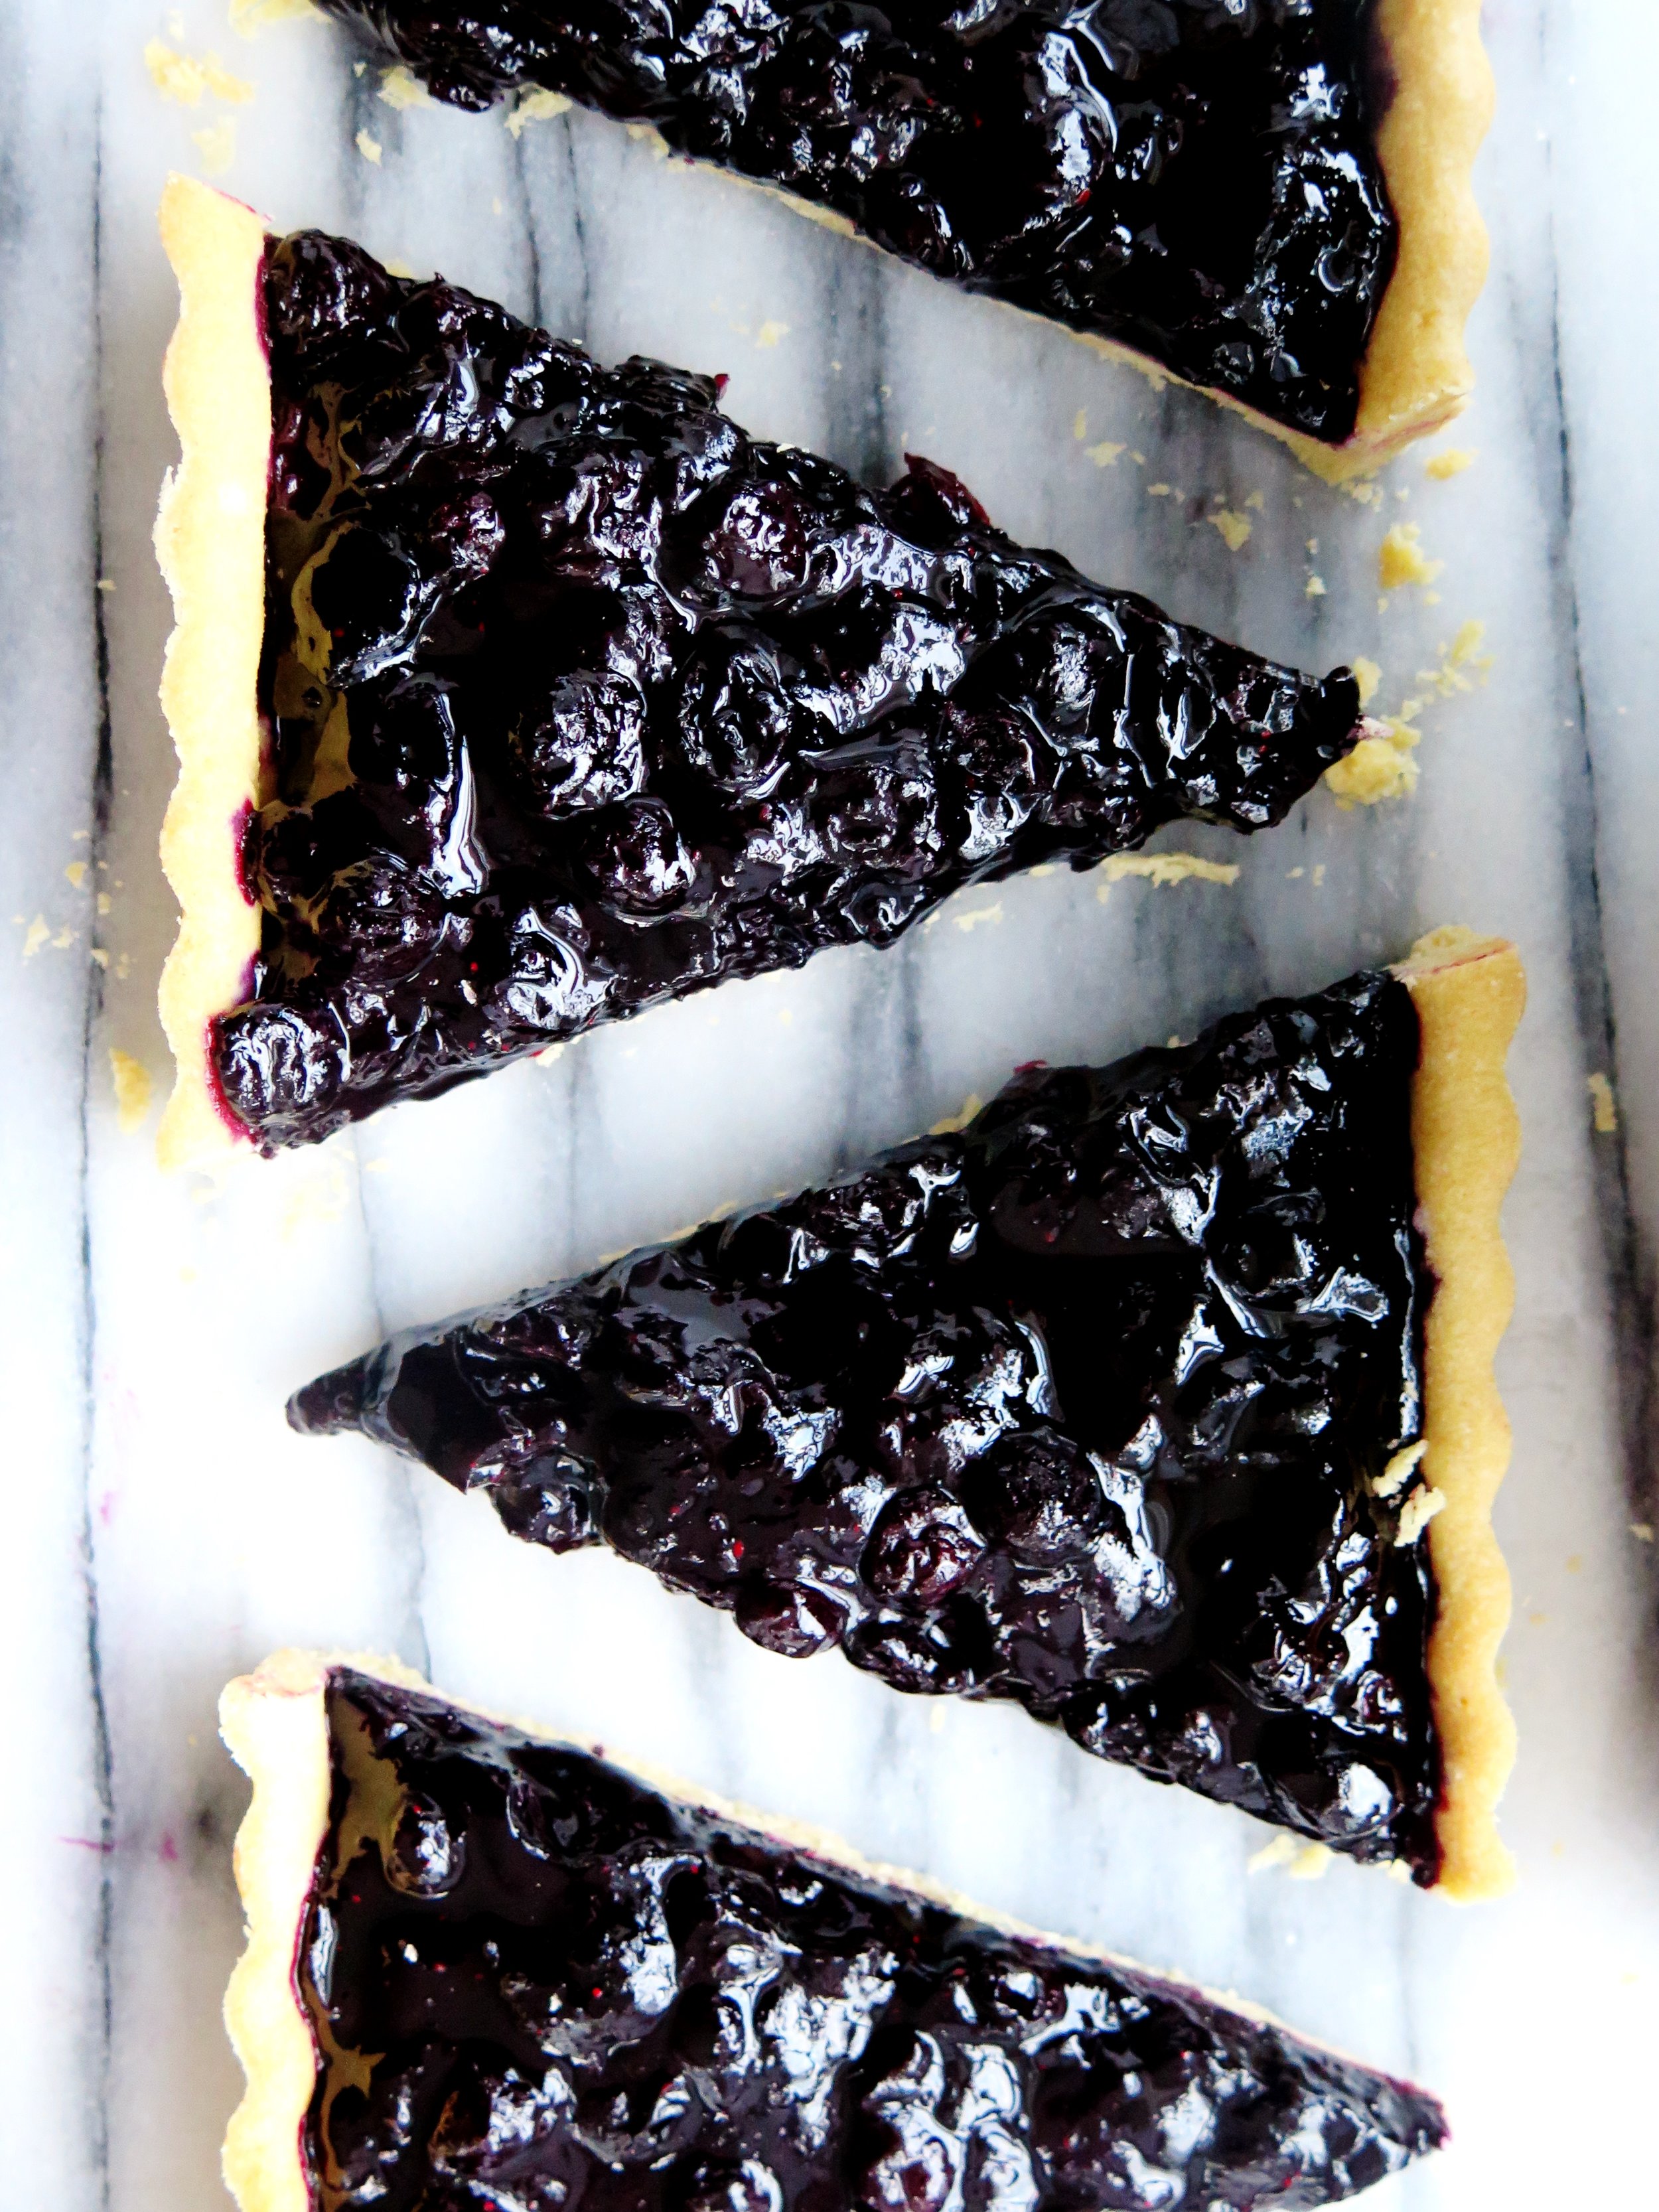
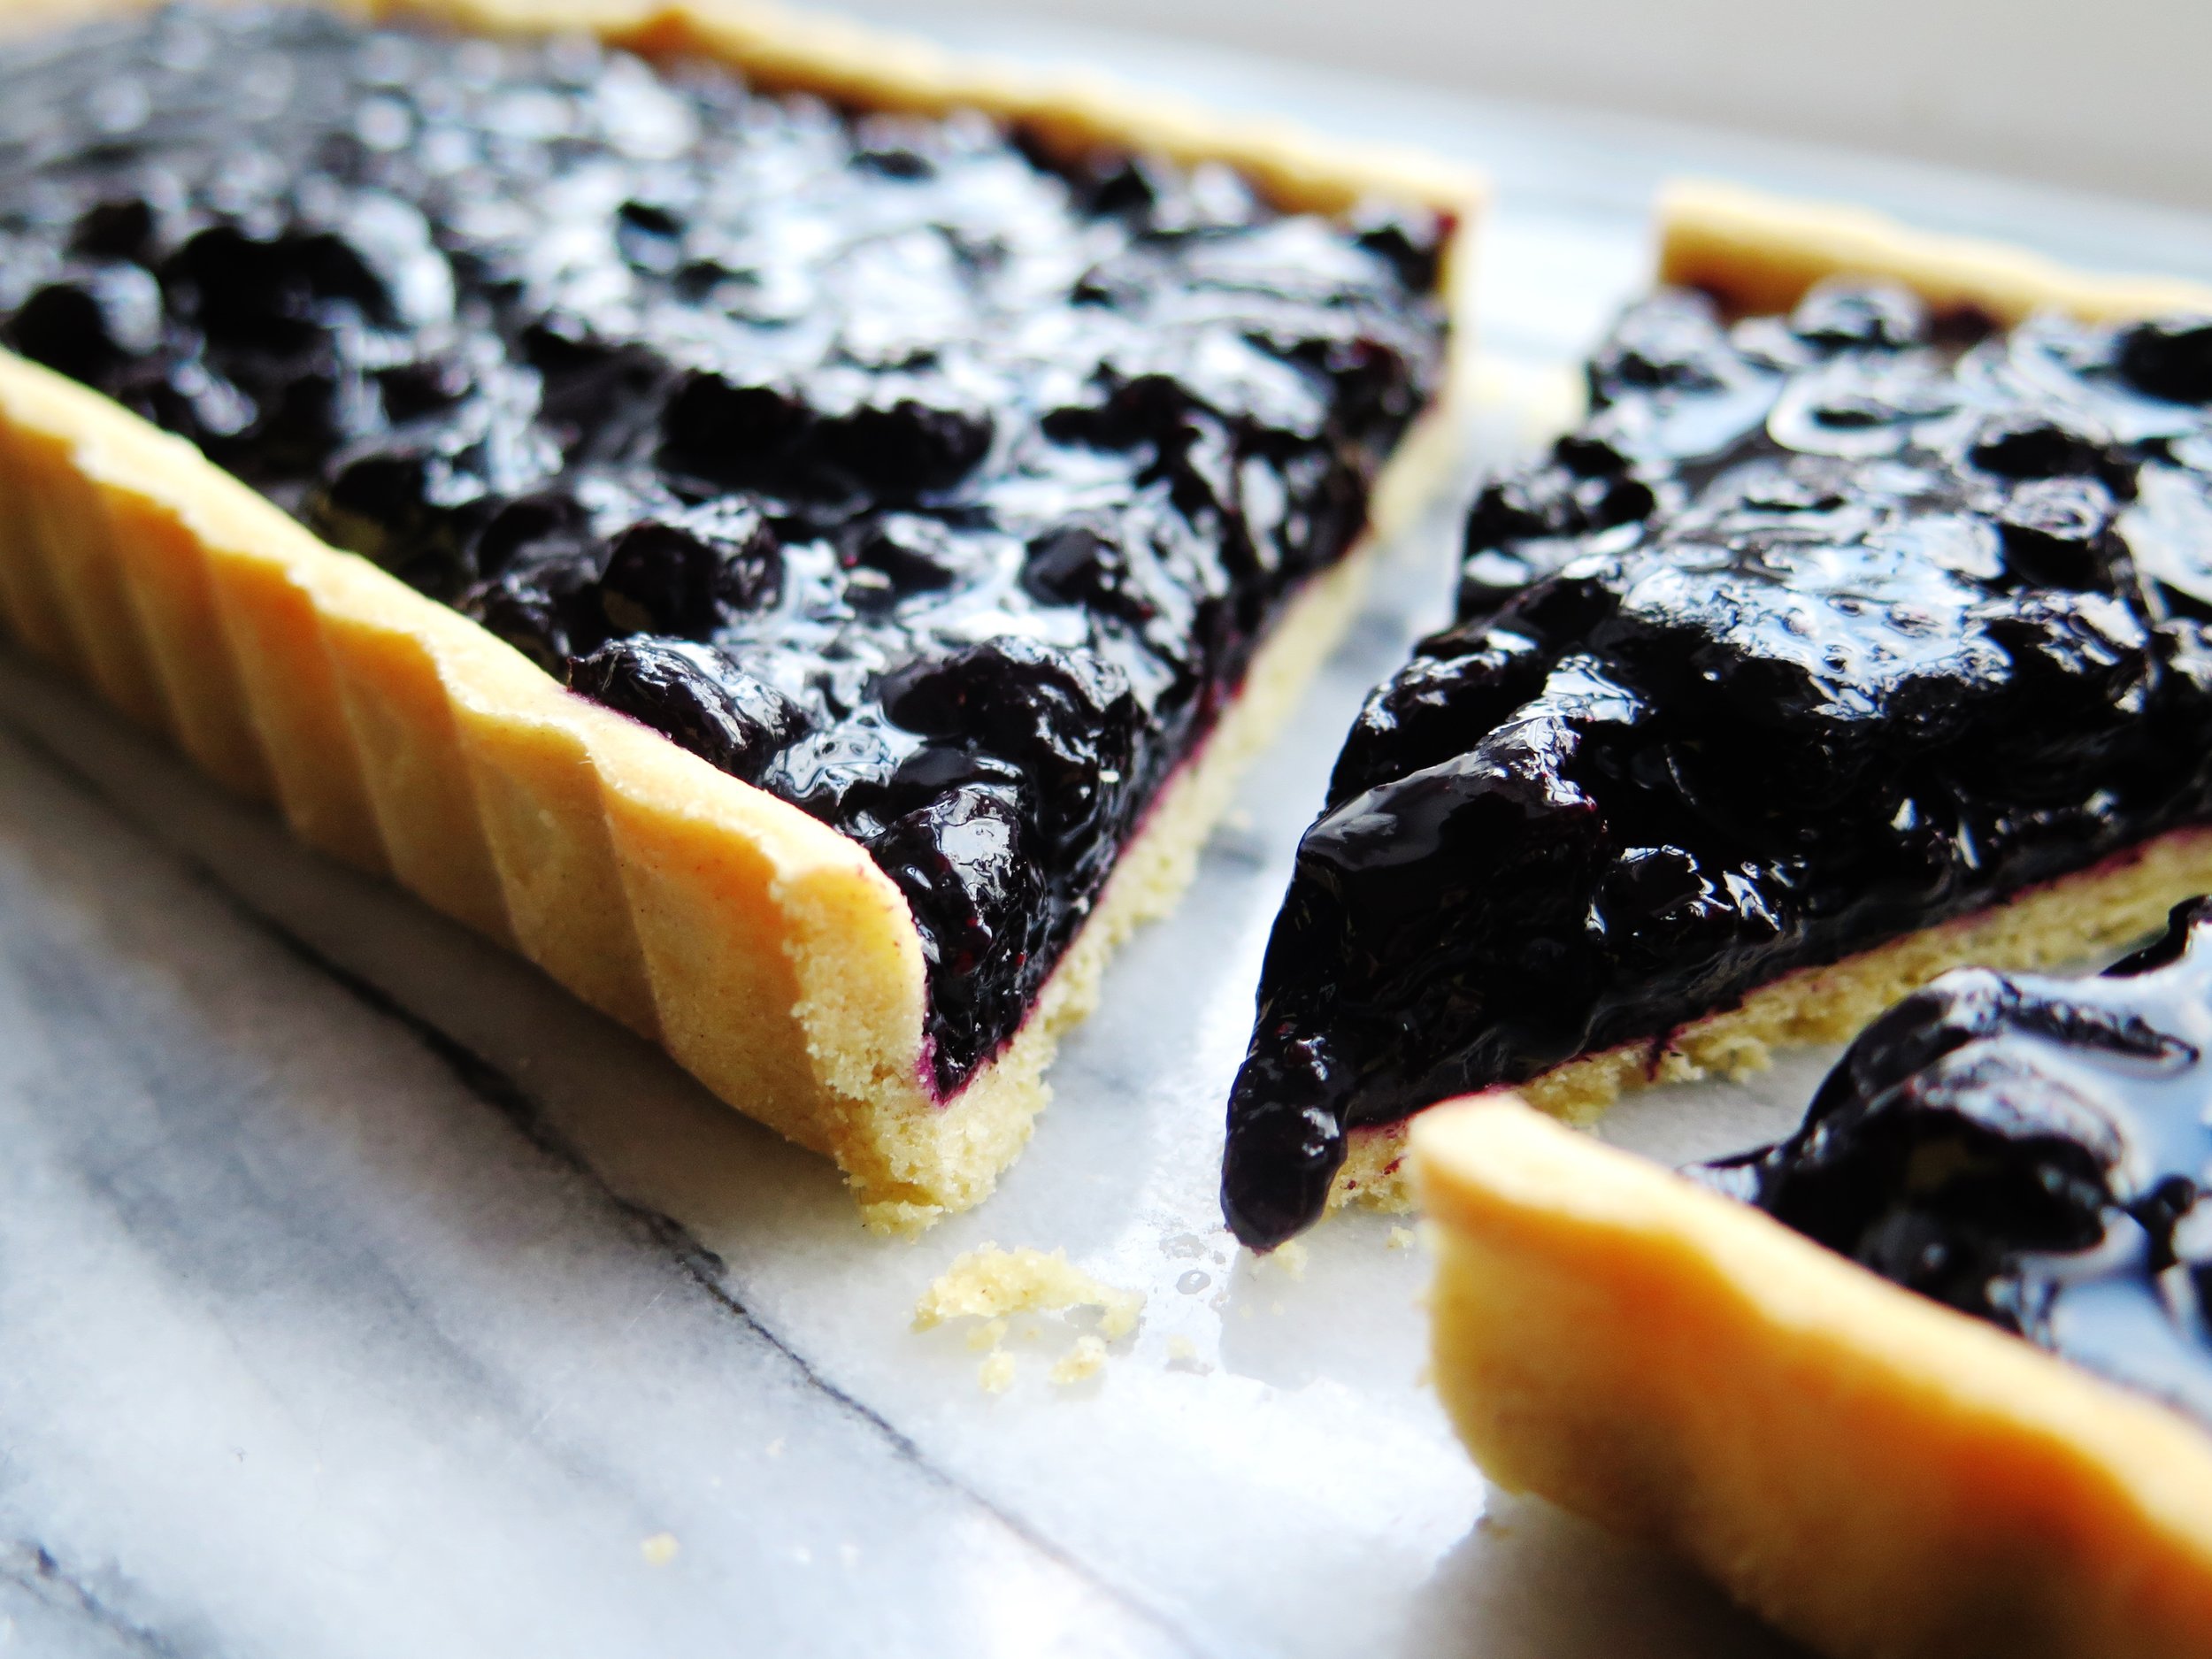
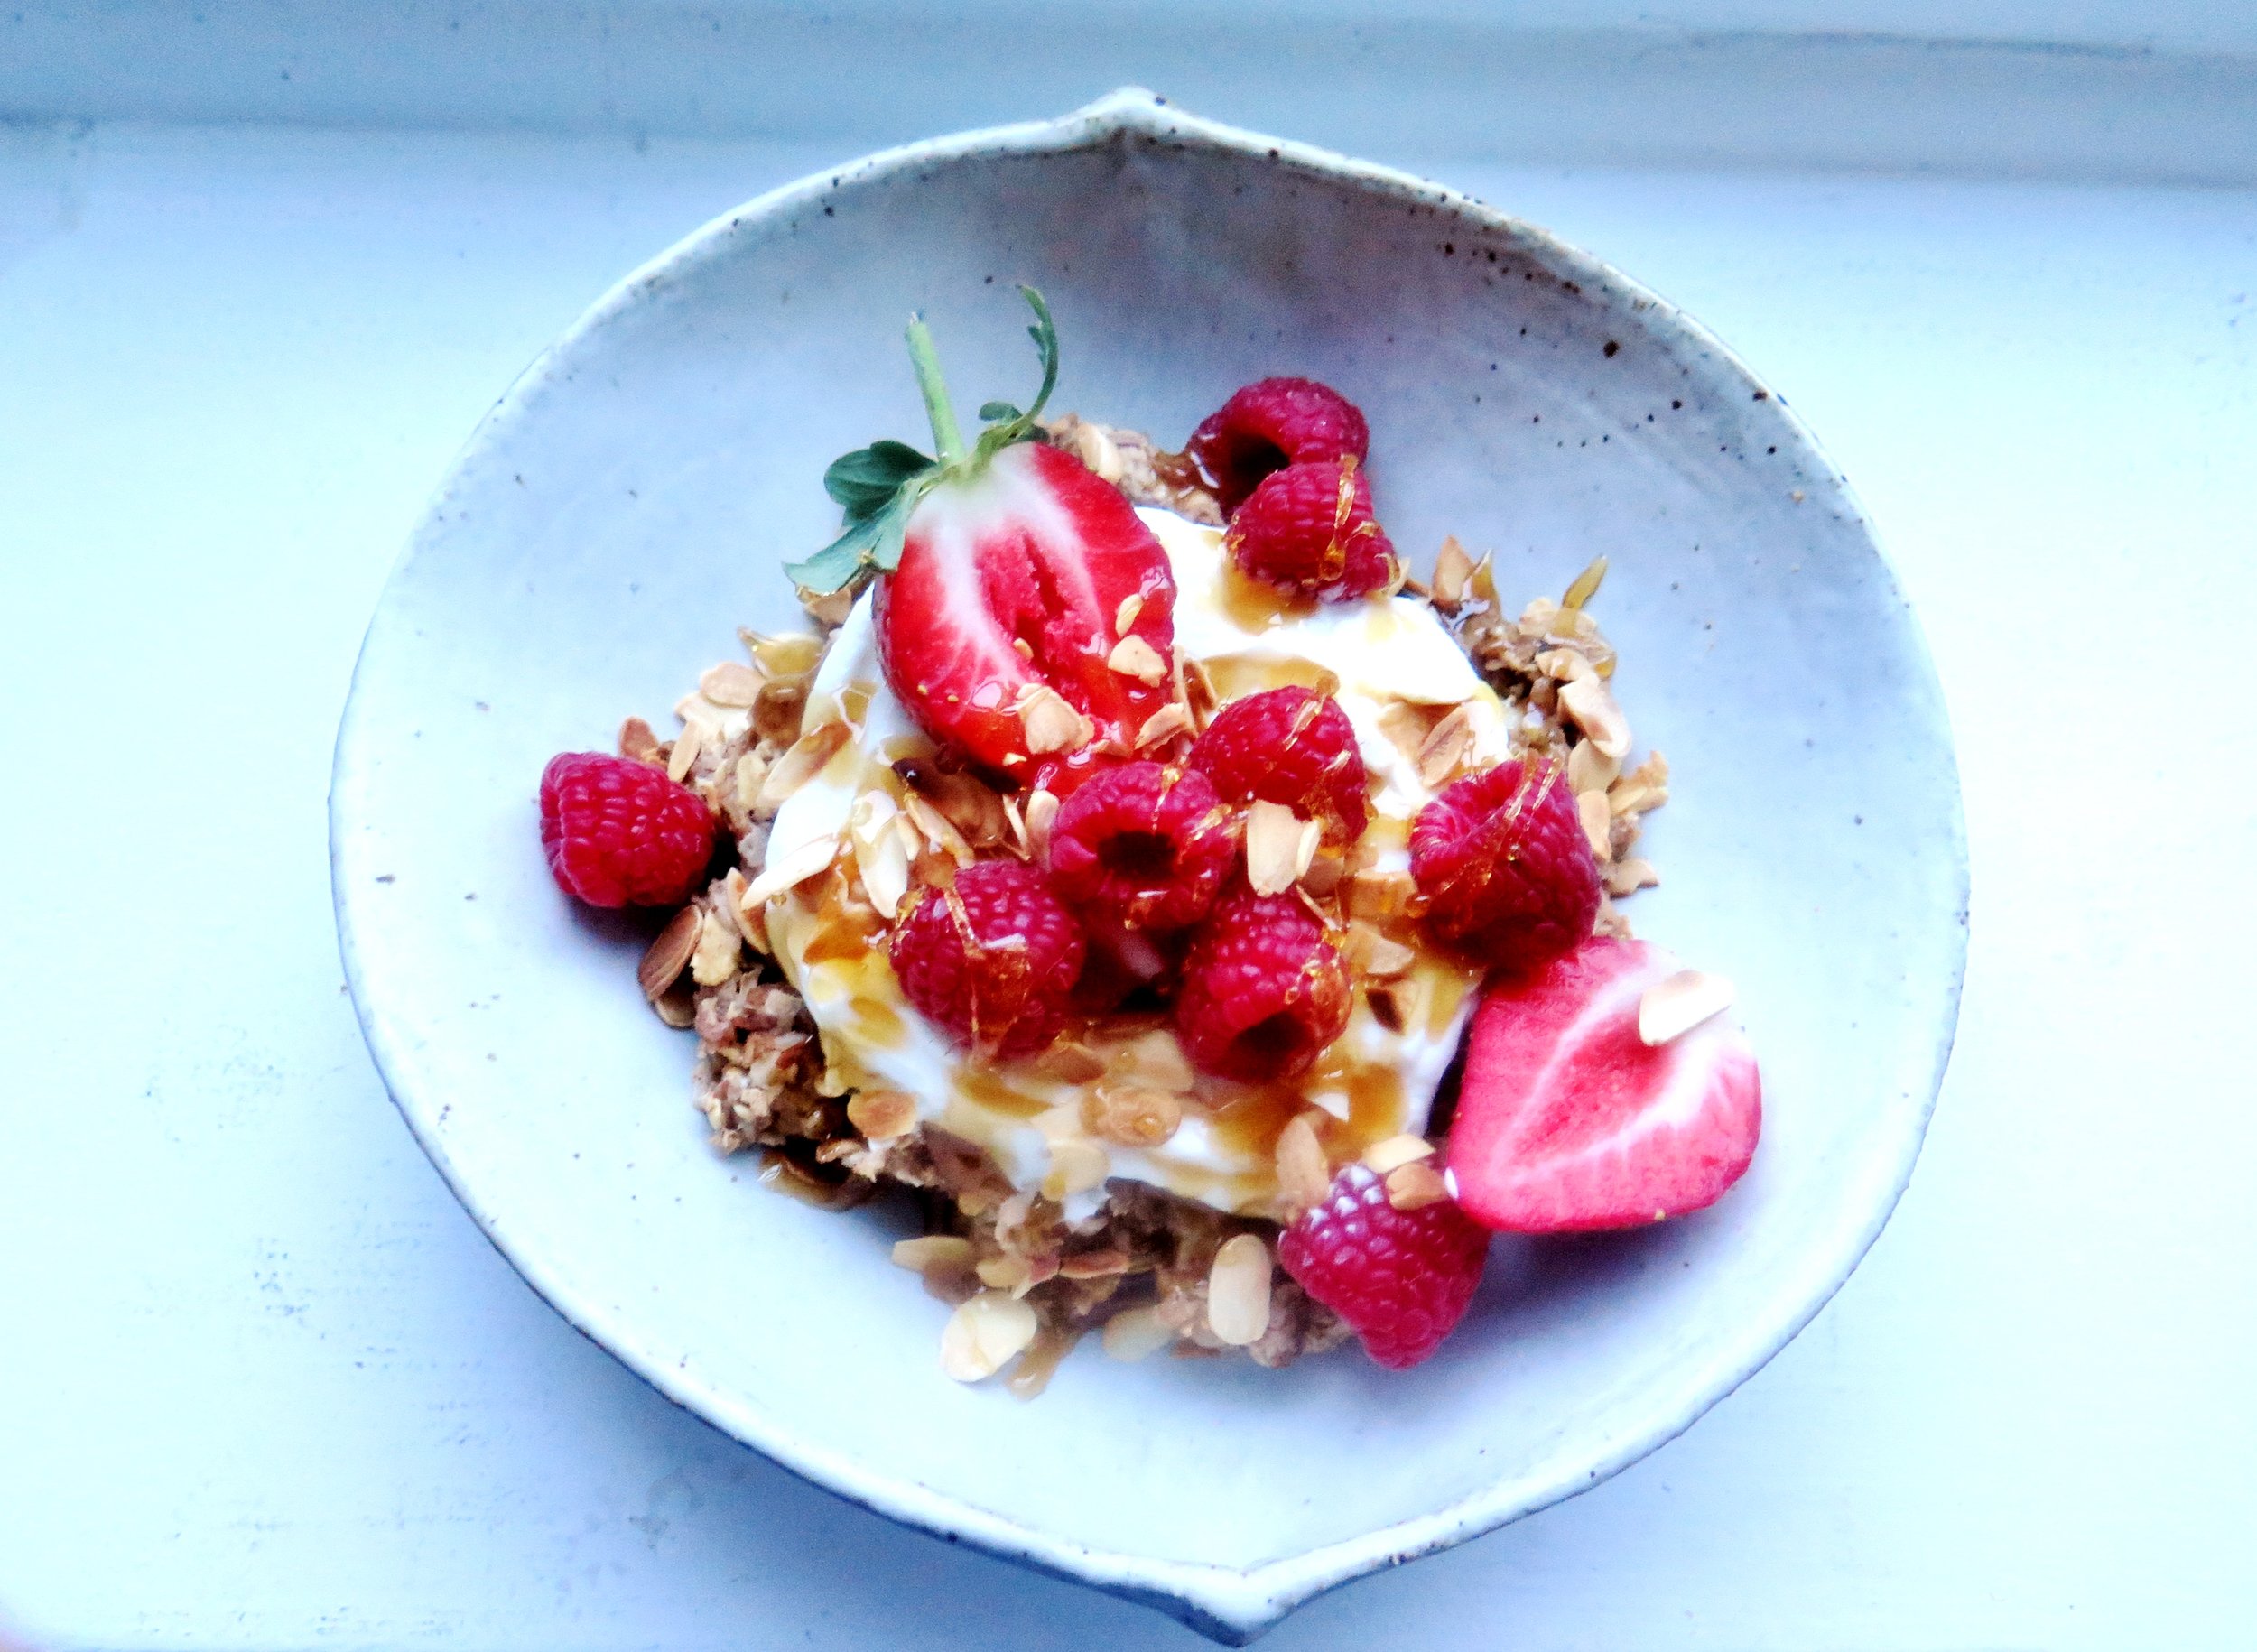
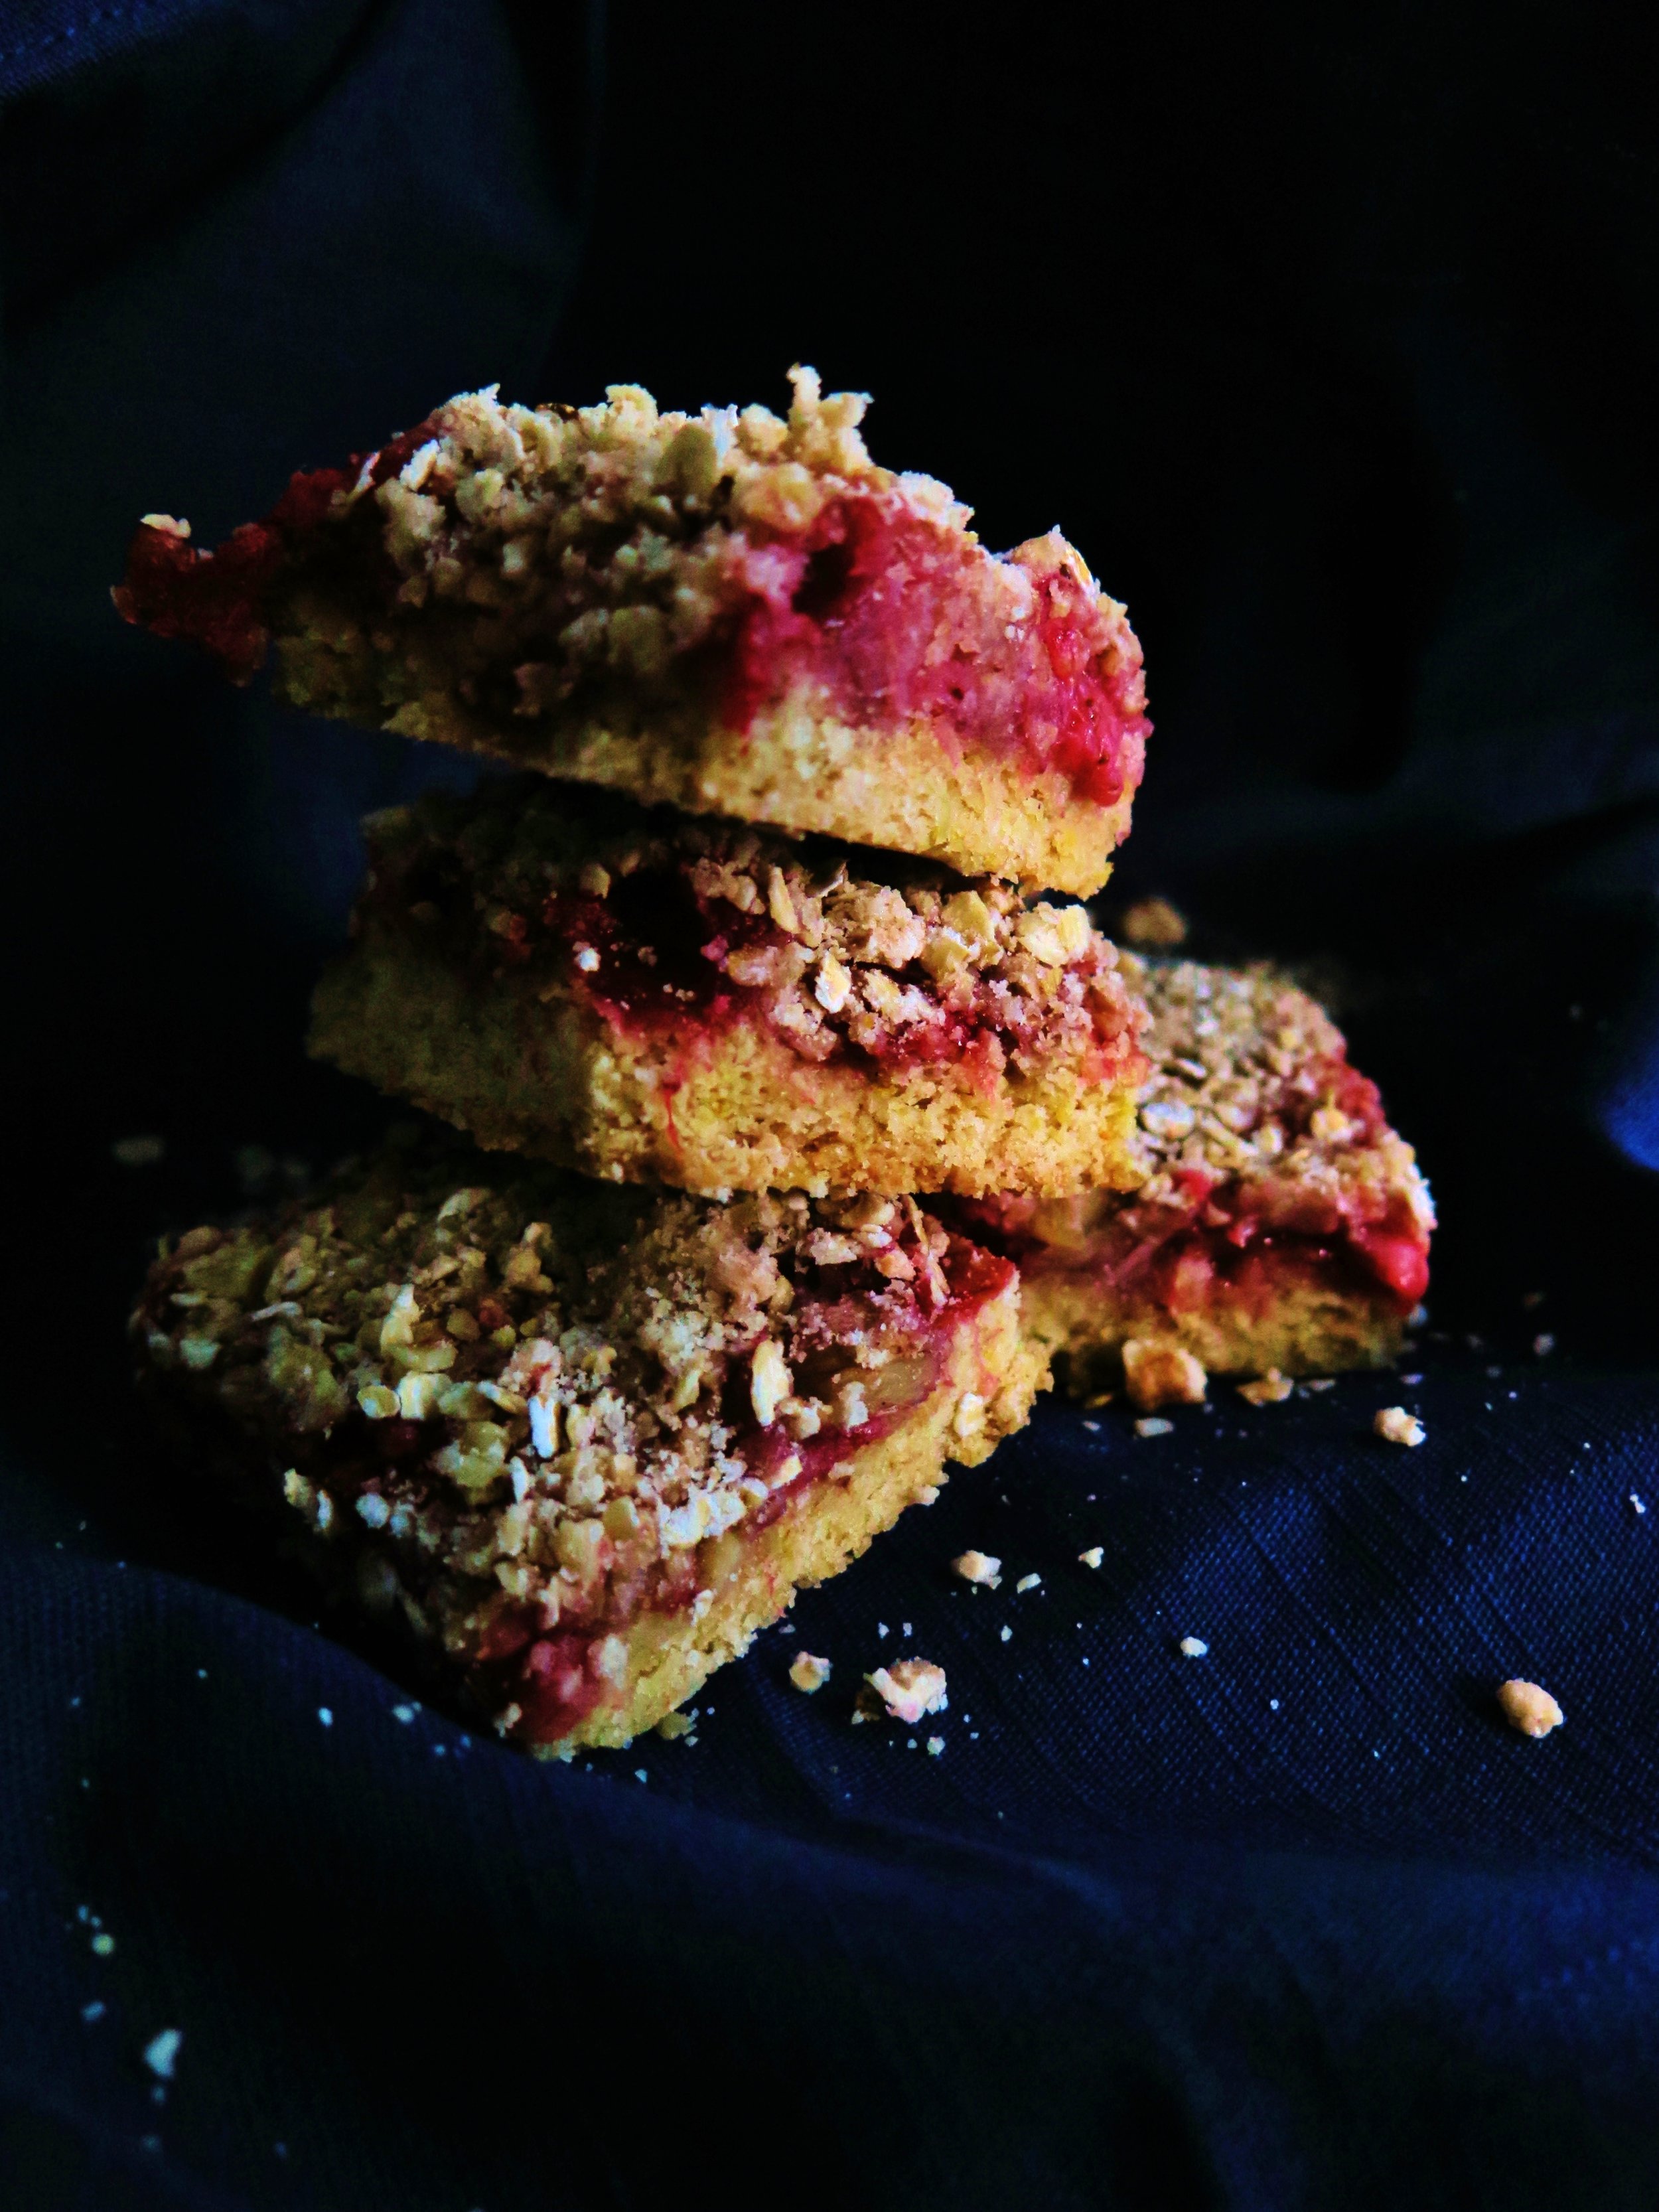
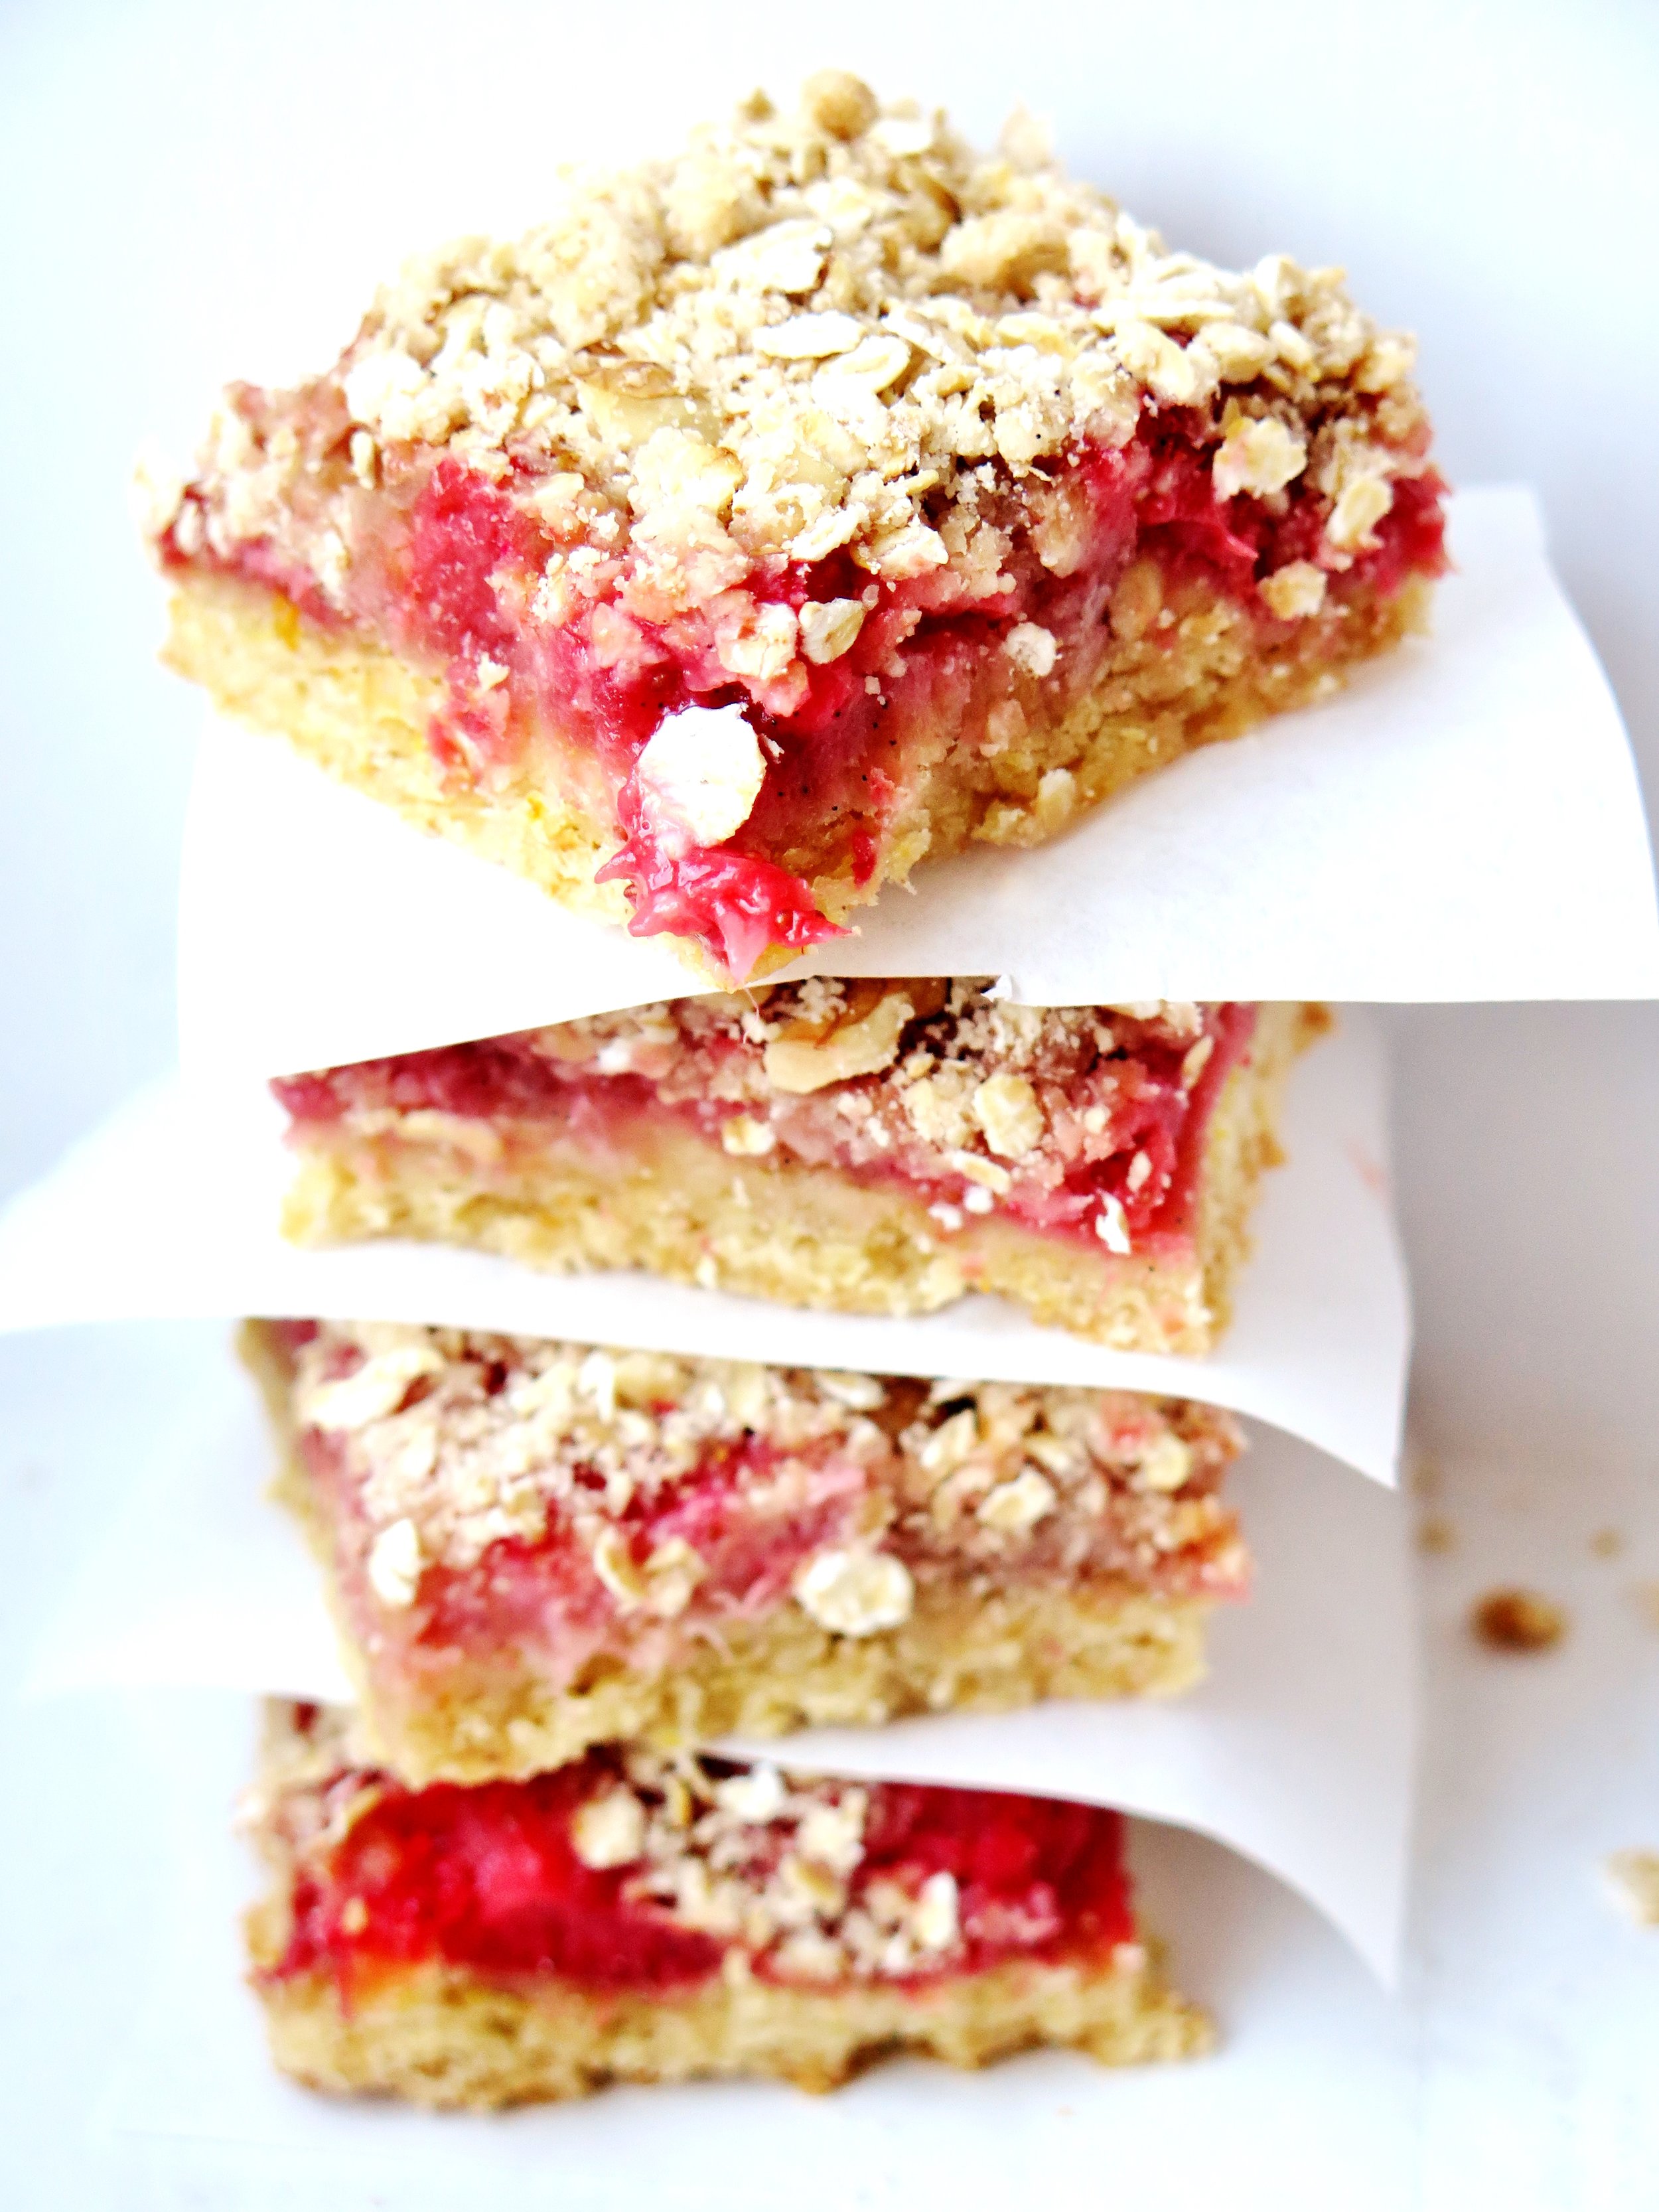
What’s your crumble-to-fruit ratio?  If you’re the kind who favours a preponderance of stewed fruit with an insubstantial fairy dusting of oaty-flour, turn away now.  If you lean towards the lavish when it comes to crumble proportion - good.  Read on…

Strawberry Crumble Bars

Strawberry Crumble Bars Strawberry Crumble Bars

I have experienced many a crumble: from damson to mulberry to cherry to apple, from autumn to winter to spring to summer. But regardless of the lusciousness of the interior, the crumbles that garner the most attention, that leave people scratching way at the remaining crumbs that have become forged to the side of the pan in yearning for more, are the ones with a superabundance of crumble topping.

Strawberry Crumble Bars

Crunchy, nutty, warming and eminently comforting – this is what a good crumble should be.  Enough so that you don’t worry about rationing the crumble in your bowl to suit the amount of fruit – enough so that every mouthful has a good proportion of both.

IMG_5024
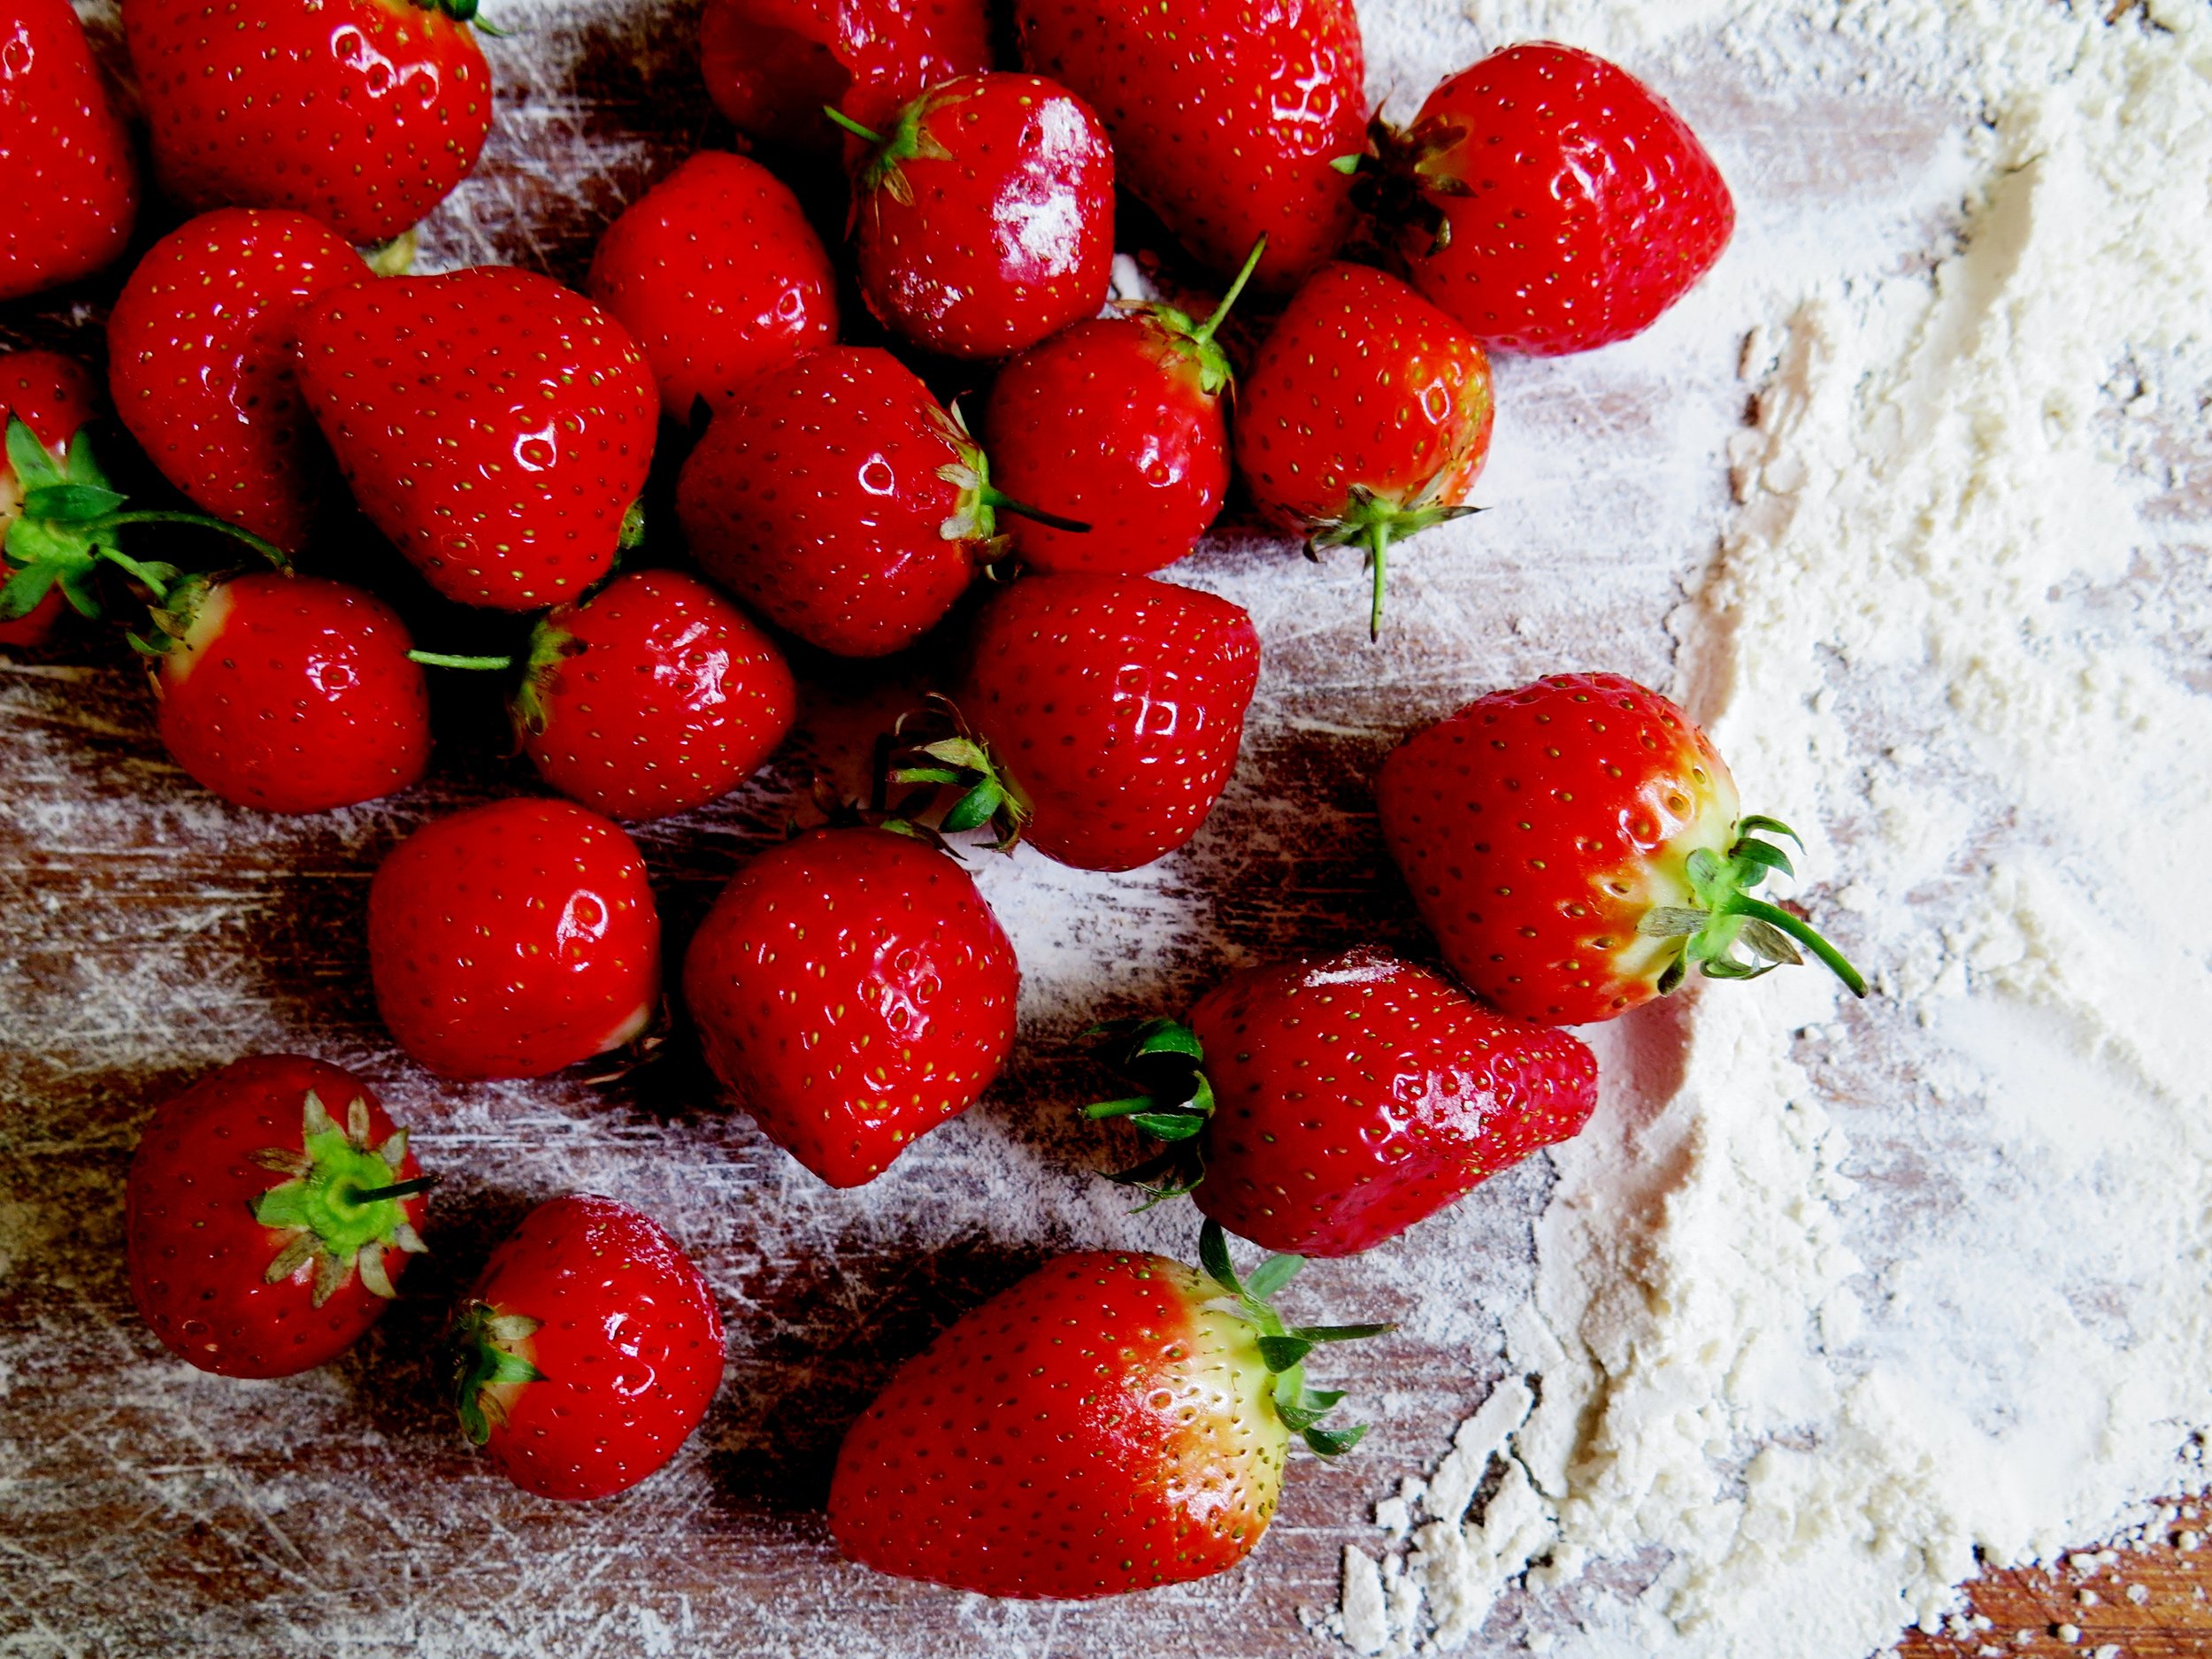
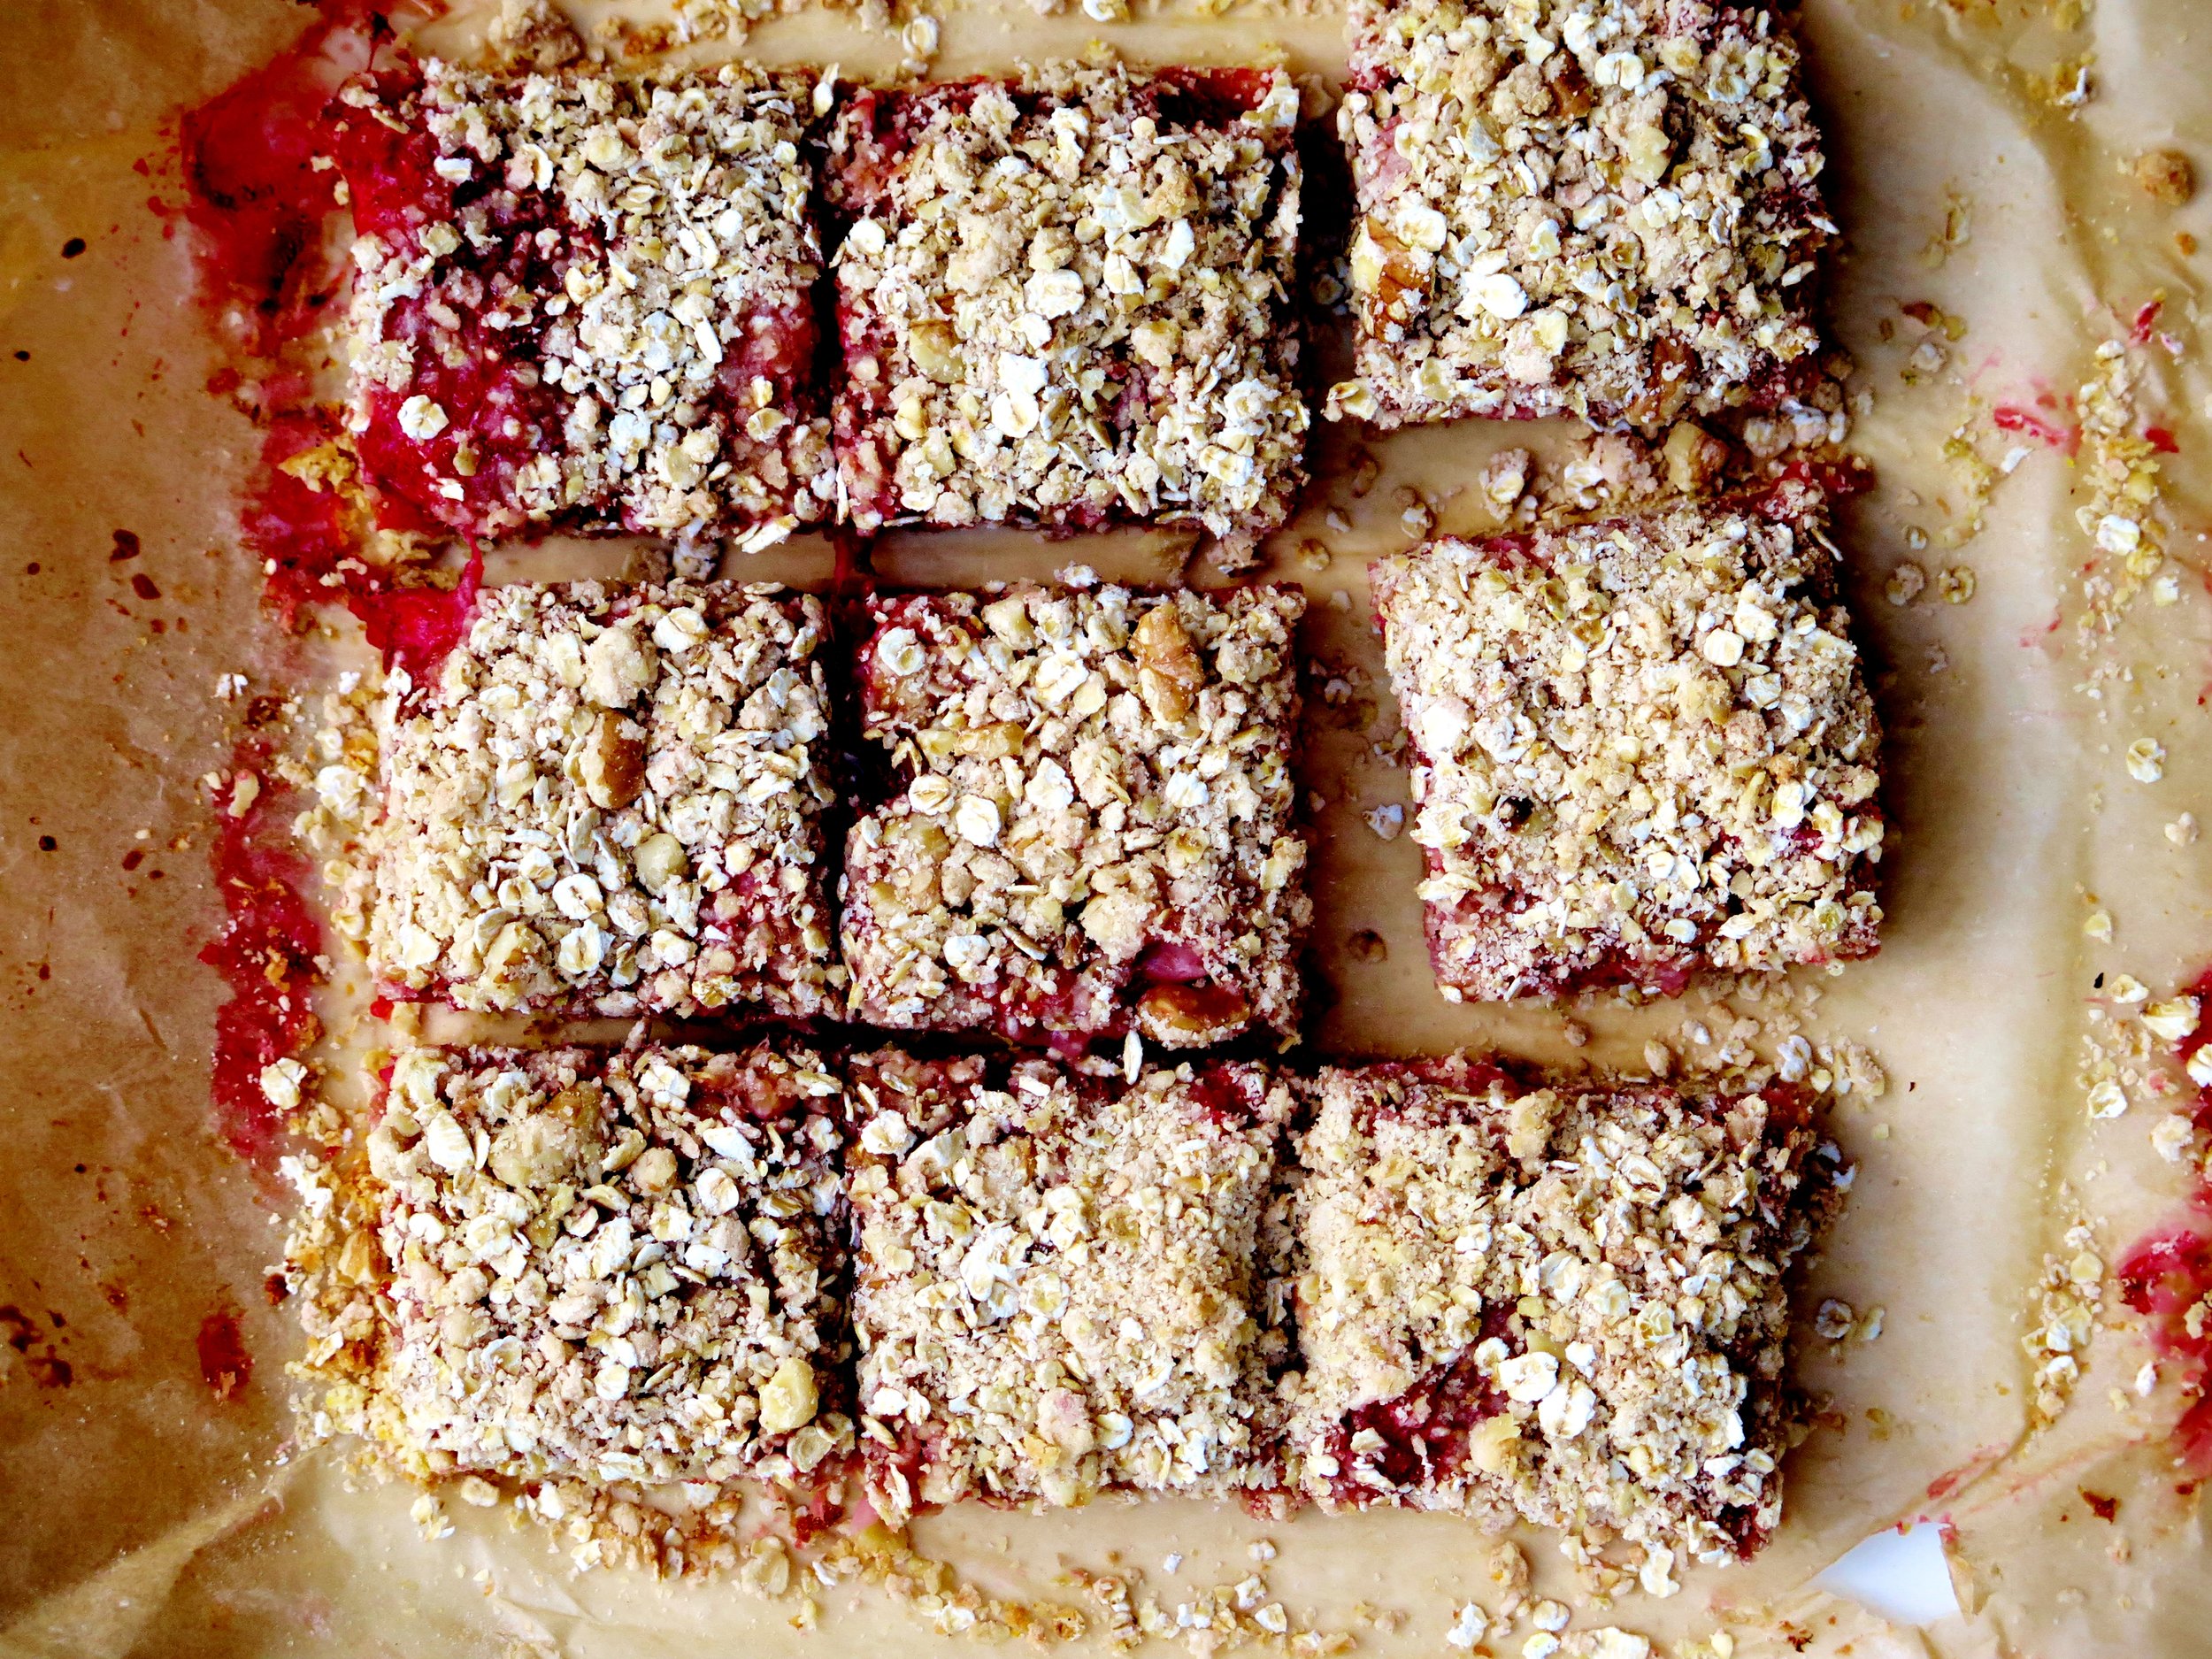
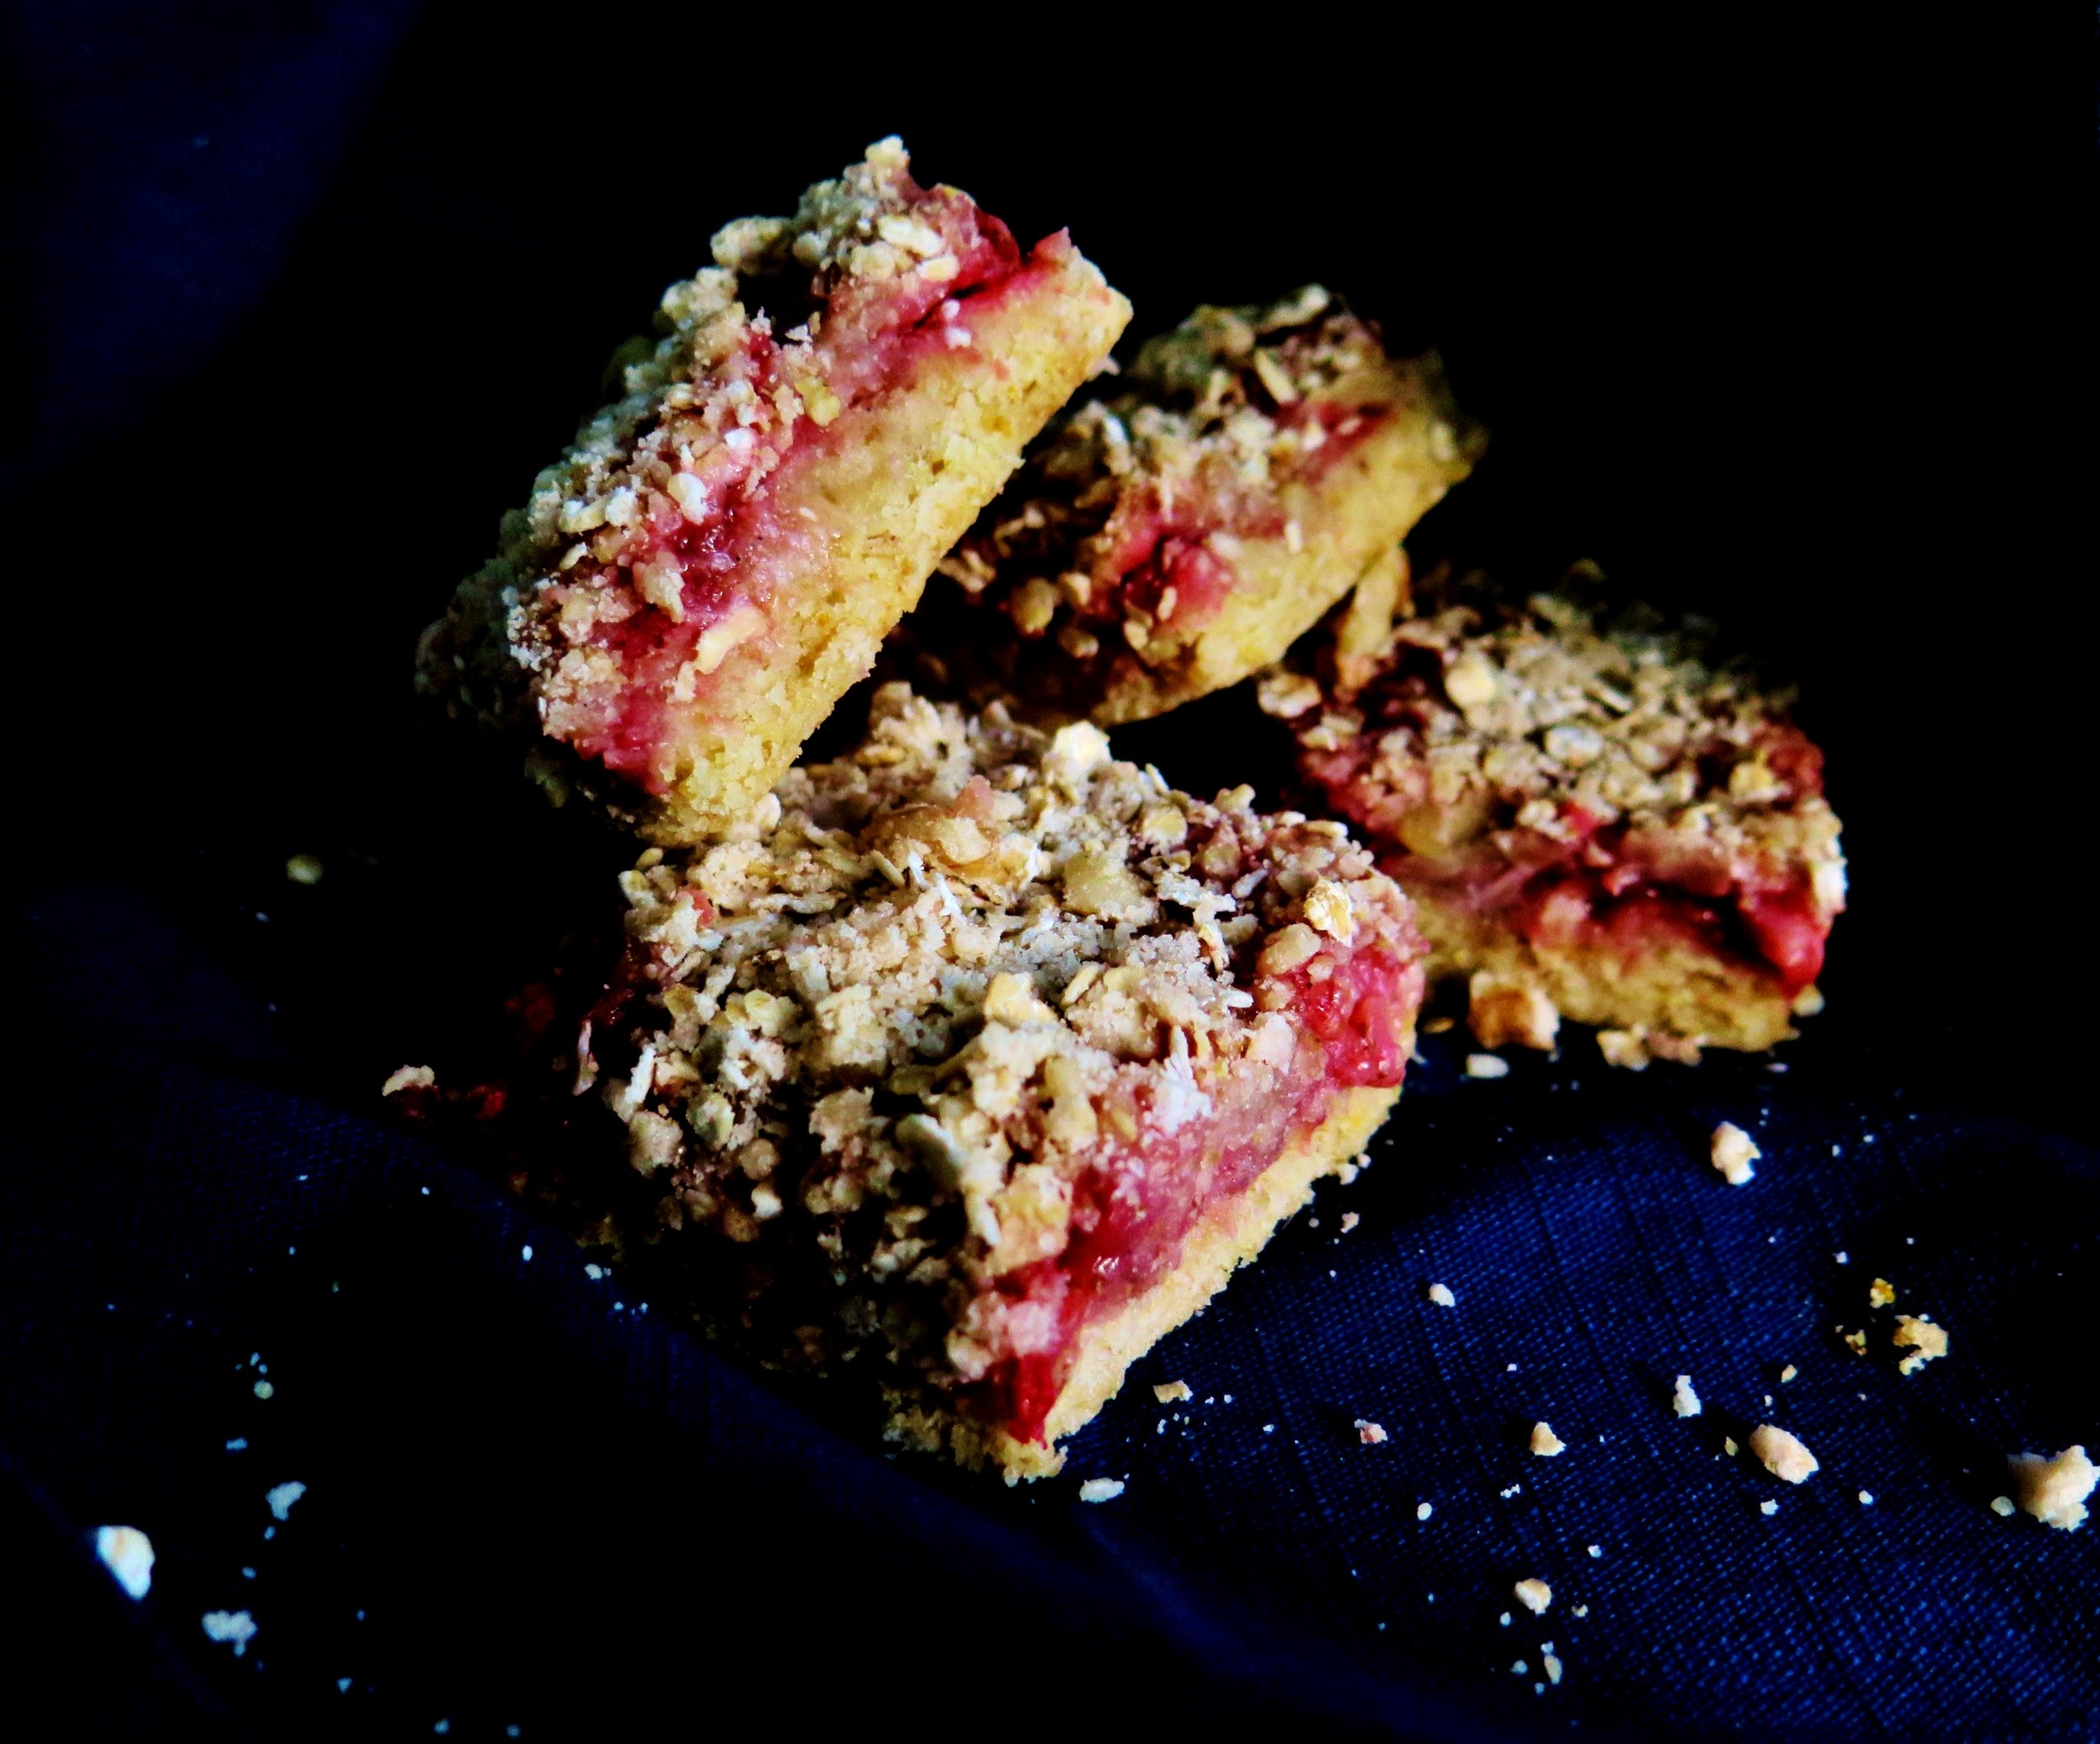
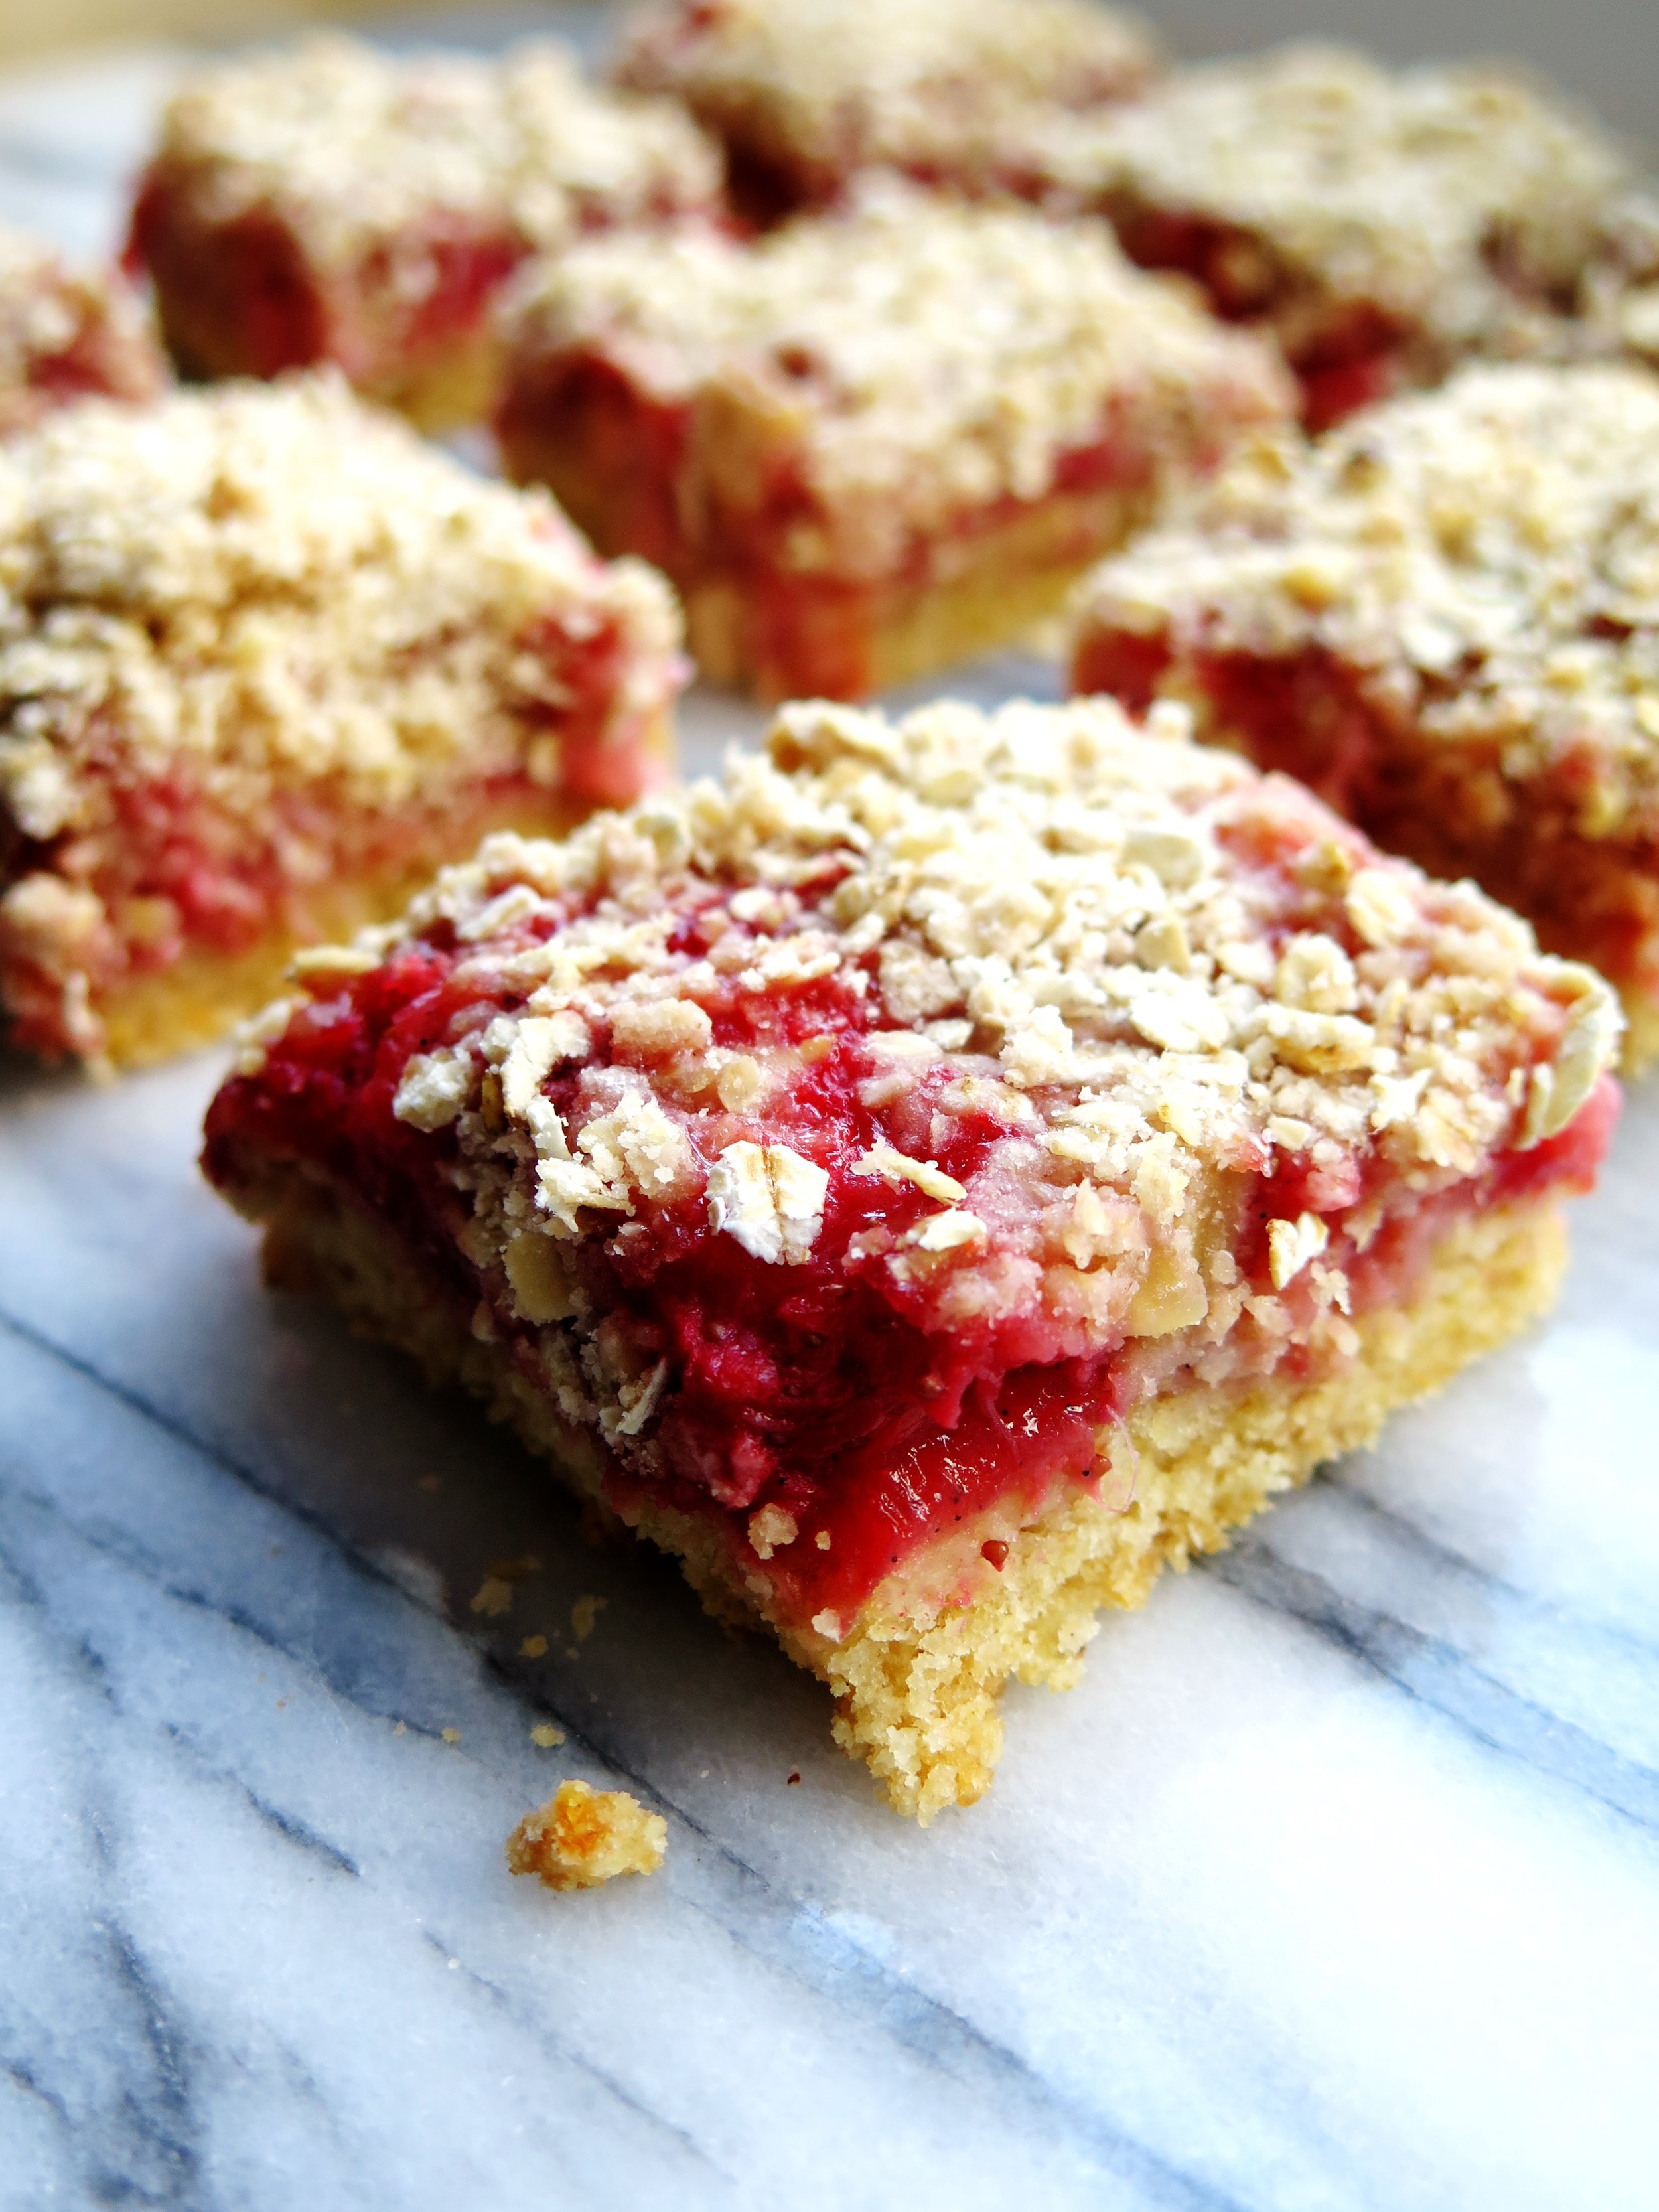
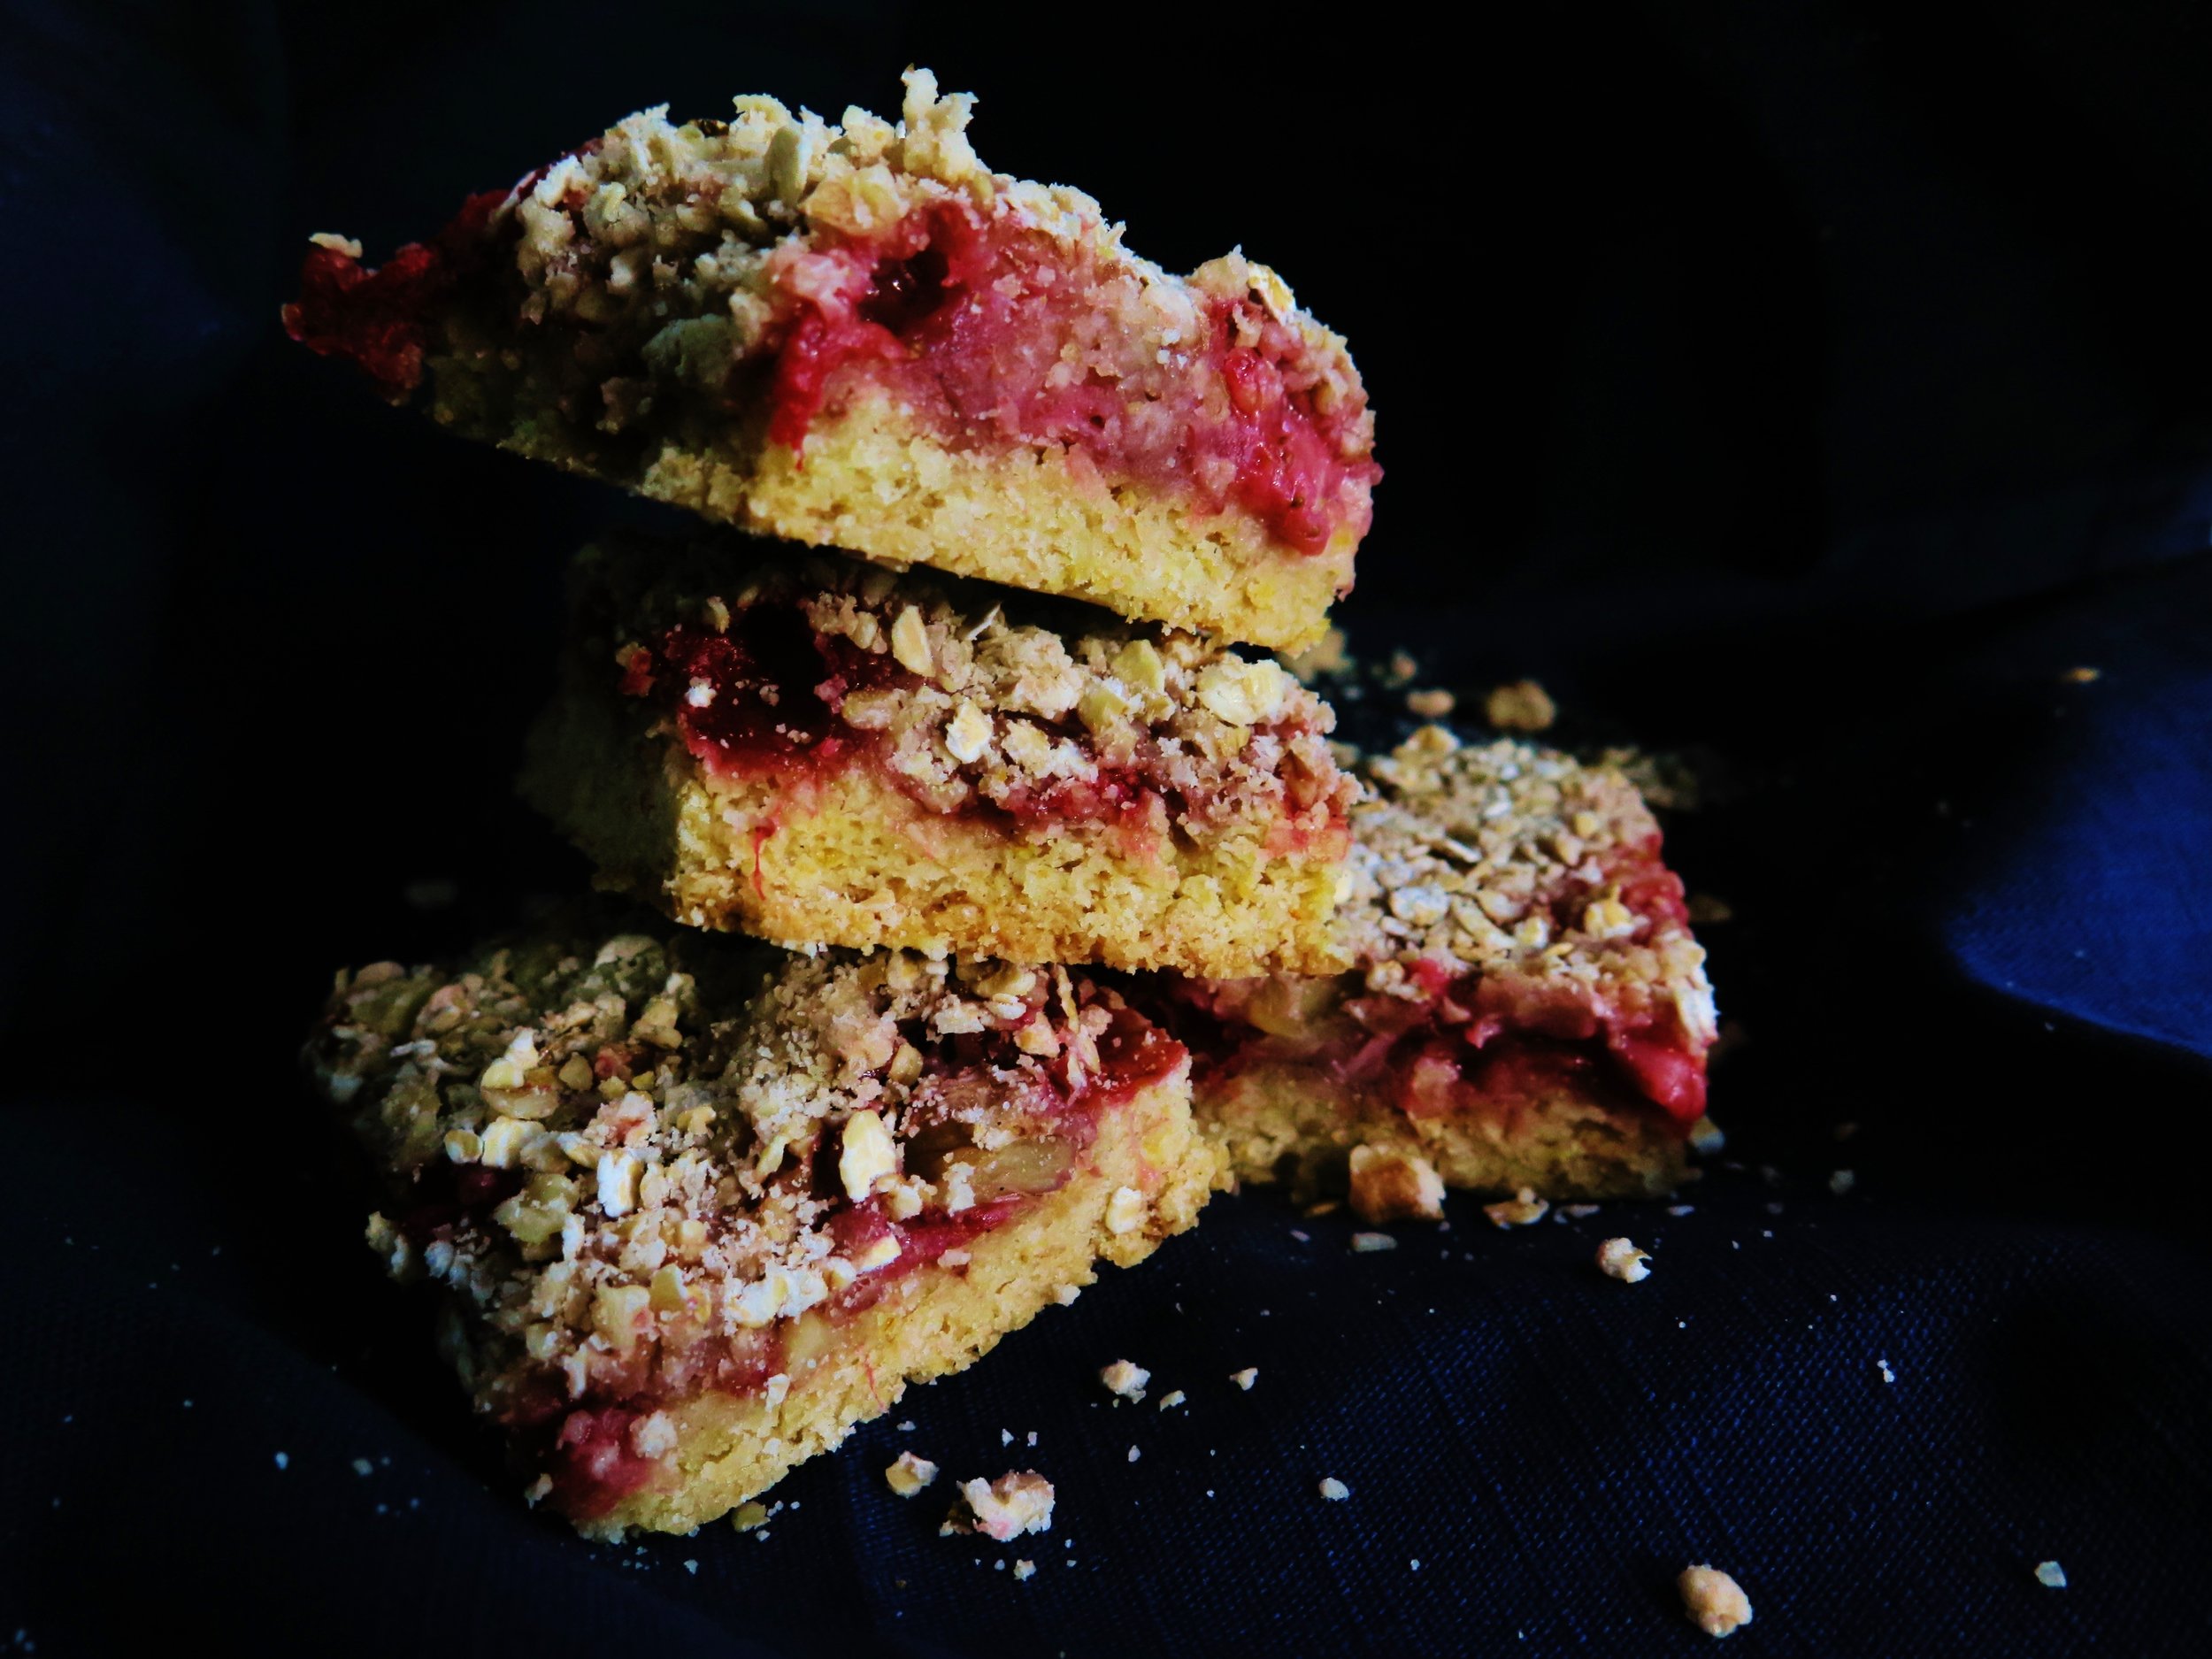
A good crumble, as with so many things, should leave you wanting more.
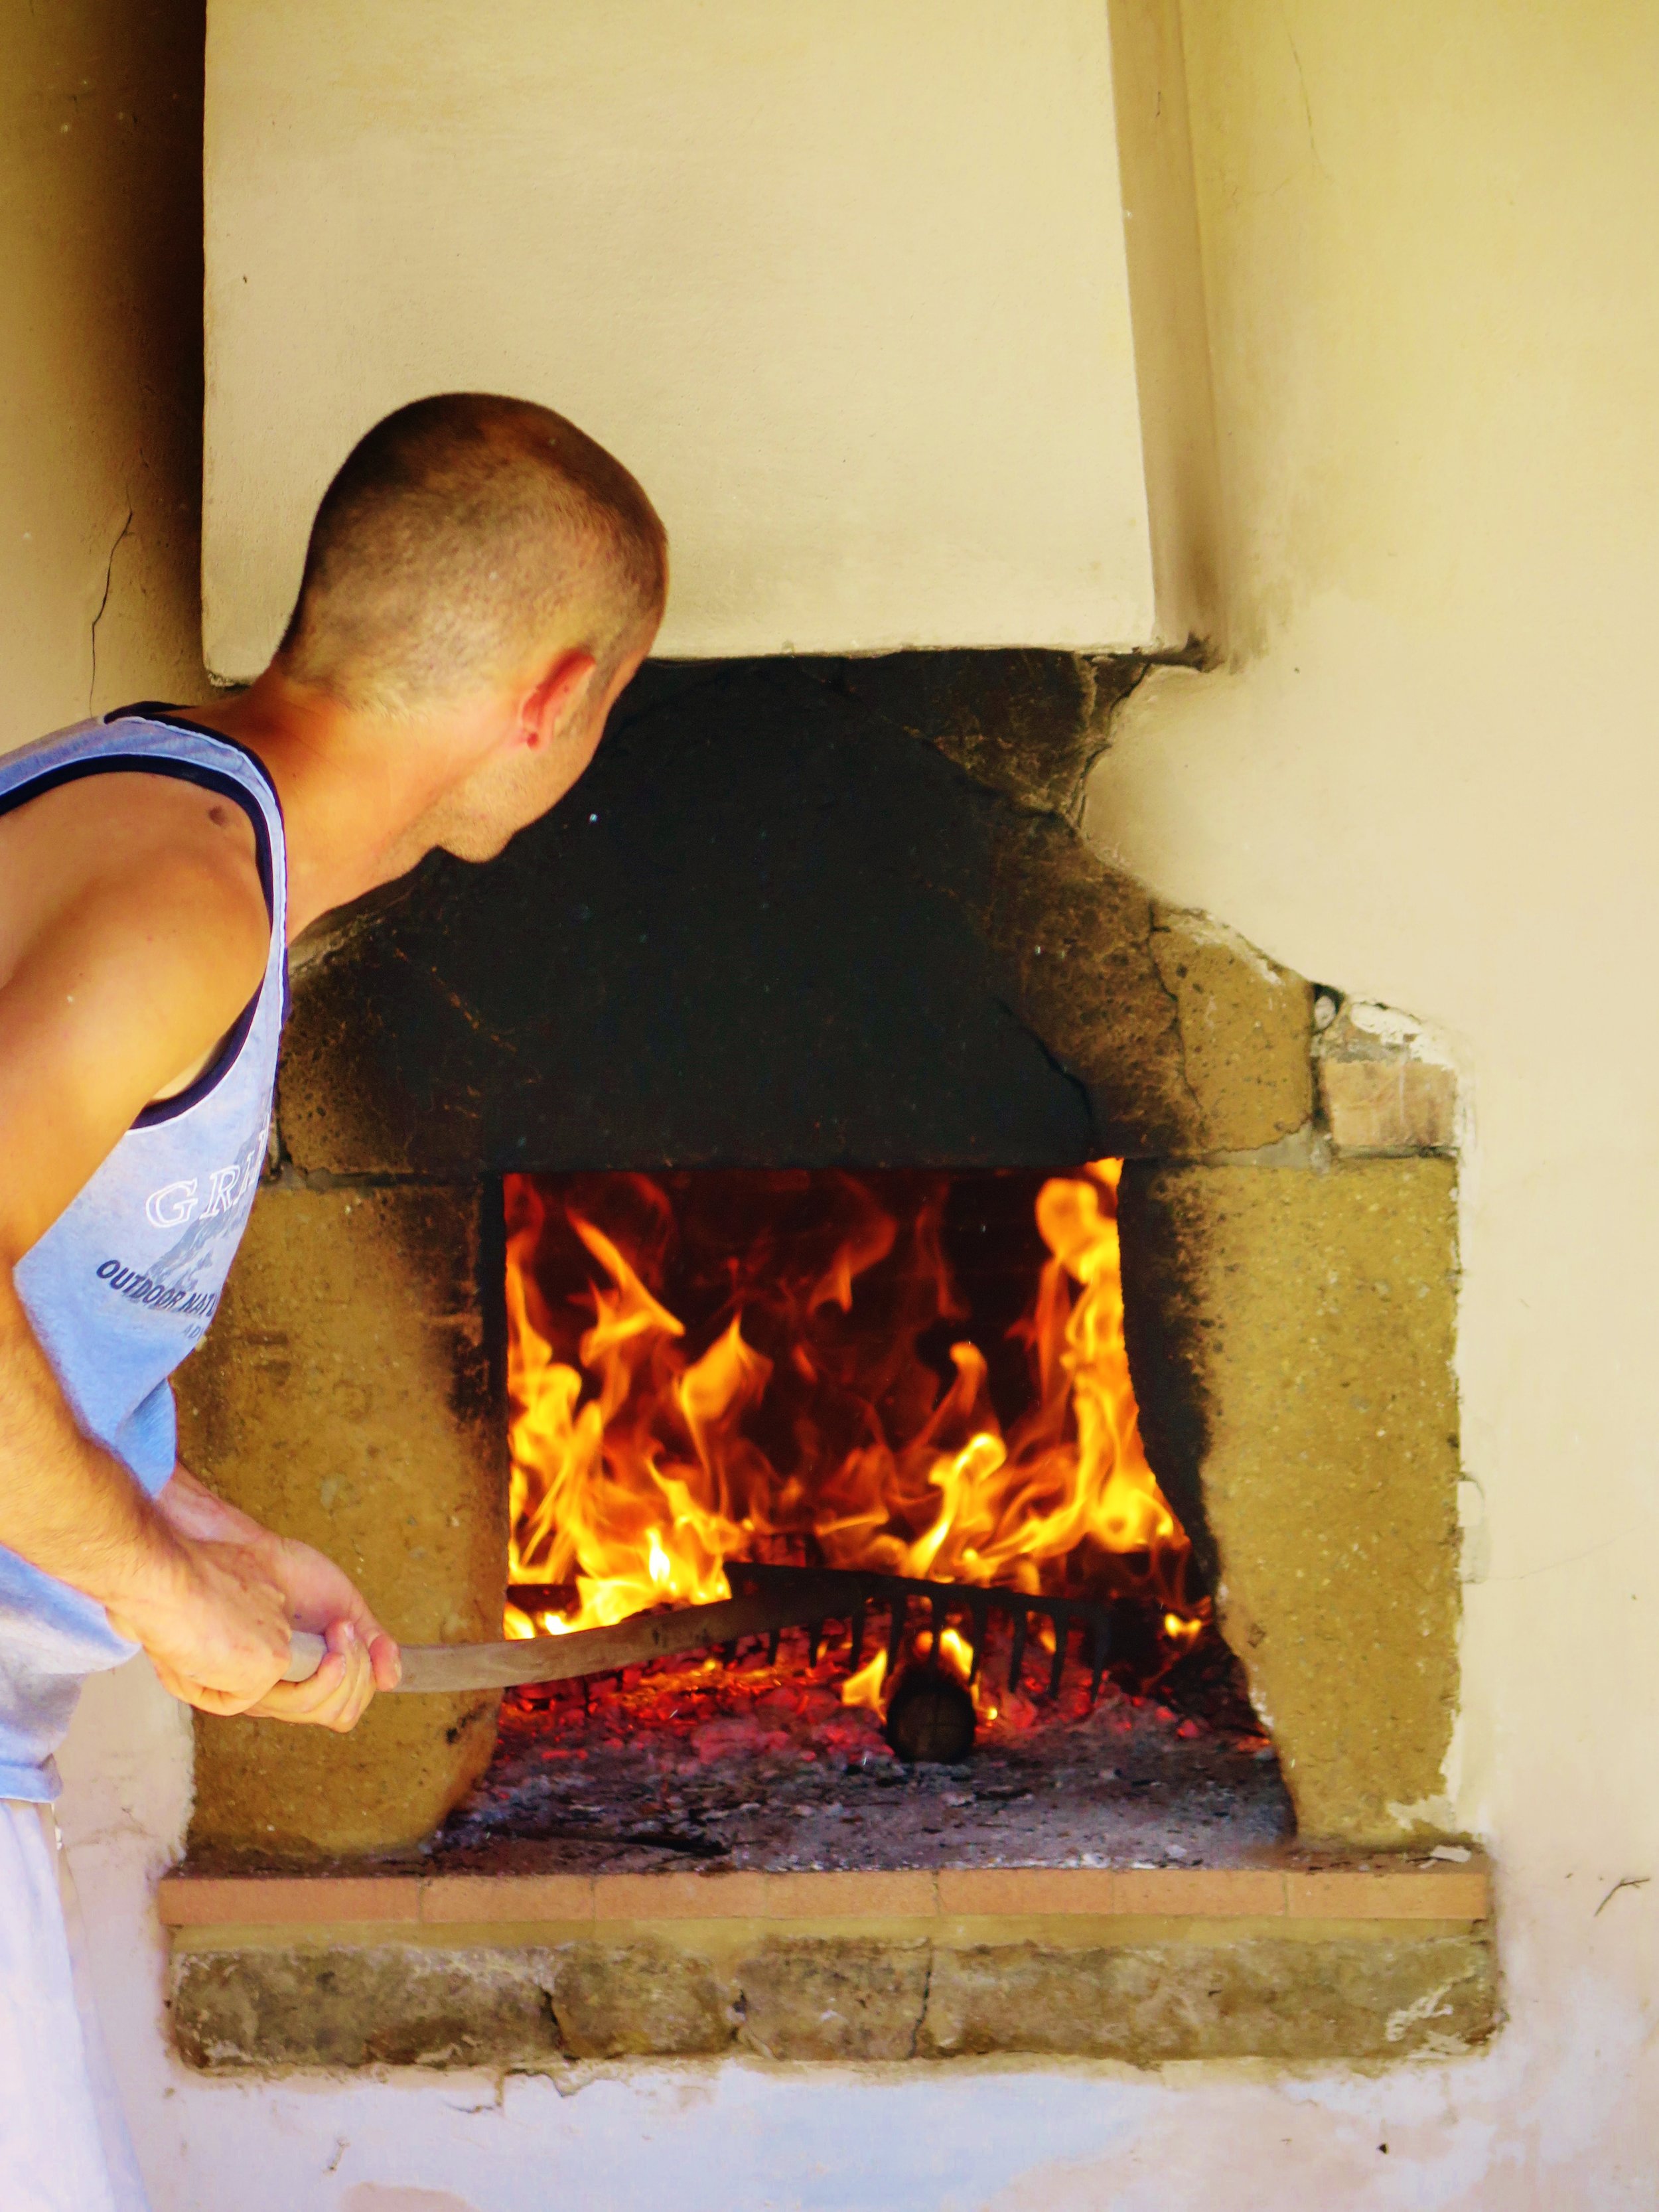
Strawberry Crumble Bars

But what if you don’t want to have to face the risk of eating the whole pot by mistake – or at least you if do want to be able to eat the whole lot, do so in a more measured way?

Strawberry Crumble Bars

What if you want to extend the experience beyond the comfort of your kitchen i.e. a portable crumble?

Strawberry Crumble Bars

Try these – fruity, nutty, fresh, and summery, with a subtle tang and not overly-sweet.  They are extremely quick and easy to make and, more importantly, the crumble–to-fruit ratio is verging on perfect…

Strawberry Crumble Bars


Ingredients

Base

115g sugar

½ tsp baking powder

210g white spelt flour (substitute any flour of your choice: plain, gluten-free or otherwise)

115g unsalted butter, roughly chopped

½ egg

¼ tsp salt

Finely grated zest of 1/2 orange

Juice of ½ orange

2 generous cups of strawberries, quartered

1 tbsp sugar

2 tbsp cornstarch

1 tsp vanilla bean paste (substitute with 1 tsp of vanilla bean extract if unavailable)


Crumble topping

20g unsalted butter

40g sugar

70g oats

30g finely chopped walnuts (remove if allergic)

50g white spelt flour (substitute with any flour of your choice, plain, gluten-free or otherwise)

Pinch of salt

20cm x 20cm tin lined with baking parchment (or a pan of similar area)


Method

  1. Preheat oven to 190˚C. Pour sugar, baking powder, flour, salt, and zest in a blender and pulse to combine.  Add butter and egg, and pulse until fully combined and has reached a slightly clumpy, damp sand consistency.  Pour this into the lined baking pan, and press down to create an even base layer.
  2. In a bowl, stir together chopped strawberries, orange juice, orange zest and cornstarch. Sprinkle evenly over the base layer (including the fruit juices.)
  3. Make the topping by pulsing together the butter, sugar, oats, flour and salt until fully combined and sand-like in texture. Stir in the walnuts, then sprinkle the mixture over the strawberries.
  4. Bake in oven for 30 – 40 minutes until the top is golden brown and the base is cooked through. Make sure to check after 20 minutes - you may need to cover the crumble with tin foil to prevent the top from catching (depending on your oven’s temperament). Once cooked, remove from the oven and slice into squares.  Eat immediately or later.

Strawberry Crumble Bars

Comment

Share

The Best Bircher Muesli

2 Comments

Share

The Best Bircher Muesli

'Oats: a grain, which in England is generally given to horses, but in Scotland supports the people’ Samuel Johnson, The Dictionary of the English Language, 1755

If I were the type of person that leafed (ironically) through Cosmo, and stumbled across one of those lazy, page-filling content, tree diagrams which happened to ask “what is your spirit animal?”, I know what mine would be. A horse.  Well, at least that’s what it would have been during the second year of my time at university in terms of comestibles…

Essay crises necessitate fuel in order to feed the adrenaline and, for me, that fuel came in the form of oats.

When you have a 9 am deadline approaching, and there is only one hour remaining, every minute is precious - so there is no time to spare for cooking oats over the hob until they break down into a creamy mulch.

The Best Bircher Muesli

That’s the excuse I gave myself.  Instead, I developed the rather grotesque habit of eating oats straight from the packet, raw and desiccated. In my maddened and pressured state, I savoured the clagginess of the oats, where you can’t quite conjure up enough saliva to swallow them.  Ideal.

I have since moved on from this stage (with the very occasional relapse) to a more acceptable way of dealing with my love of oats: Bircher muesli, invented by Bircher Benner, a pioneer of raw foodism, in the late 19th century as a way of curing his jaundice.  It worked.

I feel, somewhat justifiably, that it runs in my blood (thick & creamy): my great-great-uncle was a frequent patient at Benner’s rather avant garde  Swiss raw food clinic and, one sunny day, he stepped down from a plane on an impromptu visit from Scotland to South Africa with no clothes besides the ones on his back, a vegetable juicing contraption which he trailed behind him on a rickety little cart, and a proselytising passion for Bircher muesli.

The Best Bircher Muesli

I have tried many a Bircher muesli, from Swiss versions to Vietnamese attempts, but I feel I have concocted the ultimate version (excuse my arrogance).  Creamy, healthy, juicy, and exotic, it’s effectively manna, and I would happily have it for every meal of the day (jaundiced or not).

The Best Bircher Muesli  (Serves 5)

Ingredients

2 Braeburn apples, grated

Juice of 1/2 lemon

200ml orange juice

200g natural yogurt

200g almond and coconut milk (can be substituted with dairy or non-dairy alternatives)

3 tbsp maple syrup

1 tsp vanilla bean paste (if you can’t get hold of this, omit it, or substitute with ½ tsp vanilla extract)

50g desiccated coconut, lightly toasted in a pan on a low heat until pale gold)

200g porridge oats

Pinch of salt

200g of fresh fruit of your choice (blueberries, strawberries, raspberries, figs, sliced banana work well)

40g coconut chips (optional but adds great texture)

Method

  1. In a large bowl mix together all the ingredients apart from the fresh fruit and optional coconut chips. If you are making this the night before, cover the bowl with cling film and place in the fridge overnight to let the oats soak up the flavours.  If you are serving the muesli immediately, stir the mixture for a couple of minutes to break down the oats until they are creamy.
  2. If you are leaving the muesli overnight, allow it to come to room temperature before serving. Scatter mixed berries and fruits and coconut chips over the top and serve.

2 Comments

Share

Spiced Blueberry Tart

1 Comment

Share

Spiced Blueberry Tart

IMG_4374i.jpg

Is it just me, or is anyone else sick of logging on to Facebook, innocently hoping to drain away half an hour of one’s day (minimum) by looking at pictures of people one may or may not have half met once trying to prove how much fun they are having by posting pictures of themselves with friends/family, strained smiles stretched across their faces, and who are clearly not that immersed in the fun as they have had to spend half an hour trying to get one decent picture out of the hundred they’ve taken to emblazon it across their Facebook wall and maybe, just maybe, turn it into a cover photo?

And then – BAM - your gaze is diverted,

and you are staring down into the depths of a garishly coloured plastic bowl filled with some unidentifiable artificial gunk, pink fleshy hands massaging some other substance into it to form some putty-like emulsion which is then mushed and squeezed and squidged into a plastic mould, whizzed up, and extruded through a bag and…… oh look, it’s that Gooey Oreo, Jellied Eel and Green Marshmallow Mini Coffee Cup that “you’ve always wanted to make for your slumber party with the gals”.

Here’s an antidote.  It is simple yet sophisticated, humble yet sumptuous, tangy but not cloyingly sweet, and light yet not so light when you’ve had 4+ pieces….

Ingredients

Pastry

200g white spelt flour (can be substituted with plain flour)

100g butter, roughly cubed

2 tbsp icing sugar

¼ tsp salt

1 small egg, beaten

12 x 36cm tart tin, greased and dusted with flour

Blueberry filling

800g frozen blueberries

250g caster sugar

1 tsp cinnamon

½ tsp nutmeg

2 tbsp cornflour

Zest of ½ medium sized orange

Method

  1. Place flour, butter, icing sugar and salt in a food processor, and blitz until it resembles damp sand. Pour in the beaten egg, and pulse until the mixture combines to form a soft dough.  Remove from the processor, wrap in baking parchment and place in the fridge for half an hour (or freezer for 10-15 minutes) – this will prevent the dough from shrinking when it bakes.
  2. Preheat the oven to 180˚C. Lightly dust a surface with flour and roll out the dough in a rough rectangle to 0.5cm thickness. Roll the pastry around a rolling pin and transfer to the tin, pressing it into the fluting (if, indeed, your tin is fluted). Run a knife along the top edge of the tin to remove excess pastry. Prick the base of the pastry a few times with a fork, and place back in the fridge for 30 minutes (or freezer for 10 minutes).
  3. Prepare the pastry for blind baking by lining the inside with a sheet of tin foil and filling it with baking beads to weigh it down while it bakes and to prevent it from shrinking. Place in the oven for 15-20 minutes until the pastry is dry and beginning to turn golden.  If it is cooking too slowly, you can remove the beads and tin foil after 15 minutes and continue to bake.  Remove from oven and set aside to cool.
  4. To make the spiced blueberry filling, place a large pan over a high heat and pour in all the ingredients. Stir continuously until the sugar is dissolved in the juice that runs off the blueberries. When the mixture begins to boil, reduce the heat to medium-high and allow to simmer for 20-30 minutes, stirring occasionally to prevent it from catching, until the liquid is almost completely reduced and with the viscosity somewhere between a syrup and a jam. Allow to cool to room temperature, then pour into the pre-baked pastry case.
Spiced Blueberry Tart

1 Comment

Share

Passion Fruit & Coconut Truffles

Comment

Share

Passion Fruit & Coconut Truffles

IMG_4223.jpg

Passion Fruit & Coconut Double Chocolate Truffles IMG_4217

My household has recently been beset by a typical problem. My mom rather enjoys pressing the "+”button when ordering from Ocado.  Whereas last week this resulted in a glut of cherries, this week it was passion fruit.   Even after days of bisecting the plum-coloured orbs and slurping up the tangy yellow spawn (sans spoon, and only in the most ladylike way, obviously), the supply remained steady.

IMG_4163

IMG_4135

IMG_4237Clearly, truffles were the solution.  Most truffle recipes create a molten ganache centre by simply combining melted chocolate with the flavour/ingredient of choice and a dribble of cream.  Easy?  Perhaps.  Zero depth of flavour? Indeed.  I make a caramel base to add a darker, nuttier complexity.

IMG_4215

This is poured over the dark chocolate to melt it, and the golden toasted coconut is then swirled in with the fresh and tangy passion fruit juice.

IMG_4126

I recommend using good quality dark chocolate – the results are worth it.  The tangy molten ganache is then frozen, later to be formed into spheres.  These are encased in a crisp white chocolate and coconut shell to add a touch of sweetness and contrast of textures.

IMG_4225

The name “passion fruit” does not, as you might assume, come from any aphrodisiac qualities of the fruit.  Rather, it comes from the shape of flower which resembles a crown like that that of thorns around Jesus’ head – thus, passion derives from the "passion of Christ”.  Indeed, these truffles are rather ambrosial – you could even say that eating them is a religious experience.

IMG_4219

IMG_4157


Ingredients (makes 50 - halve if strapped for time)

For the Ganache

150g 70% dark chocolate (good quality)

150g caster sugar

150g double cream

10g unsalted butter

10g light brown muscovado sugar

½ tsp salt

70g desiccated coconut

8 passion fruits, sieved to extract about 90ml of juice.

100g icing sugar, sifted


Large tray lined with baking parchment


For the shell

500g white chocolate

200g desiccated coconut

Pair of surgical gloves (optional)

  1. Chop the dark chocolate roughly, and set it aside in a large heatproof mixing bowl.
  2. To toast the coconut (70g), place a medium frying pan over a medium-high heat, pour the coconut in and stir continuously for 5 -8 minutes until the coconut turns a light golden colour. Add this to the dark chocolate.
  3. Place the caster sugar in saucepan over medium high heat, and when it starts to melt, stir gently with a spatula to avoid the sugar burning around the edges. Push unmelted sugar into the already caramelised sugar to aid the caramelising process.
  4. Once the sugar has turned a rich, dark gold colour, while still on the heat, pour in the cream, whisking all the time. If clumps form, don’t panic: keep whisking over medium low heat, and they will eventually melt.
  5. Once the lumps have dissolved, whisk in the muscovado sugar, butter, vanilla and salt and stir the bubbling mixture on a medium heat for another 2 minutes.
  6. Pour the hot mixture into the bowl of chopped dark chocolate and coconut and stir immediately until all the chocolate has melted and the caramel and chocolate are fully combined. Pour the passion fruit juice into the mixture, and stir to combine fully. Pour this into a shallow tray, and place in the freezer for an hour to set slightly.
  7. Once it has become slightly more solid, remove the tray of mixture from the freezer. Use a teaspoon to scoop out dollops, and roll each between the palms of your hands to form 2cm diameter spheres. Roll the spheres in the icing sugar to coat them finely, and then place them on a baking tray with space around each sphere to avoid their sticking together. Once all the mixture has been rolled into spheres, place the baking tray in the freezer for half an hour or until the spheres are firm and cold to touch. You may need to do this in batches as the ganache mixture melts very quickly.
  8. Break half the white chocolate (250g) into pieces and place in a bone-dry, heatproof bowl (any drop of water will make the chocolate seize). Place the bowl over a pot of boiling water (without the boiling water touching the base of the heatproof bowl), and stir occasionally until the chocolate is melted.
  9. Remove the dark chocolate spheres from the freezer, and one at a time, skewer with a toothpick and coat by spooning the melted white chocolate over each frozen chocolate sphere. Remove the skewer, replace the coated truffle on the baking tray, and replace in the freezer for 10 minutes for the first layer to set.

Melt the rest of the white chocolate (using the same method as before), and place the desiccated coconut (200g) in a bowl. Remove the truffles from the freezer. If you don’t want to get too messy, wear surgical gloves to do this stage. With one hand, roll the truffle in the melted white chocolate. Then, drop it into the coconut and with your other hand roll it to coat it. Once the batch is complete, place back in the freezer for a minimum 10 minutes to set.

IMG_4216


Comment

Share

Amaretti

4 Comments

Share

Amaretti

IMG_3851.jpg

Amaretti (gluten-free)  Amaretti

These are not those tooth-breaking, individually wrapped little rocks you might impulse buy at coffee shops.  They’re soft, aromatic and chewy (and great for the dentally challenged).

AmarettiAmaretti are also perfect for coeliacs, and can make a wonderful dessert paired with ice cream and a tangy berry sauce (see recipe here).

AmarettiThis recipe should be paired with my one for summer berry lemon curd tarts (see recipe here) which awkwardly leaves you with spare egg whites.  Don’t waste them, make these instead –you won’t regret it…

Amaretti


Amaretti

Ingredients (makes 35 small cookies)

360g ground almonds

220g caster sugar

finely grated zest of 2 lemons

½ tsp salt

115g egg white (3 large eggs, approx.)

4 tsp honey

¼ tsp almond extract

100g icing sugar, sieved, for rolling


1 large baking tray lined with baking parchment


Method

1.)    Preheat oven to 170˚C.  In a large bowl mix together the ground almonds, sugar, lemon zest and salt, and set aside.

2.)    Pour the egg whites into the bone dry and non-greasy bowl of an electric mixer.  Whisk on high speed until soft and frothy peaks form.  Pour the honey into the eggs and continue to whisk on a high speed until the peaks are glossy (see above photo). Sprinkle the almond extract into the eggs and whisk together very briefly at a low speed just to combine.

3.)    Very gently fold the whisked egg white mixture into the dry ingredients.  They will combine to form a soft and sticky paste.

4.)    Using your palms, roll 20g at a time of the mixture into spheres (roughly 2.5cm in diameter), and then roll each generously in a bowl of icing sugar.  Repeat and arrange on the tray, leaving at least 3cm between.  Use the tines of a fork to slightly flatten the amaretti spheres. Place the tray in the oven to bake for 8-12 minutes until they are beginning to turn golden on the outside but are still soft inside.  They will continue to cook as they cool.

Amaretti

4 Comments

Share

Tarta de Santiago

3 Comments

Share

Tarta de Santiago

IMG_2892.jpg

When life gives you … quinces Tarta de Santiago


The scent coming from the paper bag was soft and sweet, and old fashioned rose-like, and when I turned out its contents, eight yellow, somewhat misshapen apple-pears tumbled out.

Tarta de Santiago     These quinces were the unwanted fruit of an unappreciated tree in someone else’s garden.  Beguilingly biblical in appearance, their uncompromising hardness metamorphoses into something utterly different after cooking.

Tarta de Santiago

Tarta de Santiago Originally referred to as the Kydonian melon, and mentioned in 6th Century BCE Greek poetry, the quinces we recognise today are believed to have been indigenous to Kydonia on the island of Crete. The Ancient Greeks dedicated the quince to Aphrodite, goddess of love and beauty, who was often represented with the golden apple of Hesperides in her right hand – that apple, in all likelihood, a quince.  Indeed, quinces symbolised love and fertility, and Plutarch refers to the ancient wedding ritual whereby a bride would take a bite from a quince before retiring to the bridal chamber with her husband – possibly to freshen her breath, too.

Tarta de Santiago The path of the wedding procession of Helen and Menelaus was said to have been strewn with quinces, myrtle leaves and crowns woven from violets and roses. The fruit was also said by Pliny to have warded off the malign influence of the evil eye, and its medicinal value as an aid to digestion was also noted.

Tarta de Santiago

The Byzantines made wine from quinces as well as kydonaton, a thick quince jelly, probably the ancestor of French cotignac or condoignac, a delicacy made with honey, wine and spices that was considered a worthy gift for kings.

Tarta de SantiagoApicius, the first extant Roman cookbook writer, of the first century CE, preserved quinces whole in honey diluted with a spiced wine reduction, and also combined them with leeks, honey, and broth in hot oil in a dish known as Patina de Cydoniis. In the 4th Century CE, Palladius, an agriculturist and writer, composed a recipe for baked quince strips, possibly the first stirrings of membrillo, the Spanish quince gel that we know today.

Tarta de Santiago

During the 16th and 17th centuries, cooks in England prepared many variations of quince preserves which they called quidoniac, quiddony or paste of Genoa.  Often the preserve paste was thick enough to be moulded into animal or flower shapes. Nowadays, many cultures use quinces in their cuisine: in India, a quince sambal is made by making a puree out of quinces, onions, chillies, orange juice and salt. In Iran, quinces are sometimes cored and stuffed with minced meat, and Moroccan tagines often include quince along with dried fruit and spices.

Tarta de Santiago

Despite its pertinence in history and mythology the quince has rather fallen out of fashion.  Now the prized aphrodisiac and breath-freshener has been reduced to an unloved (except by the cognoscenti), knobbly peculiarity.  I hereby am starting a quince appreciation campaign and when life gives you quinces, make membrillo, and with the membrillo make Tarta de Santiago.

Tarta de Santiago

Membrillo is the rose-tinted translucent and slightly grainy gel that miraculously results from boiling quinces with water, sugar and citrus.  Its perfumed exoticness makes one think of orange groves and balmy breezes, and when combined with the citrus infused almond cake and pastry layers, one is transported right to the Alhambra.

Tarta de Santiago


Recipe

Ingredients

Pastry

150g white spelt flour (substitutable with any flour of your choice including gluten-free to create a gluten-free dessert)

40g caster sugar

1 ½ tsp ground cinnamon

½ tsp salt

Grated zest of ½ unwaxed orange

100g butter, roughly chopped into small cubes

1 egg yolk

25cm x 25cm square tin (or round tin with similar dimensions) at least 8cm deep, lined with greaseproof paper

Filling

250g quince paste (membrillo)

2 tbsp lemon juice

Grated zest of ½ unwaxed orange

Grated zest of ½ unwaxed lemon

65g ground almonds

Cake layer

150 ground almonds

100g caster sugar

1 tsp ground cinnamon

½ tsp salt

Grated zest of 1 unwaxed orange

Grated zest of 1 unwaxed lemon

150g butter, melted and allowed to cool slightly

100ml triple sec

3 eggs

Optional candied orange decoration

Follow instructions from my recipe for Citrus Syrup-Soaked Cake

Method

  1. In a blender, blitz together sugar, cinnamon, flour, salt and butter until the mixture resembles damp sand. Add in the egg yolk and blitz until the mixture comes together into dough.  Flatten into a disc, wrap in greaseproof paper and chill in a freezer for 15 minutes or refrigerate for ½ hour.
  2. On a well-floured surface, roll the dough out to a 3mm thickness and transfer to the tin to line the base. Refrigerate while you prepare the filling.
  3. Preheat oven to 180°C. To make the filling, place the quince paste (membrillo), lemon juice and zest in a small pan over a medium heat and stir until smooth and fully combined.  Remove from the heat and stir in the ground almonds.  Remove the tin from the fridge and spread the quince mixture evenly over the pastry.  Refrigerate once more.
  4. To make the cake layer, whisk together ground almonds, sugar, cinnamon, salt and zest in a bowl. In a separate bowl, whisk together melted butter, triple sec and eggs.  Pour the wet ingredients into the dry and whisk until combined in a loose paste.
  5. Remove the tin from the fridge and pour the cake layer mixture over the quince layer. Bake in the preheated oven for 35-40 minutes until golden brown, springy to touch and a skewer comes out clean.  Allow to cool before serving.

Tarta de Santiago


3 Comments

Share

Cauliflower & Quinoa Superfood Salad

2 Comments

Share

Cauliflower & Quinoa Superfood Salad

IMG_2716.jpg

Cauliflower & Quinoa Superfood Salad  

Cauliflower & Quinoa Superfood SaladSuperfood

Line breaks: super|food

Pronunciation: /ˈsuːpəfuːd/

Culina definition: ‘superfoods’ – a marketing ploy term assigned to natural ingredients which have been neglected on shop shelves for a while and could do with a PR boost.  They have nutritional benefits similar to many other natural ingredients and have the potential to reduce the risk of disease if you consume at least your body weight in said superfood in under an hour.

Cauliflower & Quinoa Superfood Salad Cauliflower, pomegranate seeds, quinoa and walnuts have all ridden the calculated PR wave to health fame in the last few years, and indeed that is possibly why they have drifted on to my kitchen shelves.

Cauliflower & Quinoa Superfood Salad Ignoring their “superfood” status, they are particularly delicious when combined.

Cauliflower & Quinoa Superfood SaladThis salad sits at the other end of the spectrum from the straggly, limp green leaf type.

Cauliflower & Quinoa Superfood SaladIt is crunchy, sweet, umami, nutty, juicy, and looks resplendent studded with glistening pomegranate jewels.

Cauliflower & Quinoa Superfood SaladCauliflower & Quinoa Superfood Salad Cauliflower & Quinoa Superfood Salad Cauliflower & Quinoa Superfood SaladIt’s also ridiculously quick to whizz up and can be prepared up to a day in advance (sans dressing, and refrigerated).

Cauliflower & Quinoa Superfood Salad

Recipe

Ingredients

100g quinoa

220g cauliflower

180g pomegranate seeds (1 pomegranate approx.)

200g feta, crumbled

100g walnuts, toasted and roughly chopped

50g fresh coriander, finely chopped


Dressing

10g garlic, crushed

1 tsp salt

4 tbsp tahini

8 tbsp natural yogurt

6 tbsp lemon juice


Method

  1. In a medium sized pan boil 1 litre of water over a high heat. Pour in the quinoa and allow it to simmer for 10-15 minutes until the grains are translucent but still slightly al dente.  Drain the quinoa in a sieve and set it aside to cool.
  2. Chop the cauliflower roughly, and blitz in a blender, pulsing until it resembles coarse couscous. If you don’t have a blender, you can grate the cauliflower by hand to achieve a similar effect.
  3. In a large serving bowl, mix together the quinoa, cauliflower, pomegranate seeds, feta, walnuts and coriander.
  4. In a separate bowl, whisk together all the dressing ingredients to combine. Pour as much as desired of the dressing over the salad just before serving and mix it through.

Cauliflower & Quinoa Superfood Salad

2 Comments

Share

Quick Asparagus & Parmesan Pizza

2 Comments

Share

Quick Asparagus & Parmesan Pizza

IMG_2242.jpg

Quick Asparagus & Parmesan Pizza Pizza is in his DNA.  Five generations of golden, thin, crispiness. One recipe.

Quick Asparagus & Parmesan Pizza

The pizza oven is raging, rapidly devouring its feed of dry wood and spitting out sweet nutty smoke.

Quick Asparagus & Parmesan Pizza


He comes every summer in his Ape brimming with plump mushrooms of dough.

Quick Asparagus & Parmesan Pizza

A light sprinkle of flour on a wooden board, and he gets to work.

Quick Asparagus & Parmesan Pizza

With wrist flicks and little rotations the round becomes a disc, airborne momentarily to ensure evenness.

Quick Asparagus & Parmesan Pizza

A careful spiral of passata with the back of a spoon,

Quick Asparagus & Parmesan Pizza

a shower of mozzarella,

Quick Asparagus & Parmesan Pizza

and a scattering of whatever’s in the garden: fiori di zucchini, melanzane, pepperoncini…

Quick Asparagus & Parmesan Pizza

The flurry of flour continues into the night.

Quick Asparagus & Parmesan Pizza

The dinner table is a moderation-free zone.

Quick Asparagus & Parmesan Pizza

He only stops when even the strictest of eaters has lost count of the number of pizzas (not slices) he/she has consumed, and physical incapacity is the only limitation.

Quick Asparagus & Parmesan Pizza

He doesn’t even really stop there: a couple more are sent to the table per domani.

Quick Asparagus & Parmesan Pizza

A pizza “hangover” ensues along with the inevitable promises of “never again” “not for another year”.

Quick Asparagus & Parmesan Pizza

But as soon as I hit London soil again I want to relieve that pizza-lover’s fantasy and so I make these.

Quick Asparagus & Parmesan Pizza

They’re crisp, thin, verdant, and fresh.

Quick Asparagus & Parmesan Pizza

I don’t believe in barren crusts or meanness so the ingredients are abundant and go right up to and beyond the edge of the base.

Quick Asparagus & Parmesan Pizza

I use spelt instead of plain flour (as usual) to reduce the GI level and add a nuttier more complex flavour to the dough.

Quick Asparagus & Parmesan Pizza

The added bonus of this recipe is that it is ridiculously quick.  Kneading is kept to a minimum (5 minutes) and the rising time is the shortest you’ll ever find for pizza dough – ½ hour.

Quick Asparagus & Parmesan Pizza

The balsamic-maple reduction is optional but I include it to add extra caramelised sweetness, extra tang and a touch of drama.

Quick Asparagus & Parmesan Pizza

Quick Asparagus & Parmesan Pizza

Quick Asparagus & Parmesan Pizza


Ingredients – makes 4 pizzas

Base

250ml warm water

3 tsp dried yeast (fast active yeast)

500g white spelt flour

1 ½ tsp salt

1 tbsp olive oil


Topping

750g asparagus

30g garlic cloves, peeled and crushed

1 tbsp olive oil

1 1/4 tsp salt

Grated zest of ½ lemon

A few grinds of Pepper

400g mozzarella (4 balls), chopped finely into cubes

100g parmesan, grated

3 spring onions, thinly sliced

Small bunch of chives, finely chopped

2 red chillies (optional), finely sliced


2 large baking trays or 4 medium baking trays, greased and dusted with flour


Maple Balsamic Reduction (optional)

120ml balsamic vinegar

2 tsp maple syrup


Method

  1. Heat oven to 120˚C for 5 minutes then switch it off.
  2. In the bowl of a mixer (or large bowl if making by hand) pour in warm water and sprinkle yeast over it. Allow to stand for 5 minutes for the yeast to activate.
  3. Stir in flour, salt and oil. Knead by hand for 5 minutes on a lightly floured surface, or in a machine fitted with a dough hook for 5 minutes until the dough is smooth and when you press your thumb into it, it bounces back up.
  4. Divide dough into two and place each half in a lightly oiled bowl. Cover with cling film and place in warmed oven.  Allow to rise for 30 minutes or until doubled, then remove from oven and preheat it to its highest temperature, usually 250˚C.
  5. While the dough is rising, use a vegetable peeler to shave the asparagus: place the asparagus flat on a surface, and holding it at the woody end, shave it from above the woody end to the top of the spear. I sometimes use the ends to make a stock for asparagus risotto.
  6. Place the ribbons in a bowl and mix with garlic, oil, salt, lemon zest and pepper.
  7. Once risen, divide each half into two and roll out each quarter into a 0.5cm thick disc. Place on tray and scatter each disc with mozzarella, parmesan, and shaved asparagus.  Bake in oven for 15-20 minutes until golden and bubbling.
  8. Once baked, scatter with spring onions, chives, and chillies, if using. Drizzle with balsamic reduction, if desired, and serve immediately.


Maple Balsamic reduction

  1. Boil balsamic and maple syrup together over a high heat for about 5 minutes until it thickens slightly to consistency more like that of pure maple syrup. Allow to cool for 1 minute, and drizzle over pizzas.

Quick Asparagus & Parmesan Pizza

Adapted from The Smitten Kitchen Cookbook

2 Comments

Share

Coconut & Strawberry Jam Thumbprint Cookies

10 Comments

Share

Coconut & Strawberry Jam Thumbprint Cookies

IMG_1559.jpg

Coconut & Strawberry Jam Thumbprint Cookies Standing on a dining room chair to reach the kitchen counter top, swamped by my grandmother’s floral apron, and covered head to toe in drifts of white flour, at three years’ old I felt important and grown up. But first my grandparents and I would visit art galleries, going for afternoon tea (lemon cake for me, always), sitting on the top deck of the bus, drawing, painting, drinking more tea, and then, finally, at the end of the day, my grandmother would let me help her bake her oat and ginger cherry-bejewelled cookies – what I knew and still know as “Granny Biscuits”.  They are still in ready supply whenever I visit my grandmother’s house, and are as chewy, oaty and delicately sweet as they’ve ever been.

Coconut & Strawberry Jam Thumbprint Cookies


My grandfather possessed a dangerously sweet tooth, and, as I’ve previously mentioned, was inclined to satisfy this without regard for moderation.  He would sneak into the larder and consume an entire box of glace cherries.

Coconut & Strawberry Jam Thumbprint Cookies

This trait has wound its way down into my family. I name no names, but once the plastic seal has been broken, glace cherries mysteriously disappear at a rapid rate.  Although I admit I have, at several low points in my life, spooned jam without any justifying bread straight into my mouth, the general jam supply in my household is a more reliable presence.

Coconut & Strawberry Jam Thumbprint CookiesSo when recently I came to press the cherries into the Granny Biscuits (an essential step), and found there to be none, jam was a delicious substitute.

Coconut & Strawberry Jam Thumbprint Cookies

This recipe is further adapted with coconut replacing oats to provide a more even coating and a beautiful golden crunch once baked.

You can use whatever jam or marmalade you desire – strawberry and apricot are two of my favourites.

Coconut & Strawberry Jam Thumbprint Cookies

Ingredients (Makes 25-35 approx.)

350g unsalted butter, at room temperature

200g caster sugar

2tsp vanilla extract

Zest of ½ lemon

½  tsp salt

350g white spelt flour

1 egg, beaten with 2 tsp water

200g desiccated coconut

100g strawberry jam

100g apricot jam


2 baking trays lined with baking parchment


Method

1.)    Preheat oven to 180˚C.

2.)    In a food mixer fitted with the paddle, or in a large bowl with a wooden spoon, beat butter, sugar, vanilla, lemon zest and salt together until fluffy and pale.

3.)    Sift in flour and mix together until fully combined and a soft dough is formed.  Flatten the dough into a roughly 2 cm thick disk, wrap in baking parchment, and chill in the freezer for 15 minutes or the fridge for ½ hour.

4.)    Roll the dough into 30g spheres (roughly 3 cm in diameter), dip each one in the beaten egg and then roll in the coconut.  Space the spheres at least 5 cm apart on the baking sheet.

5.)    Press your thumb in the middle of the spheres to create a teaspoon- sized indent.  Fill the indent with a teaspoonful  of the jam of your choice.

6.)    Place in the oven to bake for 15-20 minutes or until cooked through and the coconut turns golden.  Allow to cool and serve.

Coconut & Strawberry Jam Thumbprint Cookies

10 Comments

Share

Summer Berry Lemon Curd Tarts

8 Comments

Share

Summer Berry Lemon Curd Tarts

IMG_1078.jpg

Summer Berry Lemon Curd Tarts I endured school lunches for four years and then abandoned them. Waking up twenty minutes early to throw together a packed lunch seemed worth it at the time.  My school lunches weren’t even bad.  In fact, they were probably rather good – good enough to avoid having Jamie Oliver sniff his way into our school kitchen in pursuit of good TV.

IMG_1007

What turned me (and my stomach) resided in the stainless steel vats adjacent to the desserts:  pools of lurid yellow purulence (custard).

Summer Berry Lemon Curd Tarts


Notwithstanding my decade old aversion, I decided to venture into custard territory last week.  And I found my cure: lemon curd-filled tarts.

Summer Berry Lemon Curd Tarts

Summer Berry Lemon Curd Tarts


Made using both lemon juice and zest, paired with a lemon-infused tart shell, and partnered with fresh berries, these make a tangy and refreshing summer dessert.

Summer Berry Lemon Curd Tarts

Summer Berry Lemon Curd Tarts


I use spelt flour in the pastry to add extra nuttiness and depth of flavour.  It also has a lower GI than wheat flour.   However, if you can't find it, you can substitute plain flour.

IMG_1038


IMG_1021 Summer Berry Lemon Curd Tarts

Summer Berry Lemon Curd Tarts

Summer Berry Lemon Curd Tarts Summer Berry Lemon Curd Tarts Ingredients (makes 12)

Lemon tart shells

360g white spelt flour  (substitute with plain flour if unavailable)

110g icing sugar

Finely grated zest of 1 lemon

¼ tsp salt

190g cold unsalted butter, roughly chopped into small cubes

1 egg yolk

1 tsp vanilla extract

2 tbsp cold water


A 10cm pastry cutter

1 12-hole cupcake tin, greased with butter and then placed in fridge to chill

Baking beads or rice to weigh down the pastry while it bakes

12 cupcake cases


Lemon Curd

Finely grated zest of 4 lemons

200 ml lemon juice (4-6 lemons)

200g caster sugar

4 medium eggs

4 medium egg yolks

180g unsalted butter

1 baking tray with lipped sides

200g blueberries

150g strawberries

150g raspberries

Icing sugar for dusting


Method

Lemon pastry tart shells

  1. Blend together flour, sugar, lemon zest and salt in a food processor, and add in butter, pulsing to combine until the mixture resembles damp sand. Alternatively, if working manually, mix together the dry ingredients in a large bowl and rub the butter in with your fingers.
  2. Pour the egg yolk, vanilla and water into the mixture and pulse/stir until the mixture just comes together. Flatten the pastry dough into a disc , wrap in baking parchment/cling film and chill in the fridge for an hour, or freezer for 20 minutes.
  3. Preheat the oven to 150˚C.
  4. On a floured surface, roll half the dough out to the thickness of 2 or 3 mm, and cut the pastry into discs using the pastry cutter. Gently press the pastry discs into the prepared cupcake tin.  You will find that there is some dough left over.  This can be frozen for about a month.
  5. Set the cupcake cases into the pastry shells and fill them with the baking beads/rice to weigh the pastry down and prevent it from losing its shape during the bake.
  6. Bake in the oven for about 20-25 minutes until golden and firm to touch. If they have not turned golden by this point, remove the baking beads/rice and cupcake cases and bake for a further 5-10 minutes.  Remove from the oven and set aside to cool.  These can be made 2 or 3 days in advance and kept in an airtight container until you are ready to use them.

Lemon curd

  1. Place lemon zest, juice, sugar, eggs, egg yolks and half the butter in a saucepan over a medium-high heat and whisk continuously while the ingredients cook together.  When the mixture has thickened slightly and threatens to stick to the bottom of the pan, reduce the heat and continue to whisk for another couple of minutes until thickened, whisking all the while.  Off the heat, whisk in the remaining butter until thoroughly combined.  It should be smooth and glossy.
  2. Sieve the curd over the baking tray, and spread it out with a spatula so that only a thin layer coats the tray. Cover the surface of the lemon curd with baking parchment or cling film and place the tray in the fridge for a minimum of half an hour or until it has cooled and become slightly firmer.  Alternatively, place the tray in the freezer for 20 minutes.

Assembly

Arrange the pastry shells on a serving plate and spoon in the lemon curd (roughly 3 tsp per case). Top generously with the berries and dust with icing sugar just before serving.  They can be kept in the fridge for up to 6 hours before serving; longer than that they tend to become soggy.

Summer Berry Lemon Curd TartsSummer Berry Lemon Curd Tarts

8 Comments

Share

Brown Butter Brioche Cinnamon Buns

2 Comments

Share

Brown Butter Brioche Cinnamon Buns

IMG_0348.jpg

Brown Butter Brioche Cinnamon Buns

When I was six I experienced peak cinnamon bun.  In the middle of a farmers’ market in Toronto I was handed a parcel wrapped in brown paper.  Inside was a glistening golden sticky buttery cinnamon swirl - a full face experience, and well worth it.  Ever since then I’ve been looking for one to mirror its spiced perfection, but my quest continues to this day.  To the untrained/inexperienced/non-cinnamon obsessed palate a cinnamon bun is just a cinnamon bun.  Wrong.

Brown Butter Brioche Cinnamon Buns

My gluttonous many-year quest has allowed me to sample the many different types:  there is the American gloopy, slightly under baked, doughy, cream cheese-coated type.  This can be found in a ubiquitous American chain (at particular low points during my degree I used to linger outside the Cambridge branch just to catch the cinnamon perfumed scent).

Brown Butter Brioche Cinnamon Buns


At the opposite end of the scale there’s the more refined flaky and French variety which is unsatisfyingly mild in terms of cinnamon flavour if you’re an obsessive like me.

Brown Butter Brioche Cinnamon Buns


Somewhere in between the two is the Nordic variety, cardamom and cinnamon infused, with a delicate dough (my trip to Norway this summer will be dedicated to experiencing as many of these as possible).

Brown Butter Brioche Cinnamon Buns   My own recipe falls somewhere in the middle of the 3 varieties.  The brioche dough is soft and light on the inside and crisp on the outside, the browning of the butter in the filling adds a nutty richness, and the muscovado sugar makes the bun moister and adds greater depth of flavour than plain caster sugar.  As the buns cook, the sugar cinnamon filling caramelises slightly at the base adding a moreish stickiness.

Brown Butter Brioche Cinnamon BunsAlthough the brioche dough requires starting the evening before, don’t let it stop you from making these.  They are, in fact, incredibly easy and quick to make.  It’s also rather lovely going to bed knowing that a cinnamon bun awaits you the next day…

Brown Butter Brioche Cinnamon Buns


Brown Butter Brioche Cinnamon Buns


Ingredients

Brioche

1 ½ tsp active dried yeast

3 tbsp lukewarm water

285g strong white bread flour

¾ tsp salt

40g caster sugar

3 medium sized eggs + 1 to paint the buns

115g cold unsalted butter

Cinnamon Filling

90g butter

160g light brown muscovado sugar

3 tbsp cinnamon

½ tsp salt


1 round 9 inch tin, greased and dusted with flour


Method

  1. In large bowl stir together yeast and water until the yeast has dissolved. Leave in a warm place for 5-10 minutes until the yeast is activated and the mixture begins to go slightly frothy.
  2. Add in the flour, salt, sugar and eggs and mix until thoroughly combined and the dough is smooth and sticky. If you are using a Kitchen Aid, as I do, fit it with the paddle and mix.
  3. Stirring continuously (or with the machine on a medium-high speed) add in the butter bit by bit, waiting until it is fully combined before adding more. Once the butter is fully combined, keep mixing until the dough is smooth and shiny. This will take about 8-10 minutes.
  4. Placed dough in a lightly greased bowl, cover with cling film, and place in fridge overnight or for minimum 8 hours.
  5. The next day make the cinnamon filling by placing the butter in a pan over a medium heat. Once it has melted, leave it on the heat for another minute until it goes golden in colour and has a rich, nutty aroma. Mix the sugar, salt and cinnamon with the butter to form a paste and set aside to cool.
  6. Remove the dough from the fridge and, on a board dusted with flour, roll it out to a rectangle of roughly 30cm by 38cm and to a 3/4cm thickness. Spread the cinnamon filling evenly over the rectangle.
  7. With long side of the rectangle closest to you (i.e. landscape as opposed to portrait), roll the dough from the long side to the other long side tightly, like a scroll. With the seam side down, slice the roll into 12 even slices. Arrange the slices spiral side up in the prepared tin, cover with a tea towel, and allow to rise for an hour in a warm place.
  8. Preheat the oven to 180˚C. To give the buns a beautiful golden shine, beat the egg and brush a thin layer over them.
  9. Place the tin in the oven and allow to bake for about 20-30 minutes until the surface is a golden brown and a skewer comes out clean. If it looks a little too dark early on in the bake, cover with tin foil. Once cooked, place on a wire rack to cool (or eat immediately).

Brown Butter Brioche Cinnamon Buns

2 Comments

Share

Cherry & Yuzu Frozen Yoghurt Almond Cookie Sandwich

10 Comments

Share

Cherry & Yuzu Frozen Yoghurt Almond Cookie Sandwich

IMG_6945.jpg

(Affectionately known as Froyo Yoyos) Cherry & Yuzu Frozen Yoghurt Almond Cookie Sandwich

If something becomes a fad, I usually try to avoid it.  Cupcakes were once things of joy, their light, sweet, spongeyness perfuming the house with the scent of birthdays.  And there was always the hope of left over icing, not to mention the ease with which one could convince oneself that the perfectly domed surface was in need of decapitation, just to preview the crunchy golden coated delicate sponge, just in case the cupcakes weren’t guest-worthy.  But now those simple pleasures have been crushed for me as the once-a -year treat has lost its golden hued novelty.

Cherry & Yuzu Frozen Yoghurt Almond Cookie Sandwich

The single-concept shops dedicated to cupcakes are now a graveyard for the dying fad.  I walked past a well-known purveyor of cupcakes in the middle of an airless department store only last week, and watched as the woman behind the counter shuffled the gaudy treats into reverse rainbow order in an attempt to look busy.

Cherry & Yuzu Frozen Yoghurt Almond Cookie Sandwich

Frozen yoghurt is no longer a novelty, but for me at least it has not yet lost its appeal.  Some people (including me) are able to delude themselves that even with the marshmallow, cookie dough, caramel topping it’s a healthier version of their favourite ice cream.

Cherry & Yuzu Frozen Yoghurt Almond Cookie Sandwich

When the clouds deigned to expose a sliver of sunlight for a short while on Saturday, I decided to indulge in a little frozen yoghurt.

Cherry & Yuzu Frozen Yoghurt Almond Cookie Sandwich


Cherry & Yuzu Frozen Yoghurt Almond Cookie Sandwich

The cherries at my favourite fruit monger were so glossy and irresistibly crimson they were begging to be involved in my hoping-for-summer recipe.  I combined them with yuzu juice for a touch of astringency to cut through the sweet creaminess of the yoghurt. Then, to add a childlike allure, I sandwiched the frozen yoghurt between two discs of biscuit which I’d infused with almond extract to bring out the cherry flavour further.

Cherry & Yuzu Frozen Yoghurt Almond Cookie Sandwich

The yuzu juice provides a wonderfully tart citrusy note to the frozen yoghurt.  If you can't find it, substitute it with lemon or lime.

Cherry & Yuzu Frozen Yoghurt Almond Cookie Sandwich

I used an ice cream churner to make the frozen yoghurt smoother and the ice crystals finer, but if you don’t have one this stage can be skipped and the result will still be delicious.

Cherry & Yuzu Frozen Yoghurt Almond Cookie Sandwich

Of course, the cherry and yuzu frozen yoghurt can be enjoyed sans biscuit.  The biscuit is however, rather useful if you wish to turn it into a hand held treat, whether or not the sunshine lingers.

Cherry & Yuzu Frozen Yoghurt Almond Cookie Sandwich

Cherry & Yuzu Frozen Yoghurt Almond Cookie Sandwich


Ingredients  (makes 8-10)

Cherry and Yuzu Frozen Yoghurt

375g cherries, halved and pitted

125g caster sugar

250g full fat natural yoghurt (don’t use Greek)

1 tsp yuzu juice

6 drops of almond extract

1 medium sized (18cm x 28cm approx.) loaf tin, lined with cling film


Almond Biscuit

160g butter, at room temperature

2 egg yolks

10 drops almond extract

210g plain flour

50g sugar

1tsp vanilla extract

¼ tsp salt

1 large baking tray lined with baking parchment

4.5/5cm circular cookie cutter or wine glass


Method

Cherry & Yuzu Frozen Yoghurt

  1. Place cherries and sugar in a small pan over a high heat. Stir occasionally to prevent sugar from burning.  When enough liquid has run out from the cherries to coat the base of the pan and it begins to boil, reduce heat to medium.  Allow to simmer for 10 minutes until the liquid from the cherries has reduced and is just slightly thicker than maple syrup.
  2. Allow the cherries and syrup to cool then blitz them together with the yuzu, almond extract and yoghurt until smooth. If you are using an ice cream maker, chill the mixture and then churn according to the manufacturer’s instructions.  Otherwise, proceed to step 3.
  3. Pour the mixture into the cling film-lined loaf tin, and smooth the surface with a spatula. Place in freezer for 1-2 hours until solid.

Almond Cookies

  1. Beat the butter in a mixer (or by hand) until light and fluffy. Into this, beat the almond extract, vanilla extract and egg yolks.
  2. In a separate bowl, mix together flour, sugar and salt. Stir this into the butter mixture until a dough forms.
  3. Flatten the dough into a disk, wrap in baking parchment and place in freezer for 15 minutes (or fridge for 30 minutes).
  4. Preheat oven to 160˚C.
  5. On a floured surface, roll out the dough to 7mm thickness. Using the cookie cutter, cut the dough into the discs and place on lined tray.
  6. Bake for 7-10 minutes until cooked all the way through but still pale. Allow to cool.

Assembly

Remove the loaf tin containing the frozen yoghurt from the freezer. Using the cookie cutter, cut the frozen yoghurt into discs and sandwich each disc between two almond biscuits.  Store these in an airtight container and return to the freezer until ready to serve.

Cherry & Yuzu Frozen Yoghurt Almond Cookie Sandwich

10 Comments

Share

Stripy Lemon & Raspberry Cake - Recipe

21 Comments

Share

Stripy Lemon & Raspberry Cake - Recipe

IMG_5587.jpg

Stripy Lemon & Raspberry Cake This stripy lemon and raspberry cake speaks for itself: elegant and refined on the outside, yet quirky on the inside - great if you feel like a change from the usual, and you’re in the mood for something fun.

Stripy Lemon & Raspberry Cake


Stripy Lemon & Raspberry Cake

Unlike most layer cakes, the stripes are vertical.  This makes it both superficially pleasing and more delicious - more stripes = more sumptuous raspberry compote...

Stripy Lemon & Raspberry Cake


Please don’t be intimidated by the lists of ingredients and the recipe.  It really is a lot easier  and quicker than you may think: the stripes are formed by baking the sponge in a baking sheet, spreading the cooked surface with the raspberry compote, cutting it into strips, and rolling them, one strip after the other, swiss roll-like, into a ‘log’.

Stripy Lemon & Raspberry Cake

The sponge is light and lemony, the raspberry compote is tart and moreish, and the icing is infused with berries to provide a little summery freshness.

Stripy Lemon & Raspberry CakeStripy Lemon & Raspberry CakeStripy Lemon & Raspberry CakeStripy Lemon & Raspberry CakeStripy Lemon & Raspberry CakeStripy Lemon & Raspberry CakeStripy Lemon & Raspberry CakeStripy Lemon & Raspberry Cake

Ingredients

Cake

120g plain flour

1 tsp baking powder

¼ tsp salt

3 large eggs

140g caster sugar

Zest of 1 lemon

½ tbsp. water


Baking sheet 38x25x2.5 cm, lined with baking parchment and covering both the base and shallow sides.

Additional baking parchment


Raspberry compote

200g raspberries fresh or frozen, but if using frozen, defrost before use

40g caster sugar

2 tsp vanilla extract

2 tbsp water

150g raspberry jam

2 tbsp corn flour

½ tsp lemon juice


Crumb coating (optional – but makes icing easier and adds extra tanginess and interest to the cake)

75g icing sugar, sieved

50g butter at room temperature

2 tsp lemon juice


Berry-infused cream cheese icing

25g red berries (raspberries and redcurrants work well, and you can use frozen), blitzed until smooth to make a puree

½ tsp lemon juice

75 g cream cheese, at room temperature (essential)

50g unsalted butter, softened to the point that it is threatening to turn into liquid

300g icing sugar, sieved


Method

Raspberry compote

  1. Place frozen/fresh raspberries, sugar, vanilla extract, and water in a saucepan over high heat and stir until the sugar has dissolved. Simmer for 5 minutes or until the texture is slightly syrupy.
  2. Stir in the raspberry jam and corn flour, and boil for a further 2 minutes. Remove from heat.
  3. Blitz the mixture together with the lemon juice in a blender until smooth.

Lemon Sponge Cake

Stripy Lemon & Raspberry Cake

  1. Preheat oven to 220˚C.
  2. Beat together eggs and sugar for about 5 minutes until pale and custard-like (I find it easier to use an electric mixer).
  3. Fold into the wet mixture the sifted flour and baking powder, lemon zest, salt and water. Stir as little as possible and with a light hand so as to keep the mixture airy.
  4. Pour the mixture into the lined baking sheet and spread it out in an even layer right up to the edges of the tray. Place in the centre of the oven, and bake for 4-5 minutes until golden brown and a skewer comes out clean.
  5. While the cake is still warm from the oven, flip it upside down on to a large sheet of baking parchment. Carefully peel off the parchment layer on which it was baked.
  6. Spread the compote evenly over the lemon sponge, and slice lengthways (i.e. from short side to short side) into 4 equal strips of cake.
  7. Begin with one strip and roll into a coil. Place the edge of the roll next to the edge of the second strip and continue to roll.  Continue with the remaining strips until a large spiral is formed.  Place the ‘log’ spiral side up on a plate or cake stand.

Lemon crumb coating (optional, but makes icing the cake easier, and adds extra tanginess and interest)

  1. Beat together icing sugar, lemon and butter until creamy and spread in a thin layer over the top and sides of the cake. Place in the fridge for half an hour, or the freezer for 10 minutes.

Berry-infused cream cheese icing

  1. Beat the butter until completely smooth, then beat in the cream cheese. Stir in the berry puree and lemon juice, before beating in the icing sugar.
  2. Spread evenly over the cake using a spatula. Decorate with berries, or as desired.


Stripy Lemon & Raspberry Cake


21 Comments

Share

Caramelised Fig, Feta, Orange & Rocket Salad - Recipe

Comment

Share

Caramelised Fig, Feta, Orange & Rocket Salad - Recipe

IMG_4390.jpg

Caramelised Fig, Feta, Orange & Rocket Salad - Recipe I often spend summers in Italy.  In the evenings, when the vine- ripening summer sun begins to soften and the incessant squeak and rattle of the plough eventually dies, I usually clamber up the nearby hill, meandering across the crest.   On one of my walks, I headed towards the nearby palazzo, along the path bordered by Cyprus spears.


Caramelised Fig, Feta, Orange & Rocket Salad - Recipe

Caramelised Fig, Feta, Orange & Rocket Salad - Recipe

Lizards basking in the heat still held by the pale ochre walls scuttled away at my footsteps, and a green shutter creaked in the mild breeze.

Caramelised Fig, Feta, Orange & Rocket Salad - Recipe

The knobbed tree in front stood with its arms filled with waxy green dewdrop-like figs, nodding gently like a recently metamorphosed Ovidian nymph.   I reached to tug at a branch, and a cluster melted softly off it.  The pink juices dripping down my fingers, I gathered two handfuls and made my companion fill his pockets with the good intention of bringing some back for others to try.

Caramelised Fig, Feta, Orange & Rocket Salad - Recipe

As so often happens, the thoughtful food gift didn’t reach its destination (I ate it), but I went back the next day, and the next.  I was converted from someone with a slight aversion to figs to an obsessive.

Caramelised Fig, Feta, Orange & Rocket Salad - Recipe

This salad combines the earthy lusciousness of figs with caramel to add depth and sticky sweetness to the dish.  This contrasts with the fresh tanginess of oranges – blood oranges are currently in season so are fantastic to use – and the saltiness of the feta and peppery rocket leaves.

Caramelised Fig, Feta, Orange & Rocket Salad - Recipe

The dressing is fresh, sweet, salty and savoury, tying all the elements together.

Caramelised Fig, Feta, Orange & Rocket Salad - Recipe


Ingredients  Serves 2 (or 4, as a side)

8 figs, halved

50g caster sugar

juice of 1 orange

2 tbsp olive oil

2 tsp lemon juice

2 cloves garlic

1 tbsp pomegranate molasses (substitute with balsamic vinegar, if necessary)

¼ tsp salt

2 oranges, peeled and sliced into 1/2 cm discs

100g rocket

100g feta, sliced into ½ cm cubes


Method

  1. Place a shallow frying pan over a medium/high heat, pour in sugar and allow to melt, stirring occasionally to prevent it from burning.
  2. Place halved figs face down in the molten sugar and cook in the caramel for 2 minutes. Turn them over to cook for a further 1 minute.  Remove from pan and place on serving plate.
  3. For the dressing, pour the orange juice, olive oil, garlic, salt, and pomegranate molasses into the caramelised sugar pan and stir until the caramelised sugar has dissolved into the liquid. Remove from stove and stir in lemon juice.
  4. Scatter rocket, orange slices and feta on the serving plate with the figs and drizzle with the dressing.

Caramelised Fig, Feta, Orange & Rocket Salad - Recipe

Inspired by Ottolenghi

Caramelised Fig, Feta, Orange & Rocket Salad - Recipe

Comment

Share

Vanilla Bean & Cinnamon Bircher Muesli (Dairy-free, Sugar-free, Gluten-free) - Recipe

Comment

Share

Vanilla Bean & Cinnamon Bircher Muesli (Dairy-free, Sugar-free, Gluten-free) - Recipe

IMG_2375.jpg

Vanilla Bean & Cinnamon Bircher Muesli (Dairy-free, Sugar-free, Gluten-free) - Recipe Last year I spent a week in the middle of nowhere, in freezing cold, exercising over 6 hours a day in mud/gales/snow/hail,  under the supervision of ex-military trainers who pushed me physically beyond  my limits until every last droplet of sweat had been purged.  My fellow “bootcampers” included a fresh out of prison and rehab drug dealer/addict, a morbidly obese woman who refused to communicate with anyone, a creepy London shop owner, a z-list celebrity from a certain Chelsea based reality TV show, whose ego was undeservedly overblown, and some poor guy whose father had told him he was going on a spa retreat in Spain but despatched him instead into gruelling and bleak middle England.

Vanilla Bean & Cinnamon Bircher Muesli (Dairy-free, Sugar-free, Gluten-free) - Recipe


Our diet was heavily regimented, too: no sugar, no caffeine, no alcohol, and nothing processed.  Despite its virtuousness, it was delicious - fresh, wholesome and innovative - all cooked by an ex-OXO Tower chef.  Admittedly, food is the first thing I think of when I wake up anyway, but this feeling became intensified at the camp, especially with a 6 o’clock alarm call, and two hours of torture before breakfast.   No, it wasn’t a prison camp: I did this out of choice.


Vanilla Bean & Cinnamon Bircher Muesli (Dairy-free, Sugar-free, Gluten-free) - RecipeVanilla Bean & Cinnamon Bircher Muesli (Dairy-free, Sugar-free, Gluten-free) - RecipeVanilla Bean & Cinnamon Bircher Muesli (Dairy-free, Sugar-free, Gluten-free) - Recipe

It was one of the only occasions when getting chummy with the chef didn’t reap any edible perks.  I did , however, manage to glean the recipe for the breakfast highlight of the week: Bircher muesli.  It traditionally has a fluid consistency and is made the night before to allow the oats to become plump with apple juice and yoghurt.   This one breaks all the rules but is more delicious, healthier and a hundred times more convenient – most people (excluding me) spare little thought for breakfast, let alone prepare for it the night before.

Vanilla Bean & Cinnamon Bircher Muesli (Dairy-free, Sugar-free, Gluten-free) - Recipe

This recipe is dairy-free and sugar-free simply because I think it’s delicious that way, but feel free to use dairy equivalents, and add some maple syrup if you’re that way inclined – it works equally well. It can also be made gluten-free  – just use the appropriate muesli brand.

Vanilla Bean & Cinnamon Bircher Muesli (Dairy-free, Sugar-free, Gluten-free) - Recipe


Ingredients (serves 2)

Muesli

2 cups sugar-free muesli

1 Braeburn apple, grated and sprinkled with 1 tsp lemon juice (this will prevent it oxidising and going brown)

¼ tsp vanilla bean paste

1 tsp cinnamon

¼ cup coconut yoghurt (or Greek yoghurt)

3 tbsp coconut milk (or dairy)

2 tbsp apple juice

(1 tbsp maple syrup – optional)


Topping

¼ cup coconut yoghurt

100g raspberries

A handful of strawberries

2 tbsp flaked almonds, toasted in a dry pan over a medium heat for a few minutes until pale brown


 Method

  1. Stir together all topping ingredients. It should be of a thick consistency but feel free to add another splash of coconut milk if you prefer.  Leave for 10 minutes to allow the muesli to absorb the flavours.
  2. Top with yoghurt, and scatter with berries and flaked almonds. Drizzle with maple syrup if you like.


Vanilla Bean & Cinnamon Bircher Muesli (Dairy-free, Sugar-free, Gluten-free) - Recipe

Comment

Share

Citrus syrup-soaked cake

5 Comments

Share

Citrus syrup-soaked cake

orangecake2-3.jpg

IMG_3830 This citrus syrup soaked almond cake takes me back to the Jemaa el-Fnaa, the central square of Marrakesh: the teeth pullers ready to pounce with their pliers, the snake charmers forcing a writhing snake scarf on your neck, and amongst this the orange juice vendors lined up, the citrus scents suffusing the air…


orangecake2 (3)

Incredibly easy and quick to make, this cake will last for several weeks if kept in a sealed container.

It can be made gluten free simply by using gluten-free bread crumbs.

IMG_3251


The candied orange topping is optional.


Ingredients


Cake

50g stale/toasted white bread crumbs (gluten free can be used)

175g caster sugar

100g ground almonds

1 ½ tsp baking powder

200ml vegetable oil

4 eggs

Finely grated zest of 3 medium /2 large unwaxed oranges

Finely grated zest of 2 unwaxed lemons

1 tsp cinnamon (optional)

½ tsp vanilla extract

¼ tsp salt


Citrus syrup

Juice of 2 oranges

Juice of 1 ½ lemons

75g sugar

6 cloves

1 cinnamon stick


Optional Candied Orange

1 cup water

½  cup caster sugar

2 small unwaxed oranges sliced across the diameter 2mm thick


20cm diameter tin, lined with baking parchment


Method

Cake

  1. In a large bowl whisk together oil, eggs and orange and lemon zest until combined.


  1. In a separate large bowl mix all dry ingredients together.


  1. Pour wet mixture into dry and stir until combined. Pour into lined tin and place in cold oven & turn heat to 180˚C.


  1. Bake for 40-50 minutes or until skewer comes out clean.


Citrus syrup

  1. While cake is cooking pour all ingredients into pan & place on medium high heat. Stir until sugar has dissolved then let it simmer for 4 minutes until it has reduced slightly to a thin, non-viscose syrup.


  1. As soon as the cake is removed the oven stab it all-over with a skewer , don’t hold back. Pour the syrup over.  It may initially look like it’s drowning, but it will rapidly be absorbed.


  1. Serve when cool.


Optional candied orange layer

  1. In a large frying pan stir together sugar and water until sugar has dissolved.


  1. simmer for 3 minutes then add orange slices. Don’t worry if they overlap.


  1. Simmer on medium-low heat for 15 minutes, or until the skin of the orange is translucent.


  1. Arrange as desired.


IMG_3844


(recipe influenced by Sophie Grigson)


5 Comments

Share